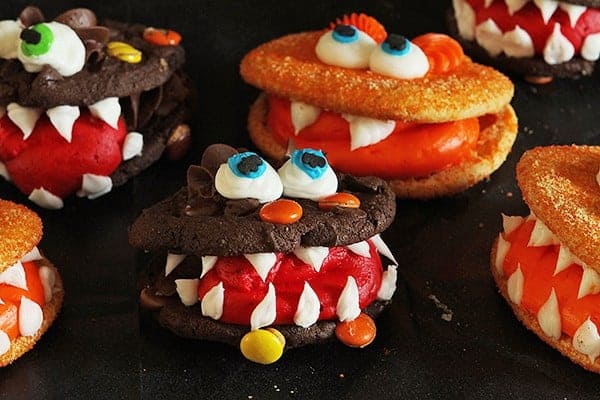
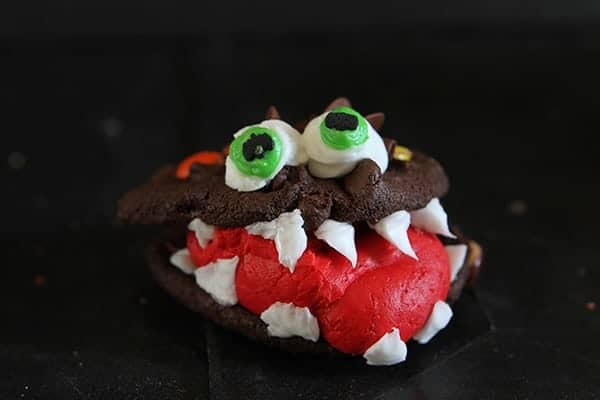
If you follow me on Instagram you probably saw these cute little Monster Cookies I shared last week. Since they ended up turning out pretty well, I decided to cake-i-fy them! Thats totally a word by the way.
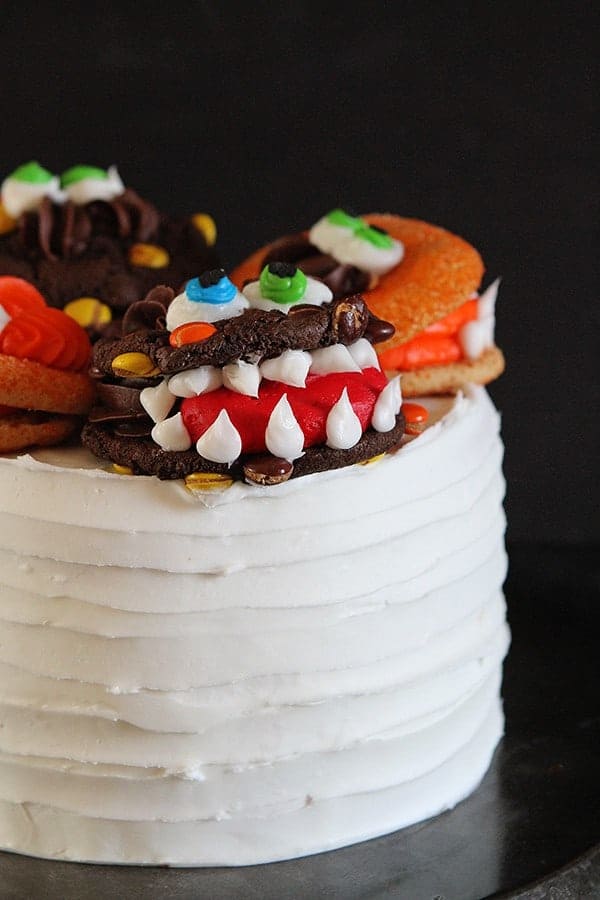
So I whipped up a the Perfect White Cake and threw some cookies on top. Voila! Monster Cake.
Just in case you wanted to make some Monster Cookies, here is a tutorial!
To make six cookie sandwiches you will need:
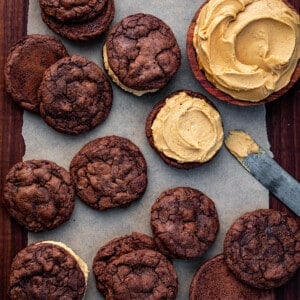
One dozen cookies of your choice. (I love this recipe for the Chocolate Cookies, just substitute Reese’s Pieces for the white chocolate)
1 recipe buttercream
Red, orange, brown*, blue and green food coloring
Halloween Sprinkles**
1M, #230, #4B and a 9PT tip. (the 9PT is a large open circle, you can also just cut 3 inches off a plastic pastry bag to get the same effect)
*You can also use chocolate buttercream
**If you dont have Halloween Sprinkles you can use black food coloring
I will demonstrate on the orange cookie. For the chocolate cookie I used chocolate as a base and added a little red at the front. (Too much red buttercream gets bitter to me)
Make buttercream. Divide batter equally into six bowls. Tint one red, one orange, one brown, one blue, one green and leave the last bowl white. I use Ateco gel paste food coloring.
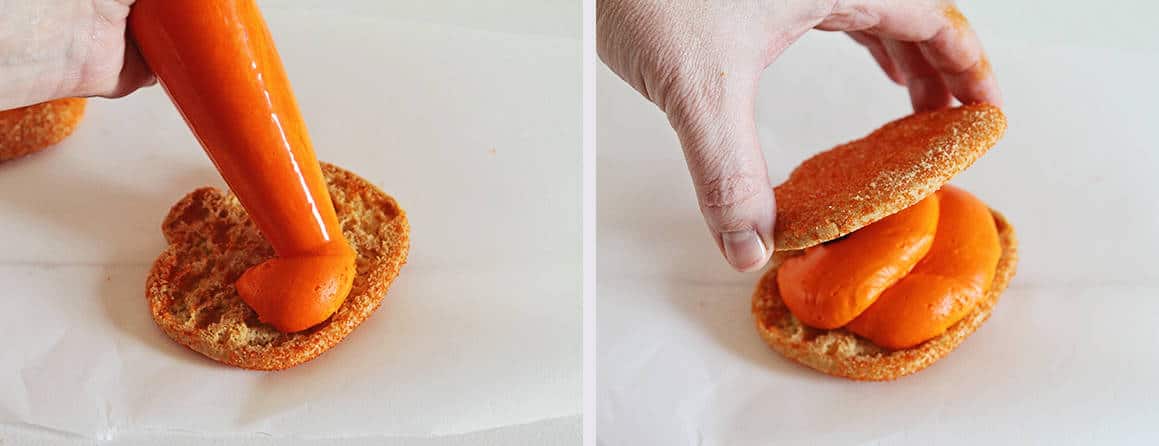
1. Put a 9PT tip (large open circle) into plastic disposable pastry bag and fill with orange frosting. I have shown it above with no tip; I simply cut off about 3 inches from the top of the bag.
2. Pipe out a base of frosting onto cookie. You will want it to be higher on one side so that the cookie will rest at an angle, just like an open mouth.
3. Set cookie on top.
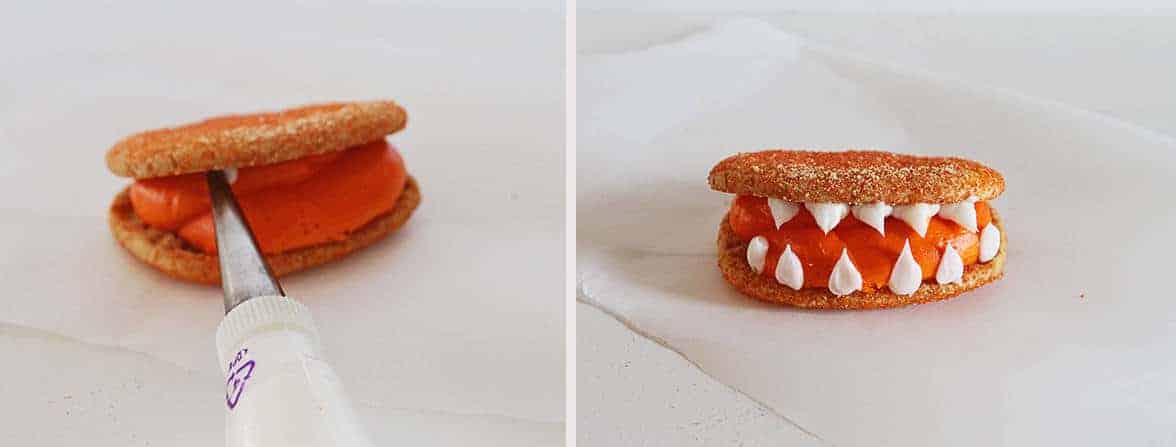
4. Using a coupler set and a #230 tip, fill up bag with white frosting. Place the tip of the frosting bag to the point where the orange frosting and the cookie meet, then apply pressure. While still applying pressure start pulling tip back then quickly pull and release all pressure. Do this around upper cookie and on lower cookie.

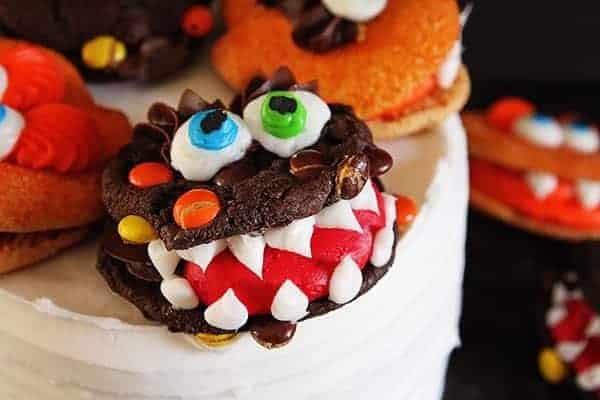
5. Fill the bag fitted with a 1M tip (you can also use a 4B tip, I have done that in orange on some of the cookies) with brown frosting. Starting towards the back of the cookie, apply pressure and build a small mound of frosting; then quickly pull tip down. Do this twice, as these are the monsters eye brows.
6. Pick up your bag with the #230 tip and white frosting and apply pressure at the base of the chocolate. Hold your tip steady and just keep applying pressure. Release pressure when you have a satisfactory amount of frosting for the eye ball.
7. Place green frosting in a plastic disposable pastry bag and but off a very small tip, say 1/2 inch. Repeat with blue frosting. (You now have two bags of frosting.) Choose which color you want to use for the eyes (I sometimes used both) and place a small dab in the center of the white frosting.
8. Pick up black Halloween Sprinkles and place in the center of the green (or blue) dot. Press slightly.
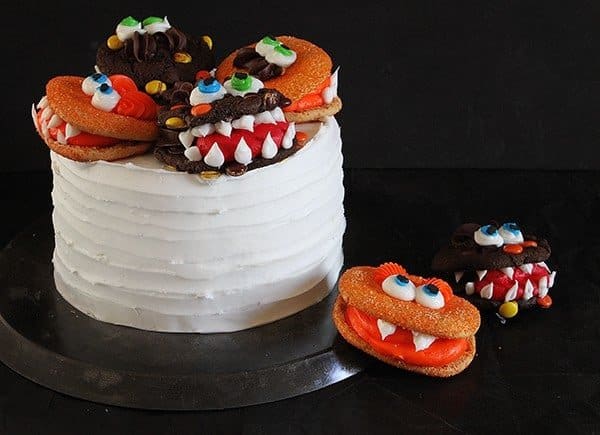
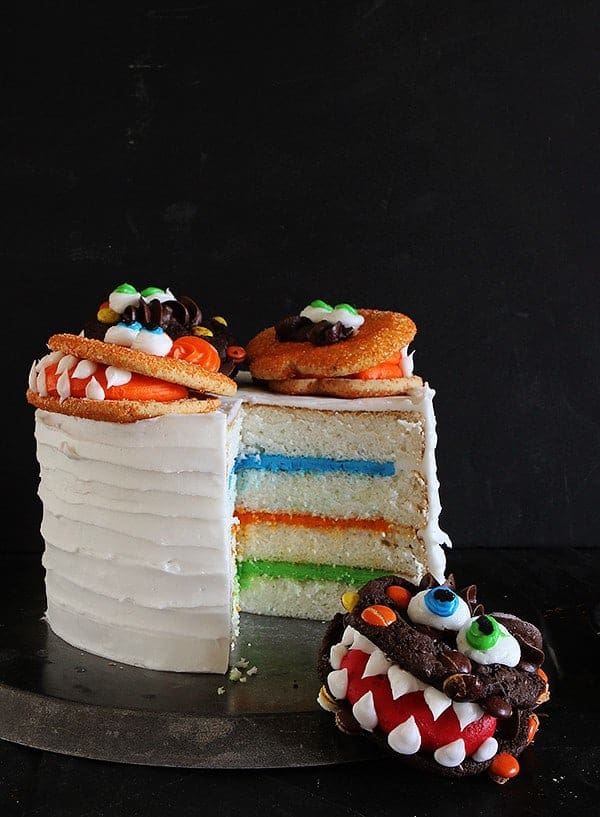
For the Monster Cake I just added four completed Monster Cookies to the top. I also snuck in some coordinating colors to the inside of the cake. Just for fun. 🙂
Since it was necessary to remove the cookie prior to cutting a slice, I decided to go back in and add some details to the slice before I served it. Repeating the steps above, add eyebrows and eyes to the back of the slice.
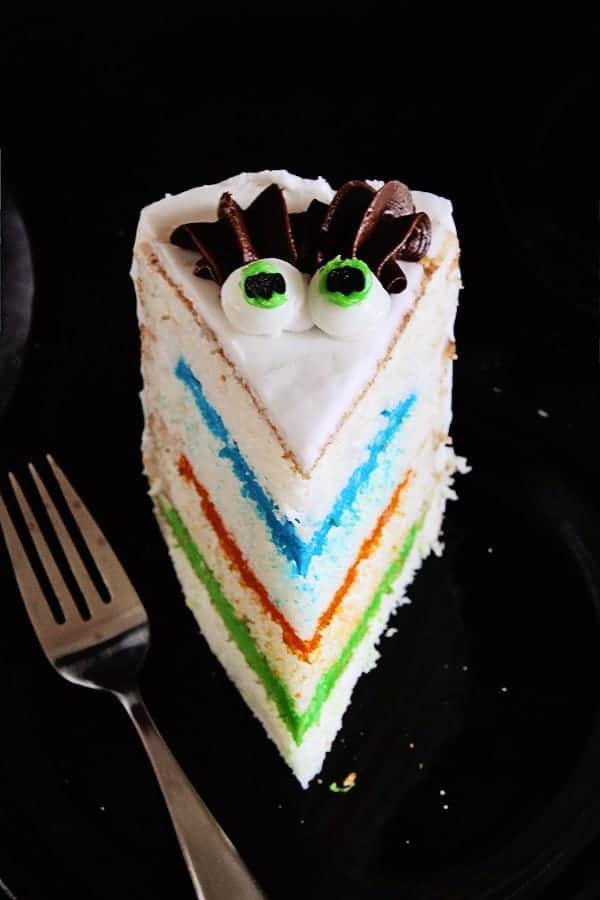
How fun is that?!?
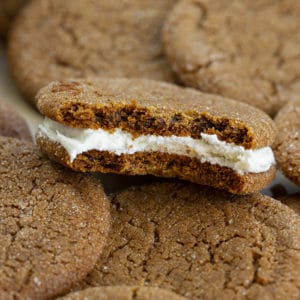
These cookies are a mouthful. Ha, ha get it? There is a lot of buttercream and two full sized cookies, so feel free to make mini versions!
I had so much fun with them! You really can’t go wrong when decorating. If you look closely above I even made one of them a vampire!
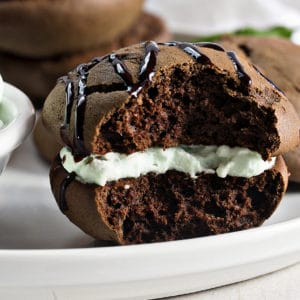
And I just had to show you what happens when you drop one on the ground…
That kills me.


Oh my!! So stinkin’ cute
I think my daughters and I are going to try this! We love it! I think it is so cute!! 🙂
I’m loving these! Kinda beats the heck out of my Halloween cupcakes…
Ah! These are SO adorable. I love the goofy/spooky teeth the best.
What a fun cake, Amanda! Love it! 🙂
That cake! Love this.
These cookies look unreal!! So cute!!
So fun! Love that you thought they needed a cake to show them off.
Hi, really love yr sharing, just wish tt there is video attached as well. Keep up the amazing work you are doing!!