I had so much fun putting together this tutorial for the Surprise Inside faith cake!
I am very new to tutorials, so if you have any questions or suggestions, please contact me anytime!
Now.
This cake I did not bake from scratch. Using a box mix is not a bad thing!
For now, let’s look at some pictures.
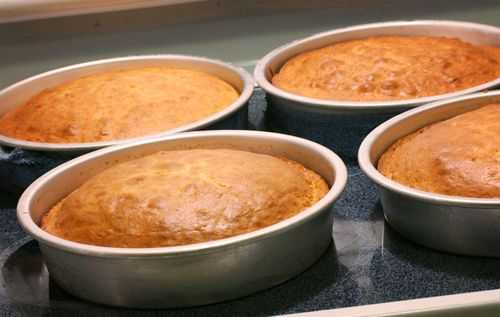
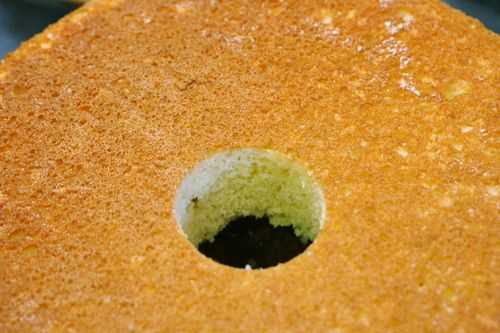
The white cake.
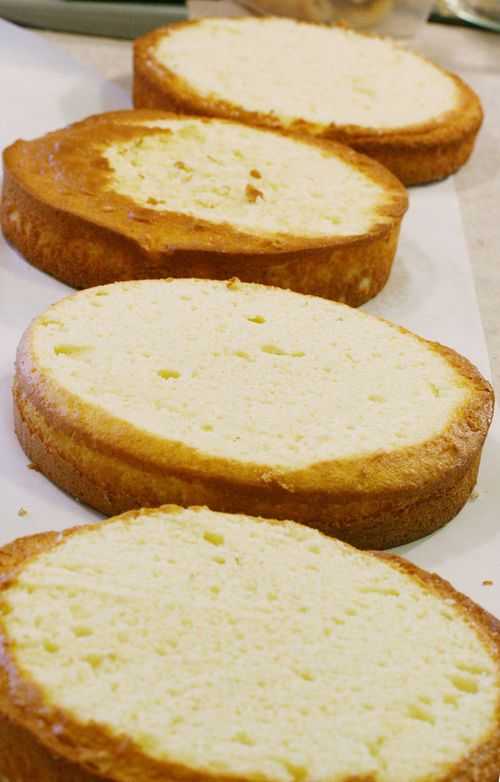
The white cakes leveled.
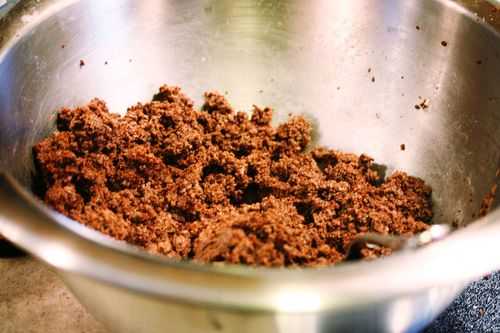
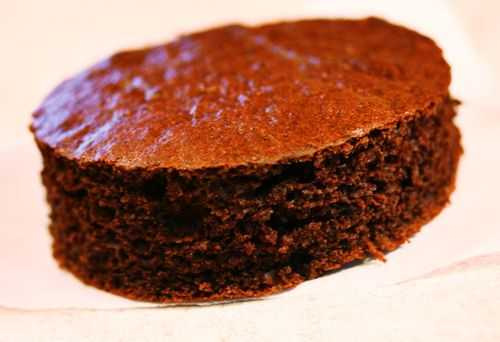
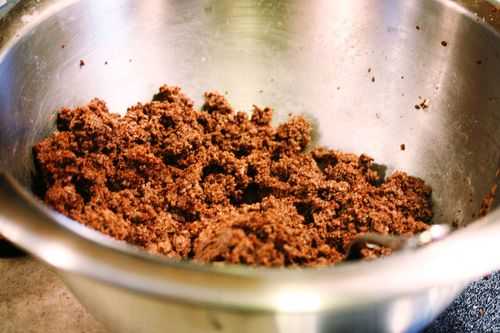
This is the devils food cake. Before I removed it from the pan and crumbled it and added some frosting to make it stick together… I cut out this shape. (I just used a piece of tupperware that was about the right size)
(For one box of devils food cake add approximately 1/2 cup frosting. Blend with a fork or your hand to incorporate.)
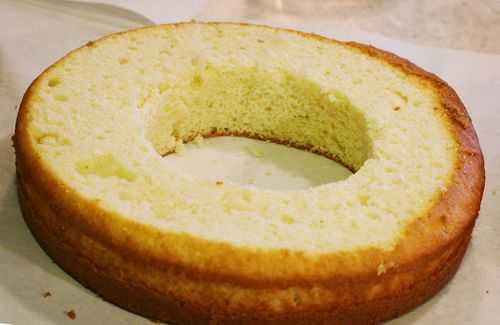
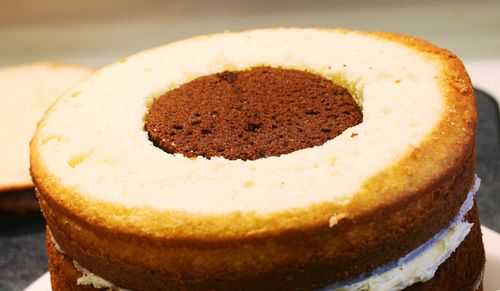
Cut the same shape out of the white cake.
That devils food is going to fit perfectly into the white cake!
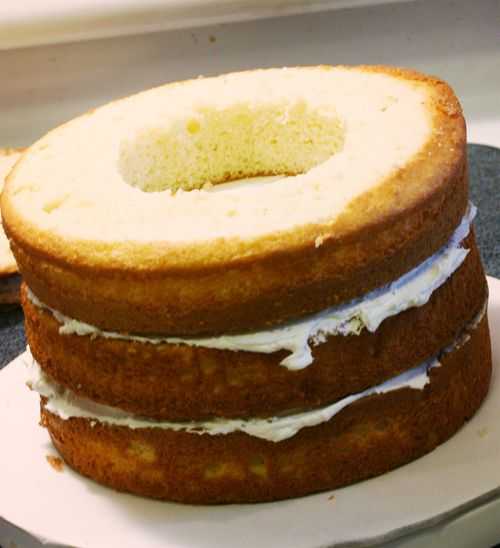
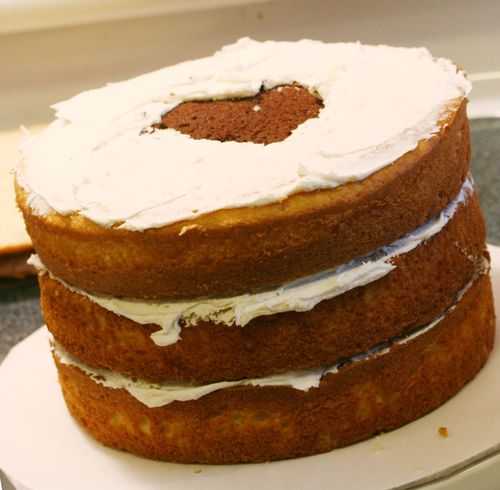
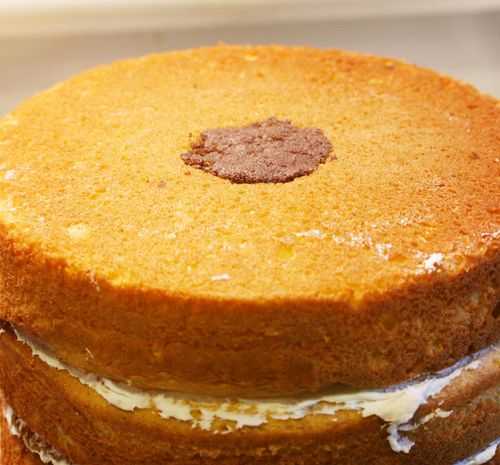
Now, to get started with assembly. Put one layer of your white cake on your plate. Add about 1/2 cup frosting and add another layer. Add another 1/2 cup frosting and add your layer with the cutout.
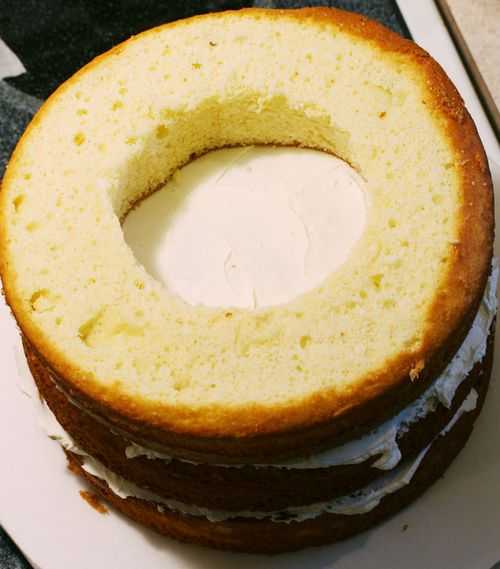
Go ahead and add your devils piece into the white layer.
Add some frosting around the edges.
(the next step you can save until last, but I had to start now because my cake was getting so tall.)
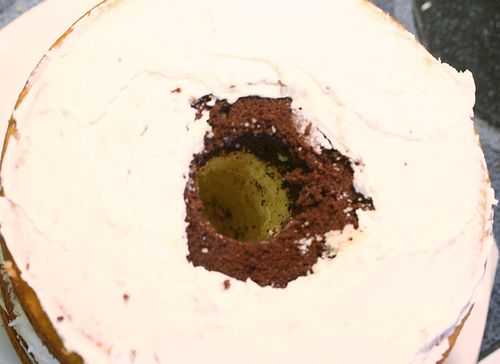
Now go ahead and take a round cookie cutter or a smaller drinking glass or anything that is a smaller round shape and cut out a whole. You will need to go through all layers of the cake. Get a fork or spoon and carefully scoop out the excess cake.
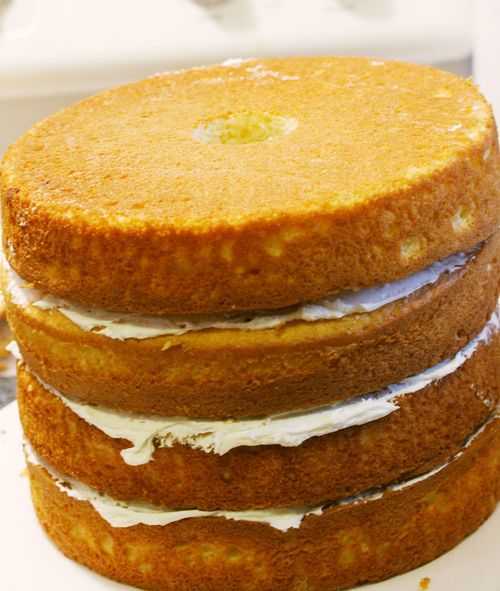
I still have another layer to add… so I will just put it on top and then guesstimate where the hole was.
Now remember that devils food cake that we crumbled and added some frosting too to make it more usable?
We are going to fill up the entire hole with this cake mixture. Just start stuffing cake in there until its all full. (This works MUCH better if your white cake is frozen or very chilled)
Like that!
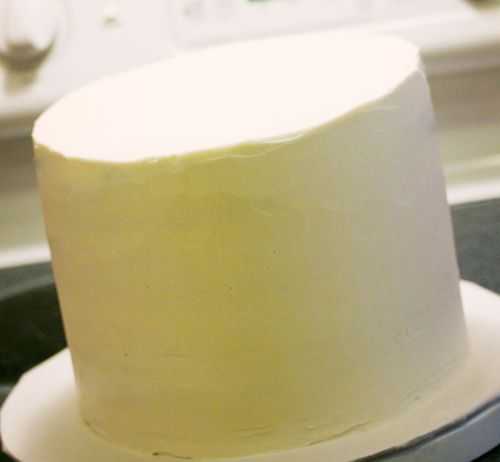
Next is the crumb coat layer. (Want to know what a crumb coat is? Want to learn how to do one? Click here.)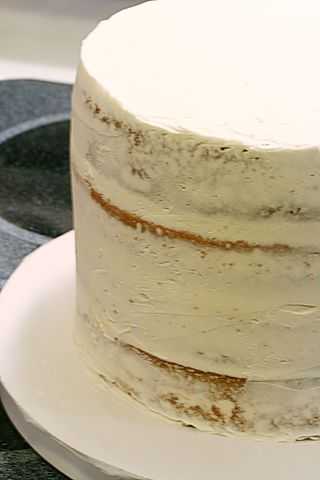
After I added the crumb coat layer I threw this bad boy in the freezer and went to bed.
When I opened my freezer in the morning it magically looked like this!
I’m kidding. This was after I added another layer of frosting. Don’t be shy with your frosting! This cake is big and can handle it.
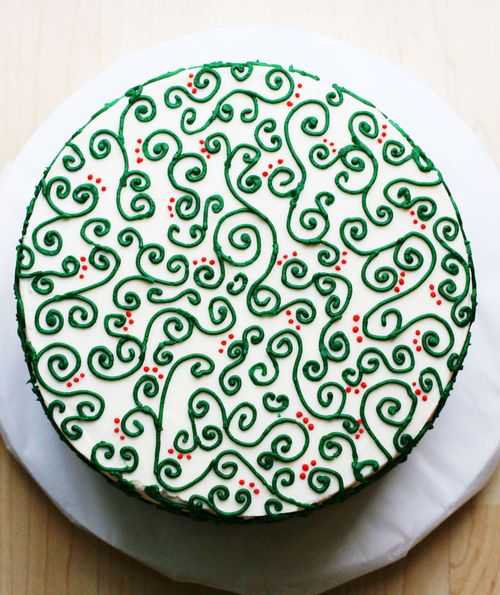
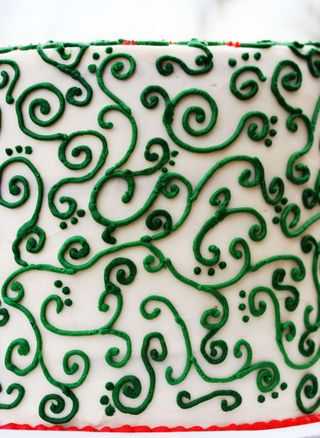
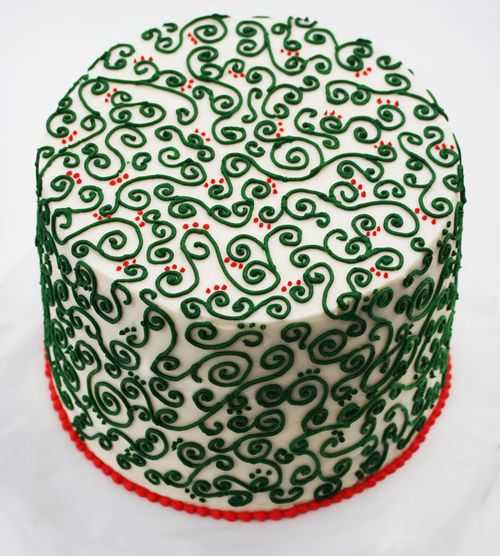
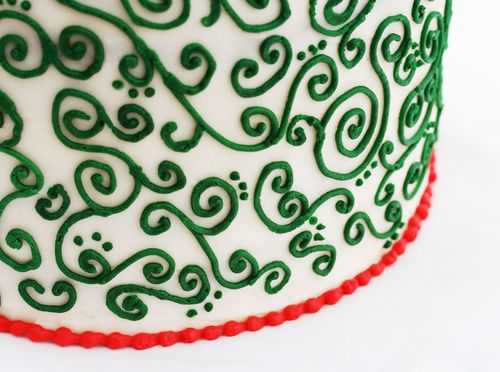
Next, I started decorating… and I am sorry… but I only got pictures of the finished product.
If you want to try the technique I did… I think the technical term is ‘swirly thingies’… get a piping bag and a decorating tip and practice on a piece of paper. Practice makes perfect! (and as you can tell, I am still practicing!)
Top view.
This cake is a big boy. This swirling stuff took me about an hour. Then I got frustrated and went back in and added dots. I didnt like that either so I added red dots. Then I gave up.
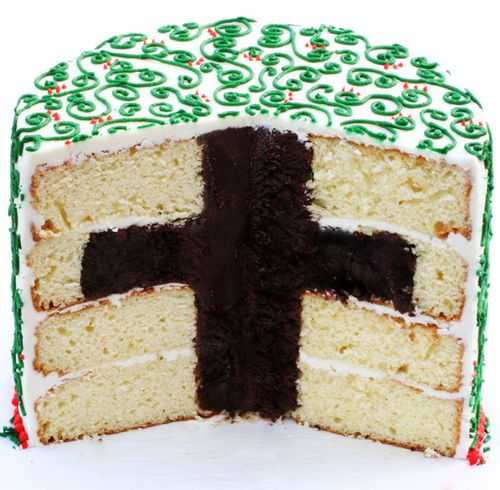
And this is what you see after you eat three pieces cut into your cake.
A cross.
Hence the name, ‘Faith Cake’.
Ok. I’m ready for it. Be honest now… do you think you’ll try and make one? 🙂


I will definitely try that. It will be perfect for Easter. Will take me that long to perfect it..lol
I know this is older post, but I do have a question. Are all the white cakes cut out the same way? It looks like one of them was cut different to add the cross part in. I read over your tutorial, but was still a little confused on that part.
The one with the cross section in it is cut different.