My oldest child turning 9 was a pretty big deal in this house.
This meant that I had officially been a mom for just about 10 years. (Pregnancy counts… just ask any mom!)
This meant that I had made 10 years of parenting mistakes on my precious first born.
This meant that I had given more hugs and snuggles and messy face kisses that I ever knew possible.
This meant that I technically should have lost the baby weight I gained with him by now. #whoops
It also meant that this amazing little boy was taking big giant leaps towards becoming a man.
And that while I wanted to hold him close to me and sob into his Mine Craft t-shirt and make him promise never to love any other woman but me…
I didn’t.
I let him choose what he wanted to wear.
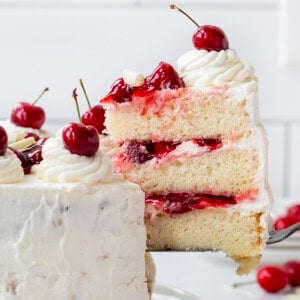
I let him pick the flavor of cake. (This white cake– he doesn’t like chocolate!)
I let him have friends over and even stayed in the kitchen as they played.
I didn’t let them see the tears as his friends sang him “Happy Birthday” enthusiastically.
And I will pray earnestly that he finds a good, kind woman who has a heart for Jesus and crazy Mother-in-Laws.
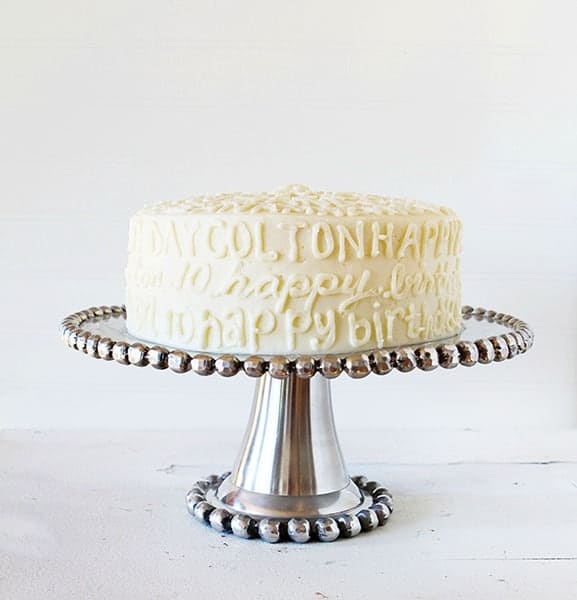
But, because I am weak and love my little boy so completely, I had to write it out on his cake.
I used a #3 open round tip with my favorite buttercream recipe.
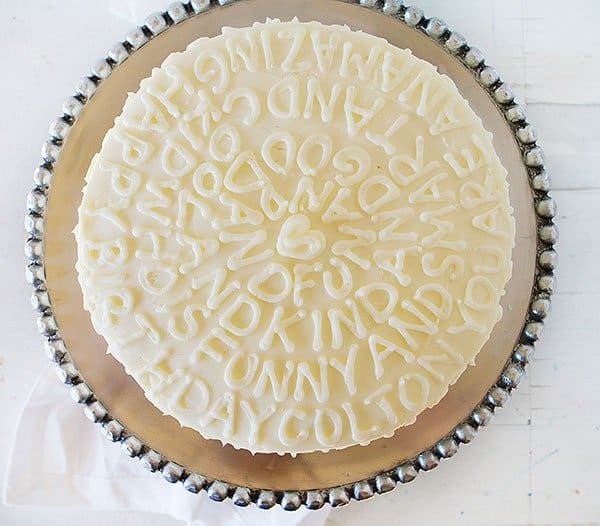
I practiced on a piece of wax paper first with the different fonts I wanted to use and what I wanted to say. Well, I actually just started writing and didn’t plan exactly what it should say… but generally it has to say I LOVE YOU.
Writing on the side of a cake is not as easy as on the top, so I recommend starting there. I started at an outter edge and then spiraled in, moving towards the center. Because I didn’t plan out what I was saying I ran out of space, but then just filled it in with a heart.
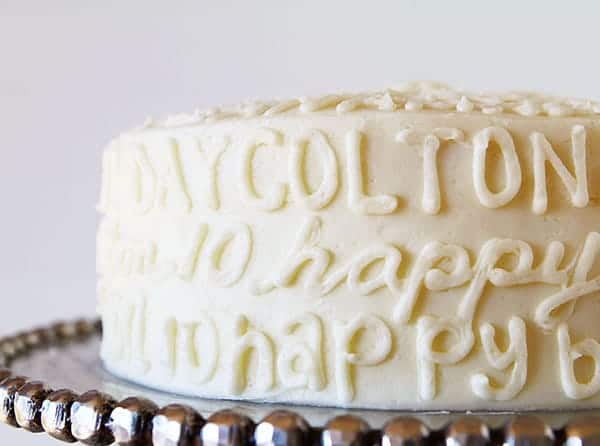
For the sides of the cake, I recommend starting at the top edge. If you can grab an old oatmeal container or round Tupperware to practice on, do it. It’s a good idea to get comfortable with where your hand will rest and how you will hold the piping bag.
I did tone-on-tone which is one of my favorite looks, but you could certainly make the words ombre or even your child’s favorite color.
You can also do this in all one font, which would be much easier for the first time!
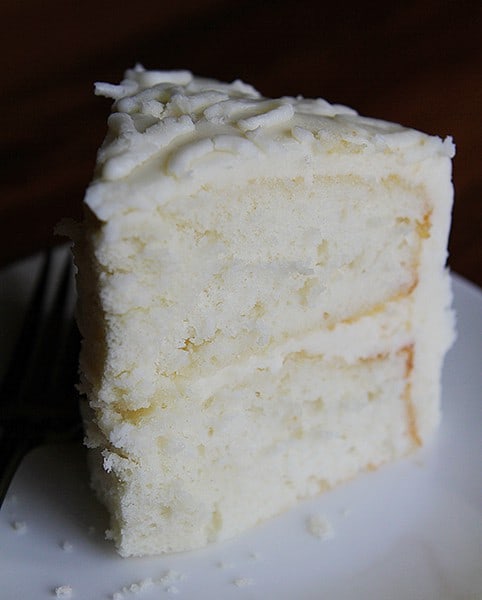
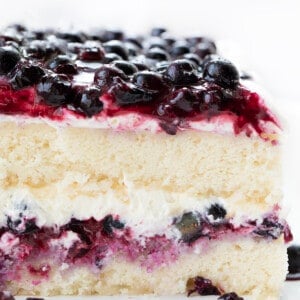
I wasn’t able to photograph a slice of the inside until late that night. This was the LAST piece left! Just moments later I let the birthday boy indulge for one last birthday treat. 🙂
I have a full class on this technique at Craftsy. And because you are a faithful reader of iambaker, here is a $20 off discount for Simple Piping, Stunning Results!
Here is a video where I wrote on a cake. The writing starts at about 16:00min.


This cake is beautiful!!
This cake is stunning! Happy Birthday to your sweet boy. Love everything about this cake!
I am just in love with the tonal icing on this very special cake! The heartfelt sentiments written in icing really show the love you put into making it for your sweet boy! I hope his birthday was extra special!!!
Amanda, I think your cake is sweet on so many levels! You should get the world’s best mom award. Seriously! Happy 9th to your oldest!!!
Beautiful cake decoration!
This cake is absolutely gorgeous! Happy birthday to your son, and 10 years being a mom – wow, that is so special 🙂
What a beautiful post. Both the cake and the sentiment.