No Bake Chewy Granola Bars start with a blend of old-fashioned oats and puffed rice cereal, then mixed with peanut butter and honey with chocolate chips folded in. Grab one of the bars for a quick breakfast as you head out the door. Or, enjoy one when you need an energy boost or a sweet treat! They are also great for kids’ after-school snacks. I also have homemade granola you will love!
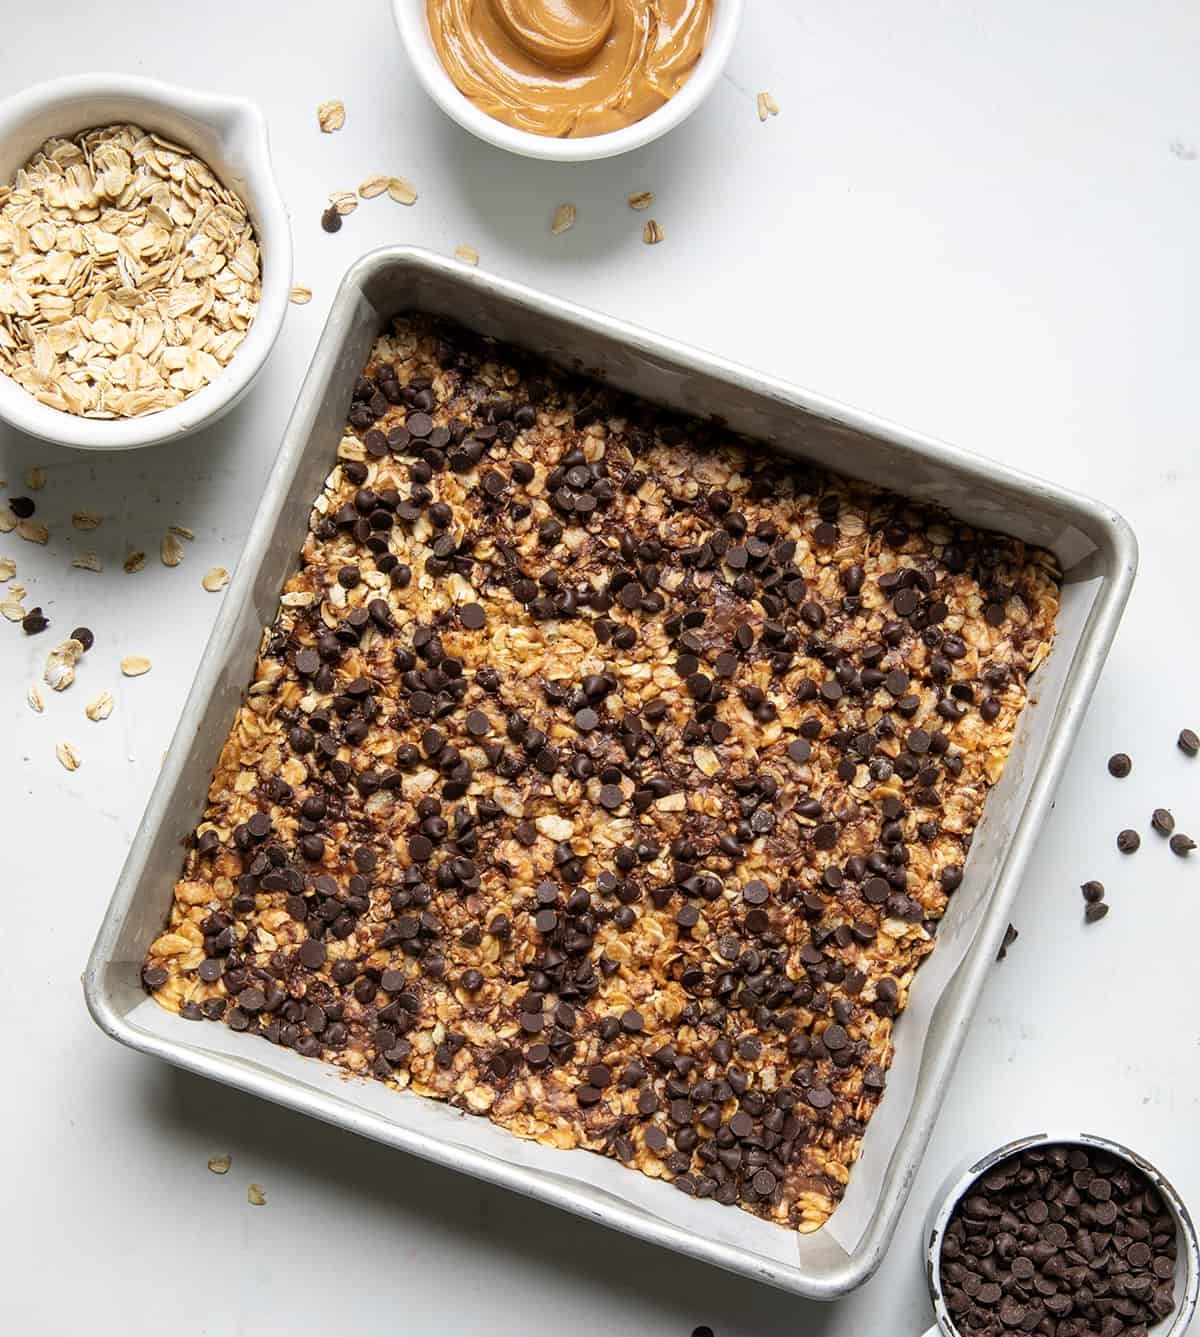
Ingredients & Substitutions
Cereal: Look for puffed rice cereal, like Rice Krispies. They add a light and crispy texture to the bars.
Oats: I added old-fashioned oats, also known as rolled oats. They have a hearty texture and provide fiber and wholesome flavor to the bars. If using instant oats, which are more finely processed, you will lose some of the texture in the bars.
Peanut Butter: Peanut butter acts as a binding agent to help hold the bars together. I used creamy peanut butter, but for even more texture, you could use crunchy.
Honey: Honey is a natural sweetener that also helps keep the ingredients together.
Chocolate Chips: For a little decadence, I added mini semi-sweet chocolate chips to the bars. You could leave them out or try adding other candy chips like peanut butter, butterscotch, or a combination of chips.
Variations Of No-Bake Chewy Granola Bars
No-Bake Chewy Granola Bars are very versatile, so try some of these variations:
- Add chopped dried fruit like raisins, cranberries, apricots, or cherries.
- For a nutty crunch, fold in chopped nuts like peanuts, almonds, walnuts, or pecans.
- Toasted coconut flakes can give the bars a tropical flair.
- Incorporate crushed cookies or graham crackers for even more texture and added flavor.
How To Store No-Bake Chewy Granola Bars
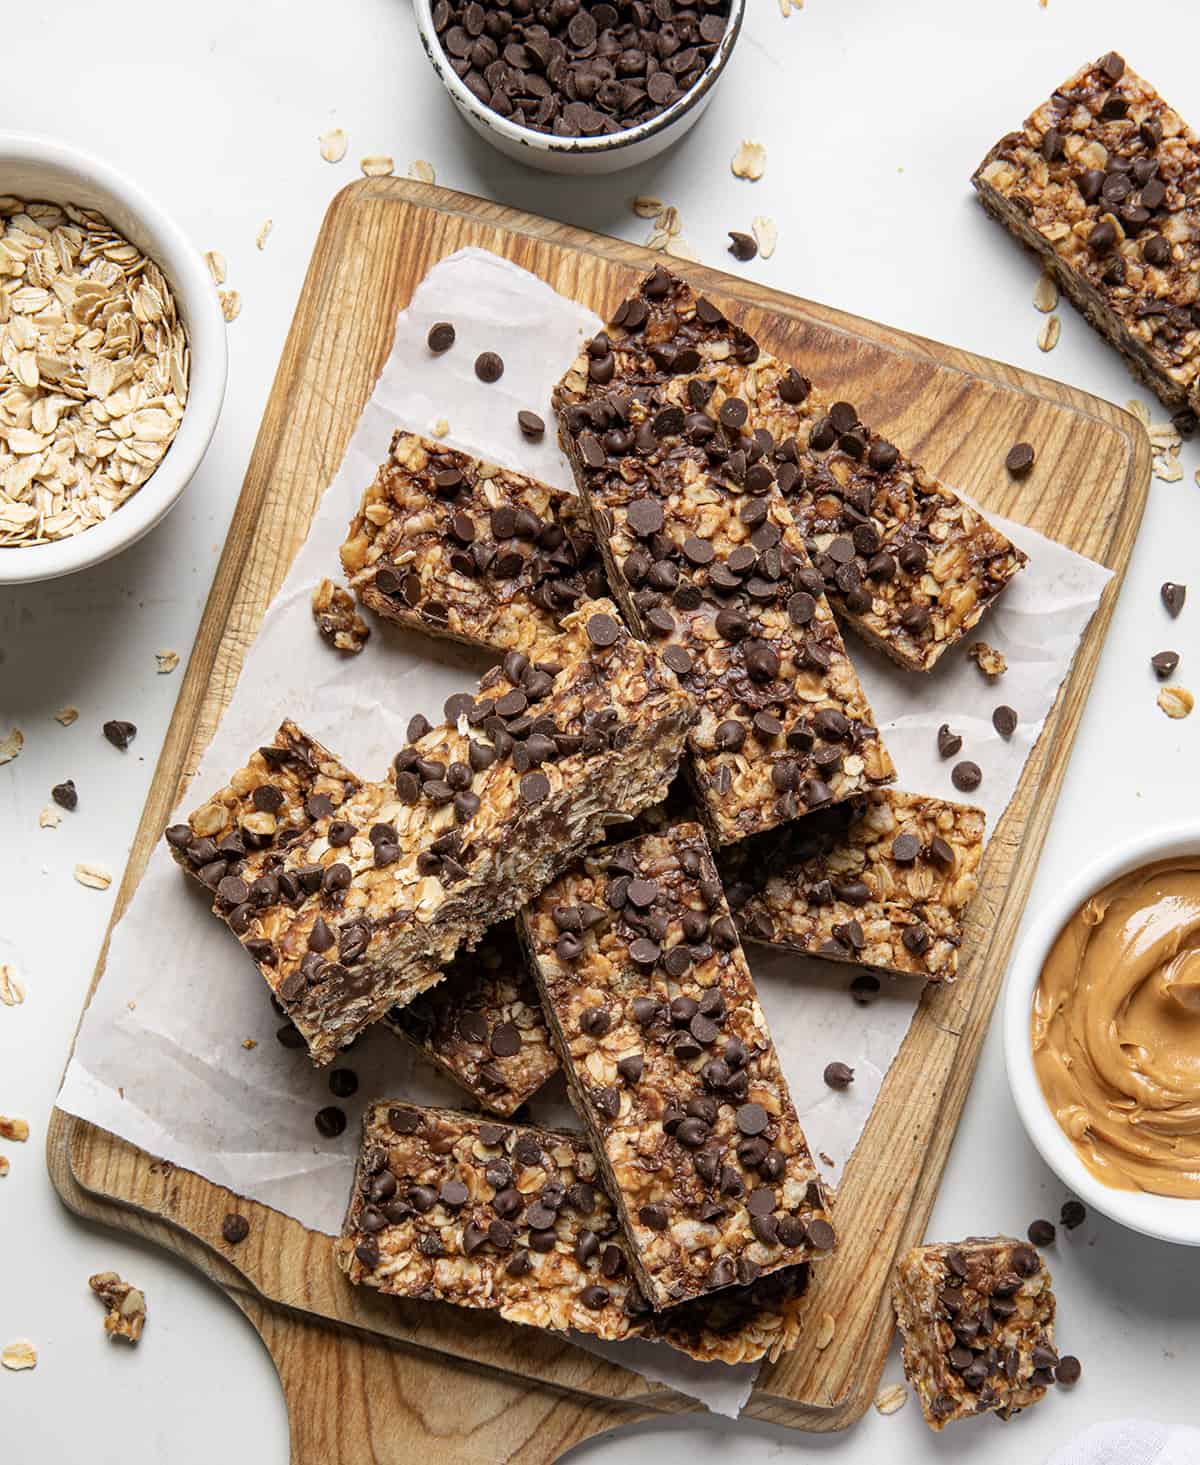
Once chilled, set, and cut, store the granola bars in an airtight container in the refrigerator. They will last up to a week. For longer storage, freeze the bars.
Freezing Granola Bars
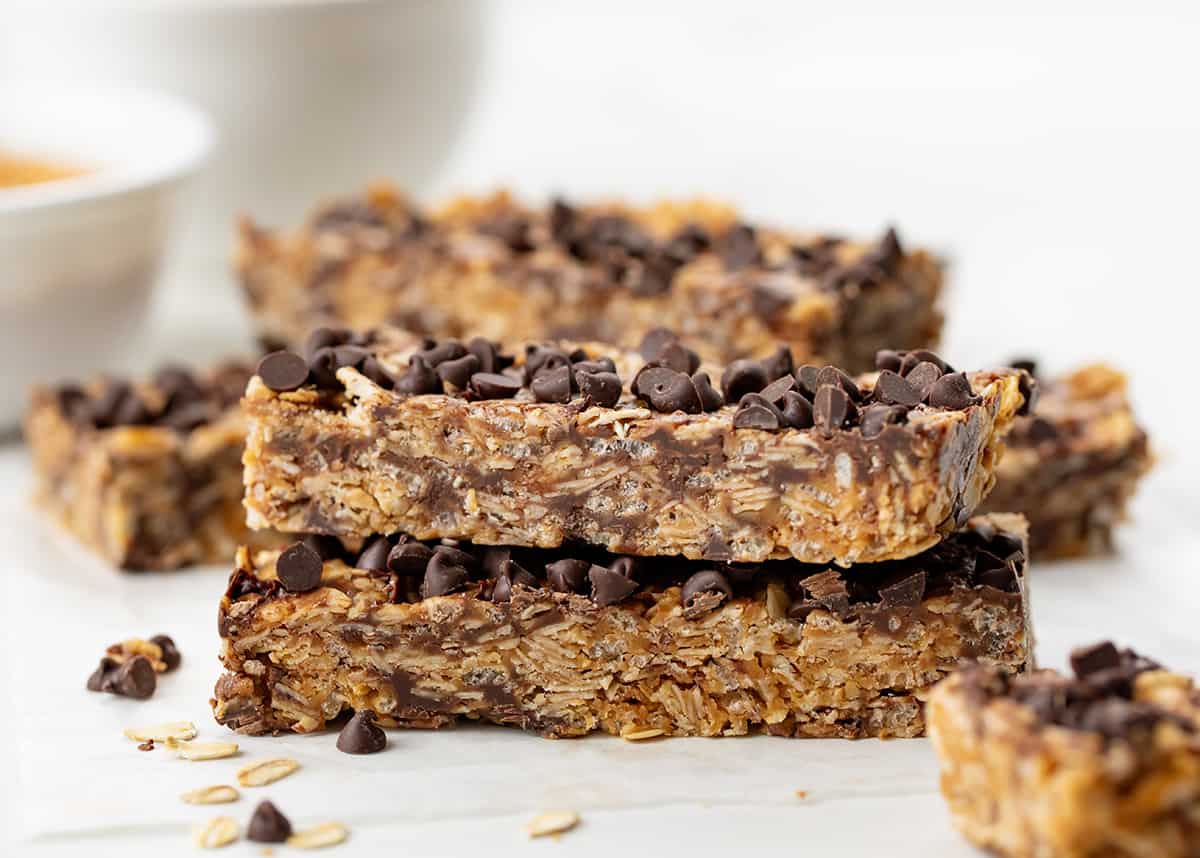
To freeze granola bars, first, line a baking sheet with parchment paper. Next, set the individual bars in a single layer onto the lined baking sheet and place in the freezer for an hour or two, or until solid. Once frozen, store the bars in a freezer-safe container for up to 2-3 months. When ready to enjoy a bar, remove it from the freezer and let it come to room temperature.
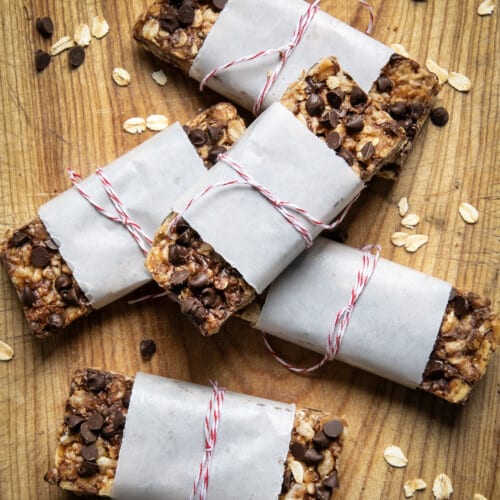
No Bake Chewy Granola Bars
Ingredients
- 1 ½ cups (21 g) puffed rice cereal, like Rice Krispies
- 1 ½ cups (135 g) old-fashioned oats
- ¾ cup (193.5 g) creamy peanut butter
- ½ cup (170 g) honey
- ½ teaspoon kosher salt
- 1 teaspoon vanilla extract
- 1 cup (173 g) mini semi-sweet chocolate chips
Instructions
- Line an 8×8-inch baking dish with parchment paper, extending the paper up the sides.
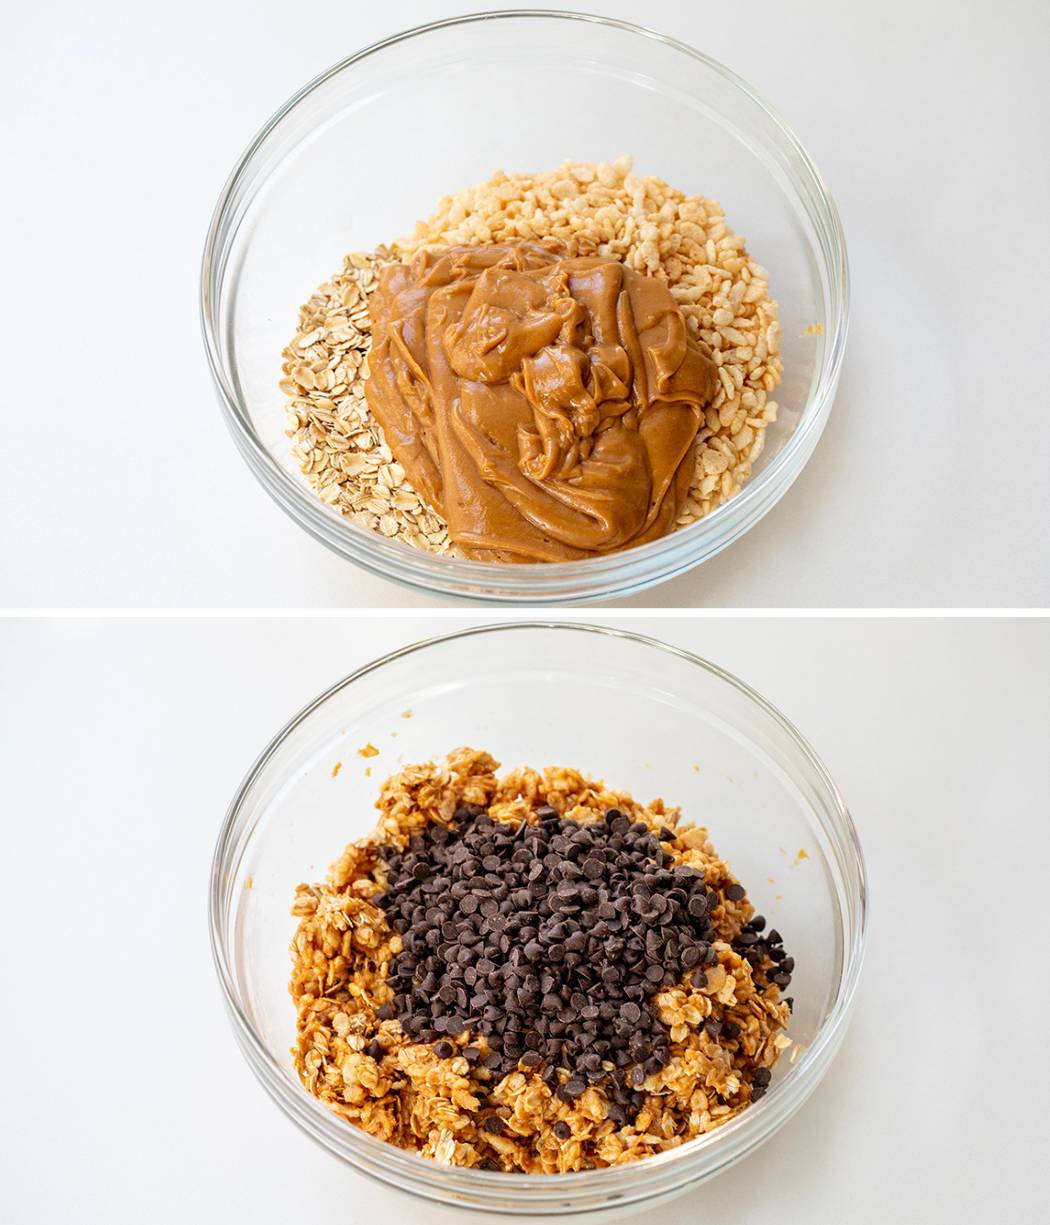
- In a large mixing bowl, combine rice cereal and old-fashioned rolled oats. Set aside.
- To a small saucepan over medium heat, add peanut butter, honey, and salt. Heat until melted and creamy (about 2-3 minutes).
- Remove from heat. Stir in vanilla extract.
- Pour over the cereal mixture. Gently fold until evenly coated.
- Fold in the mini chocolate chips, reserving a few for the topping.
- Add the granola bar mixture to the lined pan. Using a sheet of parchment paper, press the mixture into an even layer. Top with reserved chocolate chips.
- Refrigerate for at least 2 hours, or until the bars are set.
- When ready, remove the granola from the pan. Slice into 10 bars.
- For optimal freshness and shape, store in the refrigerator or freezer.
Video
Did you make this recipe?
Thank you for making my recipe! You took pictures, right? Well go ahead and post them on Instagram! Be sure to mention me @iambaker and use the hashtag #YouAreBaker.
What the Test Kitchen had to say about this recipe:

Autumn
My family absolutely loved these! The texture was perfect and they were so delicious that they were all gone in no time!

Elizabeth
I love these granola bars! They are so much better than store-bought with a chewy texture and delicious flavor, especially with the added chocolate chips.

Rachael
So good! These are addicting and are way better than any store-bought chewy granola bar you could buy!

Bella
Granola bars are always a great sweet snack! Nothing beats homemade! This is totally worth a try if you love granola bars.

Annabelle
These are really easy to make and such a good on-the-go snack! Perfect for times you just need to get out the door!



What can i substitue for the peanu butter…I cannot usse it.
I have seen almond butter used quite often as a substitute.
The recipe states to keep these refrigerated. Is there any reason they can’t be kept at room temp? It seems that all of the ingredients are shelf stable. Thanks!
You certainly can leave them at room temperature.
Hi, can I omit the puffed rice cereal and instead add quinoa or just double the oats?
Yes, you can customize these to your liking.
Can you use just regular rice krispies in place of the Puffed Rice Cereal? TIA.
I doubled the recipe and put in a 9×13 pan. Perfect size. I also subbed medjool dates for the chocolate chips because my husband takes these to the pickleball courts and it’s hot here in the summer, and the chocolate would melt. And one last thing that I learned from Milk Bar is to add 2 tablespoons of dry milk powder to all my cookies, bar cookies, etc. to enrich their flavor. This recipe is super easy to make, and are delicious treats.
Thank you!
I make these with almond butter & increase the salt to 1 tsp so they allllllmost taste like peanut butter. I also use agave instead of honey just because I don’t care for the flavor honey has when it’s been heated.