These Cake Donuts are covered in a sweet glaze and fried to perfection! You may never need to venture out for bakery donuts again after trying this fantastic homemade recipe! If you prefer a “lighter” donut 😂 feel free to check out this Glazed Donuts recipe!
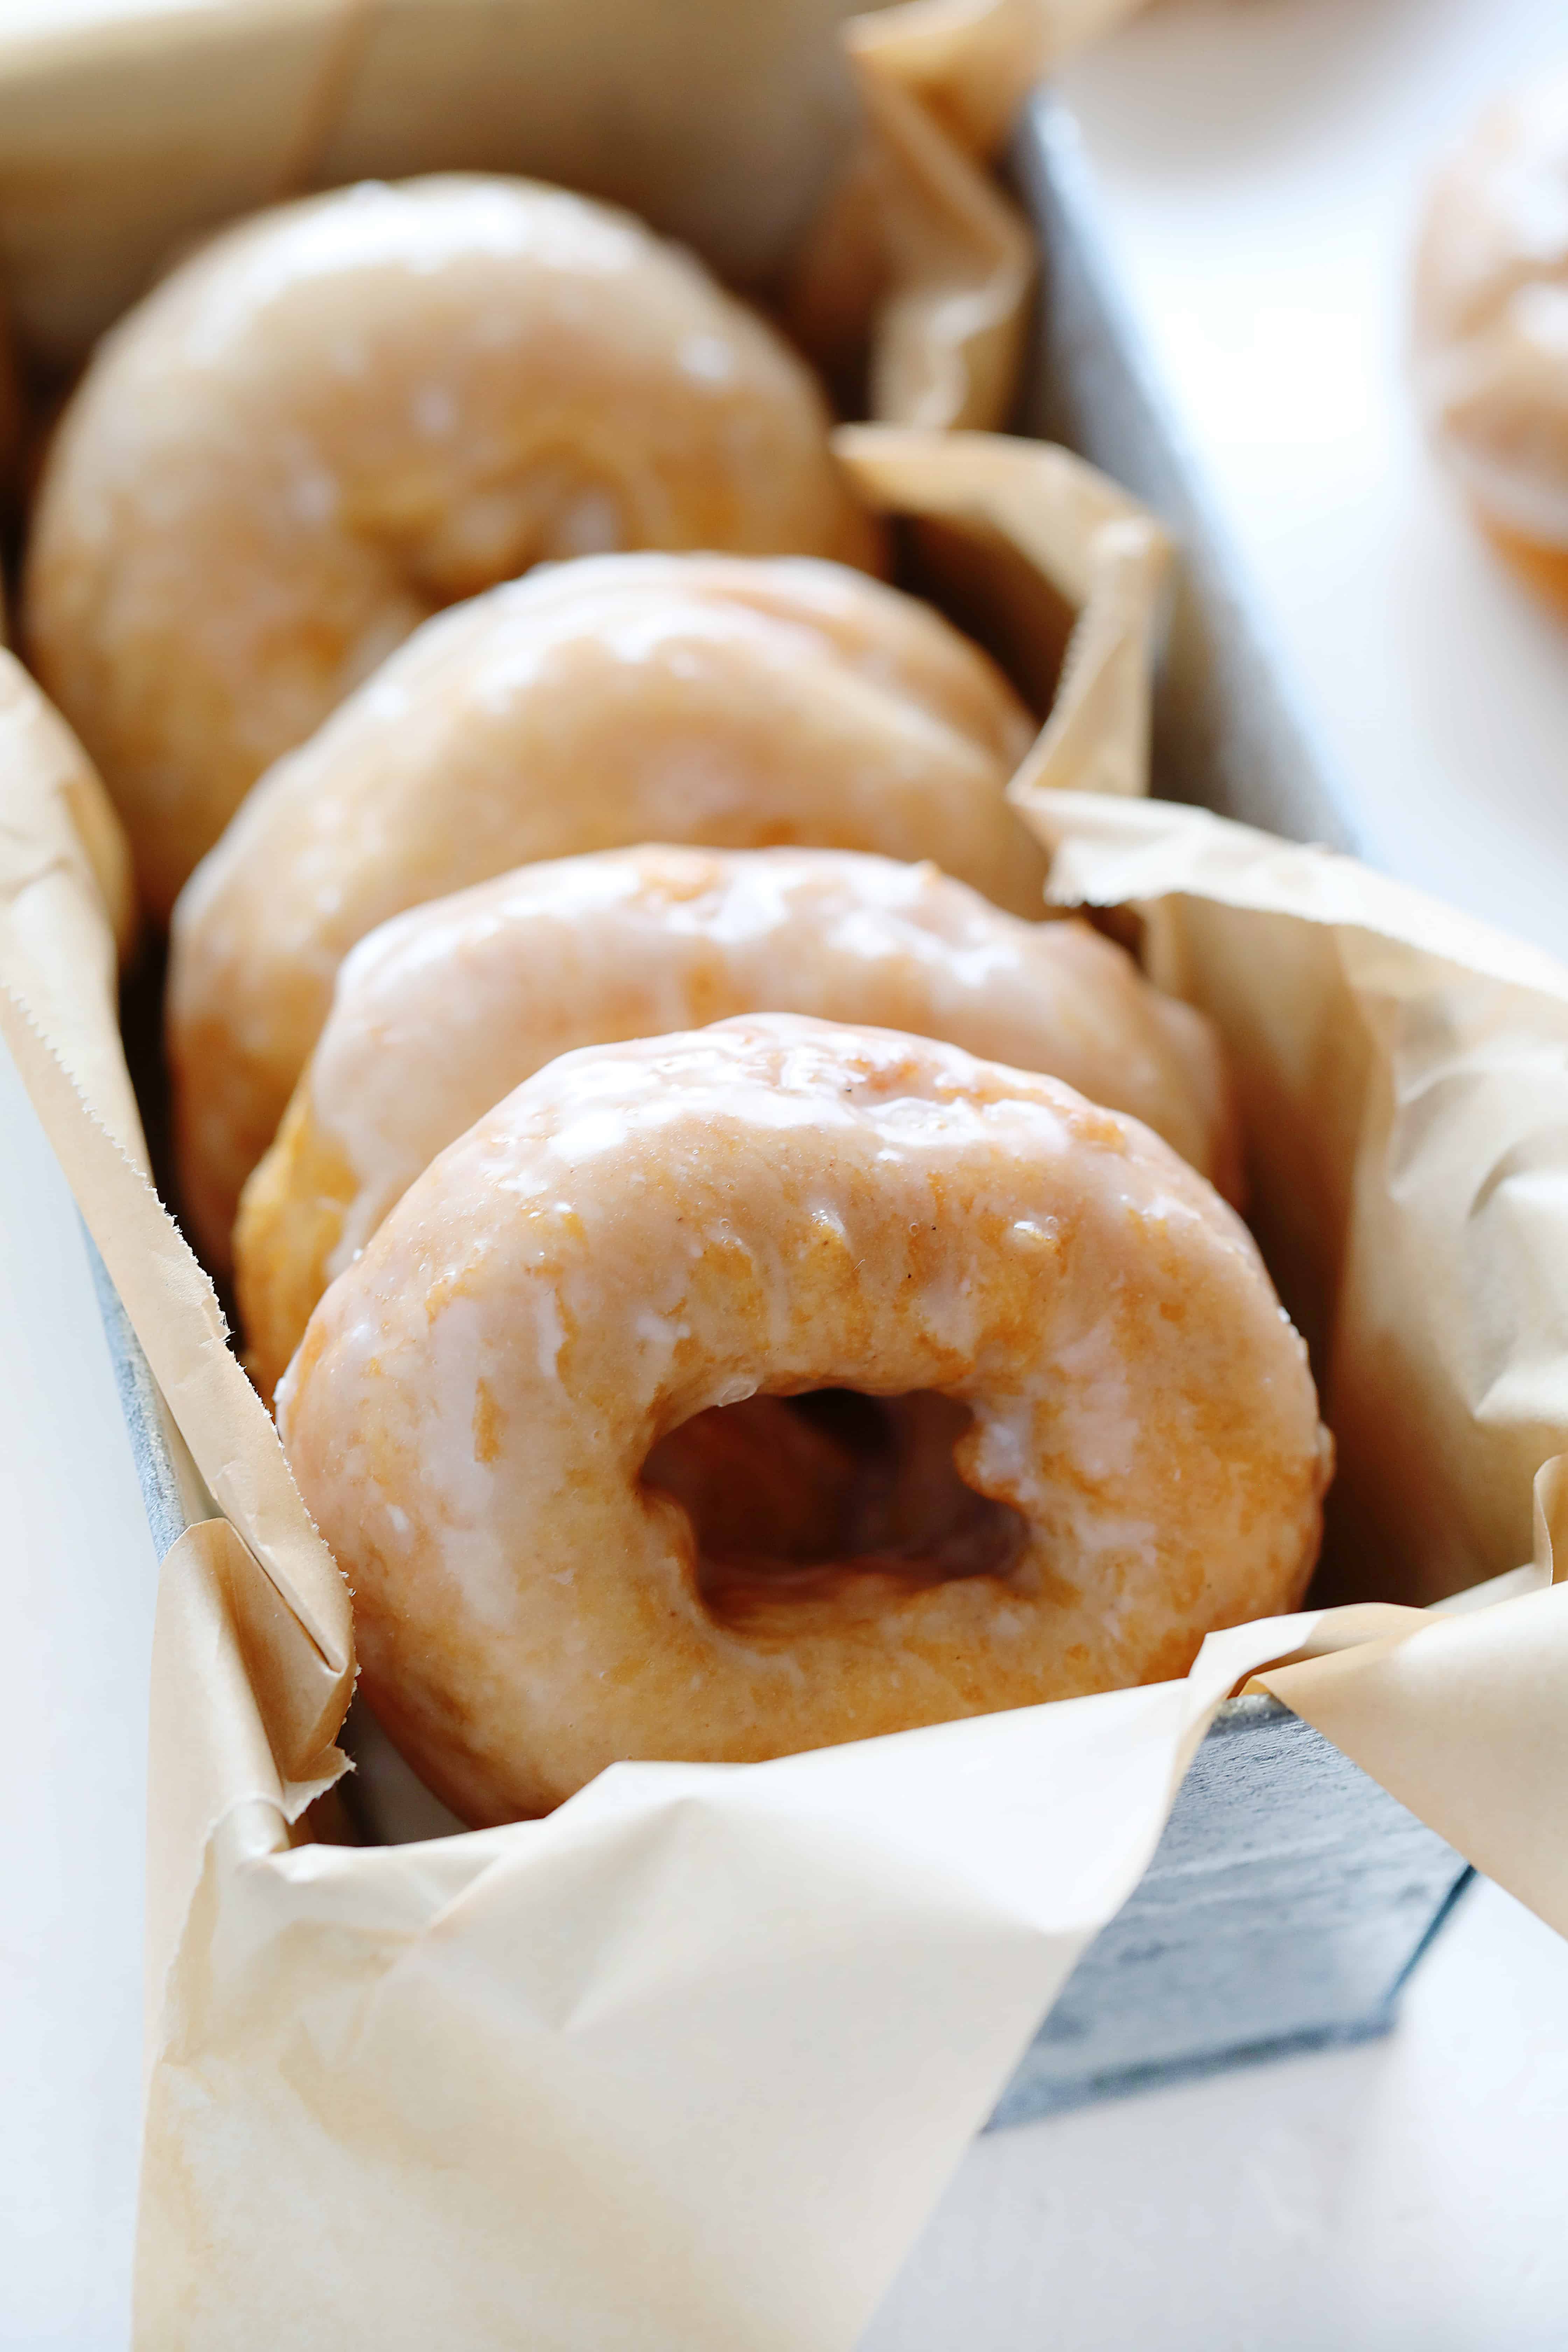
Cake Donuts
We tested out several recipes when creating our perfect Cake Donut recipe and I have to say, this one is the best. There seemed to be detailed information missing from the standard recipes I came across. I am not going to do that to you! Every detail you need to know is here which means you will create the best cake donut the first time and every time!
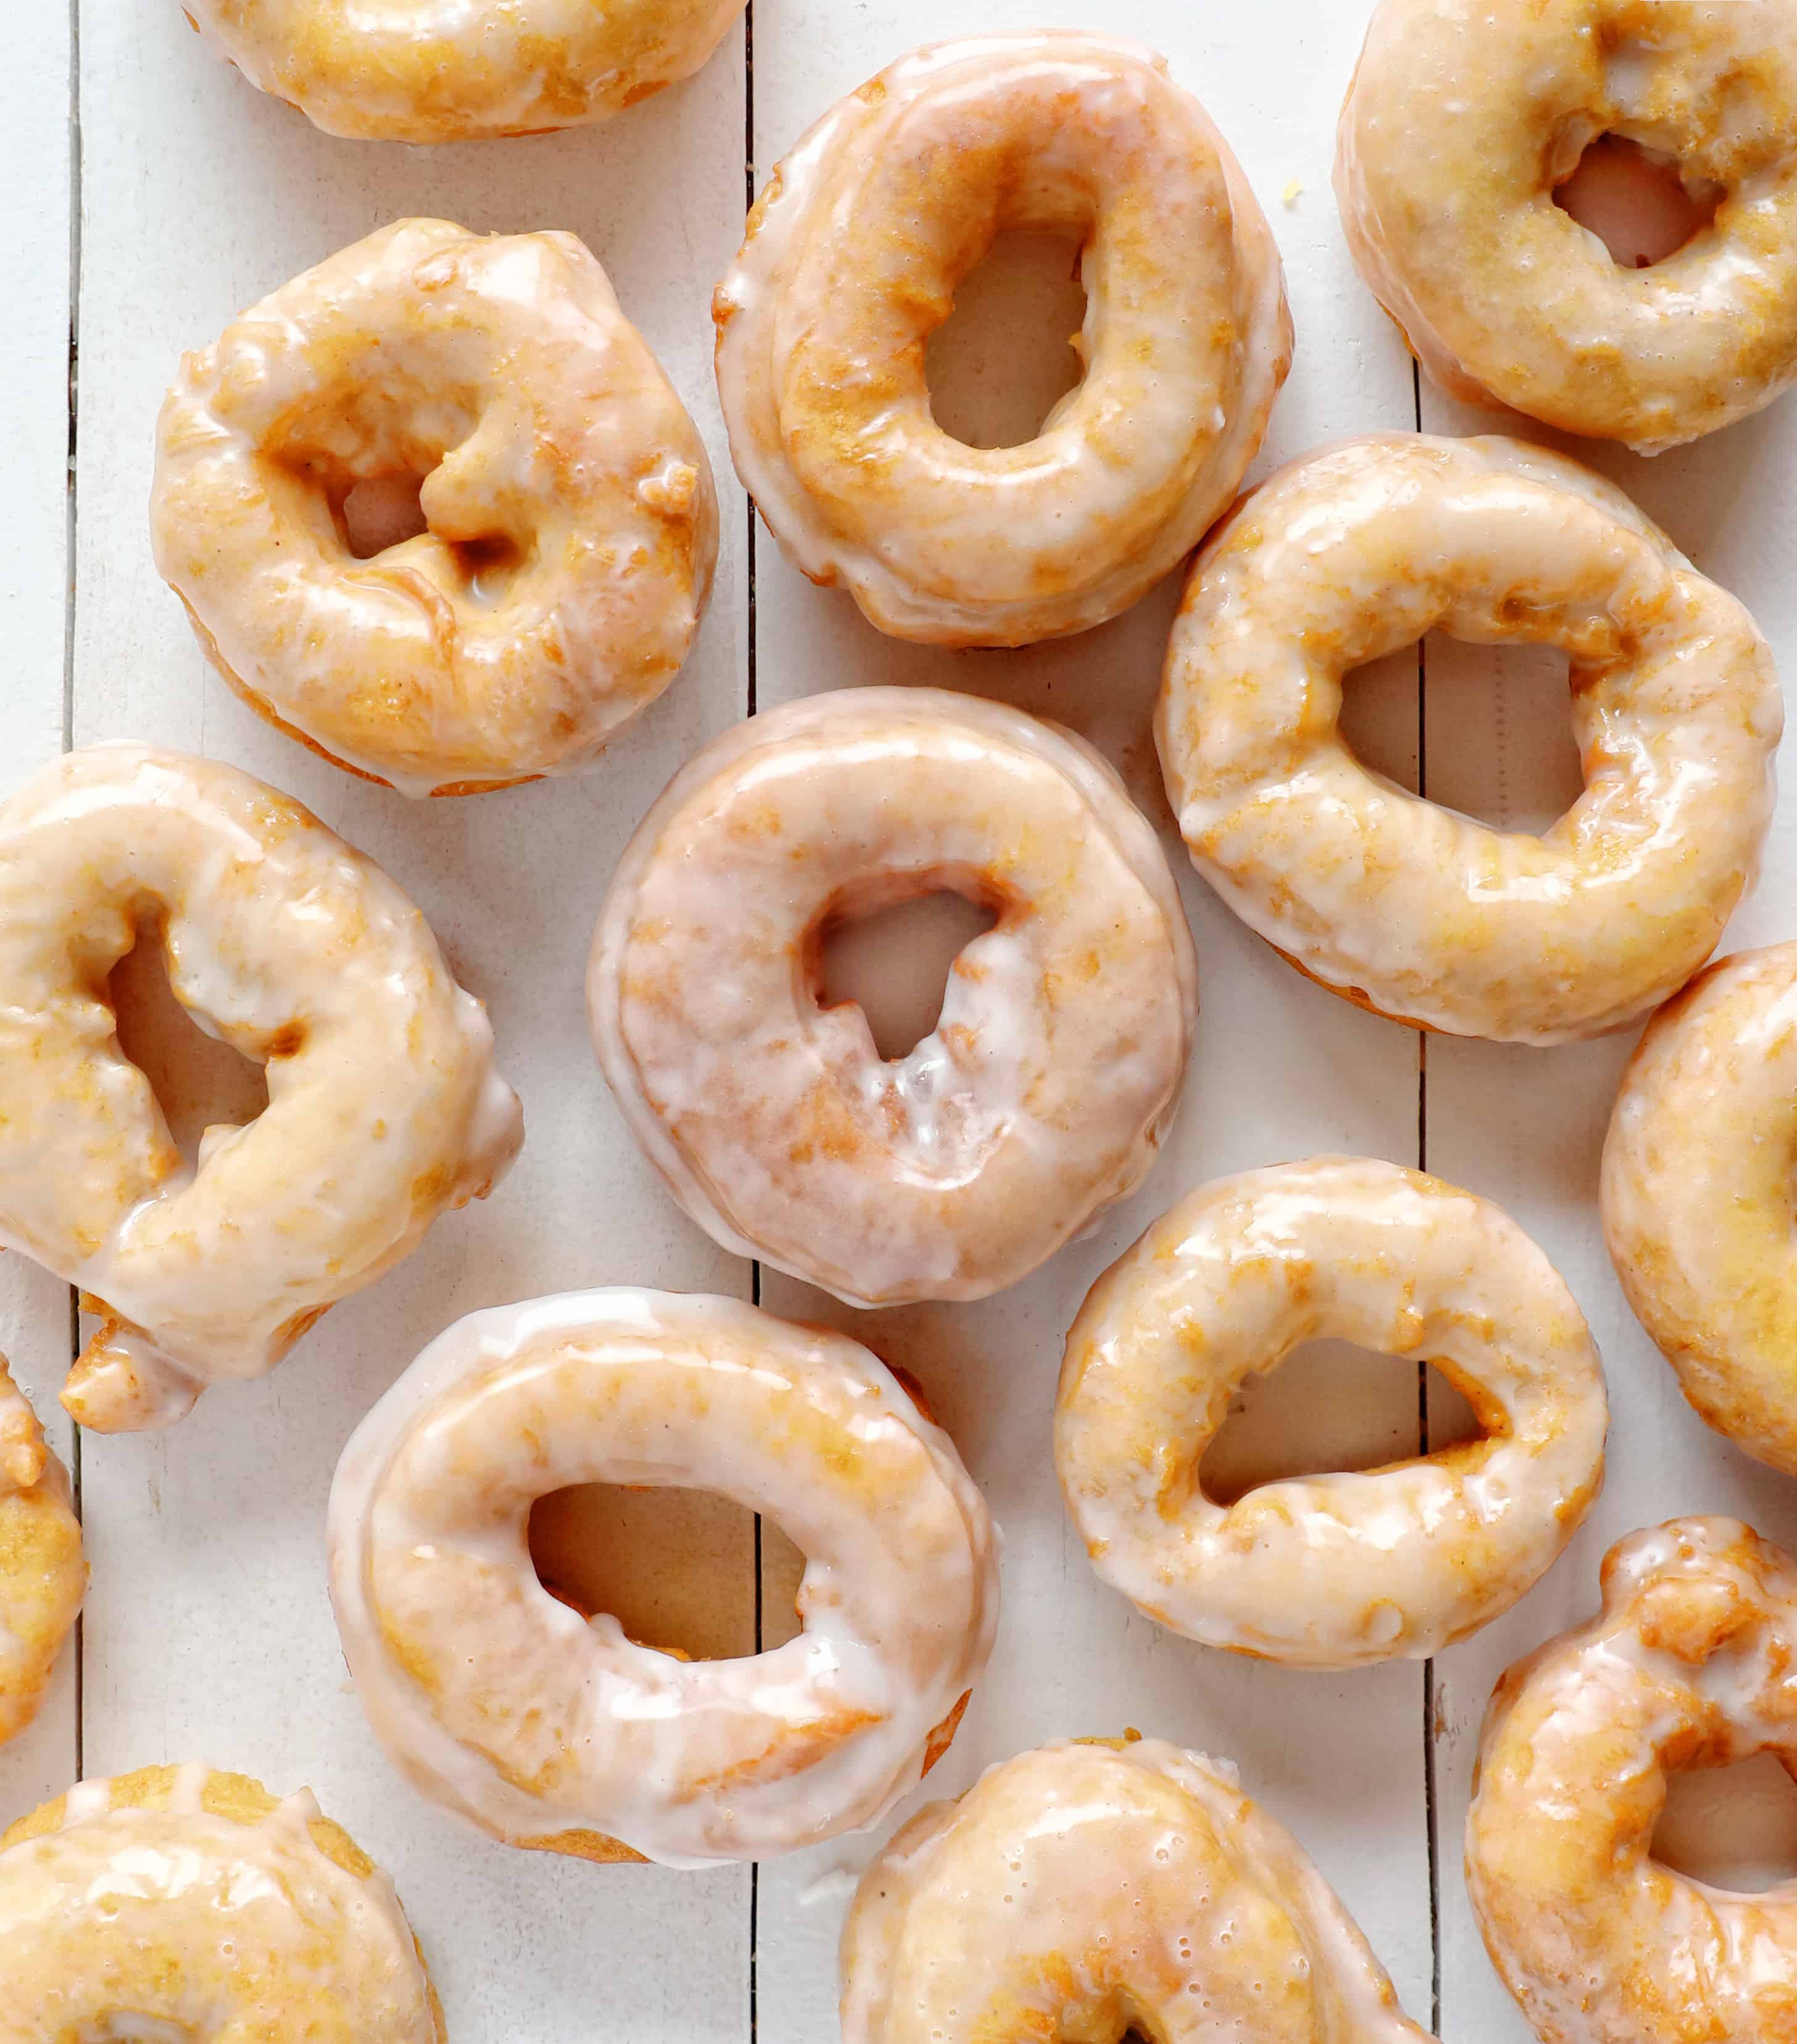
Doughnut Dough
The thickness that you roll out your dough to is very important. I recommend at least 3/4 inch thick up to 1-inch thick. I tested many different thicknesses and found that 1/2 inch thick produced a flat cake donut while 1 1/2 inches meant the outside was done but the inside was not completely cooked. If you have to bust out a ruler please do it, as eyeballing it can result in a less-than-perfect donut.
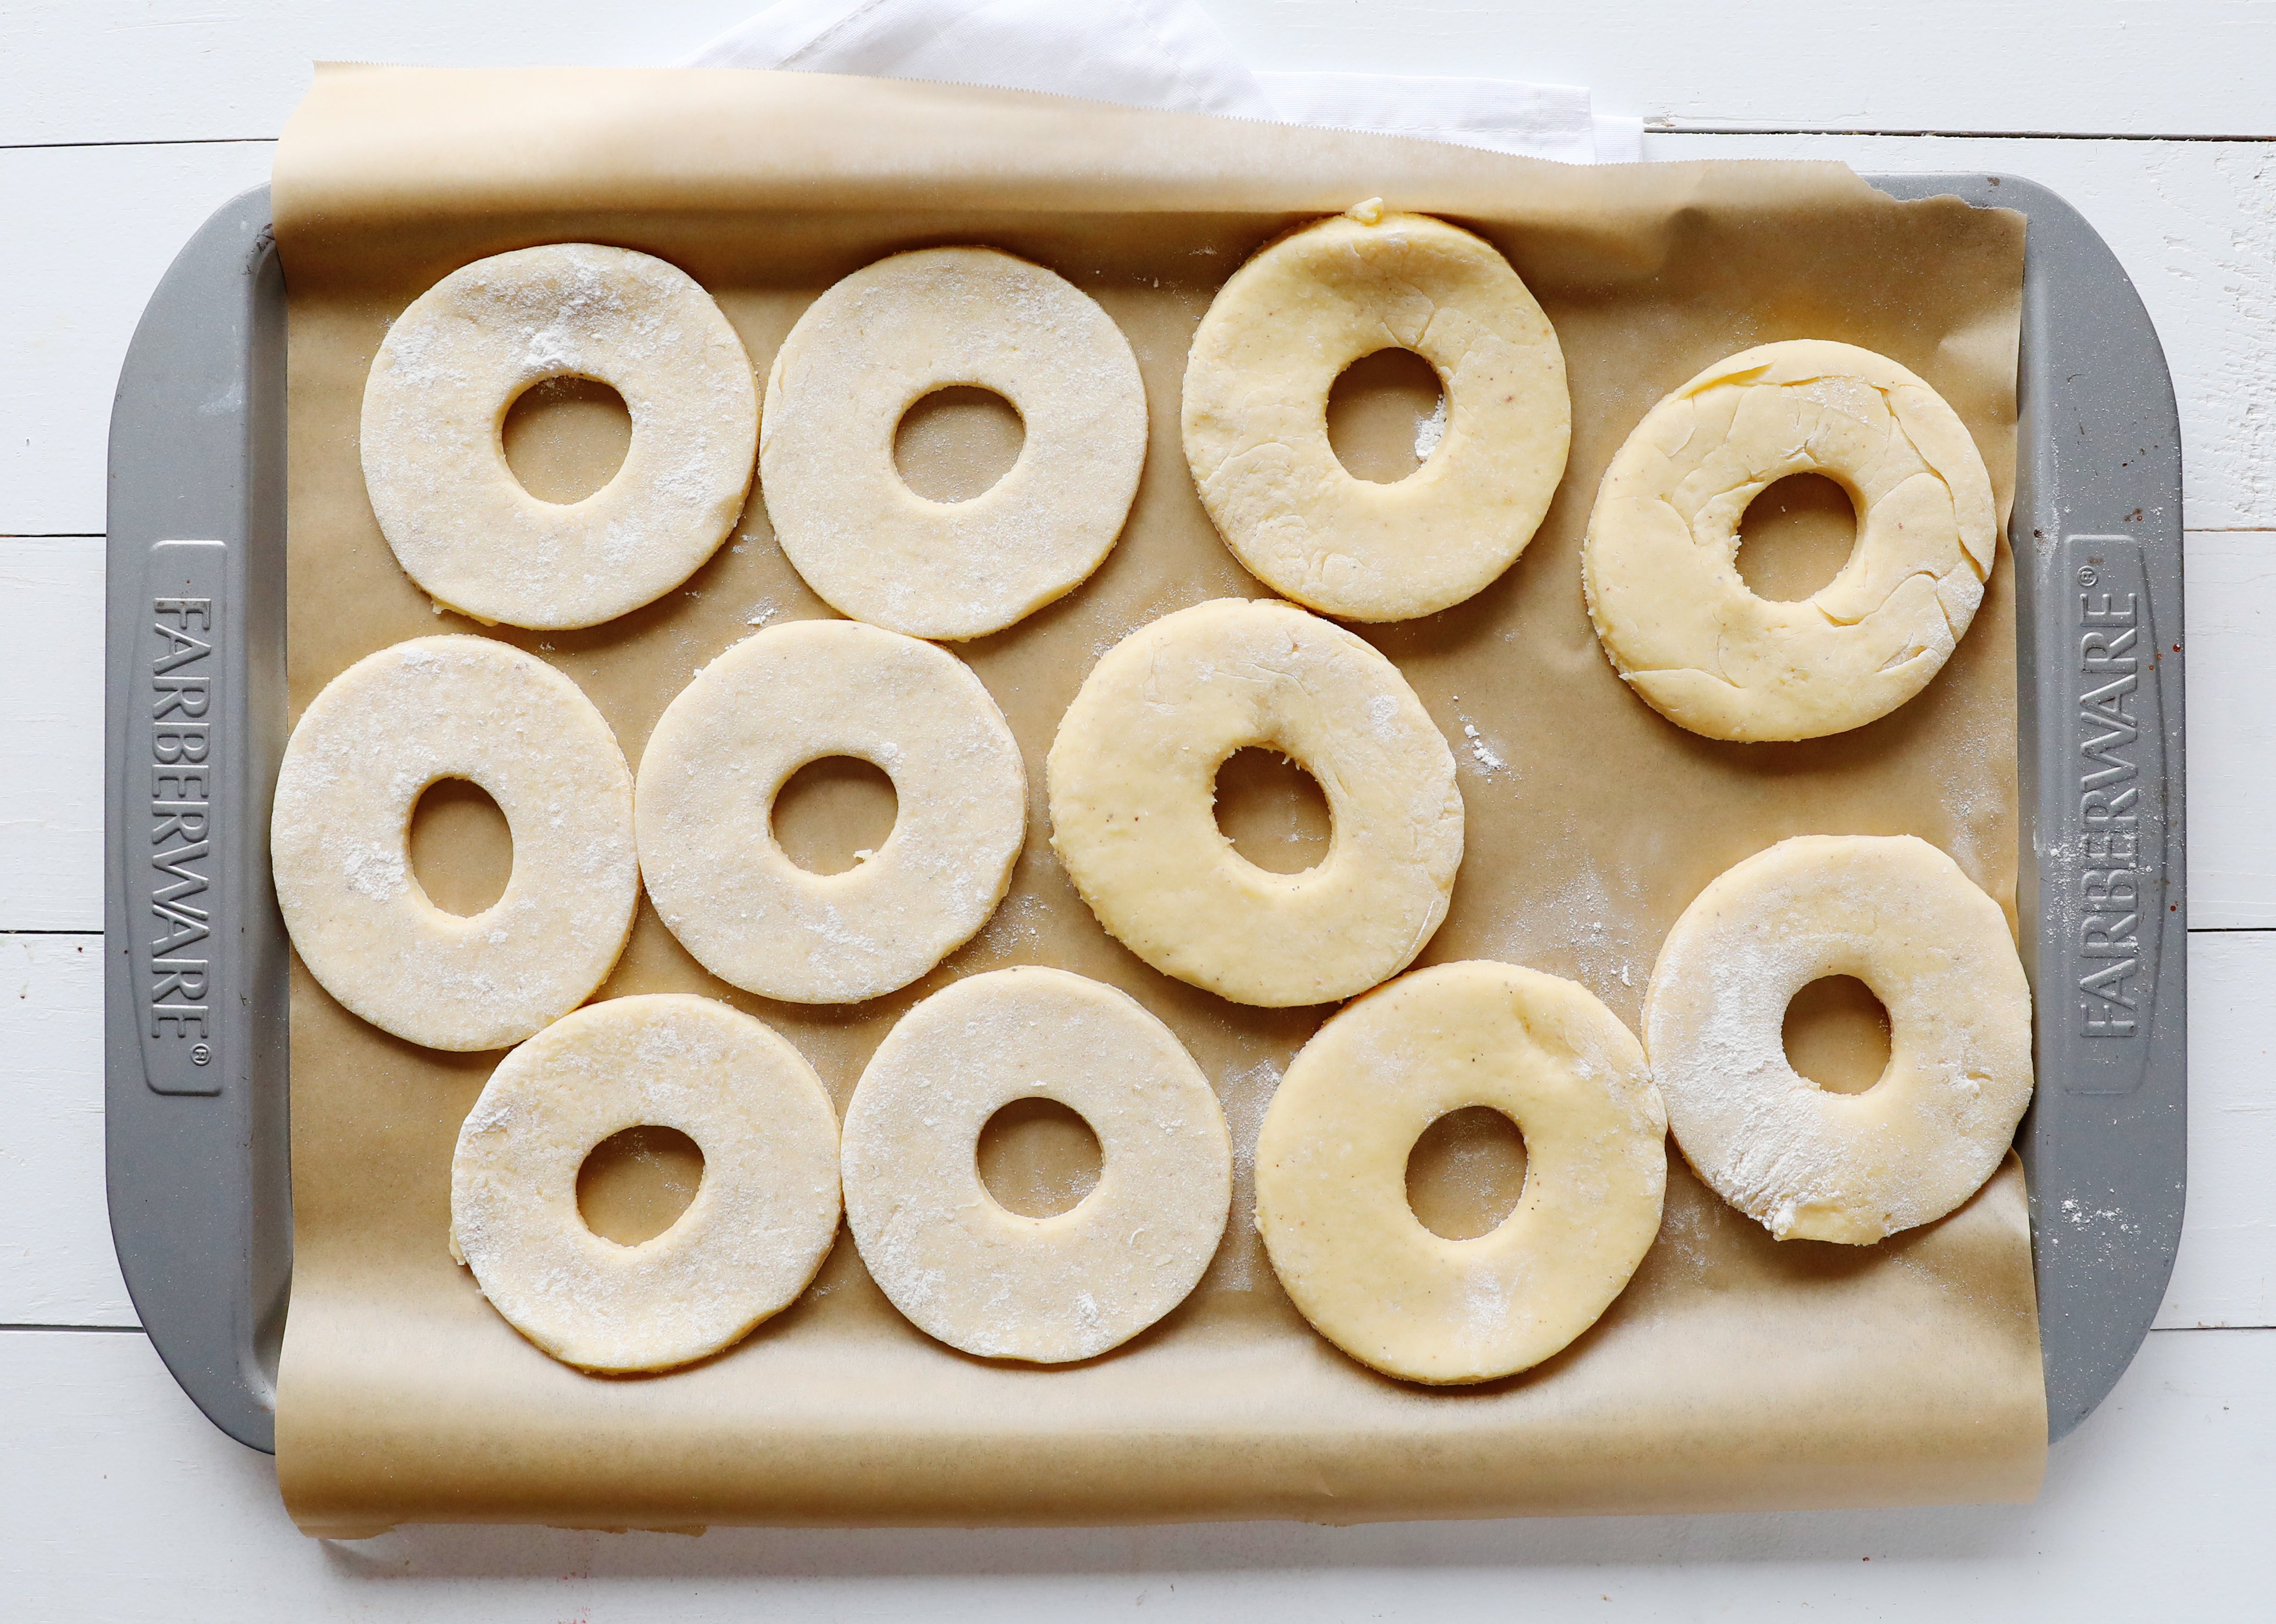
In the image below the donuts on the left are 1/2 inch thick and the donuts on the right are 3/4 inch thick. The 1/2 inch thick donuts didn’t puff up as much as the 3/4 inch thick donuts. We found 1-inch thick produced the perfect size and thickness.
How to Fry Donuts
Dropping beautiful dough into a too-hot oil or a too-cold oil can do bad stuff to the beautiful dough that you have spent hours with. I found that the best way to ensure your oil stayed at a consistent 350°F was to have a thermometer right in the oil at all times. If you happen to have a pan large enough for frying 3-4 donuts at once, the addition of the dough can decrease the temperature significantly. If you see the temperature lower, you can immediately add heat and get it back up to temp. I used a large dutch oven with enough oil to reach 2 to 3-inches deep. I don’t recommend adding more than that. And make sure your pan is bigger than you would think you would need. If you have any leftover oil, don’t throw it out; first, check out How to Clarify Used Cooking Oil so it doesn’t go to waste.
Be prepared!
I found that when making glazed donuts it helped to have two people. One for frying and one for the glaze. (If you are not adding the glaze, one person can easily make this recipe.) To best prepare for this make sure you have these tools out and ready:
- thermometer safe for hot liquids
- a hand-held strainer or forks to easily rotate the donuts in the hot oil
- plate lined with paper towel to set hot donuts on
- several cookie sheets fitted with cooling racks for setting glazed donuts
- a bowl for the glaze that is large enough to drop an entire donut in
- fork/spoon/tongs for easy transferring of donuts
- a table lined with parchment paper to set donuts on to dry
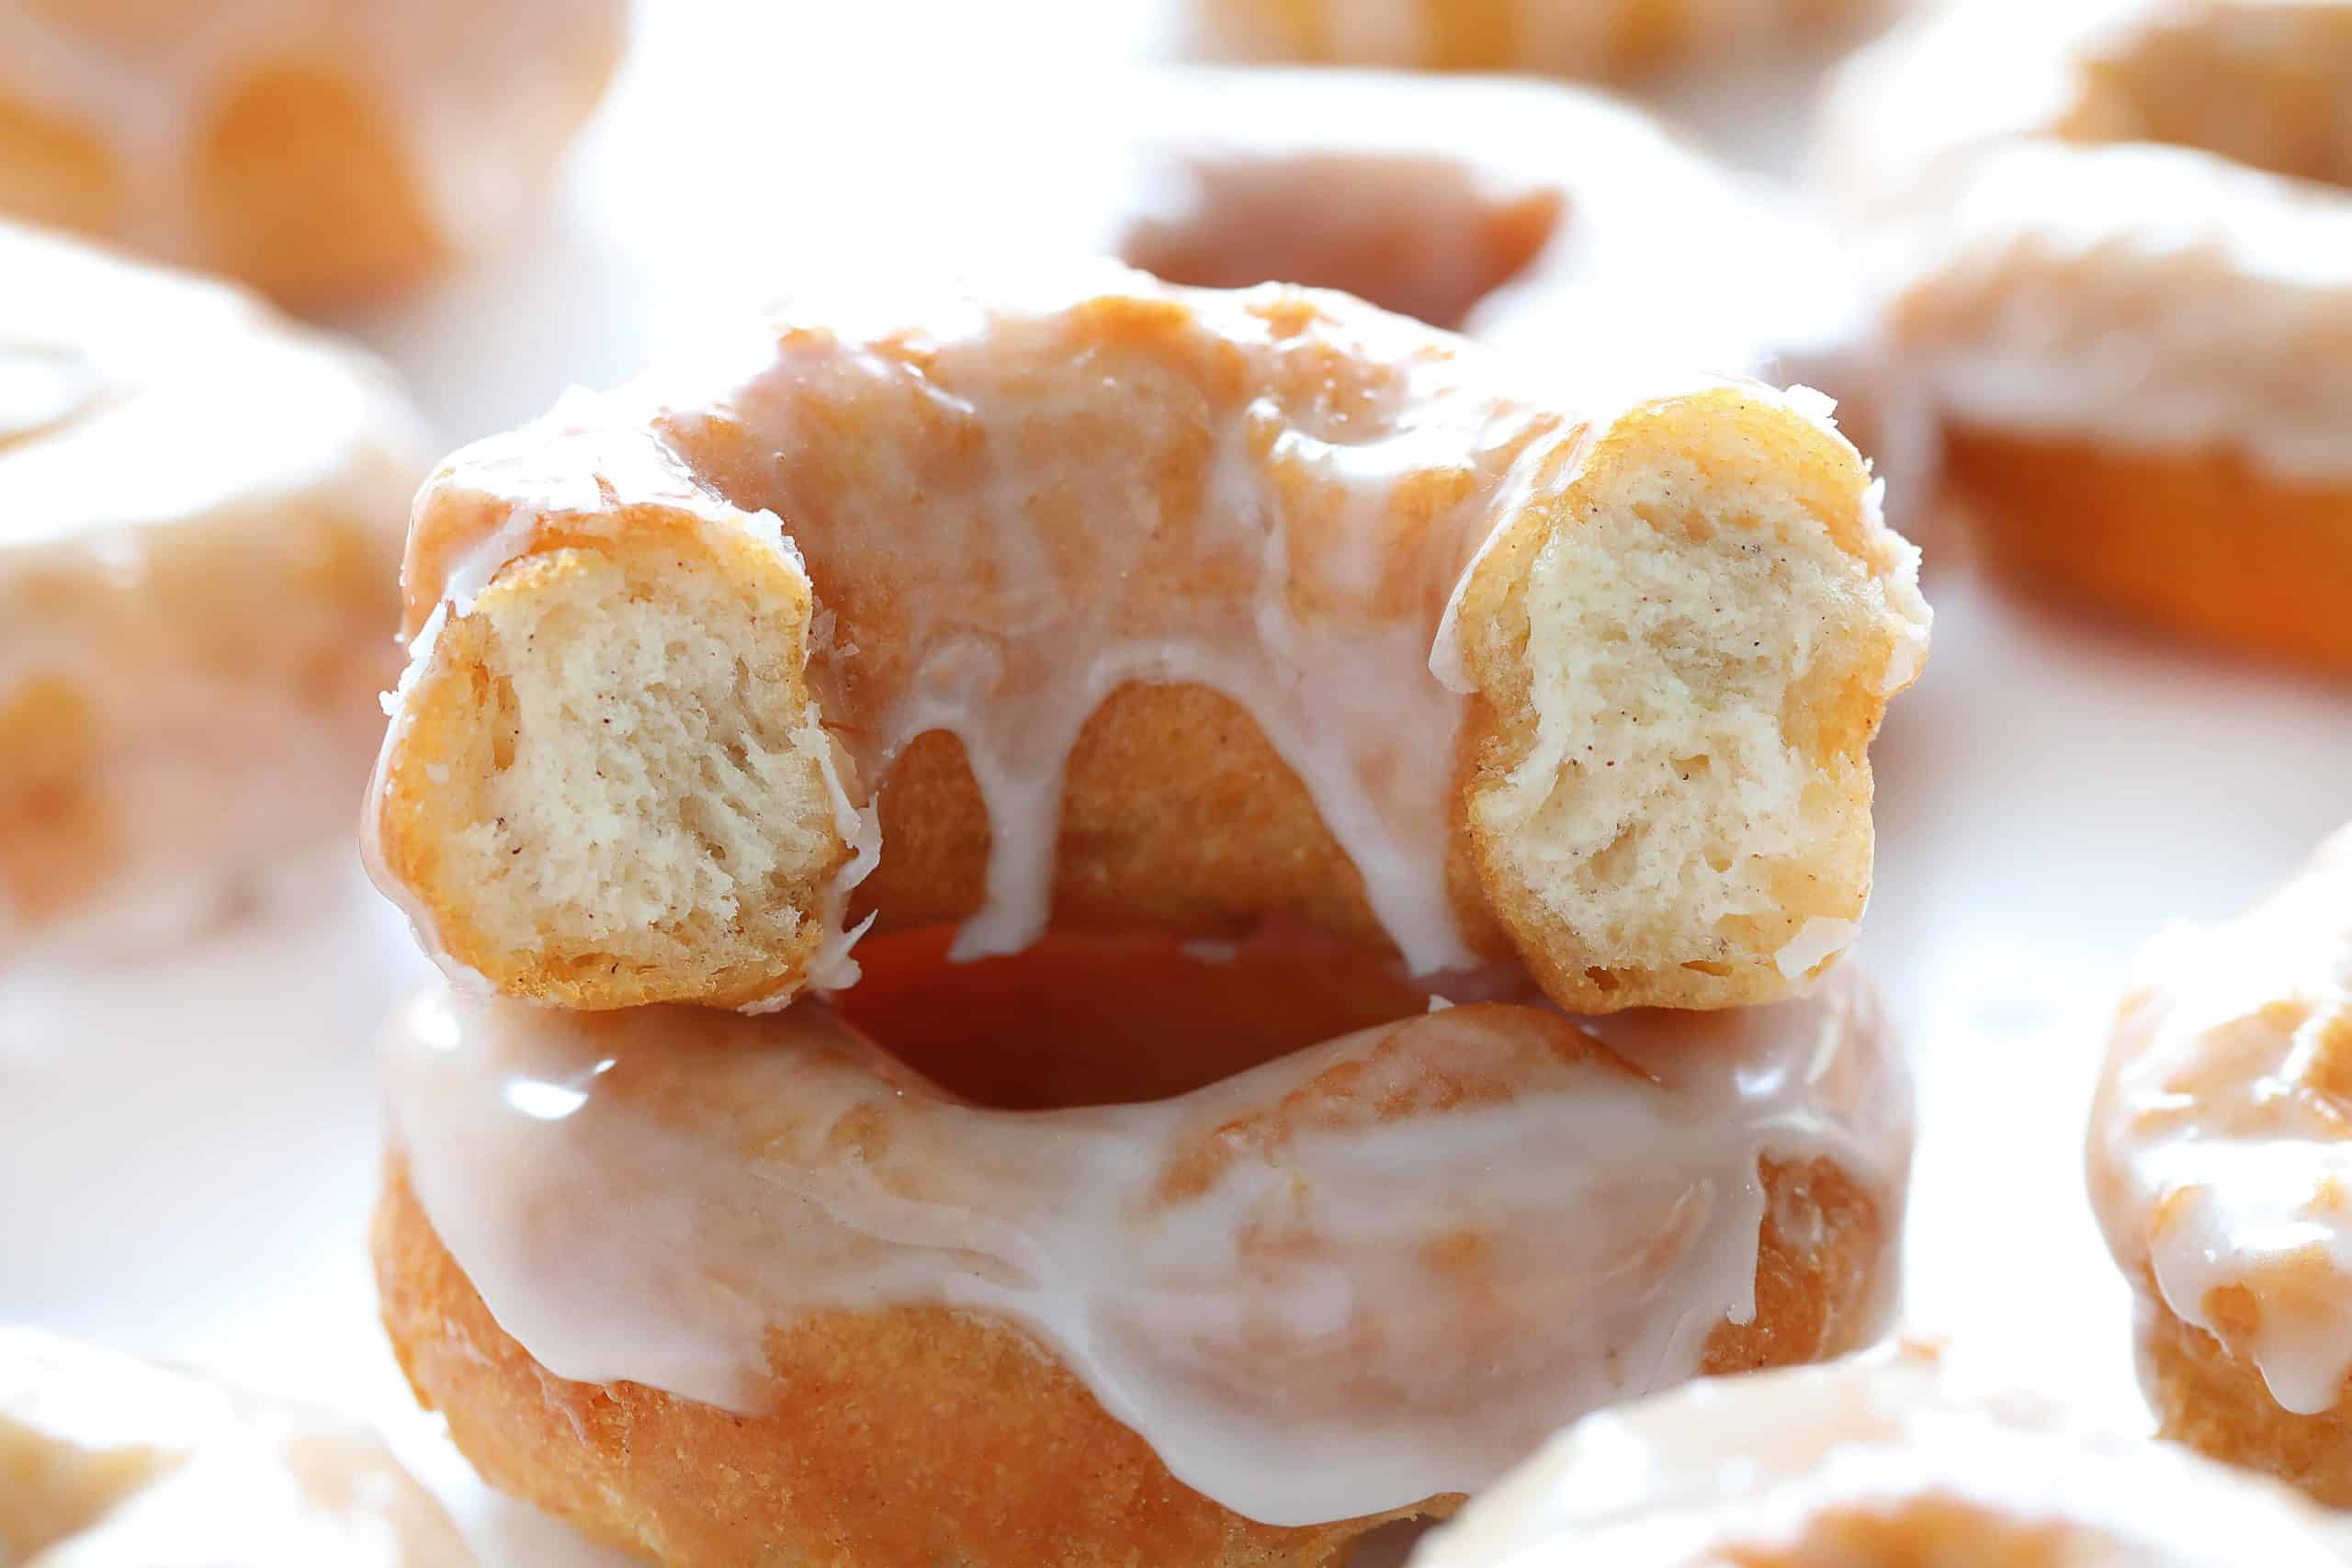
How to Glaze Donuts
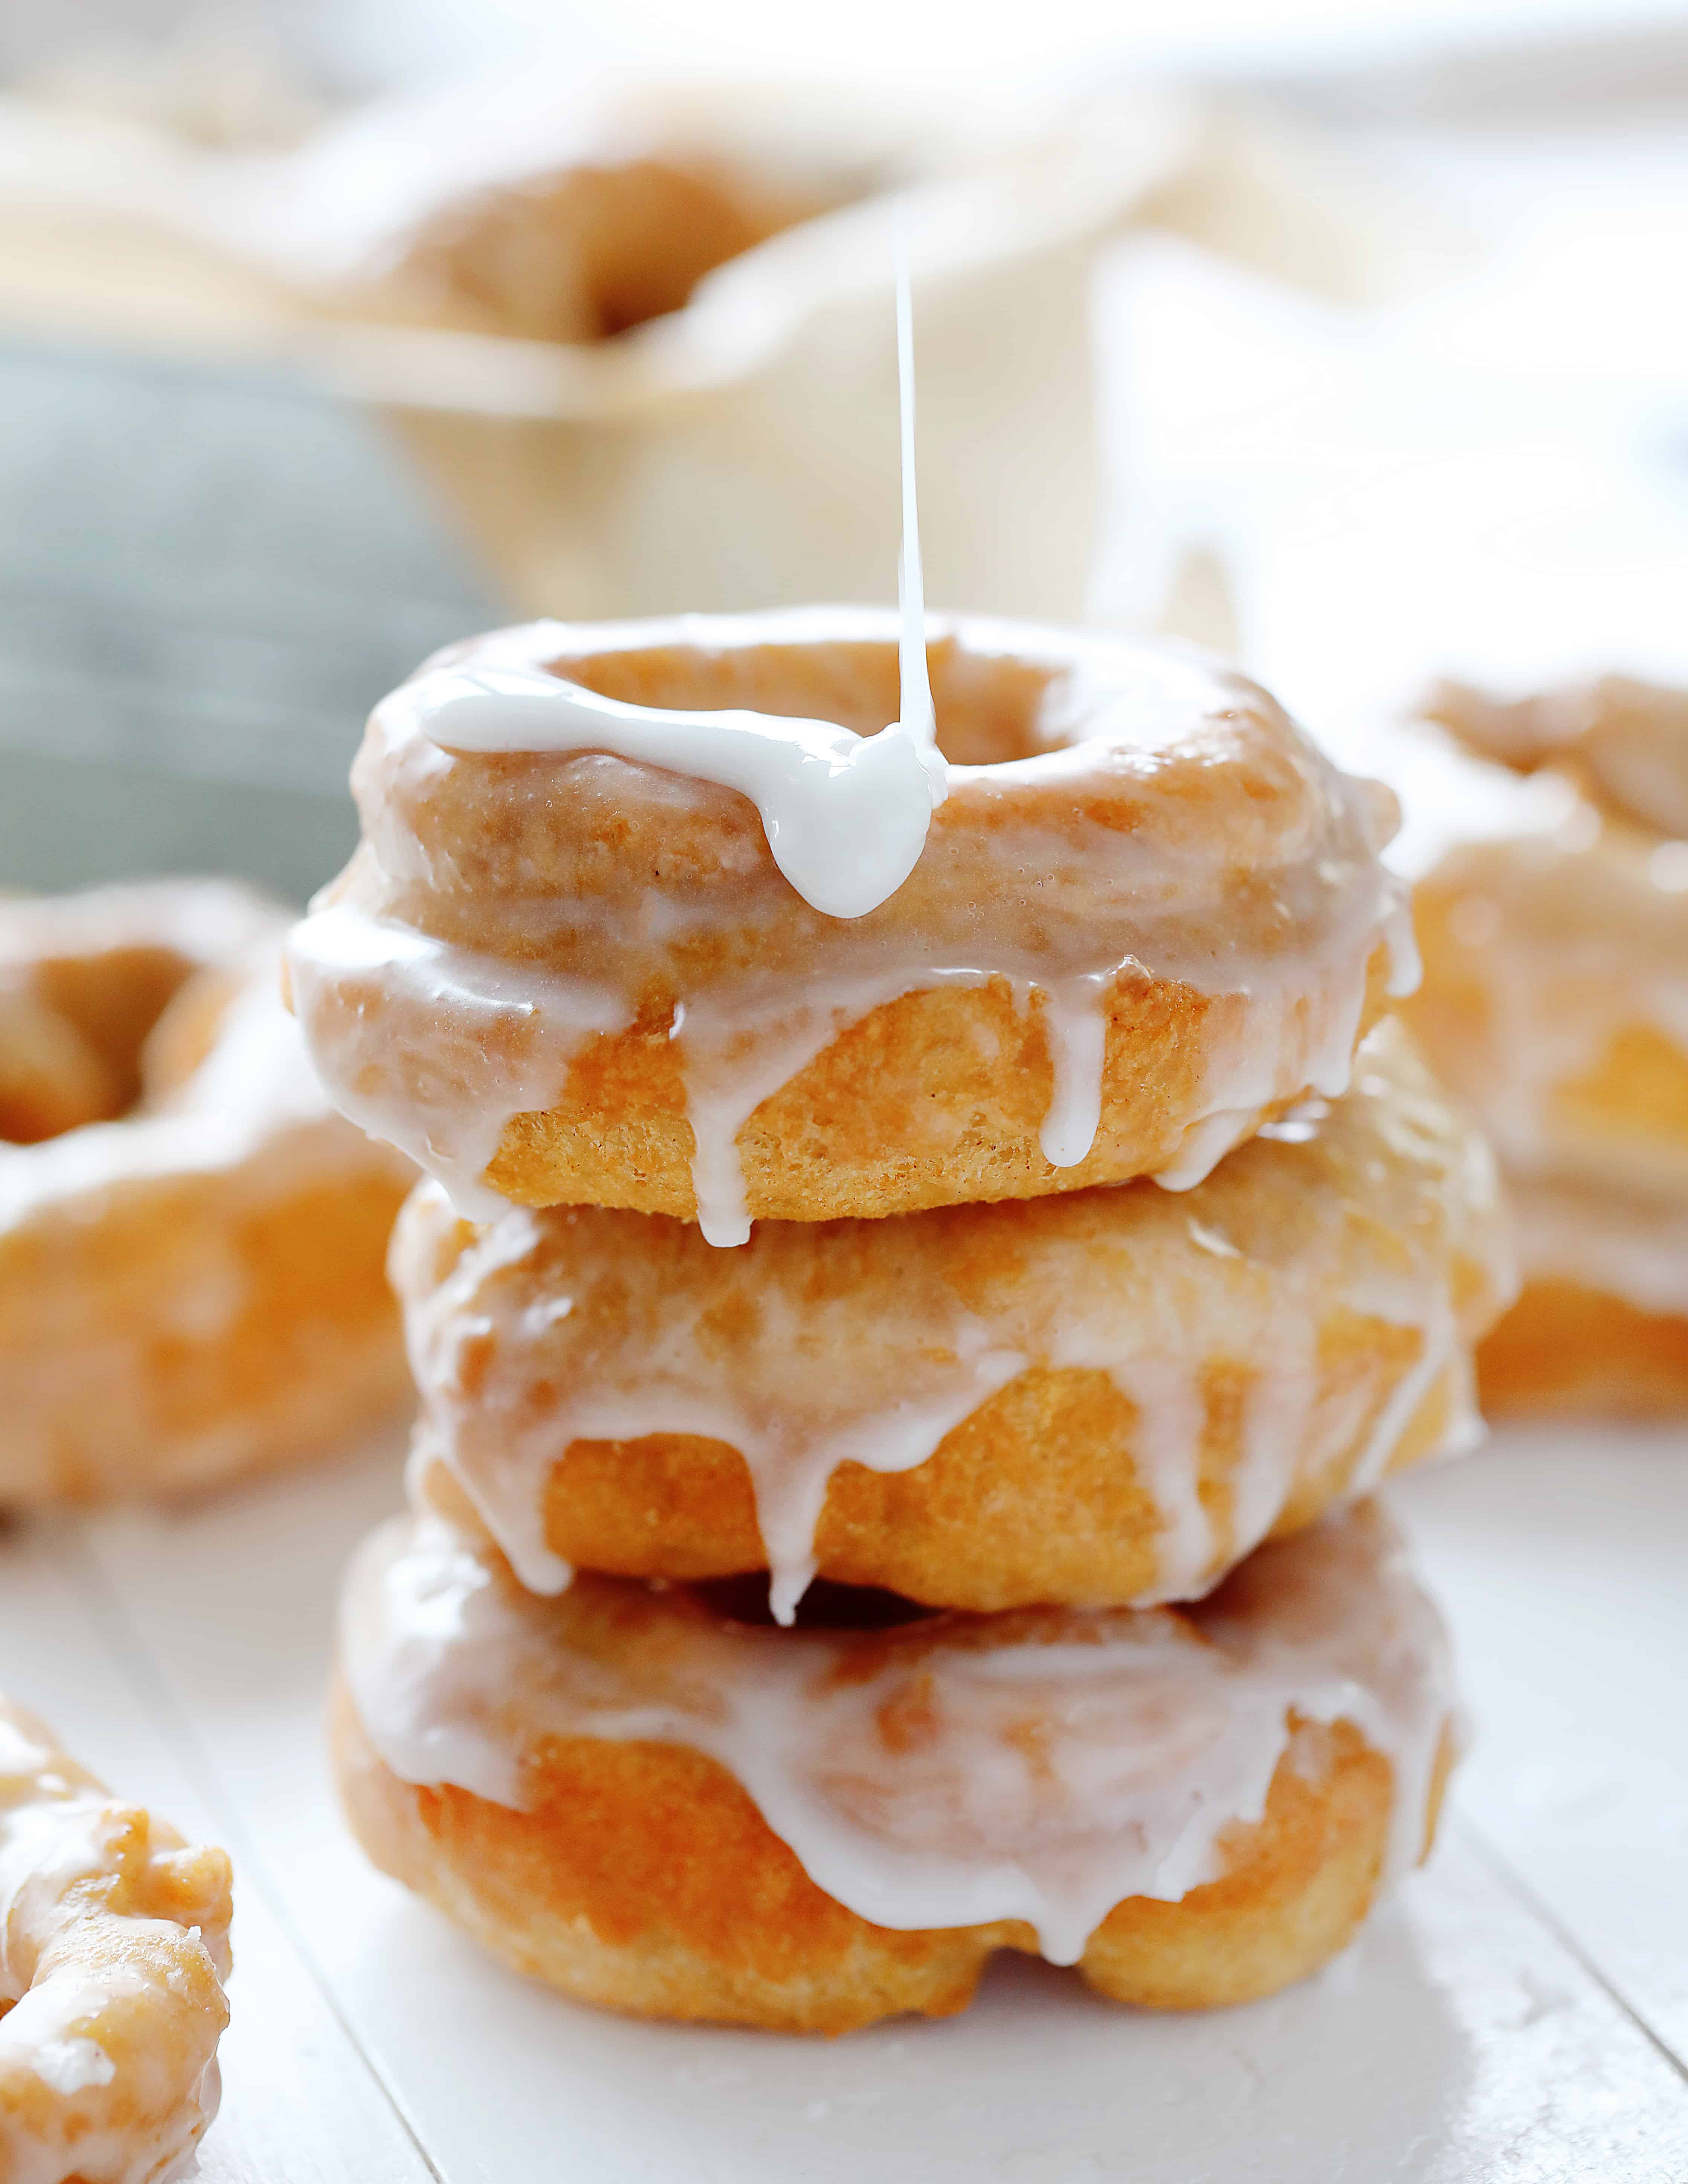
I prefer to glaze the donuts when they are still warm, yet cool enough to handle. I used a bowl that was bigger than needed just to make sure I could easily drop and remove the hot donuts. Then, when I was ready to glaze, I set my bowl right next to a pan with a cooling rack in it. Drop an entire donut into the glaze and then flip it over. Using a fork or the handle of a wooden spoon, life the donut out by the center hole and let the excess glaze drip off. Place the donut on the cooling rack and allow to harden.
Double Glaze
Who doesn’t love a donut with double the glaze? But, as much as I love doing that, I don’t recommend it with a recipe this big. You will double your process time and will also need to double your glaze recipe. If you happen to cut this donut recipe in half, that would be a great time to try out double glazing! After the first coat of glaze has hardened for a bit, just re-dip the donut and then allow to set.
Donut Glaze Recipe
Making the glaze is easy as it’s just a few ingredients. The recipe below makes a lot of glaze! You can halve it if you prefer a lighter coating of glaze on your donuts. (You can also omit the glaze entirely if you are a purist and just love a great cake donut!)
Chocolate Glazed Donut
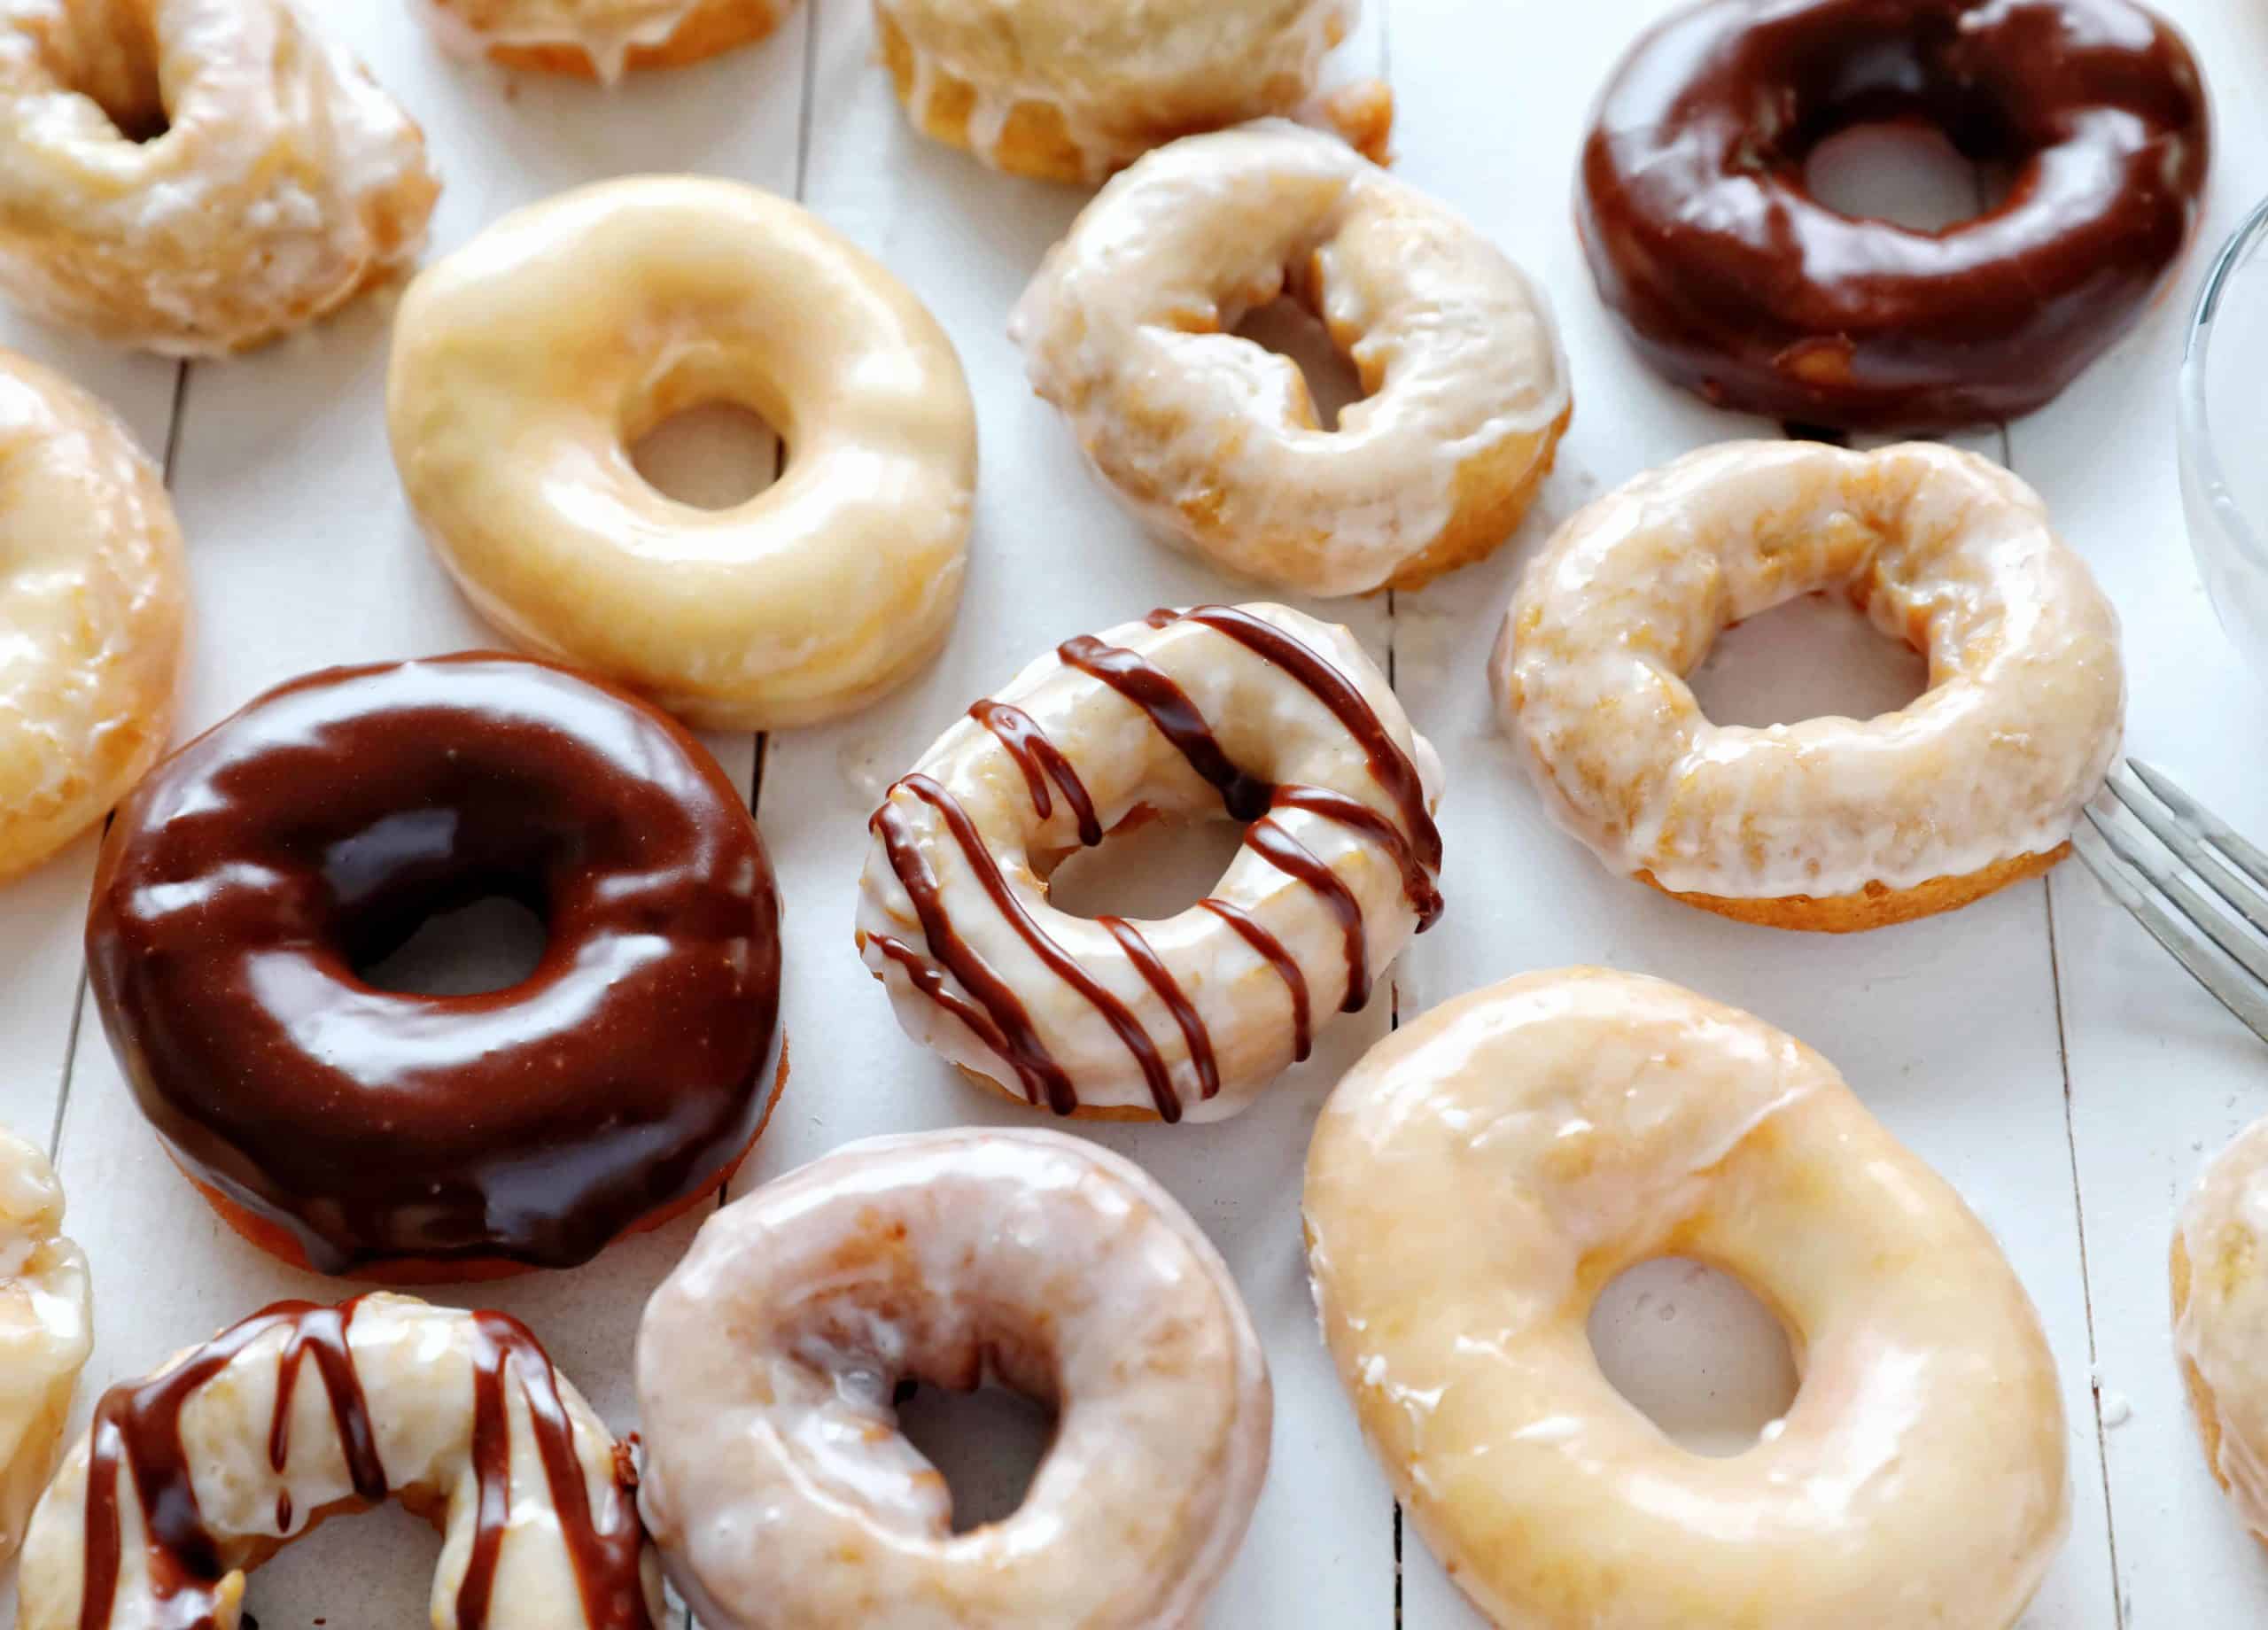
I tried out several different versions of chocolate donut glaze and was disappointed by them all. It was a LONG day in the kitchen! Finally, after an hour of frustration with gloppy, lumpy, greasy, and gross-tasting glazes, I added some cocoa powder to the glaze recipe below. It worked AMAZING! (There are a couple of Glazed Donuts in that picture above!)
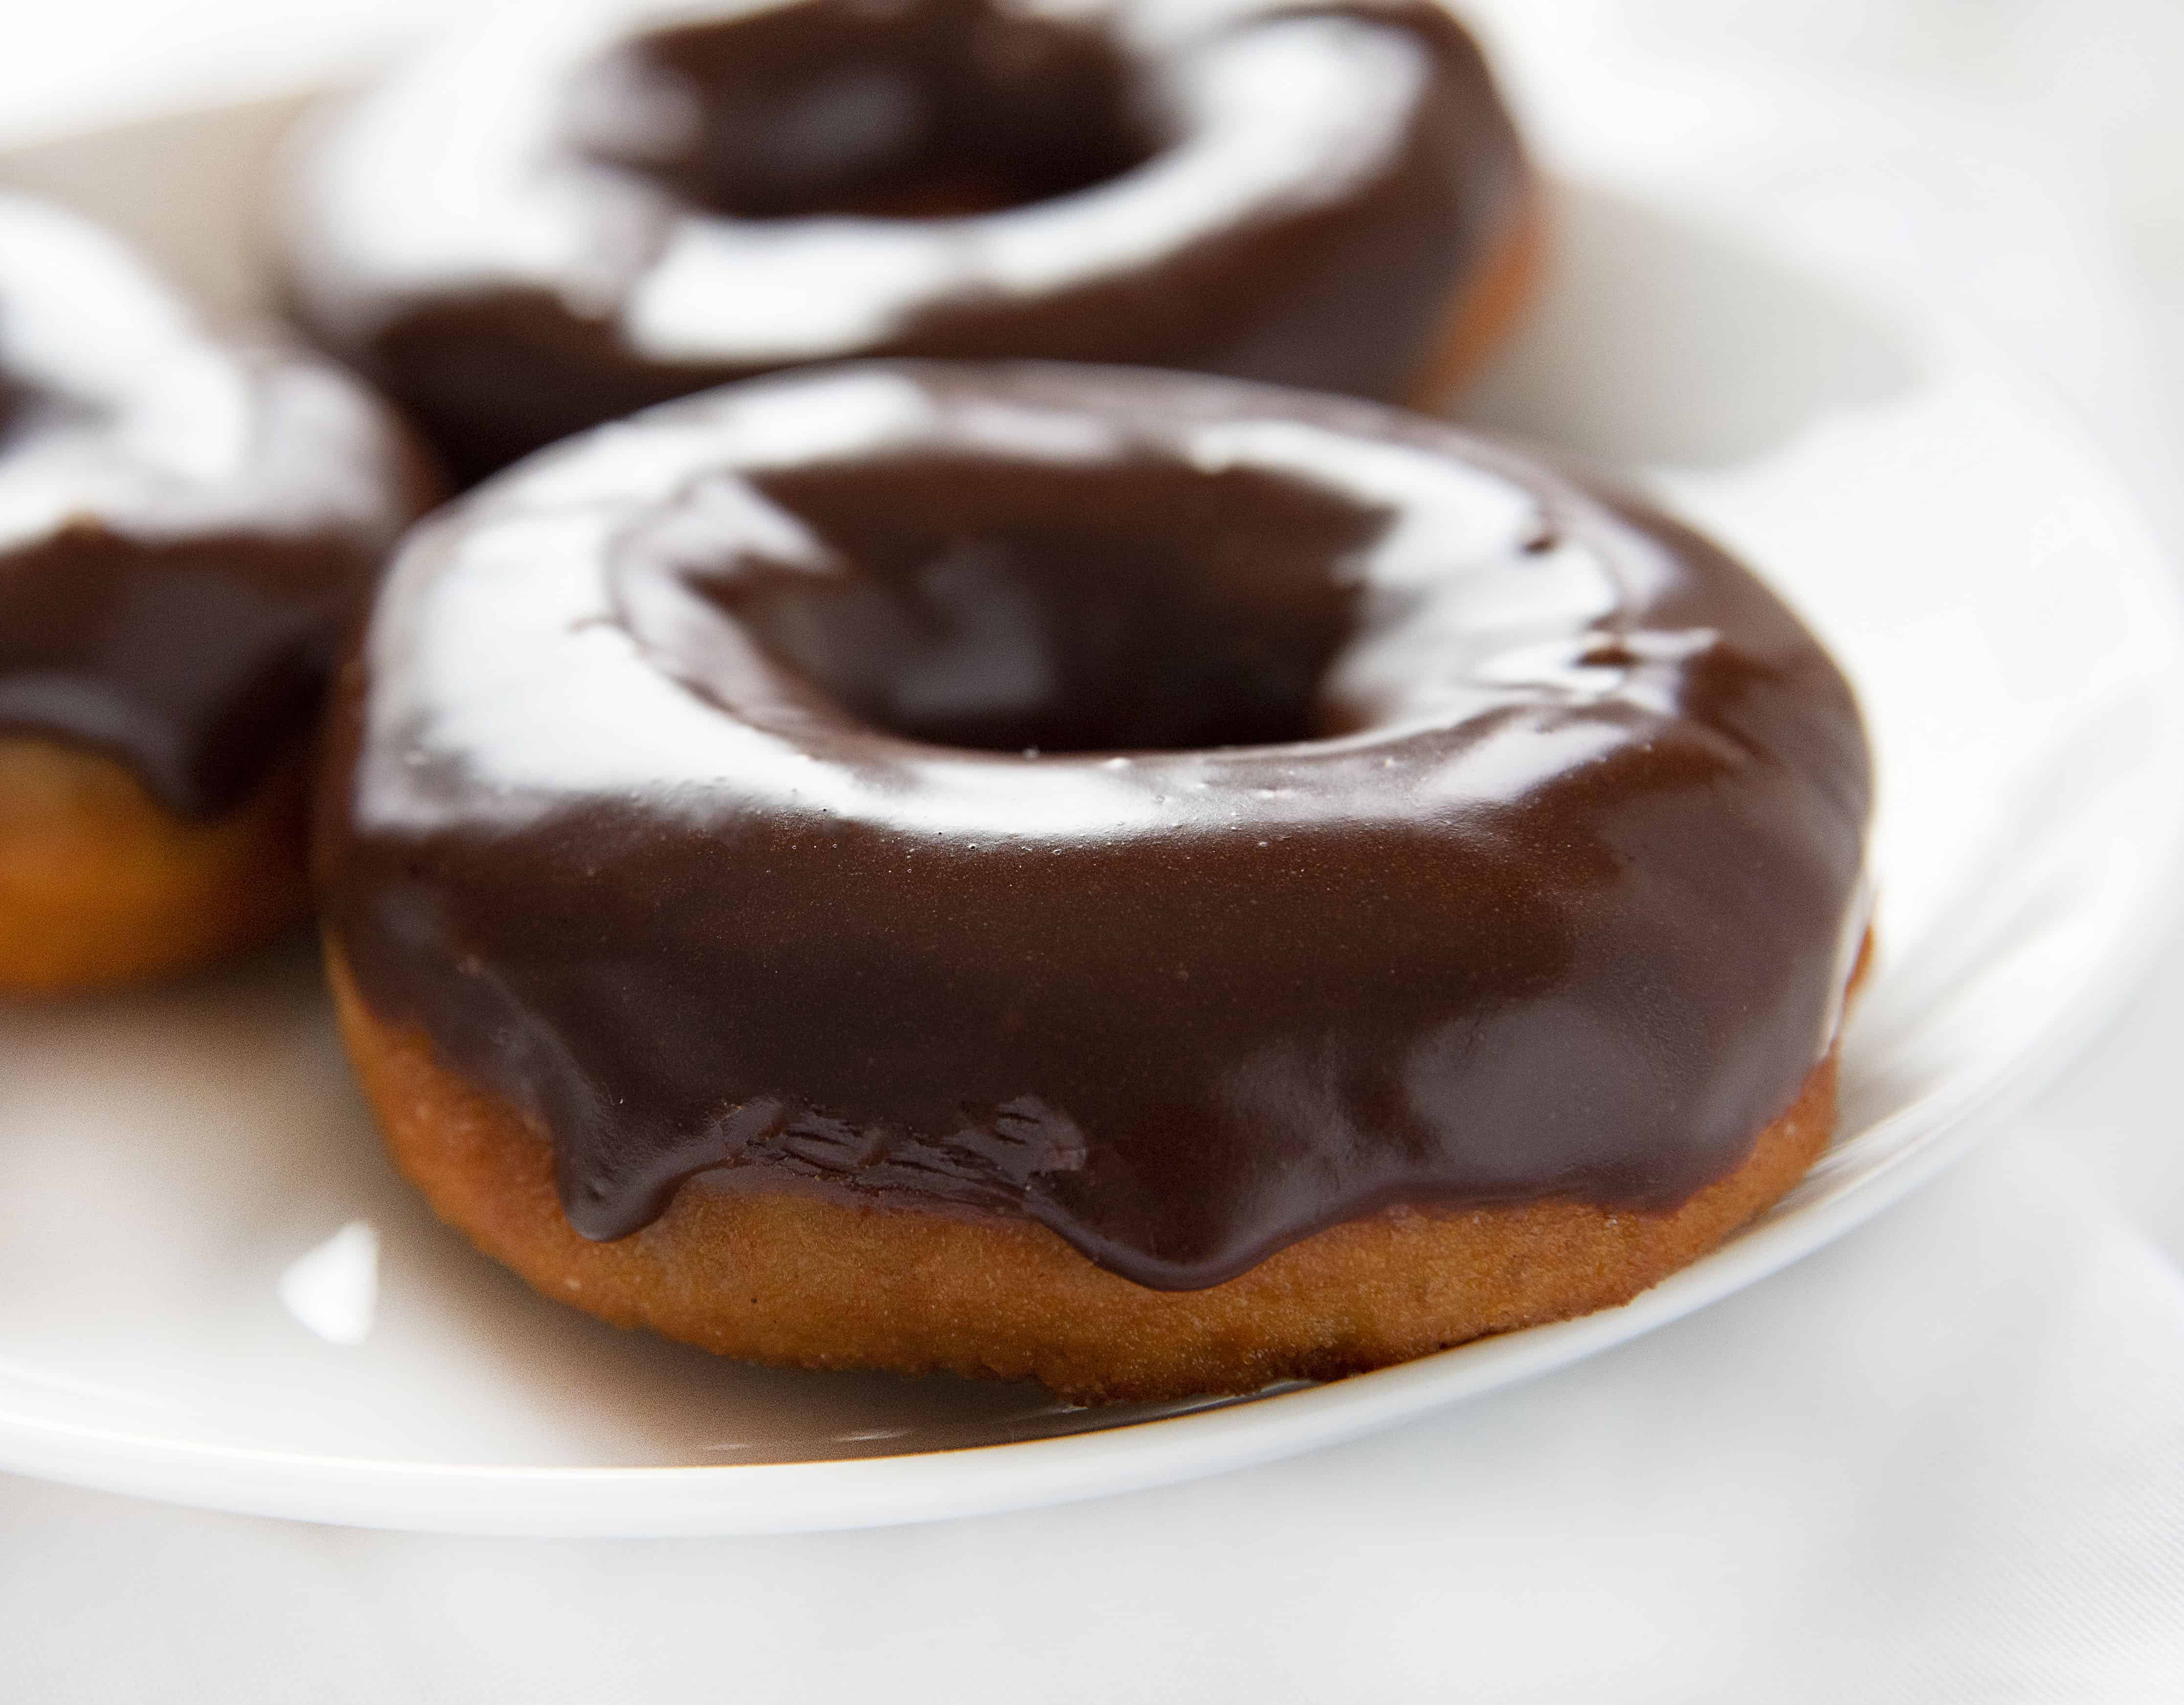
When dipping the donut into the chocolate glaze I opted for only dipping the top. The donuts that were 100% coated in chocolate glaze seemed to only taste like chocolate and not any of that glorious donut inside. Feel free to test this out and see which you prefer!
We also added some chocolate glaze drizzle over top of some donuts and this ended up being one of our favorite ways to enjoy them.
Glazed Cake Donuts
Ingredients
Cake Donut
- 2 ½ cups all-purpose flour
- ⅓ cup granulated sugar
- 1 tablespoon baking powder
- ¼ teaspoon nutmeg
- ¼ teaspoon salt
- 1 cup whole milk
- 1 large egg, room temperature and lightly beaten
- 5 tablespoons unsalted butter, melted
- 2 teaspoons vanilla extract
- 4 cups vegetable oil, about 2 or 3-inches deep in your pan
Glaze
- 4 cups (500 g) confectioners sugar
- 2 teaspoons corn syrup
- ½ teaspoon vanilla extract
- ¼ teaspoon salt
- ¼-½ cup milk
Instructions
Cake Donut
- In a large bowl, sift together flour, sugar, baking powder, nutmeg, and salt.
- Add in milk, egg, butter, and vanilla extract. Stir by hand until ingredients are fully incorporated. It will be sticky. Cover with a damp towel and refrigerate for 1 hour.
- Roll out the dough to ¾ inches to 1-inch thick. It is important to make sure the dough is at least ¾ thick or your donuts will be too flat.
- Once rolled out, use a donut cutter to cut out shapes. If you do not have a donut cutter, use a round tool like a kitchen glass or a jar lid that is about 3-inches across. You can use a bottle cap or small shot glass for the smaller hole.
- Set cut-out donuts on a baking sheet.
Prepare Glaze
- Mix all ingredients in a medium to large bowl. Whisk until they are smooth and you have reached the desired consistency. (I think the perfect consistency is the same as the corn syrup, not too runny but loose enough for it to fall beautifully over all the nooks and crannies of the donut.)
Begin Frying
- Starting with the first pan of donuts you cutout (meaning that those donuts have been allowed to rise a bit more while you cut out the rest) drop one donut at a time into vegetable oil that has been heated to 350°F.
- Allow each donut to brown for 45 seconds to 1 minute on one side, and then flip over so that the other side may brown.
- Carefully remove donut from oil (I prefer and hand-held strainer) and set on a plate lined with paper towels.
- While donuts are warm, submerge one side of the donuts into the glaze. Lift and let drain into the bowl, then move the donut to a baking sheet with a cooling rack in it. (You can also place on parchment or wax paper but the glaze might pool.)
- Donuts can be enjoyed immediately or you can double dip them depending on how much glaze you like.
- Store donuts in between parchment paper in an airtight container for up to two days.
Video
Did you make this recipe?
Thank you for making my recipe! You took pictures, right? Well go ahead and post them on Instagram! Be sure to mention me @iambaker and use the hashtag #YouAreBaker.



WHY DO I NEED TO GO BACK TO PIN WHEN I JUMP TO RECIPE?
You don’t.
Can this be done in an air fryer? If so, what steps should be modified and how? Thank you in advance.
I don’t like frying doughnuts can I bake them instead?