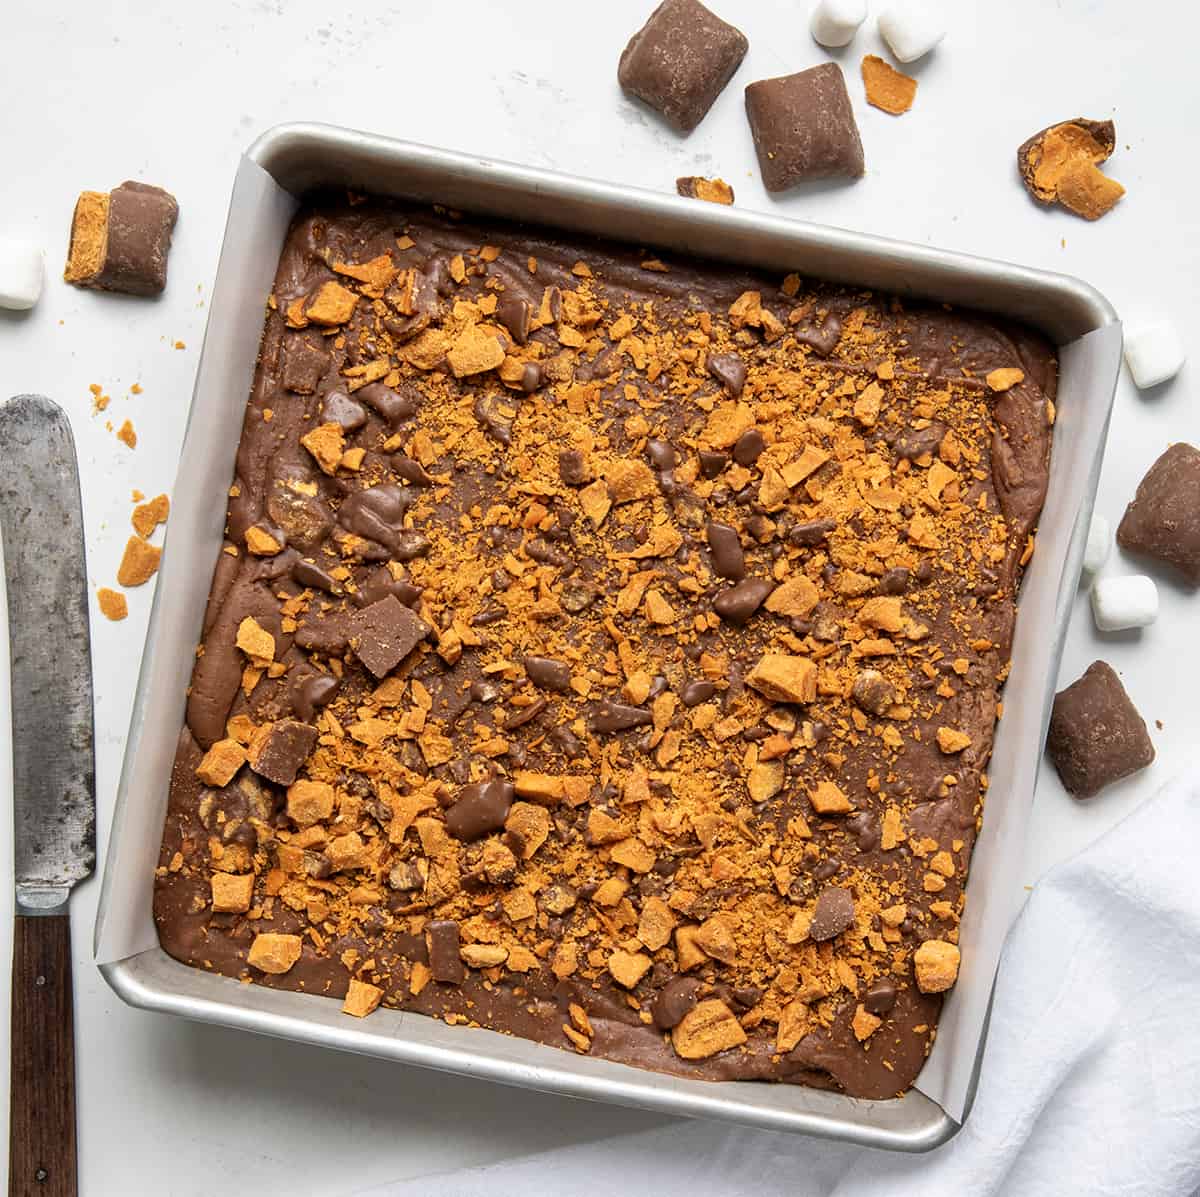
Butterfinger Fudge is filled and topped with chopped Butterfingers with chocolate and peanut butter chips added for even more chocolate and peanut butter flavor! You will tell everyone to lay their fingers off your Butterfinger fudge so you have more to enjoy! It’s a no-fail fudge based on my Fantasy Fudge, which you will also want to try!
Ingredients & Substitutions
Sugar: Granulated sugar dissolves easily and helps give the fudge a smooth texture.
Butter: For the best results and the most control over the amount of salt in the recipe, use unsalted butter.
Evaporated Milk: Evaporated milk has had 60% of the water removed. It can be called ‘unsweetened condensed milk’. This is different than sweetened condensed milk, which has added sugar. Do not use sweetened condensed milk in this recipe.
Candy Chips: Both semi-sweet chocolate chips and peanut butter chips are added to the fudge. The chocolate peanut butter combination is perfectly matched with the flavors of Butterfingers candy bars.
Marshmallows: Mix in mini marshmallows (I used a 10-ounce bag) to enhance the creaminess and smoothness of each bite of fudge! If using regular-sized marshmallows, you would need approximately 40 of them to equal the bag of mini marshmallows.
Butterfingers: You will need a total of about 1 1/2 cups of chopped butterfingers. For reference, I used an 8-ounce bag of unwrapped mini Bufferfingers and chopped them. If you love everything Butterfinger, I also have Butterfinger Dip and Butterfinger Bars you will love!
How To Harden Fudge
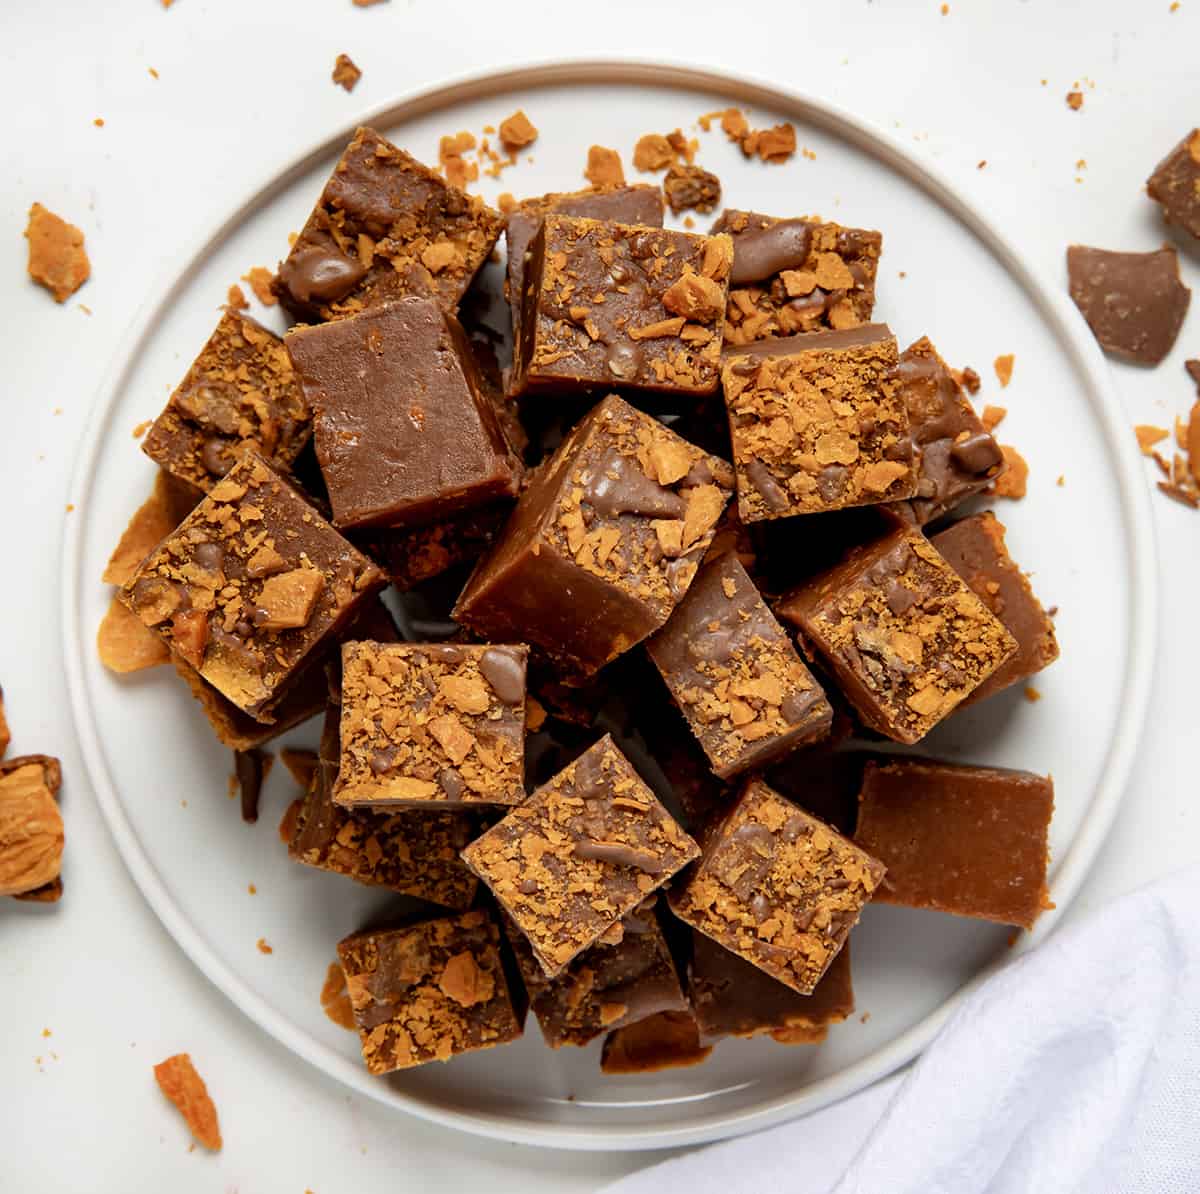
Butterfinger fudge will harden in about 4 hours when left at room temperature. If you want it to harden a bit quicker, let the fudge chill in the refrigerator for about an hour or so. Serve the fudge at room temperature.
Can I Make Butterfinger Fudge Without A Candy Thermometer?
Yes, you can make fudge without a candy thermometer (but does make it a bit trickier). If you do not have one, here are some tips to use to get a batch of fudge made:
- Heat the mixture as directed. While it’s coming to a boil, set a medium-sized bowl of ice water and a small metal spoon (your everyday silverware spoon) next to the stove. When the mixture has been bubbling for a few minutes, do your first test.
- Dip the spoon into the mixture and coat the tip. With one hand, dip the coated spoon immediately into the ice water and then grab the cooling sugar mixture with your other hand. Remove it from the water, roll it around between your fingers and thumb, and see what it feels like. If you’re looking for the “soft-ball” stage, it should form a ball that holds together but still feels a little squishy and can be flattened when you press on it (like a gooey caramel).
- This process will take a few tries at least, but you can see (and feel!) it moving through the stages to give you an indicator of how close you are.
Can I Use A Different Sized Pan?
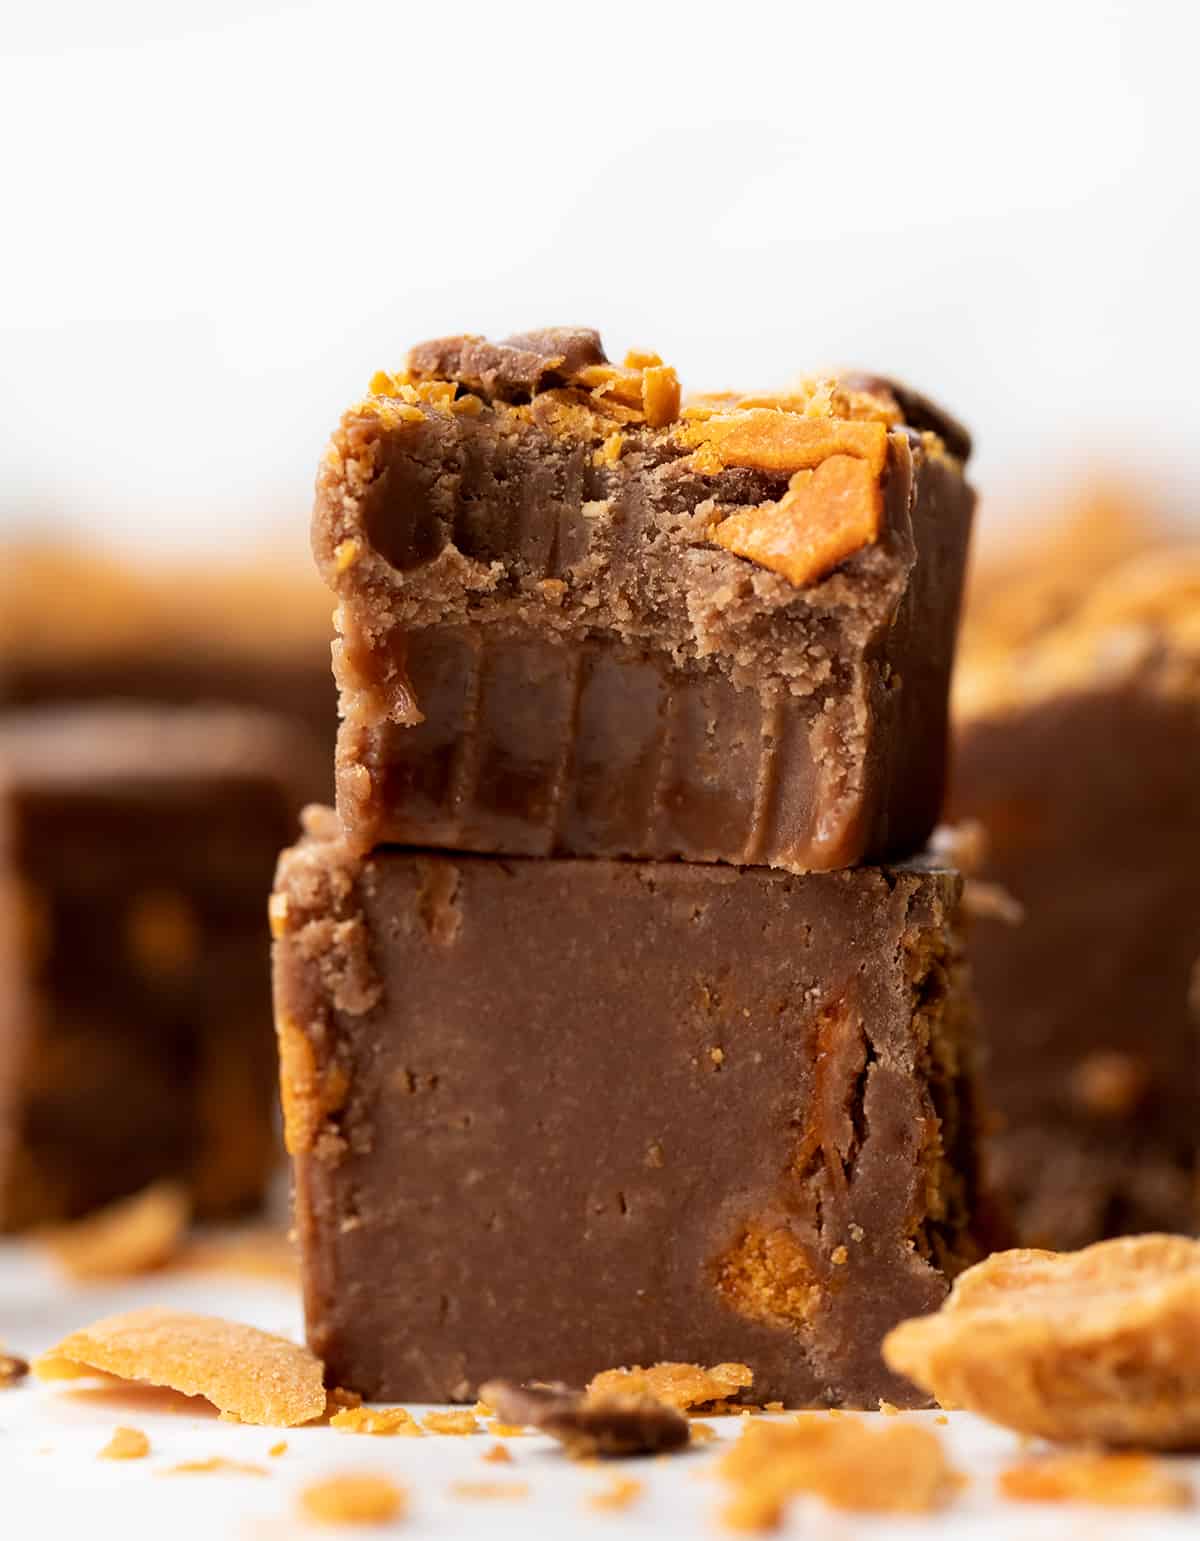
Sure! I used an 8×8-inch baking dish to get thicker pieces of fudge. However, a 9×9-inch baking dish would also work, as well as a 7×11-inch baking dish. I do not recommend using a 9×13-inch baking dish; that would make the fudge too thin.
How To Store Butterfinger Fudge
To store Butterfinger fudge, keep it in an airtight container at room temperature. (I like to separate the layers with parchment or wax paper.) You can also store fudge in the refrigerator for a few weeks. If you need longer storage, like months, the freezer is the best option. I like to tightly wrap the fudge with plastic wrap and then place it in an airtight container or freezer-safe plastic bag. Be sure to label and date the packaging. It should last 3 months. Let the fudge come to room temperature for serving.
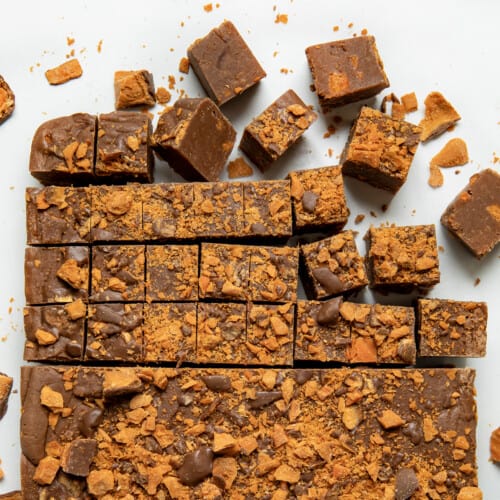
Butterfinger Fudge
Ingredients
- 3 cups (600 g) granulated sugar
- ¾ cup (1 ½ sticks / 170 g) unsalted butter
- ⅔ cup (168 g) evaporated milk
- 1 cup (182 g) semisweet chocolate chips
- 1 cup (182 g) peanut butter chips
- 1 bag (10 ounces) mini marshmallows
- 1 teaspoon vanilla extract
- 1 ½ cups chopped Butterfinger candy bars, divided (8-ounce bag of unwrapped minis, chopped)
Instructions
- Line an 8×8-inch baking dish with parchment paper. Set aside.
- In a large saucepan (at least 3 quarts in size) over medium heat, mix the sugar, butter, and evaporated milk.
- Bring the mixture to a boil. Leave on heat until the mixture registers 234°F on a candy thermometer (about 5 minutes).
- Remove from heat. Stir in semi-sweet chocolate chips and peanut butter chips until melted and thoroughly combined.
- Add the marshmallows and vanilla extract. Stir until marshmallows are melted.
- Gently fold in 1 cup of the chopped Butterfingers.
- Transfer the fudge to the prepared pan. Evenly sprinkle the remaining ½ cup of Butterfingers on top of the fudge.
- Allow the fudge to set at room temperature (about 4 hours). To speed up the setting process, you can let it chill in the refrigerator to set.
- Serve at room temperature.
Video
Did you make this recipe?
Thank you for making my recipe! You took pictures, right? Well go ahead and post them on Instagram! Be sure to mention me @iambaker and use the hashtag #YouAreBaker.
What the Test Kitchen had to say about this recipe:

Autumn
Butterfinger anything. Sold.

Elizabeth
This fudge has a good combination of peanut butter and chocolate with the Butterfingers sprinkled in there and on top. If you love Butterfingers, you will love this fudge!

Rachael
Any form of peanut butter lovers will love this Butterfinger fudge, it is delicious!

Bella
Rich, chocolatey, with a nice balance of peanut butter flavor! So good!

Annabelle
Peanut butter and chocolate is always a winning combination, and this fudge does it so well! I also love the look and texture of the added Butterfinger pieces!




Delicious! Also really easy to make. I love Butternut Candy so this just took it up another step !