Did you like the Edible Birds Nest? Here is a tutorial for you.
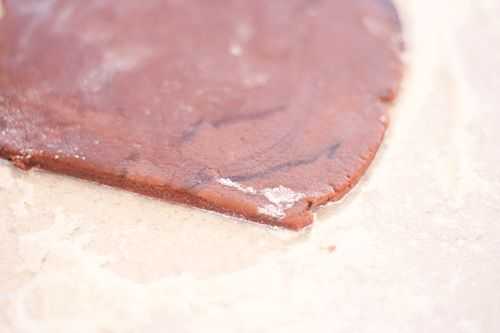
I make my regular old sugar cookie dough and add a dab of brown food coloring. Mix it in ‘kinda’ good as a little color difference adds some contrast to the twigs.
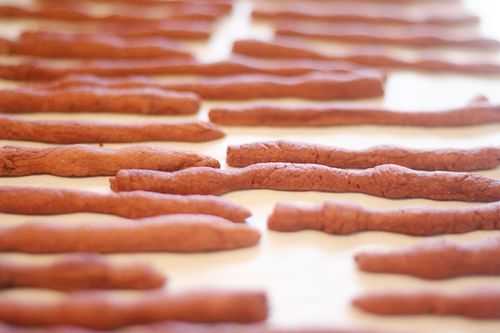
Roll it out to about 1/4 inch thick. Remember making ‘snakes’ with play dough as a kid? That’s all you’re doing.
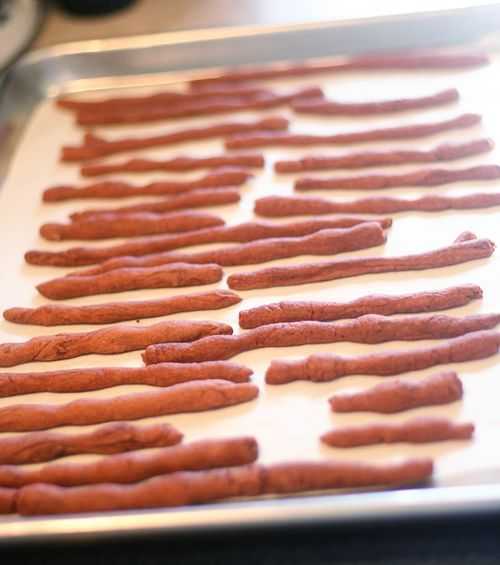
Cut 1/4 inch strips (or bigger or smaller depending on how big you want your nest) and then roll dough in your fingers. Feel free to be as messy and sloppy as you want.
Throw them on a baking sheet and bake for about six minutes.
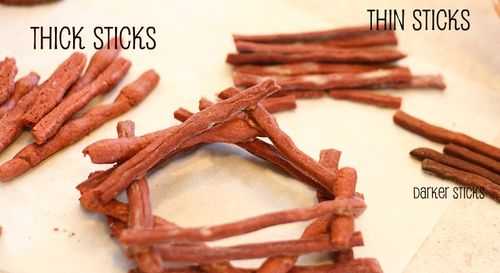
They should not change in size too much, but having some variance is good. Bigger, medium, and thinner is good for a “realistic” looking nest.
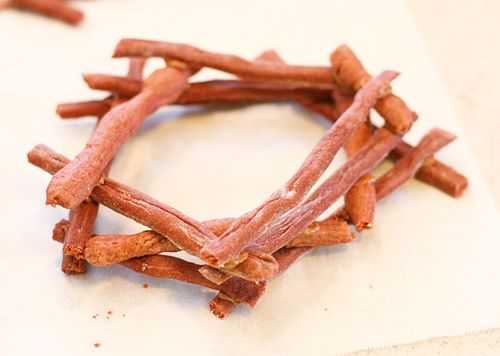
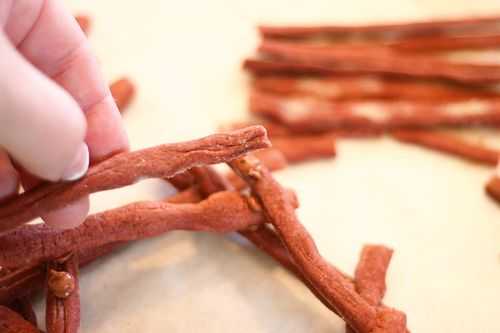
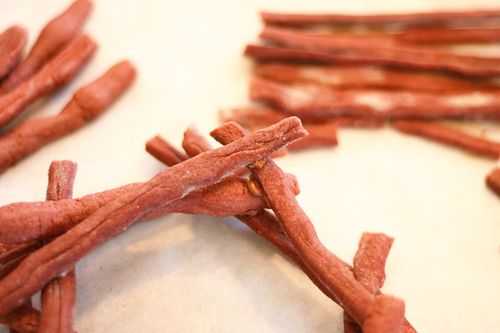
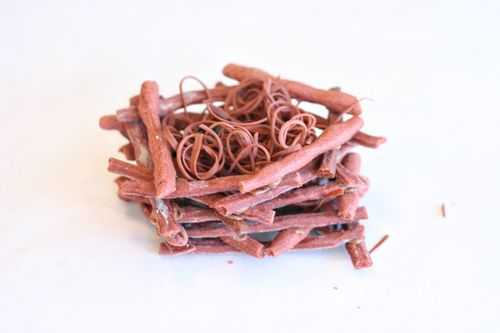
Begin to assemble. I used five sticks for the bottom and then built up. My ‘twigs’ were about six inches long, but some broke and I liked having the smaller sizes to fill in.
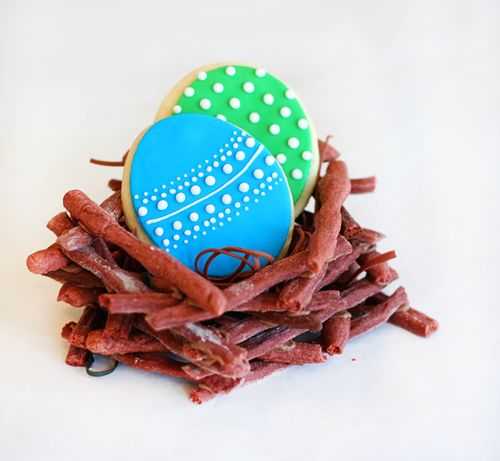
This nest fits three egg sugar cookies.
If making these for individual treats, stick to those dimensions. If it is for a centerpiece, I would make the sticks longer and the bottom base bigger.
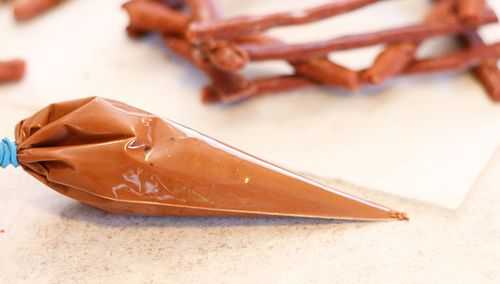
I made up a batch of icing (to use as the glue) and added the same brown food coloring gel.
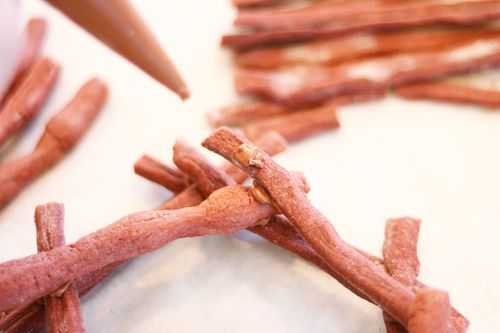
Make a dab at both points that your ‘twig’ will be resting on the nest. (only one point shown)
Just gently set the ‘twig’ on the icing spot.
Keep building up!
To assemble, I had three piles that I would just alternate taking from.
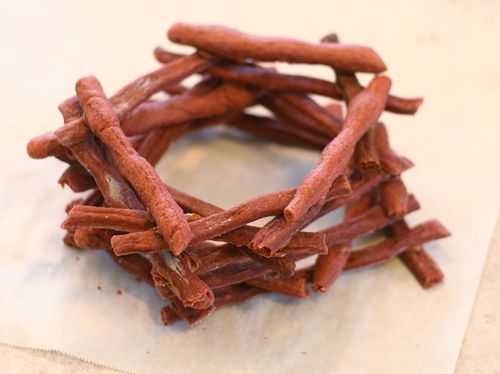
All done! I built mine about 3 inches high.
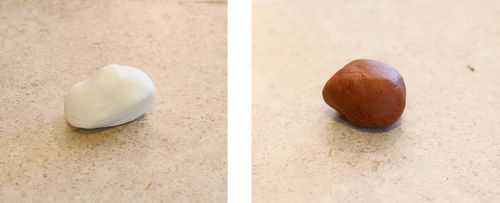
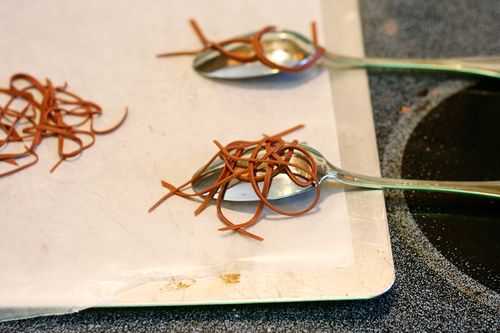
For the filler, I grabbed a little bit of fondant and added brown food coloring.
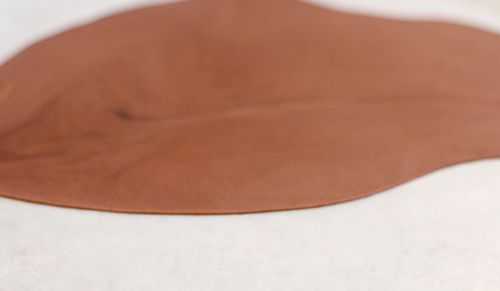
Roll it out really, really thin. I just rolled it out on wax paper.
AAAAHHHH! I had to laugh when I saw this picture.
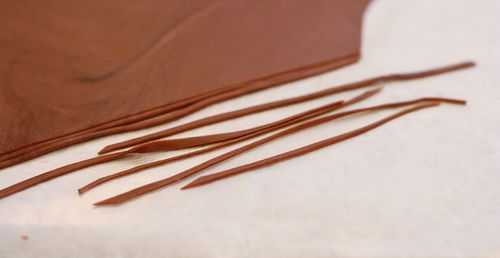
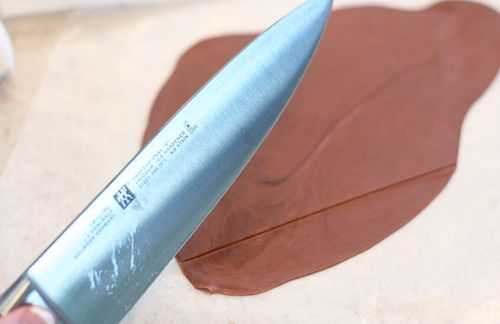
Cut as thin of slices as you can.
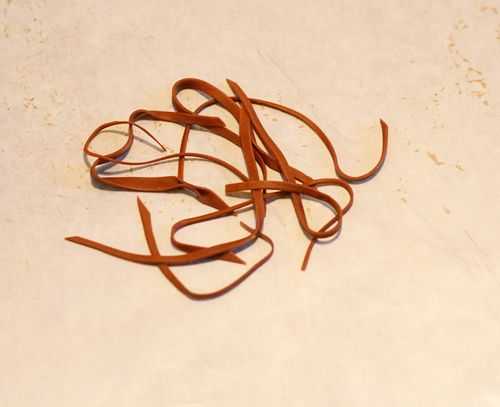
Then just throw it into a little pile. I made three of these piles for my nest and it was plenty.
I even threw some on top of a big spoon to get some more dimension.
I let it sit out for about six hours. But I think a few hours would suffice.
Here is the nest with the fondant filler. Hubby told me it looked way to organized. I told him that birds are very meticulous. I have no idea if that’s true, but I like saying meticulous.
And because my Easter egg cookies were impossible to see in the previous post, I made a few more.
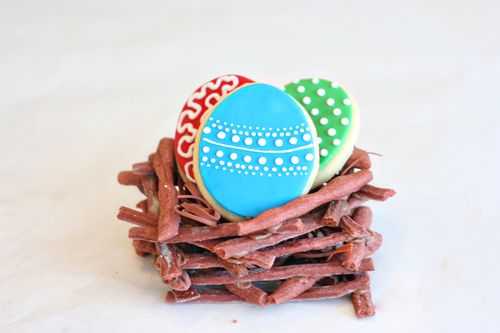
These edible bird’s nests are SO fun and easy to do! The kids love to help and love to see their beautiful finished product!





Thanks for posting this! I can’t wait to try it out! I think that I like the idea of making a big one as a centerpiece (although these little ones are so cute…). Any chance you want to make this again and post pics of a big one??!! 🙂
Oh my CUTE!!!!!! I have done the one with chow mein noodles covered in chocolate, and those are okay, but these are gorgeous and probably taste DELISIOUS!!
You ALMOST lost me at fondant, but what you did with it wasn’t scary at ALL!!! So adorable, my boys would love this!
I just love reading your tutorials! You make it look so easy!! You’re brilliant!
So cute, It turned out great! Just like on the cover!
I love these!! So cute!!
this is such a great idea and great instructions! so cute
I love your blog, he’s so cuuuute!!!!
Awesome, awesome, AWESOME!! Adorable, edible and such an amazing tutorial!!! A’s everywhere = A++
Thanks for the instructions and eye-candy!
and here i was, thinking chow mein noodles would do the trick. man alive, i’m a lazy gal. 🙂