Imagine your bragging rights when you say you have made your own homemade ravioli! Yes, it IS possible, and yes, it IS doable when you have KitchenAid appliances that make it so easy! Not only will you impress your guests (and yourself) with homemade ravioli, but also adding a brown butter sauce will be the icing on the…cheese-filled ravioli, of course! Loaded with five different kinds of cheese and topped with out-of-this-world brown butter sauce, Homemade Five Cheese Ravioli with Garlic Brown Butter Sauce will make everyone think you learned your pasta-making skills in Italy! For another great pasta recipe, try my Spaghetti Carbonara.

Homemade Five Cheese Ravioli with Garlic Brown Butter Sauce
Yes, the name of this delicious dish is a mouthful, but after you make it and try it, your mouth will surely be full! It will be full of homemade ravioli, filled with five kinds of cheese and topped with a browned butter sauce that will have you motivated to make another batch! With the KitchenAid® 3-Piece Pasta Roller and Cutter Set, an attachment for your KitchenAid® Artisan® Series 5 Quart Tilt-Head Stand Mixer, you will be making all kinds of pasta like a pro! This pasta attachment means your homemade pasta is quick, easy, and so delicious! I absolutely love how my precious stand mixer is not only the best for frostings, cakes, cookies, and candies, but also that it easily transitions into the perfect tool for savory dishes like mashed potatoes and homemade bread!

Homemade Ravioli
Don’t be intimidated by the idea of making homemade pasta. It is SO MUCH fun using your KitchenAid® 3-Piece Pasta Roller and Cutter Set attachment. You don’t even need a specialized ravioli maker for this recipe, just your KitchenAid attachment.
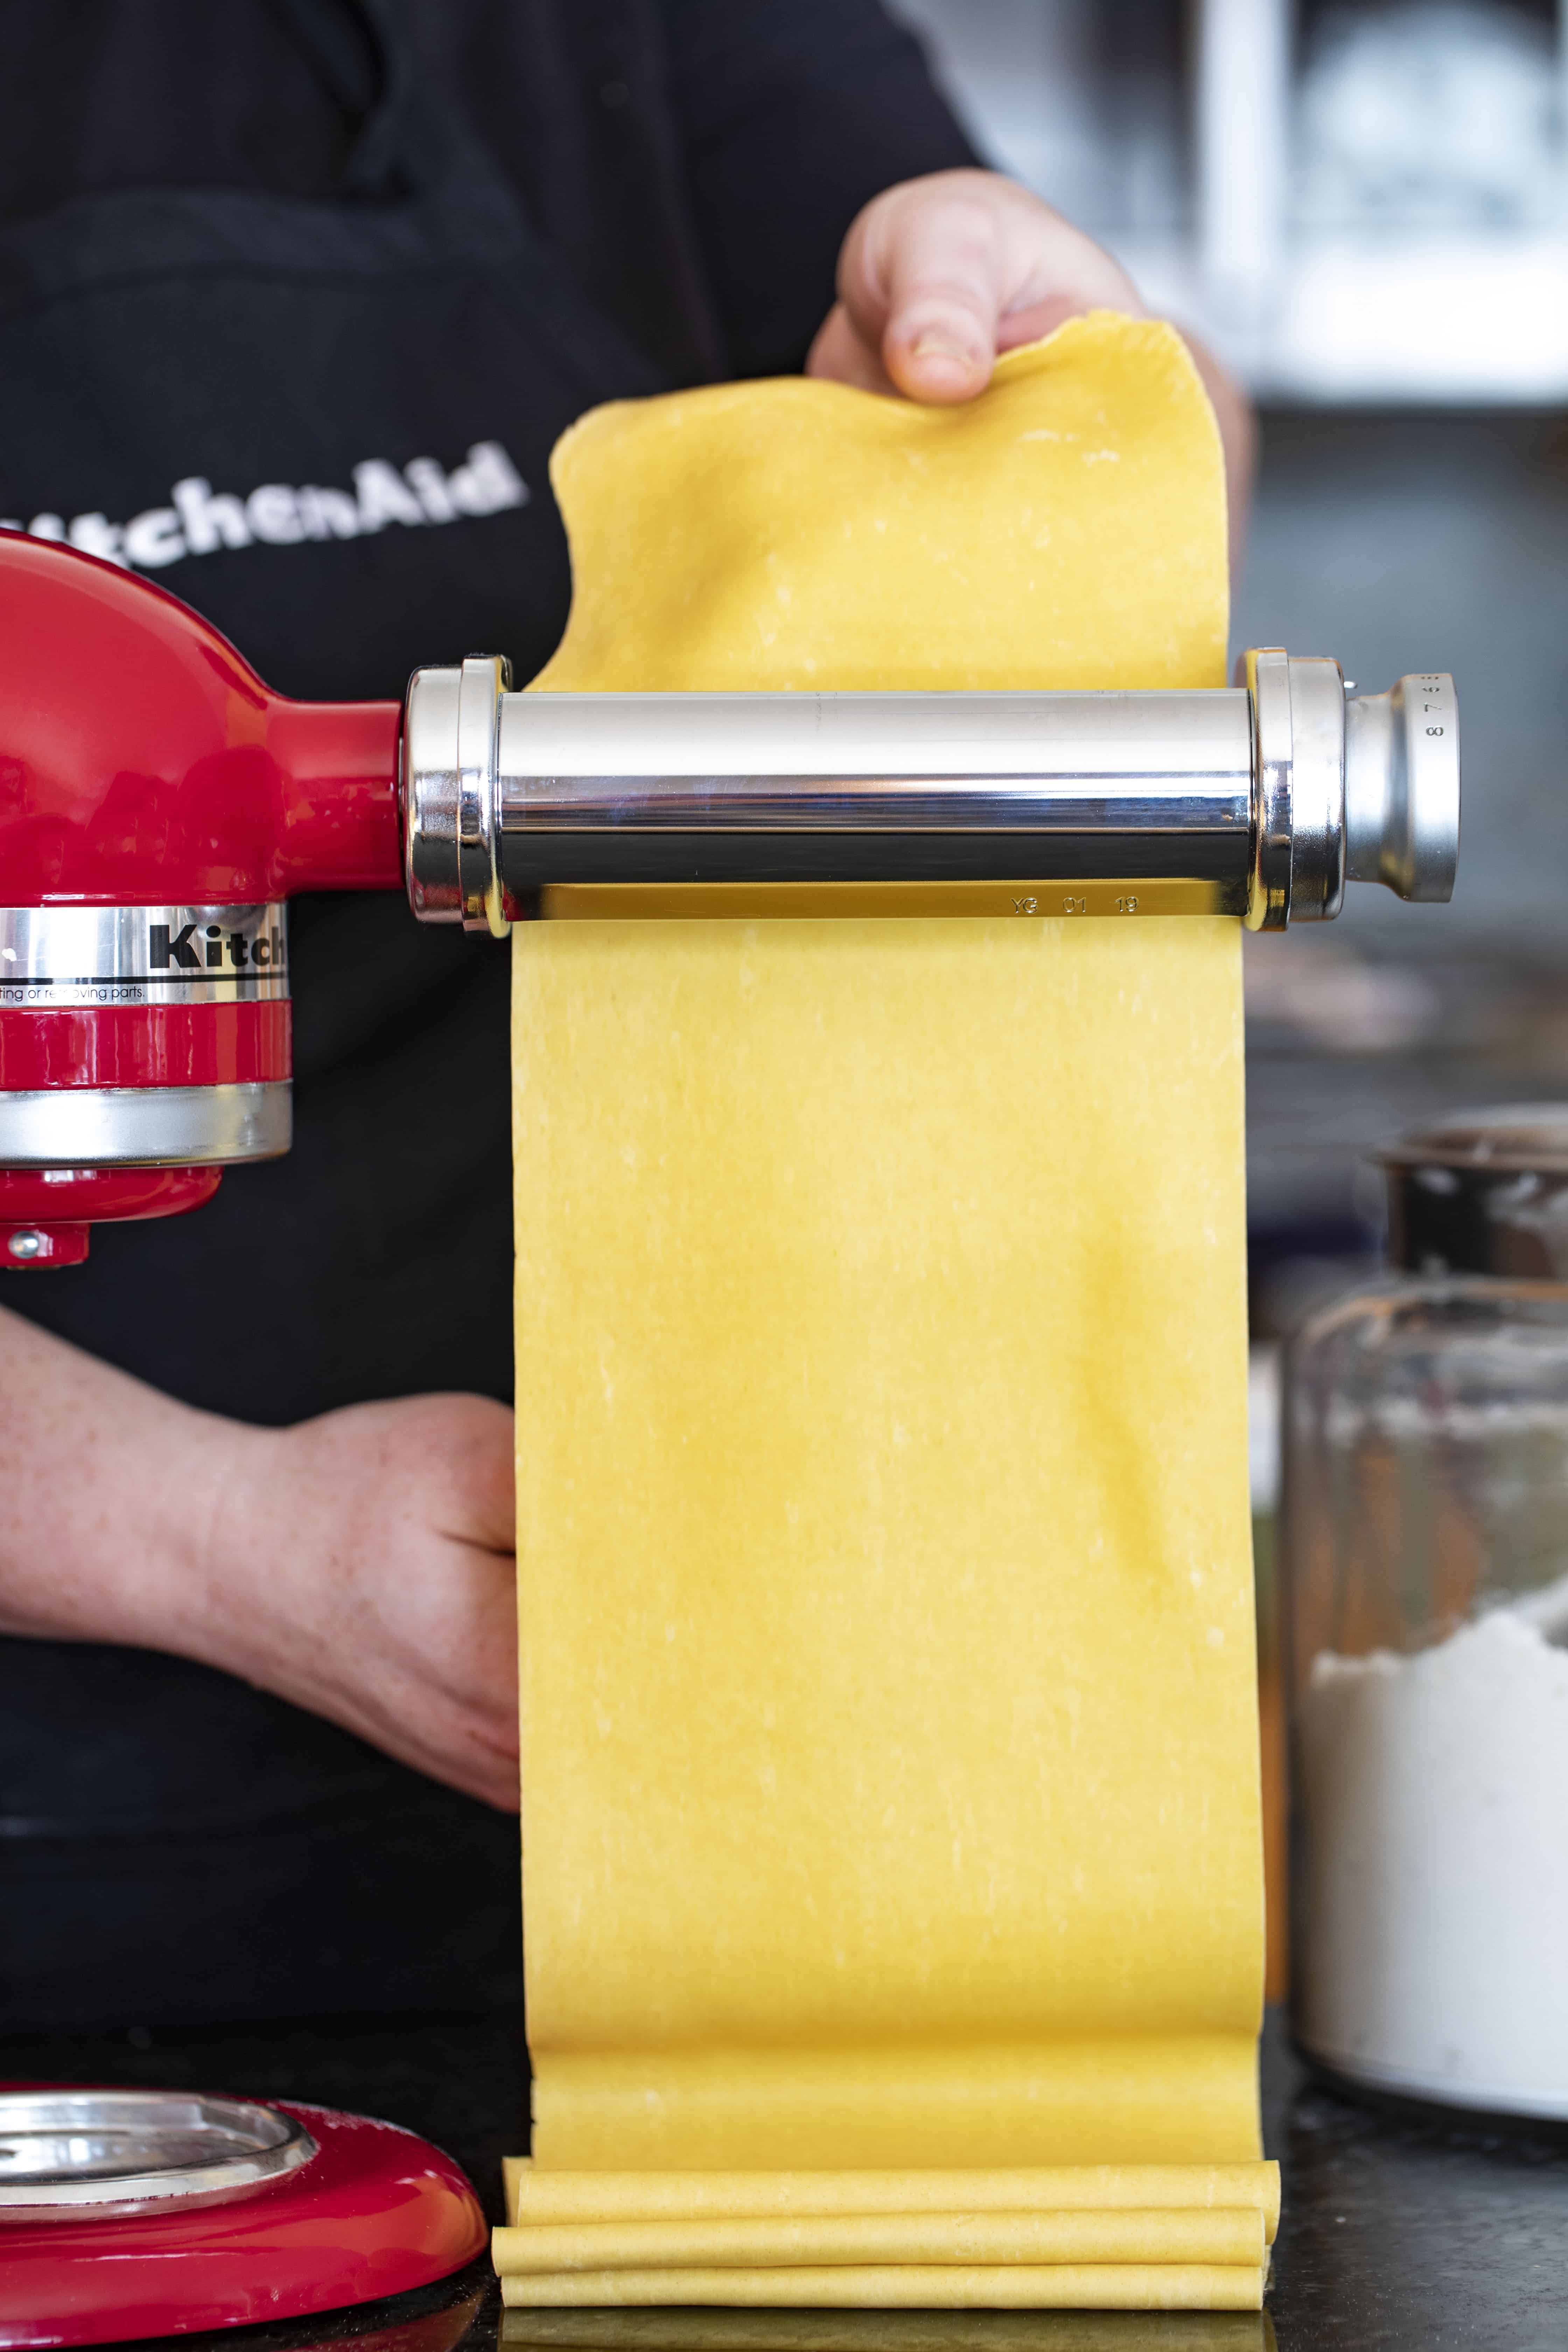
We love how smooth that pasta is!
If you take a look at the ingredients needed for the ravioli, you should notice you don’t need a lot of them!
- Start by sifting the flour and salt onto your work surface (like a large board), making a well in the center. A well is simply making a circle of flour and salt, leaving a space in the middle for your eggs.
- Crack one full egg into the well. Then, add the egg yolks and oil to the whole egg. Use a whisk or fork to mix the eggs and oil together as best you can (within the well). You can also lightly mix the eggs with a fork in a bowl and then slowly (in stages) add the eggs to the flour.
- Begin to incorporate the flour into the egg mixture next. Eventually, you will have to get your hands in there to knead the dough for a few minutes. A bench scraper comes in really handy when dealing with dough. A bench scraper can help get off any dough that has stuck to your work surface. It is also great for cutting apart any dough you need to separate. Don’t let the dough get too moist. It will moisten as it sits.
- After kneading the dough, roll it into a ball, cover it, and let it sit for about 30 minutes.
- Next, roll out the dough into a rectangle that is about 1/4 inch thick. It has to fit into the KitchenAid Pasta Roller at its widest setting. Continue to lower the setting for each time you run the dough through the attachment. The final run-through of the dough should make the sheet of dough almost see-through. If the dough gets too long and fragile to deal with, just cut it in half before you put it back in the KitchenAid Pasta Roller.
- Cut the thinned out dough lengthwise so you have a few 24-inch horizontal strips. Make sure they are wide enough that you can fold in the cheese filling (24×4 inches, approximately). Here in the midwest, we call this fold a ‘hot-dog style’ fold. I know, I know…
- Spread out about 2 tablespoons of the cheese mixture onto the dough. Spray water on each of the 24-inch strips of dough. (This helps them seal.) Be sure to leave at least 1 inch between each cheese mixture, 2 inches is best.
- Fold the dough over, and tightly seal the edges. Gently press down around the cheese, making sure to remove as much air as possible. To get that traditional ravioli look, use a fluted pastry wheel to go along the edges. (You can also just use a fork!)
- Cut apart into squares and put into boiling water for 3-4 minutes. Don’t get the pot of water too crowded. They cook fast, so there is time to get them all done.
- Finally, drizzle the brown butter sauce over the ravioli. Before serving, add some freshly grated parmesan cheese and garnish with parsley. These are best served hot! Godere! (Said in my best Italian accent😊)

What is so Important about Using Freshly Grated Cheese?
When you compare a block of cheese to pre-shredded cheese, you will notice some added ingredients to the pre-shredded cheese that are not included in a block of cheese. These extra ingredients help keep the shredded cheese separated and last longer from getting moldy. They also help retain the color of the shredded cheese. However, because blocks of cheese do not have these extra ingredients, grating your own cheese from a block simply cooks and melts better. Another bonus you may want to consider is to think about the cost and how long it lasts. A block of cheese that you grate will give you lots more bang, I mean cheese, for your buck. And, taken out of the plastic wrap and stored in the refrigerator wrapped in tin foil will keep it for a couple of weeks! With five different kinds of cheese being used, three of which you could grate on your own, I would recommend giving it a try!
Can I Make the Homemade Ravioli Ahead of Time?
Yes, definitely! It is easy to make ravioli ahead of time and freeze them for up to six months! If you are not planning to boil the pasta right away, place the filled ravioli on a parchment-lined baking sheet and freeze them like this for about 30 minutes. Then, put them all in an airtight container to freeze until you are ready to cook them. When ready to make, simply put the frozen ravioli into a pot of boiling water for about 3 minutes, and they are ready to go!

Do I Have to Make Homemade Ravioli?
Nope! You can still enjoy this ravioli with the cheese filling and brown butter sauce without making homemade pasta. You can buy ravioli dough, or you can even use wonton wrappers or egg roll wrappers. Just be sure to seal the dough completely before boiling the ravioli. Remove after they float to the top, making sure to not overcook them. If they are overcooked, they will fall apart.

Homemade Five Cheese Ravioli with Garlic Brown Butter
Ingredients
FILLING
- ½ cup (123 g) ricotta cheese
- ¼ cup (28 g) mozzarella cheese, grated
- ¼ cup (25 g) parmesan cheese, grated
- ¼ cup (25 g) romano cheese, grated
- 3 ounces cream cheese, room temperature
- 2 cloves garlic, minced
- ½ teaspoon salt
- ¼ teaspoon pepper
- 1 teaspoon fresh parsley, finely diced
BROWN BUTTER SAUCE
- ⅓ cup (76 g) butter
- 1 clove garlic, minced
- 1 teaspoon kosher salt
- ¼ teaspoon pepper
NOODLES
- 1 cup (125 g) all-purpose flour
- 1 teaspoon kosher salt
- 1 large egg
- 2 large egg yolks
- ½ teaspoon olive oil
- 1 bottle water, in a spray bottle
Instructions
FILLING
- In a medium bowl, combine ricotta cheese, mozzarella cheese, parmesan cheese, romano cheese, cream cheese, garlic, salt, pepper, and parsley. Set aside.
BROWN BUTTER SAUCE
- In a medium saucepan, melt butter.
- Add garlic and cook for 1 minute. Be sure to not overcook the garlic.
- Add salt and pepper and remove from heat.
NOODLES
- Sift flour and salt onto a work surface.
- Make a wide well in the center of the flour.
- Crack the full egg in the well.
- Add egg yolks and oil and gently whisk the wet mixture together within the well.
- Slowly fold in the flour mixture, a little at a time, until the dough is too stiff to mix with a fork.
- Using a bench scraper, cut into the mixture to break up the gluten, while continuously using your hands to bring the entire mixture together. Fold it into a single mass.
- Knead the dough with your hands for 7-10 minutes, adding more flour as needed.
- Form a ball with the dough and cover it, allowing it to rest for 30 minutes.
- Roll the dough out into a ¼ inch thick rectangle (thin enough to fit into the KitchenAid Pasta Roller attachment at its widest setting).
- Move the rollers to the next smallest setting and pass the dough through again. Continuously lower the size settings, passing the dough through once or twice each time.
- Stop rolling with the dough is thin enough to partially see-through.
- Cut the length of dough into 24-inch sections.
- Lay out each section and working one pasta sheet at a time, lightly spray each sheet with water.
- Starting on one edge, spoon out 2 teaspoons of filling in the center of each sheet, leaving 1 inch of space on each side.
- Lift the top edge of the sheet and bring it over the top of the filling, lining it up with the bottom edge.
- Using your fingers, gently press the dough as close as you can to the filling. Try to eliminate any air pockets that form.
- Press again on the edge to seal it completely.
- Using a fluted pastry wheel, trim the long edge of the pasta. Then cut in between each section to create the individual raviolis.
- Bring a large pot of salted water to a rolling boil. Add raviolis to hot water, working in batches to not overcrowd the pot.
- Cook for 3-4 minutes and then gently scoop out the raviolis, strain out any excess water and transfer to a plate.
- Drizzle brown butter sauce over raviolis.
- Top with extra grated parmesan cheese and chopped parsley.
- Serve immediately.
Video
Did you make this recipe?
Thank you for making my recipe! You took pictures, right? Well go ahead and post them on Instagram! Be sure to mention me @iambaker and use the hashtag #YouAreBaker.
Thank you so much for supporting the brands that support us here at iambaker. KitchenAid has been my favorite for as long as I have been baking and I love how easy it is to adapt into savory cooking.


Just an FYI… Body of post says one egg.. Then add egg whites. Recipe states egg yolks. I am going to add that sauce to my must try list!
I made these tonight using your sourdough pasta and O.M.G. sooooo good! I think maybe a little lemon zest in the filling would be a welcome addition, as it was rather rich, but I’m not complaining! I am having so much fun trying new things thanks to finding ways to use my starter.
That is awesome Kathleen!! I think your idea of lemon zest is brilliant, I will try it! <3
The instructions were easy to follow. I used semolina flour and the pasta turned out perfectly! Yum!
First time ever making ravioli. Delicious!!
Awesome!!
Can I make this ahead of time and store in fridge for a day or two?
We make ravioli and freeze them in a single layer on a cookie sheet, then dump them in a baggie and store in freezer for later. They take an extra minute or two to cook us all. Do not thaw first…just add to boiling water from frozen.