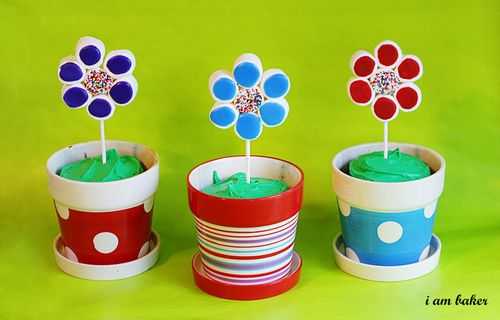
Marshmallow Flower Cake Pots
Ingredients
- 1 3/4 cups all-purpose flour
- 2 cups sugar
- 3/4 cups good unsweetened cocoa powder
- 2 teaspoons baking soda
- 1 teaspoon baking powder
- 1 teaspoon kosher salt
- 1 cup buttermilk
- 1/2 cup vegetable oil
- 2 extra-large eggs at room temperature
- 2 teaspoons pure vanilla extract
- 1 cup freshly brewed hot coffee I use decaf
Instructions
- Sift the flour, sugar, cocoa, baking soda, baking powder, and salt into the bowl and mix until combined.
- In another bowl, combine the buttermilk, oil, eggs, and vanilla.
- With the mixer on low speed, slowly add the wet ingredients to the dry. With mixer still on low, add the coffee and stir just to combine, scraping the bottom of the bowl with a rubber spatula. Pour the batter into the three flower pots and bake for 25-30 minutes, or until the center springs back when touched.
- Cool in the pots for at least 2 hours.
Did you make this recipe?
Thank you for making my recipe! You took pictures, right? Well go ahead and post them on Instagram! Be sure to mention me @iambaker and use the hashtag #YouAreBaker.
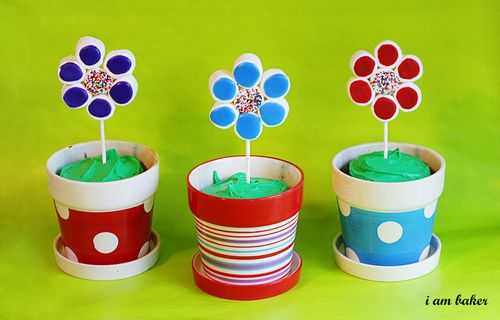
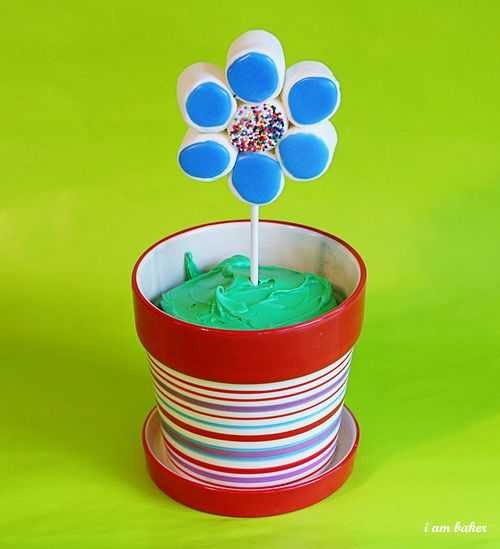
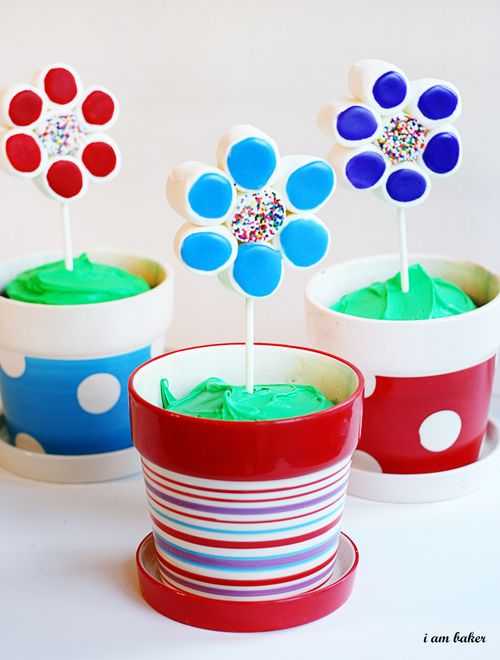
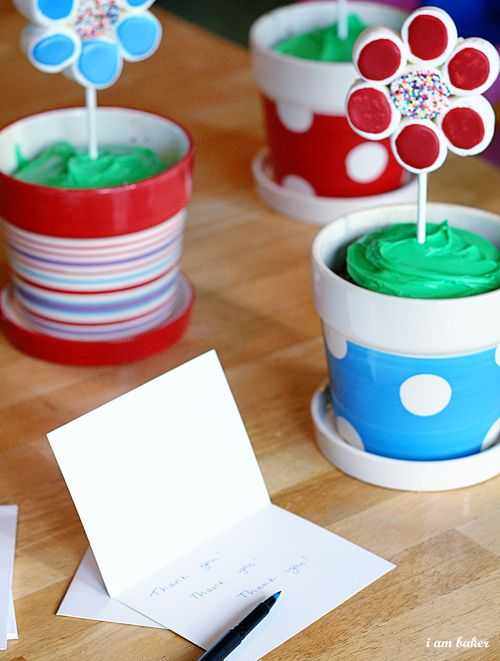
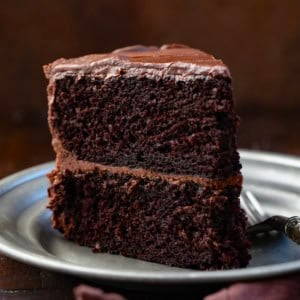
How fun are these “Flower Pots”? It is just chocolate cake with green frosting and a marshmallow flower in the middle!
Last Sunday I needed to put together a gift for my kids Sunday School teachers.
I wanted to bake them something… and I wanted it to be cute and unique but I certainly did not have time to bake and decorate them each a cake.
So I made these little diddies.
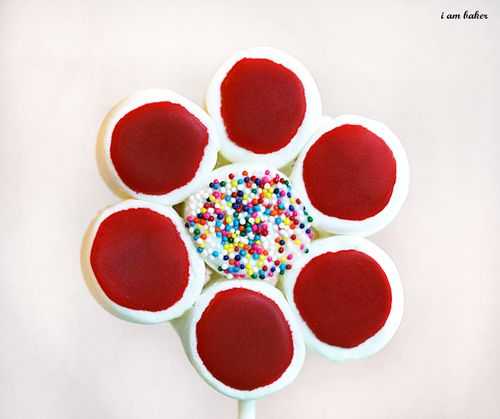
These are marshmallows held together with white chocolate.
To make the flowers:
White Chocolate, melted
Sprinkles
Big marshmallows
Glaze recipe, in the colors of your choice
long skewer or candy stick
First create the design on “top” of the flower. Dip the flat center part of the marshmallow in melted white chocolate and then in sprinkles. Set aside.
Next, we will assemble the basic flower shape. Place sprinkle covered marshmallow on a baking sheet covered in wax or parchment paper. Did the round, curved side of one marshmallow into white chocolate. Let excess drip off, then press gently into the sprinkle covered marshmallow. Repeat until you have surrounded the entire sprinkle covered marshmallow and have a basic flower shape.
I mixed up a batch of my glaze icing and piped it on the marshmallows for a bit of extra color and threw the flower back in the fridge to dry. (You could also repeat the same process you did with the sprinkle covered marshmallow except in different colors sprinkles.)
Let flower harden in the fridge for 30 minutes or on the counter for an hour.
Gentle insert the stick through the bottom of the flower and through the sprinkle covered marshmallow. (do not go all the way through to the top marshmallow)
Before you are ready to give the flower as a gift, insert the flower into the cake.
The frosting is just vanilla tinted green.
And off to church we went! The kids were so excited to give them to their teachers. My oldest kept asking me if his teacher would share the cake with him.
Little did he know… I had one extra at home to surprise him with.
We snacked on glaze icing covered marshmallows all week! Er, ah, I mean… we snacked on carrots and broccoli all week!
This is one of those super easy, super pantry friendly, really nice way to say thank you projects.
You could also make them red, white, and blue if you forgot to make a Memorial Day dessert like I did.
A Big THANK YOU to all those who have bravely and selflessly served this great country!
TIP: Be sure to get a pot that is safe to bake in.


Such an original way to say thank you. Can imagine how your son was busting with pride giving these to his teachers.
once again, Amanda, you out did yourself! such a fabulous treat…i would love to be one of your kids teachers!
Super cute!
What a cute presentation, so clever. I love the little pots.
So fun! Love these!
Amanda, Thanks so much for your post. These are absolutely adorable. You have the BEST ideas. I will be making these next week.
Blessings to you,
Valerie @ http://www.thebloggingpastorswife.com
C-U-T-E!
My girls would love to make those!
These are so fun! At first I thought they were cookies, the marshmallows are a neat idea. Cool the way you stuck them together. A gift that would make anyone smile 🙂
These are yum and totally achievable!
Hey wow….I saw something similar to this on Bakerella…and I thought that was awesome….Yours look awesome too!! Good JOb