Quite possibly one of my favorite holiday cakes… this Santa House Cake is not only fun and festive but REALLY delicious!
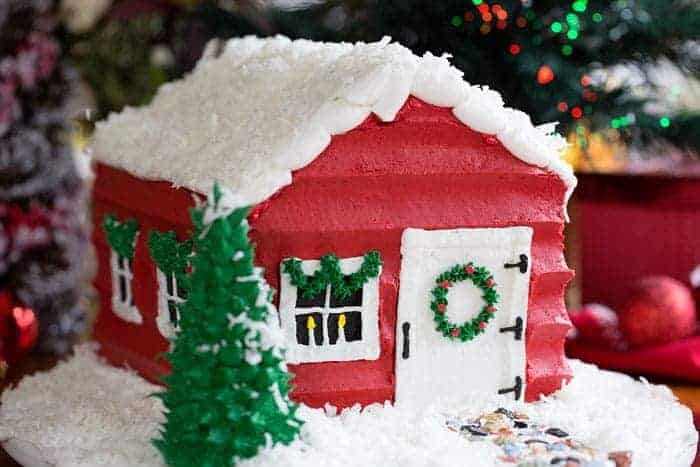
There is nothing I like better than creating beautiful and festive treats for the Holidays. Well, that’s not true. The one thing I do like better is when those holiday treats don’t break the bank! When I do my shopping at ALDI, I know I am getting the highest quality product for the best darn prices ever. To find an ALDI near you just check here!
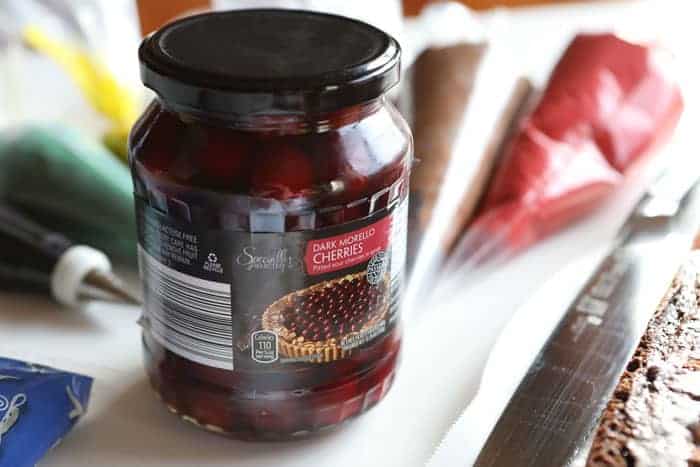
This cake was inspired by these amazing Dark Morello Cherries I found at ALDI. They are so delicious I knew I had to use them (and the cherry juice!) in a cake. The result was nothing short of spectacular.
To make this cake you will need:
Chocolate Cake recipe – two 9×13 cakes baked and cooled (you can also use ALDI Baker’s Corner Chocolate Cake Mix)
Chocolate Buttercream
Whipped Vanilla Buttercream (double batch)
Specially Selected Dark Morello Cherries
Baker’s Corner Coconut Flakes
Food Color- red, green, yellow, black (PRO TIP: use the chocolate buttercream for your black frosting, it’s easier to tint and you can use less food color)
pastry bags
tips – #3, #5, #18, #32, #46, #898 (Ateco) It will be easier if you have five #3 tips.
serrated knife
offset spatula
small cardstock piece or item with a strong edge for smoothing frosting
rotating cake stand
1 1/2 inch round cookie cutter & 3 inch round cookie cutter
sugar cone
cake stand
Candy in the shape of rocks (smaller is better)
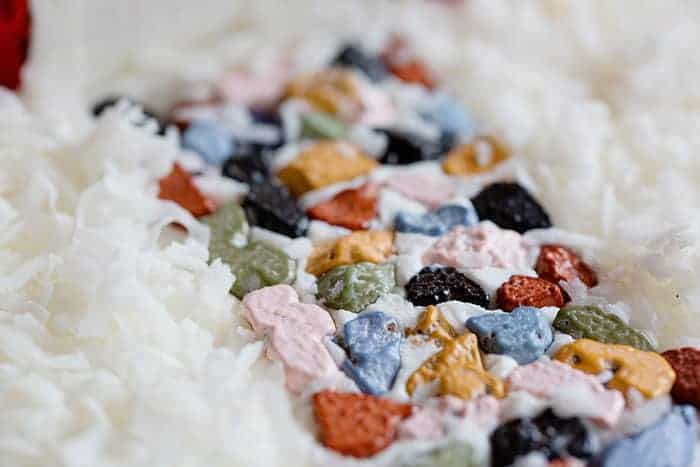
How fun are those candy rocks?!?
To Assemble Santa House Cake:
Bake cakes and allow to cool. I chilled my cakes in the refrigerator for 12 hours before assembling the cake. (In the freezer for a couple hours should work as well)
Prepare whipped vanilla buttercream. Tint half of the buttercream red, at least 4 cups. You will also need green. For the black and yellow you need much less, so a cup a black and a few tablespoon of yellow is sufficient. The rest will remain white.
Prepare chocolate buttercream. Place in pastry bags.
Start but cutting both 9×13 cakes in half width wise. (You should now have 4 rectangles of cake) Measuring is a good option, I just eyeballed the center. Place the first layer on cake stand. If you are able, place the cake offset. This will allow you to create a rock candy walkway in front of the house. Using some of the juice from your Dark Morello Cherries, brush a generous amount (about 2 tablespoons) on top of the cake. Outline the cake with chocolate buttercream and then fill in the center with anywhere from 1/2 cup to 1 cup of cherries. Repeat this step.
Add the 3rd layer on top of the cake, cover with chocolate buttercream.
Now take the last layer of cake and place on cutting board. Cut this piece in half widthwise as well. You should have 2 long pieces. (if your cake seems very soft at this point, put it back in the freezer)
Set one piece on top of the assembled cake but in the center. Cover with chocolate buttercream. Place next long layer on top and press down to make sure it is secure and stable. Now take your long serrated knife and cut down, at a diagonal and starting at the center of the long piece. You will start cutting in the center and point your knife towards the outer bottom edge of that layer. Cut through the layer and let the piece fall into space below. You should now have a flat angled roof line. Repeat this on the other side.
Cover the entire cake with chocolate buttercream and then chill. (at least 1 hour)
When you are ready to decorate the cake: (sidenote: I did not measure anything on the cake, just eyeballed it. You can certainly measure for a more precise finished product.)
Fill a pastry bag fitted with red buttercream. Cut off a big tip and then cover all sides with a thick coat of the buttercream. (no need to cover the roof) Using a decorating comb, carefully drag it along the sides of the cake to create the texture on the house. This works best if you have the cake on a rotating cake stand and can turn the cake as you drag the decorating comb through the frosting.
Fill a pastry bag with black buttercream fitted with a #3 tip.
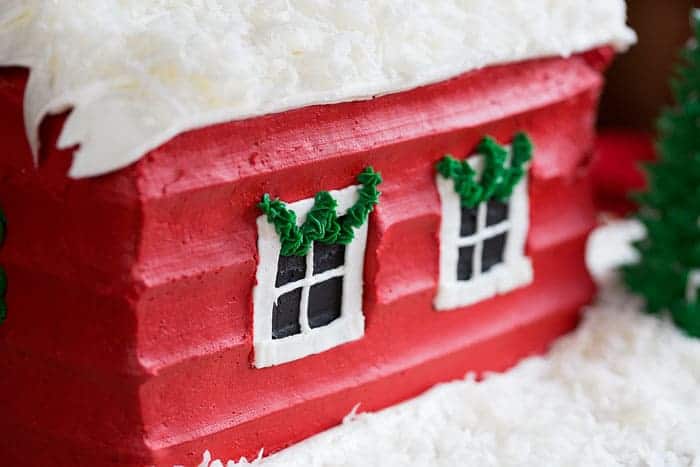
(You can stick this step if you want, but the windows and doors will be on top of the red frosting and it might not look as good.) Grab your small piece of cardstock. (I would cut 5 pieces for each window and a bigger one for the door.) I cut mine to the width of the windows. Determine where you want your windows to be. I chose 2 on each side, one on the front next to the door. Carefully drag away the red frosting where you want the windows to be. I would first drag down, clean the cardstock, then start at the bottom of the window and drag up. Now take your black frosting and fill in the space of the windows. Use the same cardstock piece to smooth out the frosting. Do this on all windows.
Fill a pastry bag with white buttercream fitted with the #46 tip. Pipe out a border around each window. Change to a #3 tip and pipe a cross in the center of each window for the window pane. Pipe out a candle in the front window. Fill a pastry bag with yellow buttercream and a #3 tip and pipe a flame on the candle.
For the door remove frosting with the same technique as the windows only make it a bit bigger. Pipe out a border except for the bottom, this will be covered with frosting “snow”.
Using black frosting and the #3 tip pipe a door handle and hinges on the side of the door.
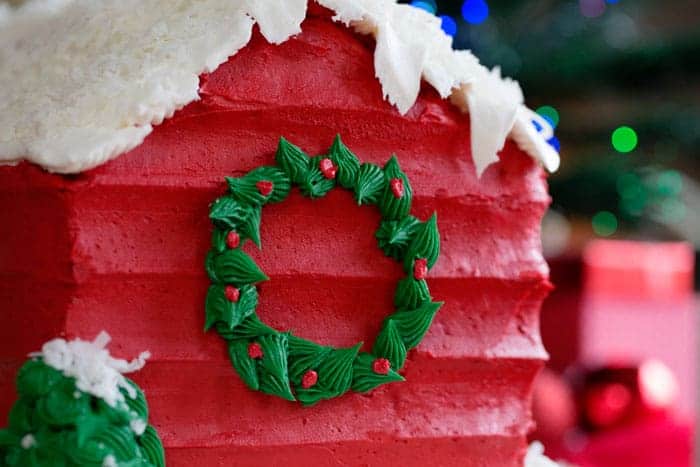
Fill a pastry bag with green buttercream and a #32 tip. Press the 3 inch round cookie cutter into the back of the cake gently, this is a guideline where the big wreath will be piped. Start piping by applying pressure with the pastry bag and then pulling away quickly. Repeat this motion around the circle. In a pastry bag with red frosting and a #3 tip, pipe out small dots around the wreath.
For the front door wreath, you will use the green frosting and a pastry bag fitted with the #18 tip. Press the 1 1/2 inch round cookie cutter into the top of the door to create a guideline. Pipe out small dollops around the circle with the green frosting. Pipe out small red dots on top of the green.
Using the same tip, pipe out some garland around each window.
Move to the roof. Grab a pastry bag fitted with the #898 tip. Starting at the edge of the roof on the front of the house, apply pressure to the bag and pipe out a line of frosting along the roof. At the end just release the pressure and let the frosting fall. It will look like icicles on the back of the house. Repeat this motion over the entire roof.
Now add some white frosting to the base of the cake stand and smooth out with a small offset spatula. It should look like snow.
Take the small chocolate candy rocks and create a path in front of the door. I did a curving path but you can also do a straight path.
PRO TIP: If you do not have chocolate candy rocks you can also use grey buttercream and then with a toothpick add the detail of the stone shapes.
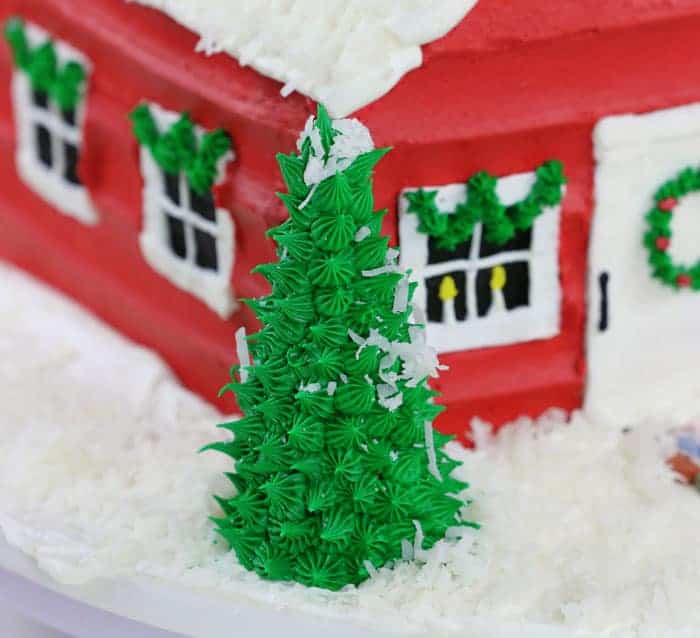
Pick up the sugar cone and pipe green dollops using the #32 tip. I covered one side and then placed it on the cake stand. Once the cone is in place, continue piping out the rest of the cone. This will be a tree.
Ready for the final step? It’s the most fun! Grab your Baker’s Corner Coconut and sprinkle way!

I was kidding… the next part is the best part. Getting to take a bite!!
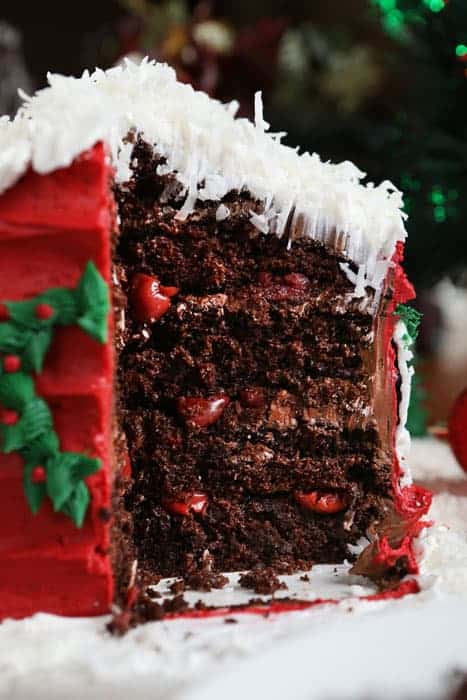
Remember all those glorious cherries we added? They make this cake beyond flavorful and SO moist!! It’s hard to only have one slice.
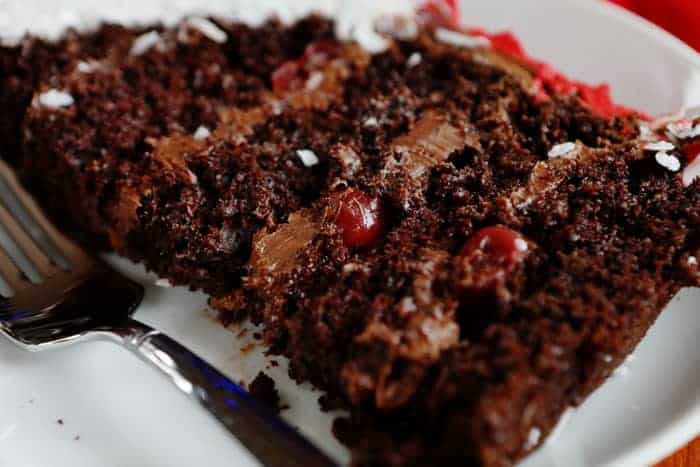
So I may have had two! 😂
Tips, Tricks, Variations
Working with chilled cake is best for this design. If you feel your cake is too soft at any point, pop it back in the freezer. I did not use any supports in the cake, but you can certainly add some skewers for stability.
There are a lot of steps to this cake, so I recommend tackling it over the course of a couple days. Bake cakes and do a crumb coat, chill overnight, prepare buttercream and all the colors needed, the save all the piping and detail work for another day.
The sky is the limit in how you can personalize this cake. Think gingerbread houses… you can add all sorts of candy and details. Let the kids join in and make some amazing memories together!
Thanks so much for supporting the brands that support iambaker. You all know I am a HUGE fan of ALDI and the quality and convenience that they provide so I am just thrilled to be able to partner with them!





Which chocolate cake recipe did you use
Hi Amanda! Going to give this a try for our family Christmas party. I did a similar cake for Halloween and it turned out pretty good. I’m going to place the “house” on a 10″ round covered in snow (white buttercream. You have great ideas that I love to try!