
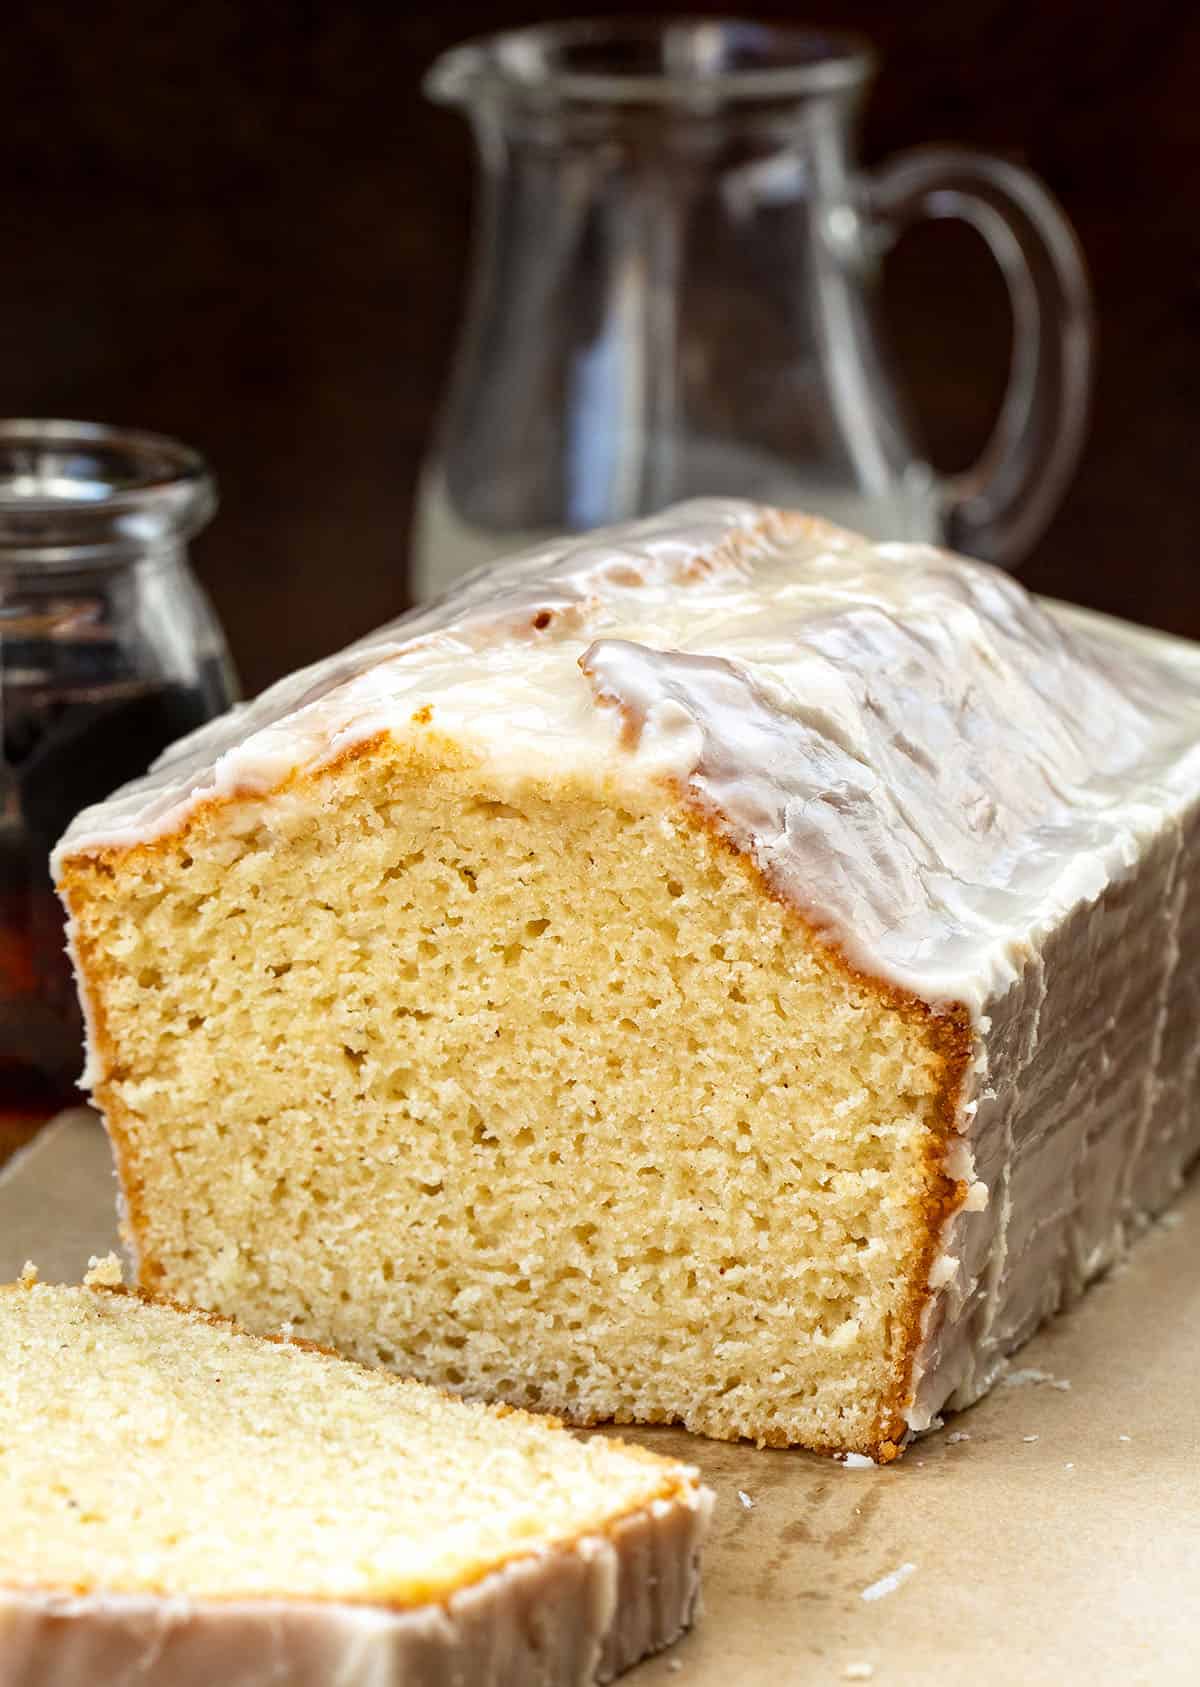
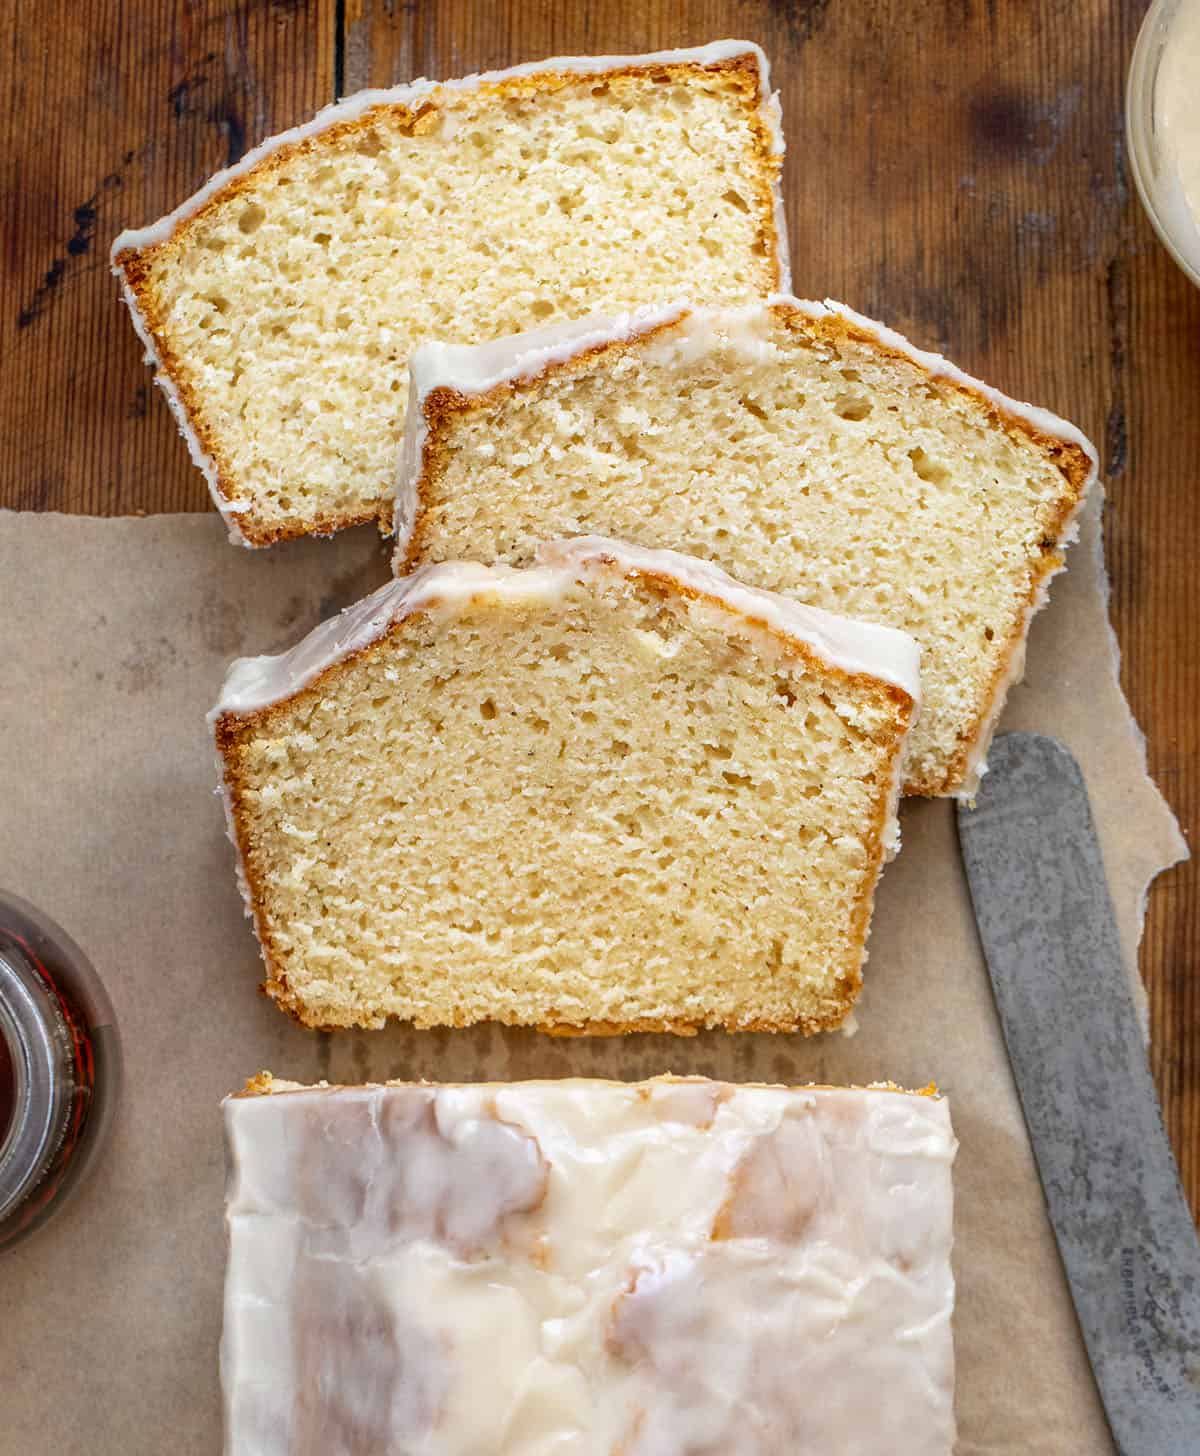
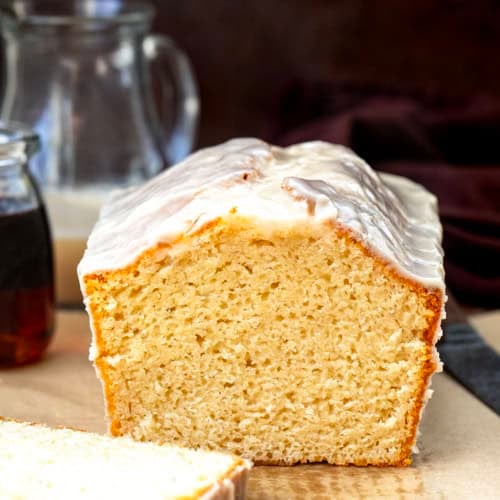
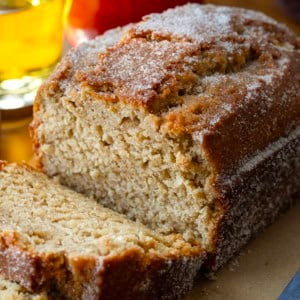
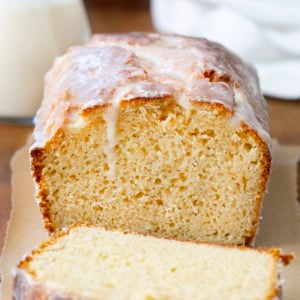
If you already love my Glazed Donut Bread, this Maple Glazed Donut Bread is the cozy next step. Same soft, tender crumb and that classic bakery-style nutmeg note, but finished with a rich maple glaze that sets with a shiny, crackly finish. It tastes like an old-fashioned maple donut in easy loaf form.
The original Glazed Donut Bread is the one that started it all for me, and it remains the version I come back to most. This maple take simply leans into that warm, autumn-ready flavor. Both are simple, no-yeast quick breads that come together fast and slice beautifully for coffee, brunch, or an afternoon treat. If you haven’t made the classic yet, start there, then come back for this one.
Ingredients & Substitutions
- All-purpose flour: Gives the bread structure while keeping it soft and tender. I recommend using all-purpose flour for the best texture.
- Granulated sugar: Sweetens the bread and helps keep it moist.
- Ground nutmeg: Adds a warm, bakery-style flavor that helps give the bread that classic donut-shop taste.
- Whole milk: Creates a soft, tender crumb. You can use 2% milk if needed.
- Egg: Helps bind the ingredients together and adds structure. Use a room-temperature egg for the smoothest batter.
- Unsalted butter: Adds richness and flavor. If using salted butter, reduce the kosher salt slightly.
- Vanilla extract: Adds warmth and enhances the sweet flavors in the bread.
- Pure maple syrup: Use real maple syrup for the best maple flavor. Pancake syrup will not give the same rich, authentic taste.
- Maple extract: This gives the glaze that classic maple donut flavor. I highly recommend using it if you have it.
- Confectioners’ sugar: This creates a smooth, sweet glaze that sets with a shiny, crackly finish.
- Milk or heavy cream: Use just enough to reach a thick but pourable consistency. Heavy cream will make the glaze a little richer.
Tips for the Best Maple Glazed Donut Bread
- Do not overmix the batter. Stir the ingredients just until combined. Overmixing can make the bread dense instead of soft and tender.
- Use pure maple syrup. Real maple syrup gives the glaze the best flavor and that classic maple donut taste.
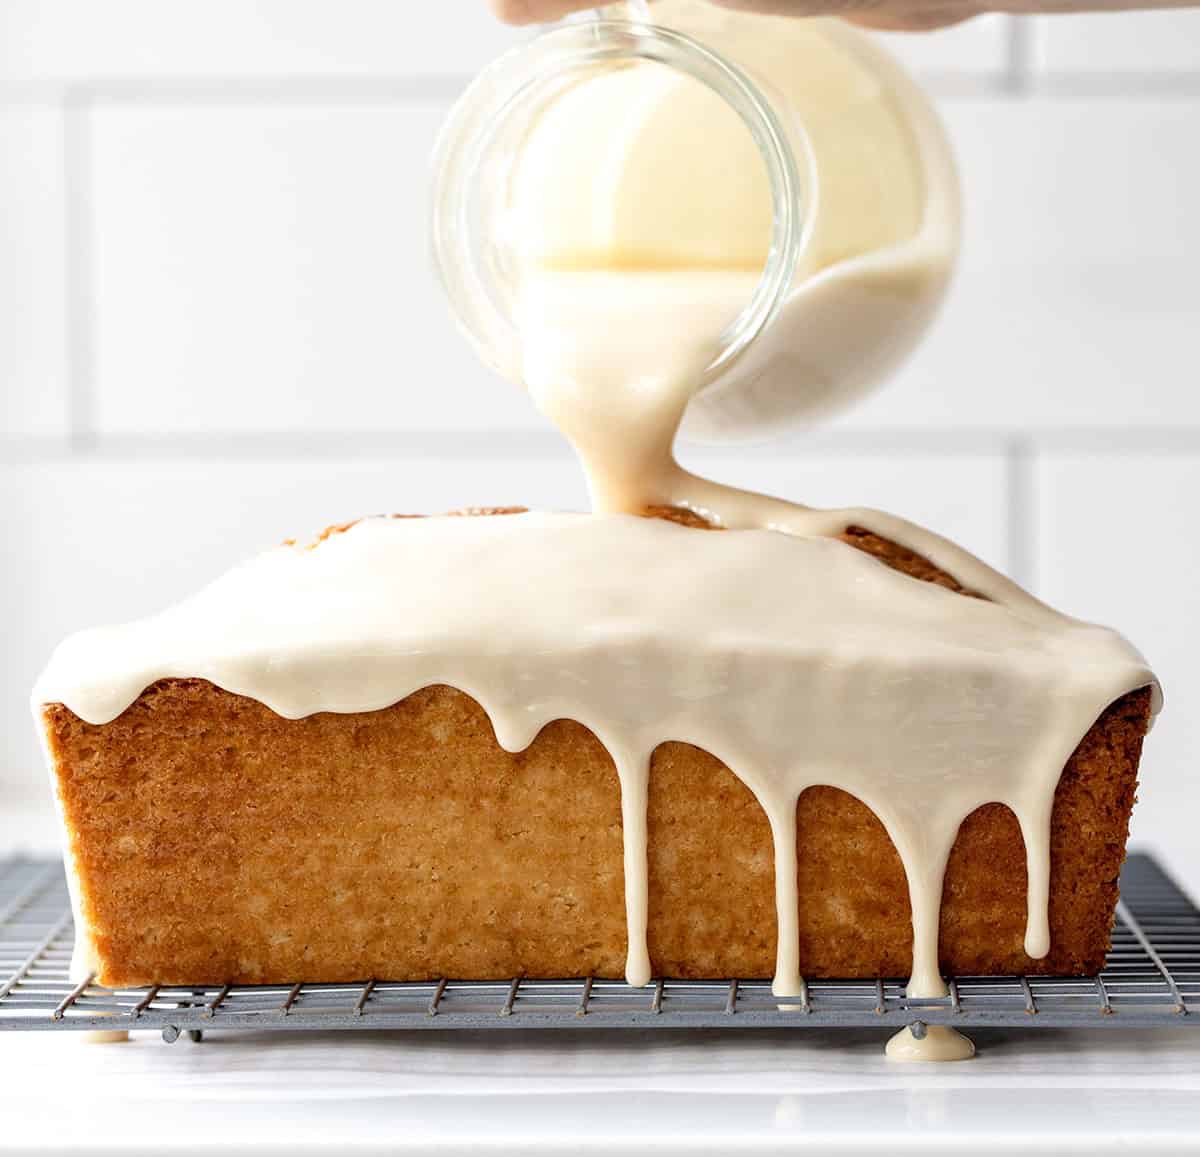
- Let the bread cool slightly before glazing. The loaf should be warm, but not hot, before adding the glaze. If it is too warm, the glaze may melt and slide off.
- Make the glaze while the bread cools. Once mixed, the glaze will thicken as it sits, so pour it over the bread while it is still smooth and easy to spread.
- Use a rack when glazing. Placing the loaf on a wire rack over parchment paper or a baking sheet makes cleanup easier and lets the glaze drip beautifully down the sides.
FAQs
Can I make this bread without maple extract?
Yes! Maple extract can be optional, but it adds a deeper maple flavor that makes the glaze taste more like a classic maple donut. The bread will still be delicious without it.
Can I use pancake syrup instead of pure maple syrup?
You can, but I recommend using pure maple syrup for the best flavor. Real maple syrup gives the glaze a richer, more natural maple taste.
Can I make this bread in a different-sized pan?
Yes! You can bake this bread in a different-sized pan, but the baking time will need to be adjusted. A larger or shallower pan will bake faster, while a smaller or deeper pan will take longer. Bake until a toothpick inserted in the center comes out with a few moist crumbs.
Can I make this bread without the glaze?
Yes! The bread is soft, sweet, and full of vanilla flavor on its own. But, the maple glaze is what gives it that classic maple donut flavor and bakery-style finish.
Can I add mix-ins to Maple Glazed Donut Bread?
Yes! Chopped pecans or walnuts would be delicious in this bread. You could also add mini chocolate chips, but keep in mind they may slightly change the maple donut flavor.
How to Store Maple Glazed Donut Bread
Room Temperature: Store Maple Glazed Donut Bread in an airtight container or tightly wrapped at room temperature for up to 3 days. For the best texture, keep it covered so the bread does not dry out.
Refrigerator: I do not recommend refrigerating this bread. The cool, dry air of the refrigerator can make quick breads lose their soft texture.
Freezer: To freeze, wrap the bread (without the glaze) tightly in plastic wrap and place it in a freezer-safe container or bag. Freeze for up to 3 months. Thaw at room temperature, then add the maple glaze before serving for the freshest flavor and texture.
Maple Glazed Donut Bread
Ingredients
Bread
- 2 cups (250 g) all-purpose flour
- 1 ½ cups (300 g) granulated sugar
- 2 teaspoons baking powder
- ½ teaspoon kosher salt
- ¼ teaspoon ground nutmeg
- 1 ¼ cups (306 g) whole milk
- 1 large egg, room temperature
- 2 tablespoons unsalted butter, melted
- 1 tablespoon vanilla extract
Maple Glaze
- 2 cups (250 g) confectioners' sugar
- ⅓ cup pure maple syrup
- ½ teaspoon maple extract
- 2 to 4 tablespoons whole milk, or heavy cream
Instructions
Bread
- Preheat the oven to 350°F. Spray an 8½ x 4½-inch loaf pan with nonstick cooking spray.
- In a large bowl, whisk together the flour, sugar, baking powder, salt, and ground nutmeg.
- In a separate bowl, whisk together the milk, egg, melted butter, and vanilla extract until well combined.
- Add the wet ingredients to the dry ingredients. Stir just until combined. Do not overmix; the batter will be slightly thin.
- Pour the batter into the prepared loaf pan. Bake for 60 to 70 minutes, or until a toothpick inserted into the center comes out with a few moist crumbs.
- Let the bread cool in the pan for 10 minutes. Then remove it from the pan and place it on a wire rack. Let it cool until just warm, about 20 to 30 minutes.
Maple Glaze
- In a medium bowl, whisk together the confectioners' sugar, maple syrup, maple extract, and 2 tablespoons milk until smooth. Add more milk, 1 teaspoon at a time, until the glaze is thick but pourable. It should coat the back of a spoon and drip slowly, like a classic donut glaze.
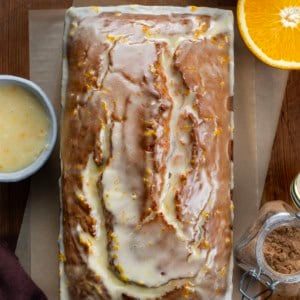
- Place the warm loaf on a wire rack set over parchment paper or a baking sheet. Slowly pour the glaze over the top, letting it drip down the sides. Use a spoon or offset spatula to help coat the sides evenly, if needed.
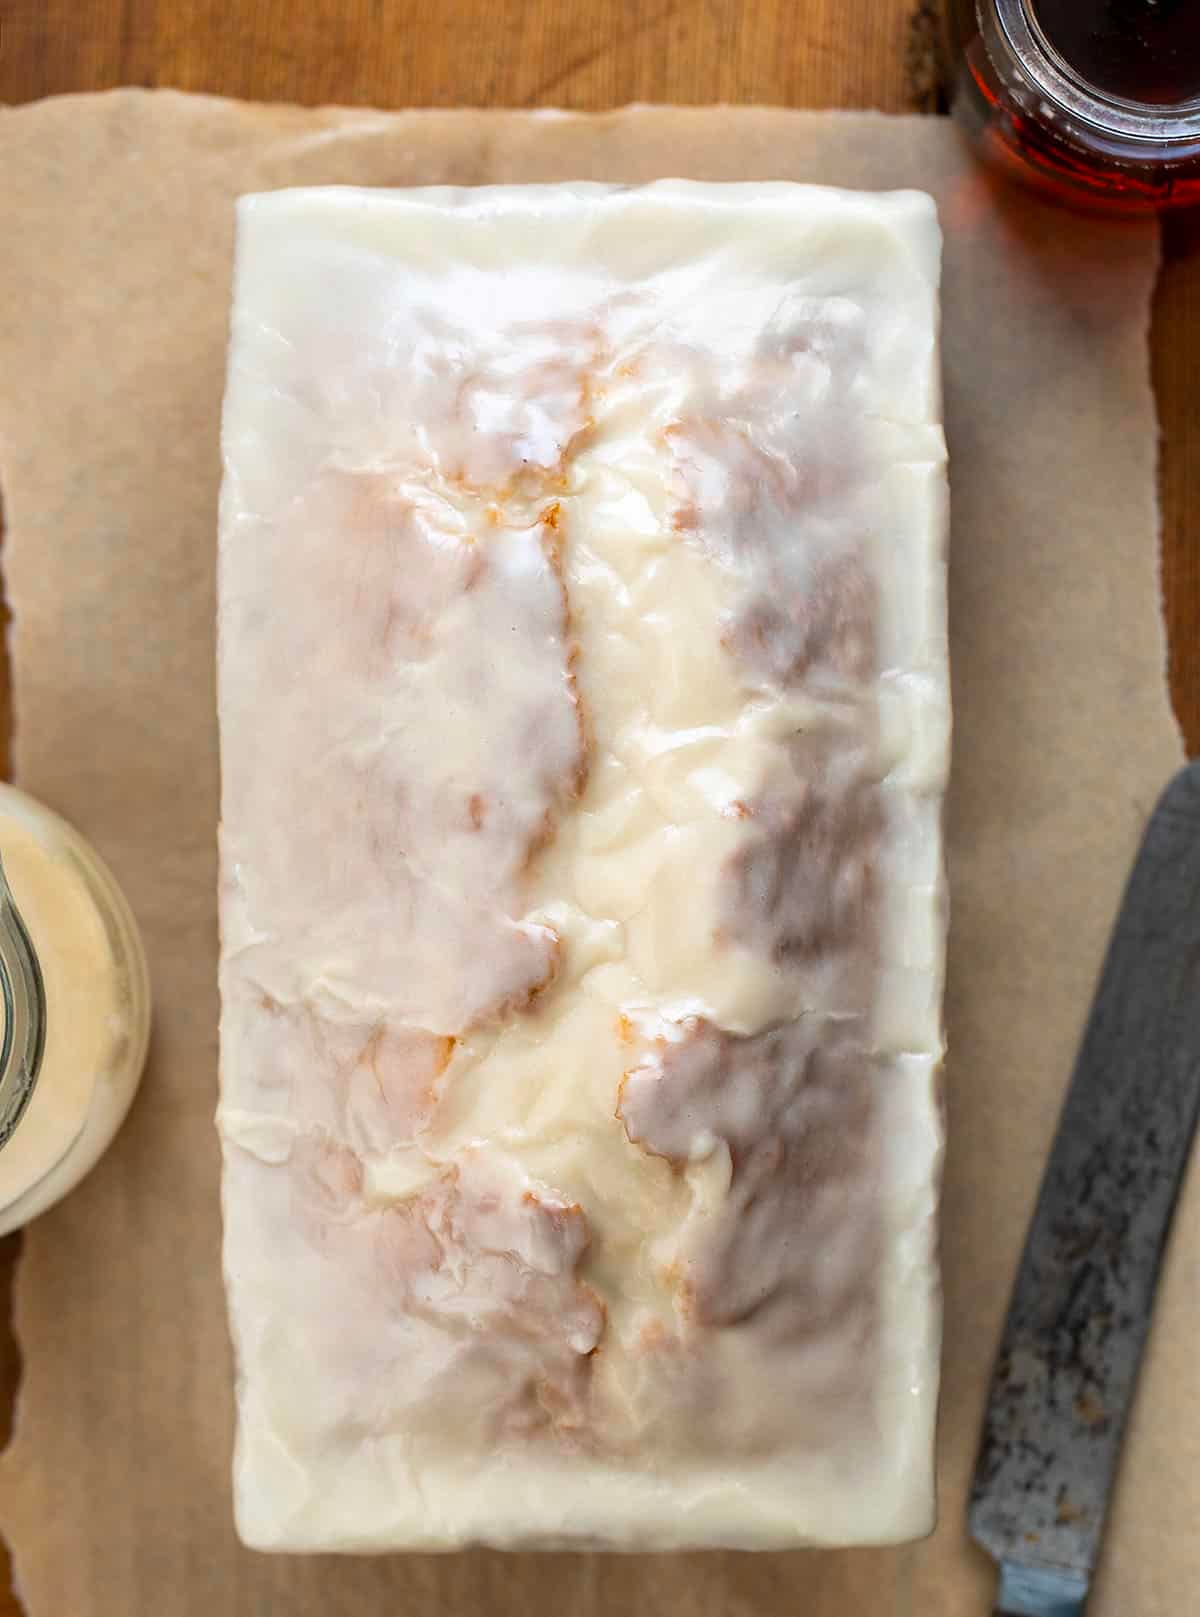
- Let the glaze set for 20 to 30 minutes, or until firm with a shiny, crackly finish, before slicing and serving.
Did you make this recipe?
Thank you for making my recipe! You took pictures, right? Well go ahead and post them on Instagram! Be sure to mention me @iambaker and use the hashtag #YouAreBaker.










Do u have no sugar recipes or very low sugsr
I don’t focus on no or low sugar recipes, sorry.
Can we substitute buttermilk for the whole milk? Would that work?
Thanks in advance,
Natasha
Hi Natasha! Yes, you can use buttermilk in place of the whole milk if that’s what you have on hand. 😊 The loaf may have a subtle tang, but it should still turn out well. If possible, I still recommend whole milk since that’s what the recipe was developed with, but buttermilk is a perfectly reasonable substitute. I hope you enjoy it!
I made this for the first time, oh my, so amazing. I used gluten free flour and was prefect.
It is perfect warm and the glaze is oh so good. Will make this again.