VIDEO of this cake below!
This Brown and White Illusion Cake was fun to recreate, and more fun to eat! (I originally saw this design on Danielle Faria‘s page)
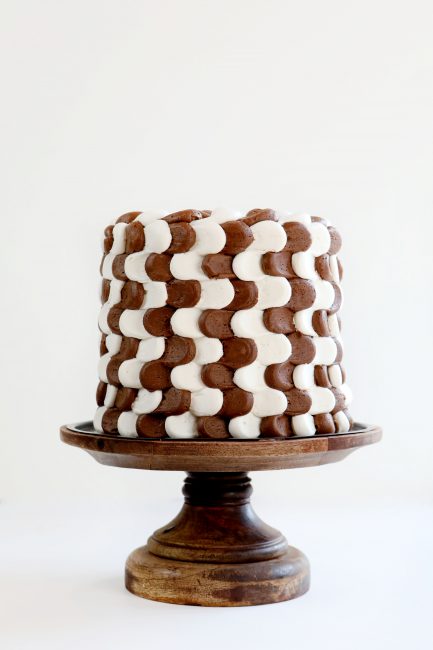
Before making this cake I assumed it would be fairly straight-forward and simple. However, I ran into quite a few issues!
The consistency of my chocolate frosting was off. Far too many air pockets! To make sure this doesn’t happen again, I will pop my buttercream into a food processor until smooth.
The placement and consistency of the petals: they should be VERY uniform in size and placement. I would inadvertently cheat over 1/4 an inch or so and it makes a big difference in the overall look. It’s important to also apply the same amount of pressure every time you place a dollop, and this requires a bit of focus.
Cleaning the tips frequently. I kept having little bits of frosting on my dollops because I didn’t clean the tip well between each use. (By cleaning it I mean wiping off the excess frosting from around the tip) I actually went back with a toothpick and tried to clean up the edges of the dollops!
The back is a mess. A mess! I didn’t quite know how to end the dollops so I swiped up, thinking I could pipe over the tail on the next go round. Well, that was not a “pretty” way to end it. I think just adding a dollop and leaving it might be best.
I couldn’t figure out what to do on top as going in a concentric circle is very different than going around the cake. I think I will play around more with this… try doing 2 dollops of the same color then moving to the next. Something to reinforce the design better!
My technique… it was wrong.
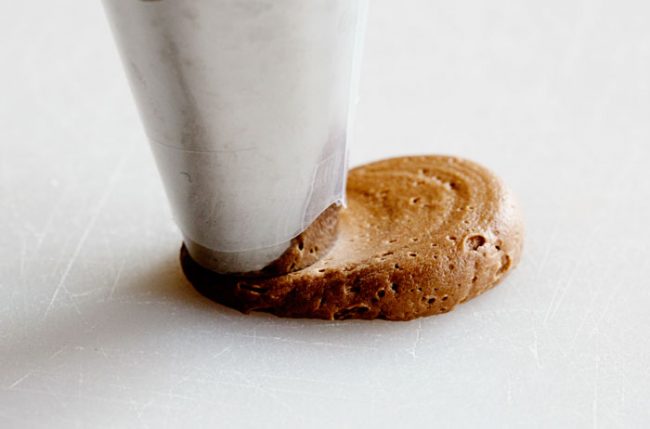
I did a “dollop and drag” meaning that I used my tip to drag the frosting away from the dollop.
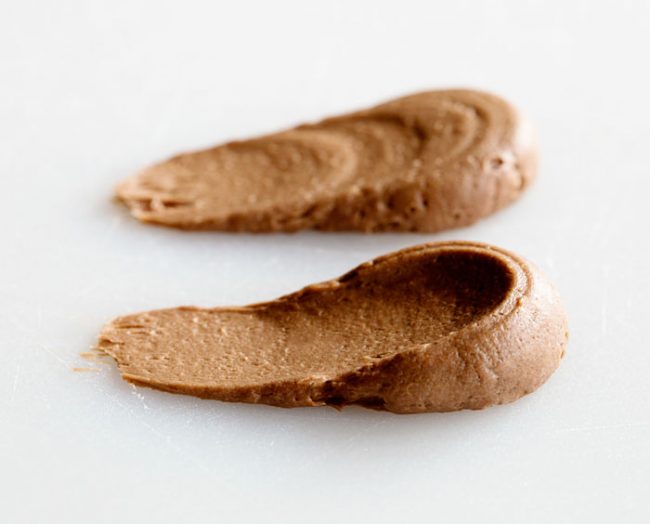
The other version of that is to make a dollop then use a small offset spatula to drag the frosting down. This method is the one I would recommend, as the ‘drag’ on this cake is important. Now, this method is quite a bit more time-consuming! You do a chocolate dollop. Set your bag down. Pick up offset spatula. Swipe down in the frosting. Pick up your white frosting. Repeat. Over and over and over again.
But… it just may be worth it! 🙂 This cake really does capture people’s attention!
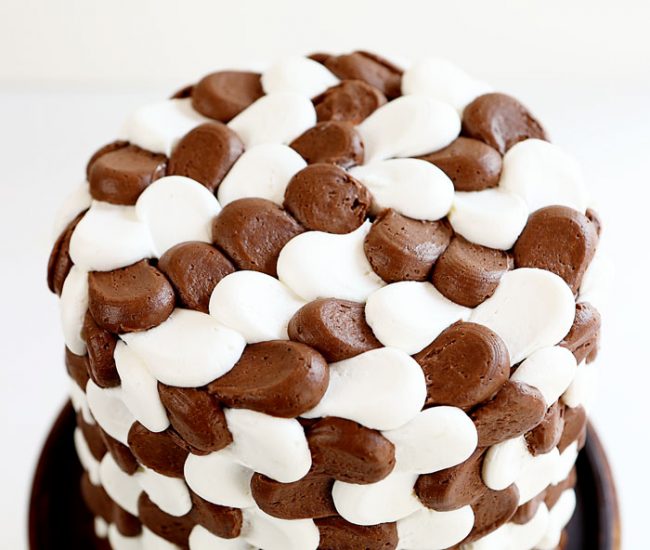
Here is the top. I changed my mind after the second row and decided to keep piping in the same direction. Whoops!
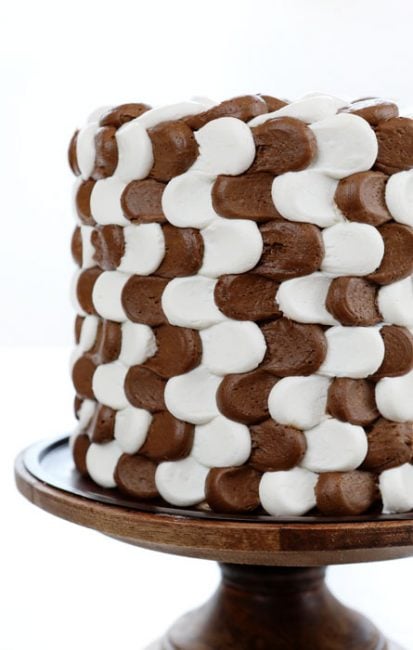
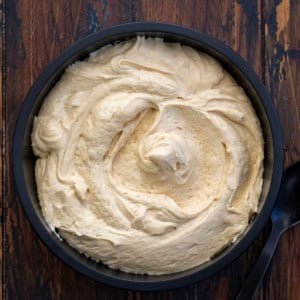
I used this whipped chocolate buttercream and whipped vanilla buttercream. I placed the frosting in pastry bags (my double bagging method) and used a #208 Ateco tip. (large open round tip)
I made a chocolate cake and baked it in 3 6-inch round cake pans.
Soooo… hopefully, I haven’t convinced everyone to NOT make this Brown and White Illusion Cake! I know that if you put a few minutes into planning BEFORE you make it (unlike me! lol) you will have great success!!
A big THANK YOU to my friends in the SUPER BAKING FRIENDS baking group! They helped name this cake! 🙂


Hi there, live your recipes!!! I have a question… Food processor, can I use a blender instead? Will it work?
Thank you so much
Love***
Not as well!
Gorgeous Amanda (as always) – what a talent. This cake is So unique. Looking forward to more – keep them coming…
Could you place a line of dollops up the cake using one flavor rotating the direction of the dollop? Then use the spatula to spread each one out and switch the color of frosting and do the same? That way you don’t have to put the bag down as much. Just a thought.
I am going to make “the perfect chocolate cake”. Instead of using brewed coffee, how do I substitute espresso powder? Can I mix with water and use. Suggestions will be helpful
Yes, you can use hot water then add the espresso powder to the water. 🙂
WOW! You are so talented! I am so impressed! Gorgeous cake!
Your Chocolate Brownie Cupcakes sound real good, will give them a try!