Remember this little thing?
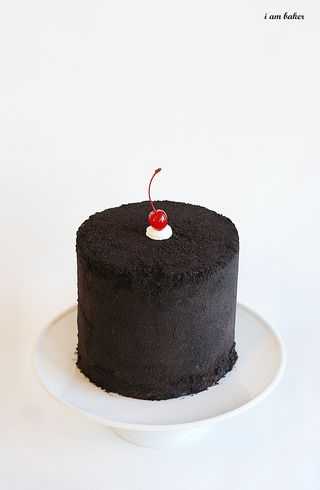
You guys rock! You totally embraced my inability to count calories! *happy sigh* Don’t think I could love ya more.
Well, I am delighted to show you how to make this bad boy.
I started out with this white cake recipe. Its a bit more dense due to the fact the I used regular flour and not cake flour. I needed something sturdy to stand up to the powerful punch of the insane amount of chocolate on this cake. But if you prefer a light, airy cake I would definitely just try your favorite white cake recipe. (that or use cake flour in the one I used)
What you will need:
One white cake (I used six inch pans for a nice thick cake)
2 boxes chocolate covered cherries
1 bottle hot fudge (or make your own!)
1 package of Oreo crumbs (you can also make these on your own but *speaking from experience* I would just buy the pre-crumbed crumbs. And that concludes my technical mumbo jumbo for the day.)
Frosting of choice. I used a creamy vanilla. I like it, but am still perfecting it so no recipe yet! Sorry! Here is a sweet buttercream if you are so inclined.
Directions:
Bake cakes.
Place a few pieces of wax paper around the base of your cake stand. This is pretty important!
This cake could be a big mess if you skip this step. Trust me on this.
Set one cake round on cake stand and use about 1/4 cup of frosting for center layer.
Add chocolate covered cherries.
One for the cake, one for your belly.
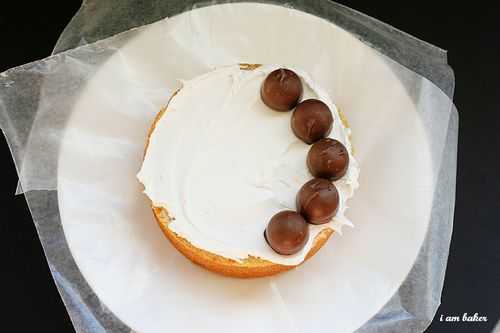
Repeat until cake is covered. Ok maybe you dont have to follow the instructions verbatim, cause that would mean you just ate 15 chocolate covered cherries and that is really just ridiculous!
Why would I suggest such a thing?!?!?!
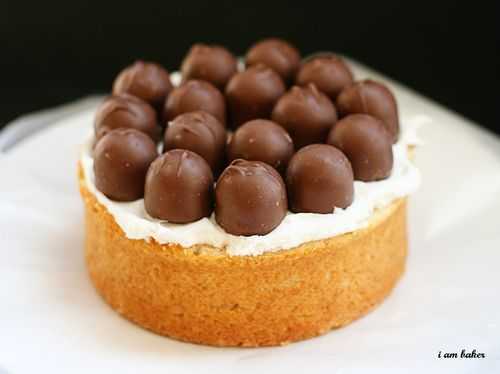
You could stop right here cause I mean… really. Hello delicious. But remember how much we love calories? Bring on the frosting!
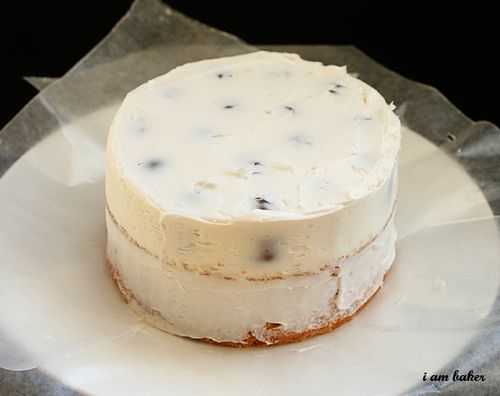
I simply took a knife and spread frosting over the cherries and in between, then smoothed it out.
Right into the freezer for at least 30 minutes! I really want this frosting layer to set up and be study for our next layer of cake.
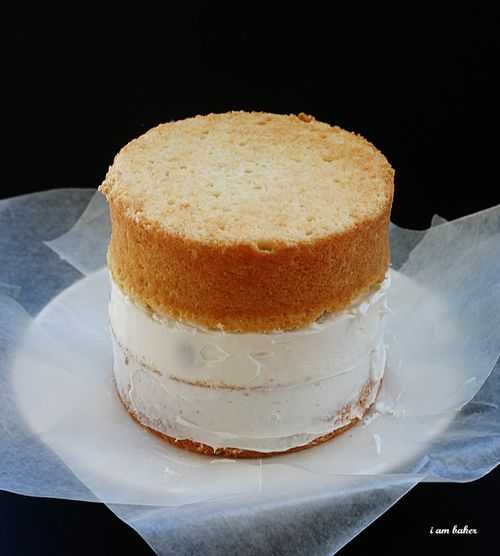
Remove from freezer and place remaining layer of cake on top.
Cover with crumb coat.
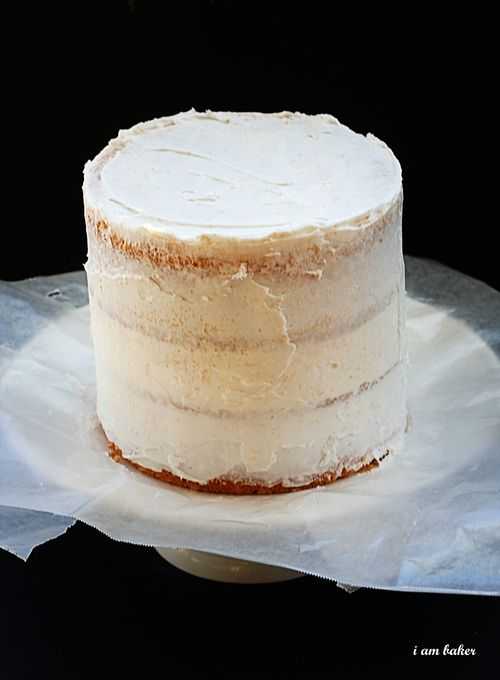
I would get it smooth but it certainly doesn’t have to be neat! The next layer is where we get messy.
Put back in freezer for 30 min. or more, or fridge for at least an hour.
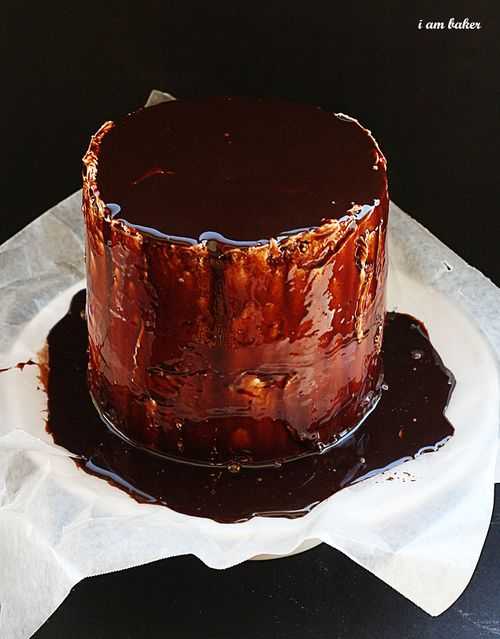
Take your hot fudge (that should not be hot temperature wise!) and poured it over the cake until every inch was covered.
(Please pretend there is a picture here of an Oreo crumb covered cake… whoops!)
I then took Oreo crumbs and just smashed them into the cake. This got pretty messy.. so when I was done I took a fondant smoother and made a nice, clean, flat surface.
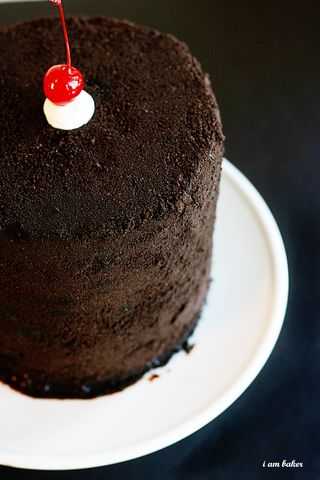
I put it right in the fridge to set up before removing the wax strips around the base. Getting the crumbs to really adhere to the hot fudge and frosting is important for a nice clean cut.
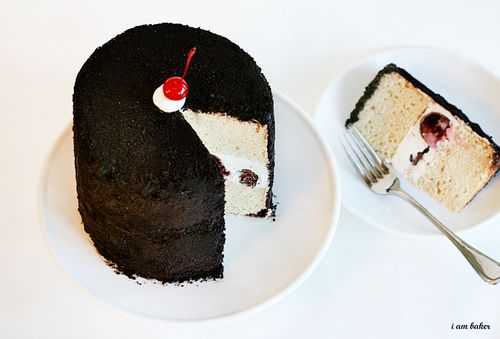
Then put a little dollop of frosting and added a cherry on top.
Fun and easy and oh so delicious!
You can obviously play with this cake and have fun with the design and ingredients… but one thing I would not change is the chilling part. You really want those layers to get sturdy and stay that way!
You can serve it chilled or at room temp. When it is at room temp. the chocolate covered cherries ooze that glorious creamy cherry filling over the cake and add such fantastic flavor!!
Be sure to let me know if you try it!



to this day, i still say ‘pretty please with a cherry on top’… 🙂
rockin’ cake, amanda–thanks for the tutorial!
You are a calorie-evil GENIUS!
I have to admit, I’m not a big chocolate covered cherry fan…actually, I’m not even a little chocolate covered cherry fan. But my mom LOVES them, so this will be great to make for her when she visit! Plus, it’s such a fantastic idea for other candies!!! Not to mention the fact that it’s absolutely gorgeous! Beautiful job!
Totally and completely amazing…
Amazing as usual …. xox
This looks amazing! Great picture tutorial.
I’d love to have you share this recipe with Sweet Tooth Friday! http://alli-n-son.com/2011/02/24/cream-cheese-brownies/
This cake looks gorgeous! I’m definitely gonna hafta try it!
Yay! Thank you for posting the tutorial. I will let you know if I make it for my birthday…and IF I share it 🙂
Man – I remember this cake. So incredibly stunning. I can only dream making one that looks as good as yours.
Thank you! I am so going to do the chocolate covered cherry layer for my daughter. She LOVES them and she turns 30 in May! YIKES! THANK YOU again for the amazing cake, Amanda!