UPDATE: Full tutorial now posted!
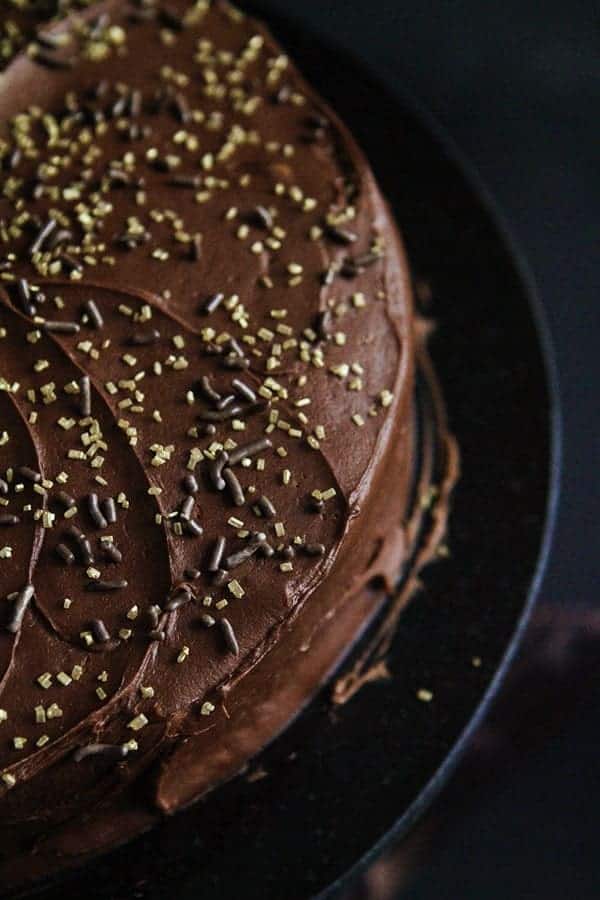
This cake is one of my “crazy” ideas. I didn’t really think it could happen. But then it happened. And it wasn’t that hard. And I am super excited to share it with you my New Year’s Eve Countdown Cake!
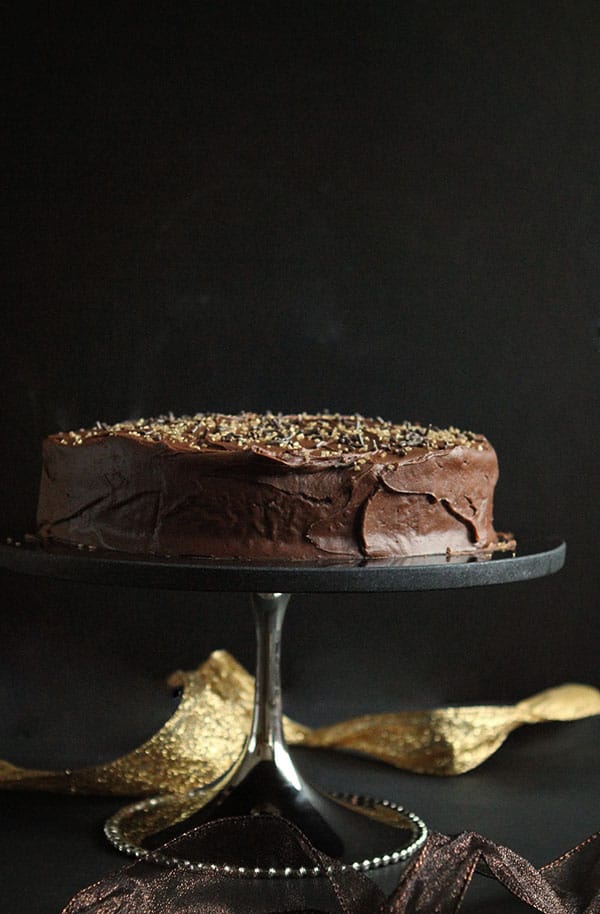
New Year’s Eve Cake
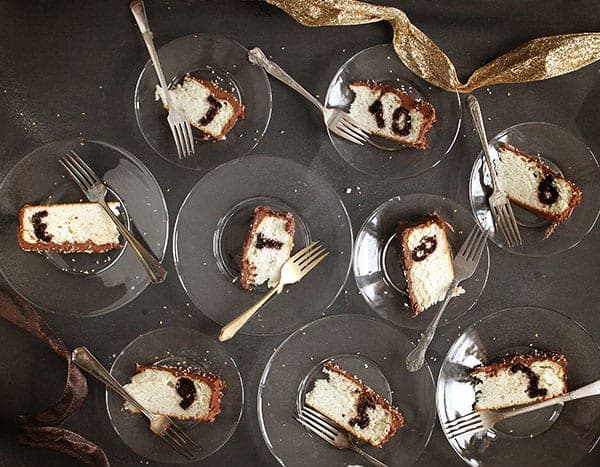
This cake is a showstopper for sure! Just imagine your guests gasping in delight when you cut into the first piece and there is a 10 there. The ‘9’ is peaking inside… and once you remove the 9 there is the ‘8’. This cake counts down the New Year with you! And… it’s not that hard!
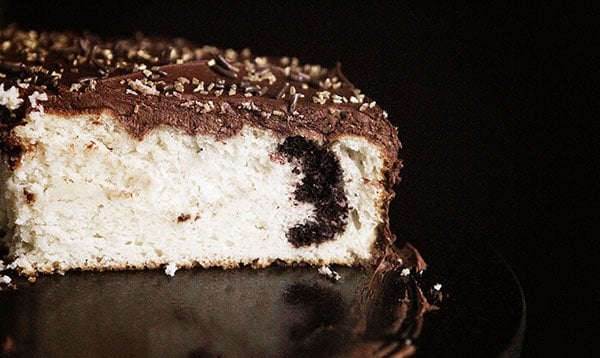
How to Make a Countdown Cake
Begin by making a chocolate cake in a sheet pan. (You want the pan to be approximately 12 x 18 inches.) Make cake then freeze the cake for at least 2 hours.
Remove cake from freezer. Using number cookie cutters, start by pressing a ‘1’ (or the number of your choice) into sheet cake. If the cake feels at all crumbly, put back into the freezer. Press ‘1’ into the cake and then remove cake from the cookie cutter. Set it on a parchment lined cookie sheet.
Repeat this process for all numbers. Make three sets of each number, even though you will only use two in the cake. The extra set is ‘just in case’. So you will press out three sets of 10, three 9’s, three 8’s, three 7’s and so on.
Place cut out cake numbers back into the freezer. You want them to be frozen when inserting into the white cake batter.
Prepare white cake batter and pour HALF of the batter into a prepared 9 inch round cake pan. To make this easier I pour my cake batter into a 4-cup measuring cup, then pour out approximately 2 cups into my cake pan.
Starting with the 10, place the 1 and 0 into batter-filled cake pan. Make sure there is at least 1/2 inches between the number and the edge of the pan. Place two 10’s back to back so that it’s about 3 inches thick. Now place two 9’s in the pan directly behind 10.
Continue placing numbers into the pan in a circle, working back from 10. Once you are about halfway around the pan, check to make sure that you are working on the number 5. 10-6 should take up half the pan and 5-1 should take up the other half. If you have any extra space, simply fill in with 1’s.
PRO TIP: Mark your pan so that you know where the 10 is. You can either make a dot with a black permanent marker or drop a small piece of chocolate cake on top of the batter where your 10 is. (This will most likely be trimmed off when/if you level the cake.)
Carefully pour remaining batter over numbers making sure to cover them completely.
Bake cake for approximately 45 minutes at 350 degrees. Keep an eye on it and test to make sure center is completely cooked.
Remove from oven, let cool for a few minutes, then place in freezer for at least an hour. (You can freeze the cake up to 3 months, just make sure its properly covered.)
When ready to frost cake, remove it from the freezer. If needed, level cake.
Make note of where the “10” is on your cake then remove cake from the cake pan. Place on the cake stand and mark where your 10 is. You can use a piece of tape on the cake stand to mark.
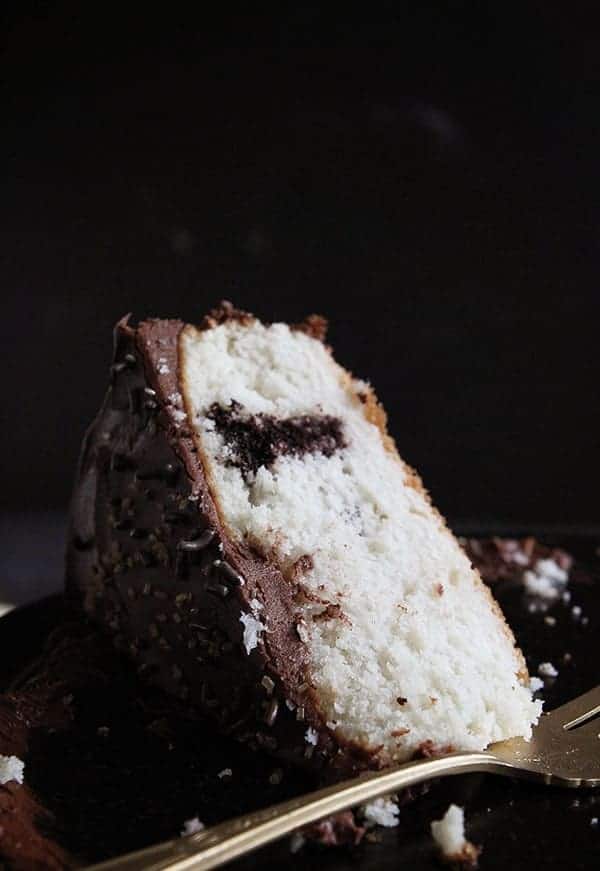
When you are ready to cut into your cake, just make sure you make your cut where the ’10’ is. Cut each piece about 2-3 inches thick. You will then be removing the pieces in descending order.
Find the tutorial for this cake here!



This is great… Endless possibilities here – like a decade countdown to a BIG zero birthday!
I am dying to know how you did this. I want to try it for new years 🙂
That’s fantastic! You really are so creative! Plus, then you had to cut the cake into perfect tenths AND remember where the 10 was AFTER YOU PUT THE ICING ON. Amazing!
Wow.
That is SO cool, Amanda!!
wow! as usual great job Amanda!
You just never cease to amaze me! I made the faith cake and frosted it with roses for Christmas and it was a HUGE hit. Thanks for your great tutorials!
Awesome! I’d love a tutorial so I can make it for new year’s. How did you know where to slice it?
xo
Pat
Oh my goodness, this is such an amazing cake! I lovelovelove the numbers on the inside! I shouldn’t be surprised because all of your surprise inside cakes are incredible, but this is just so cool! 🙂
Seriously?? That is way too cool!!