Using a simple technique for cake decorating can create a beautiful design! Some yellow and blue frosting and a few decorating tips are all you need to create this Crescent Moon Cake!
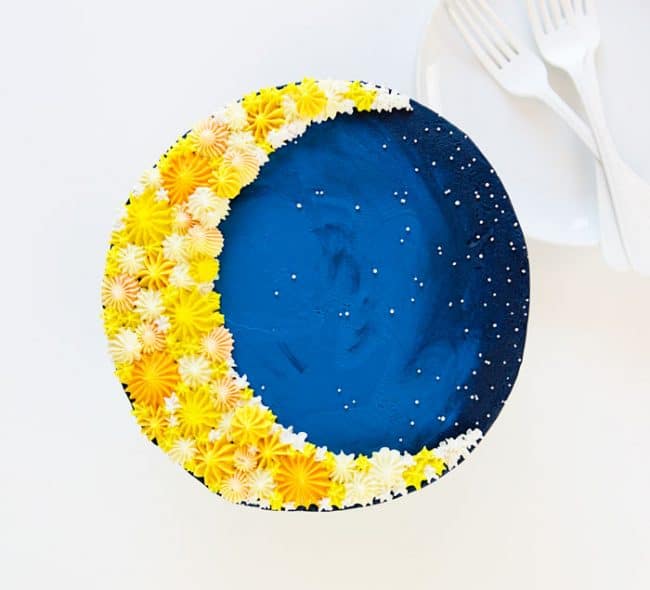
How to Make a Moon Cake
To make this cake you will need:
food color – McCormick® blue, black, yellow
piping tips (see my tips here)
disposable pastry bags
bench scraper
small offset spatula
white non-perils
fondant smoother
Begin by baking your chocolate cake in two 8-inch round cake pans. Cool and level if needed.
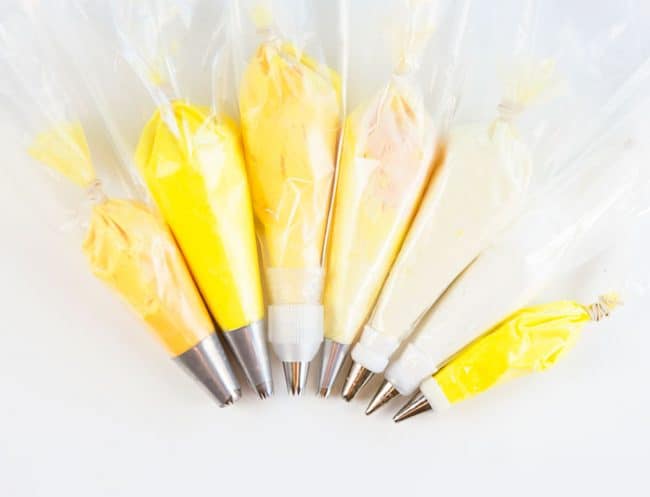
Now prepare buttercream. I prepared two batches. The first batch was tinted various shades of yellow using McCormick® yellow food color. I simply divided my buttercream between 4 bowls and added 1 drop of yellow to the first bowl, the 4 drops to the next bowl, then 6-8 drops to the next bowl, and about 15 drops to the last bowl. You can also reserve some of the buttercream and leave white.
I used 8B, #864, #32, #18, and #16 tip. I tried to use the largest tips (8B and #864) with the largest colors.
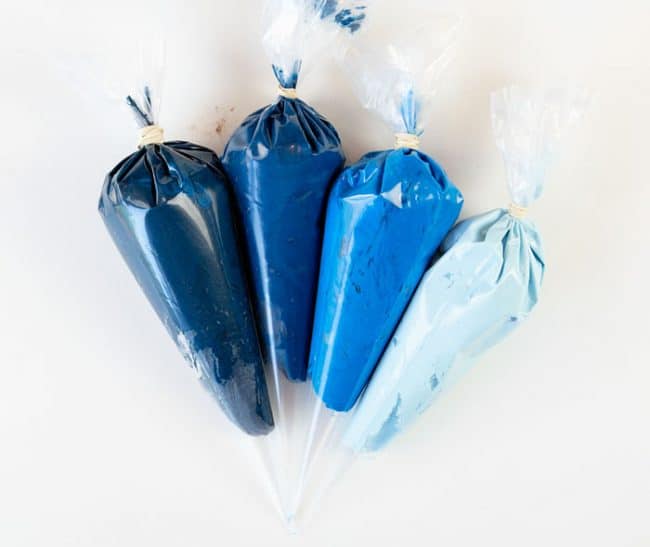
The next batch of buttercream was tinted 4 shades of blue.
I did this similar to the yellow buttercream in that I just kept adding more blue food color to achieve a deeper shade. For the darkest 2 blues, I added a little black food color to achieve a deeper shade of blue.
To assemble cake:
Place one layer of chocolate cake on cake stand. (My cake stand was sitting directly on top of my rotating cake stand)
Pipe out a layer of the lightest blue buttercream and smooth out. Add next layer of chocolate cake on top.
Cut off the tip of the darkest blue frosting bag and then pipe around the bottom of the cake going about 1/2 way up the side. Repeat this with the next blue, going around the side of the cake and once around the upper edge of the cake.
Use the 2nd lightest blue around the top of the cake.
Now take your bench scraper and smooth out the sides, allowing the colors to blend together. I used my small offset spatula for the top of the cake.
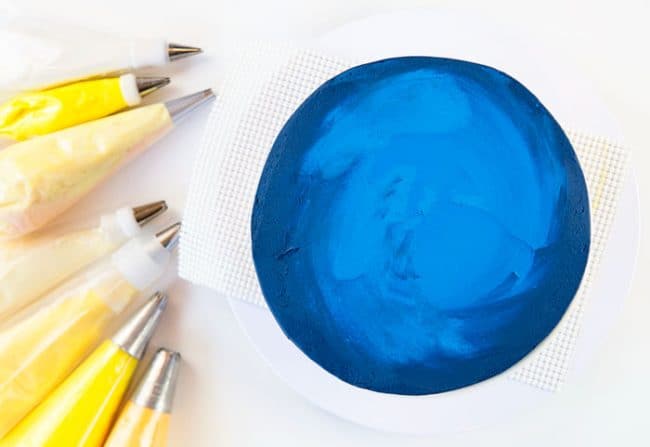
Once the frosting has been smoothed out, you can start piping!
I used the darkest yellows with the biggest piping tips. I tried to be sparing with those dark c0lors and then fill in with the lighter shades of yellow. I used the tiniest tips (#16) for the points of the crescent moon.
Here is a video on how I put that together:
Once you are done piping the crescent moon you can add the “stars”. For this, I simply pressed small white non-perils into the sides of the cake as well as sprinkled over the top. On the top of the cake, I tried to only place a few next to the moon itself and then add more along the edge of the cake. I used my fingers to press the non-perils in and then used the fondant smoother to press them into the cake as well as smooth out the sides.
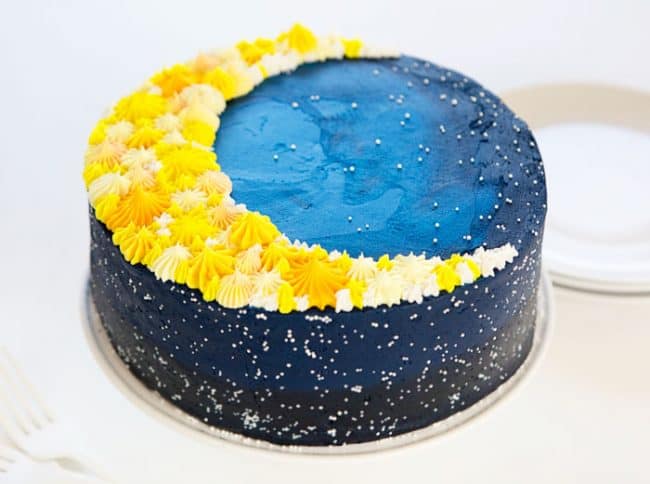
You can leave off the non-perils or even pipe on little stars if you prefer.
This Crescent Moon Cake comes together very quickly and easily. And my kids were beyond delighted when they saw it! <3



How can I order
Fun & easy to make
I made this for my kid’s birthday party and it turned out beautifully. Thank you for this recipe (and for the video – very helpful)!