I was browsing through some pictures for the book and realized that they all looked the same.
White background with a cake in front of it. Maybe some plates. Some forks.
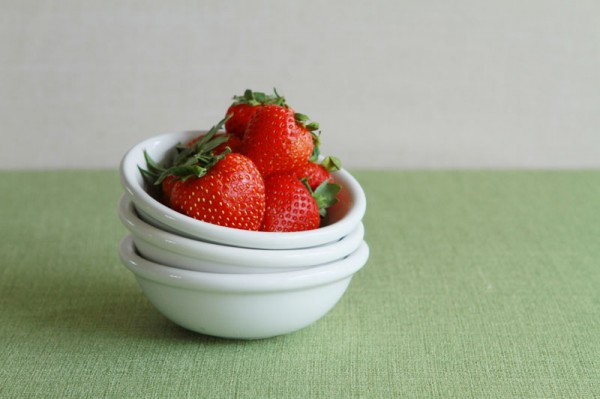
White background.
White, white, white. Then more white.
This will not do!
So I pulled up pinterest and entered photography backgrounds.
I just adore pinterest. Everything you could want or dream to one day be/have/do.
And, as it always does, I was inspired by all the ideas that pinterest offered!
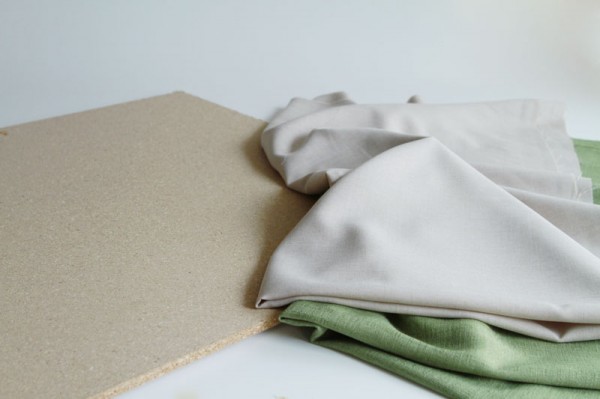
I got a few pieces of MDF, each measuring 2 feet by 4 feet. (You can use cardboard, particle board, plywood, anything that is sturdy enough to hold its shape.)
Then grabbed my trusty staple gun.
And some fabric remnants I got at the fabric store.
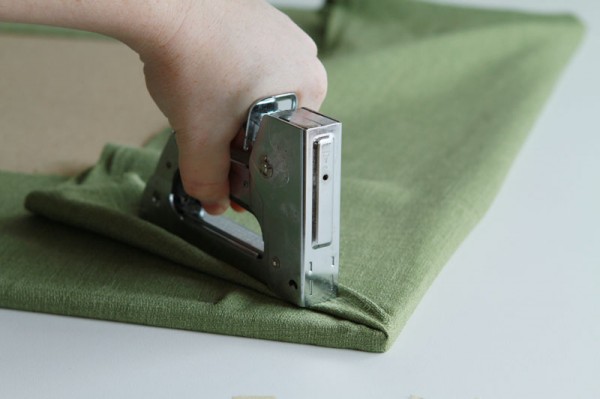
Then simply wrapped the fabric around the board and started stapling. I always pull the centers tight and staple, then work my way out to the corners.
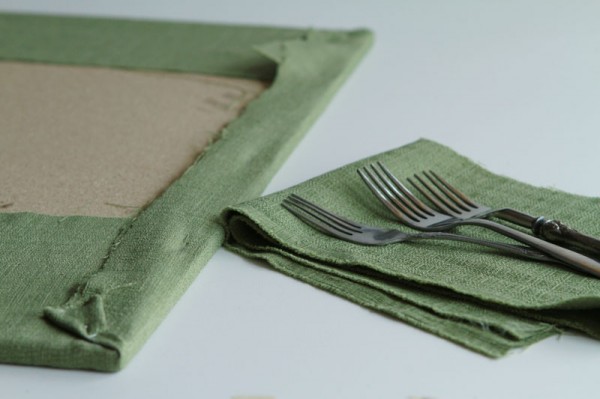
I was careful cut the excess fabric when trimming the back… if there is enough left it can be used as coordinating napkins!
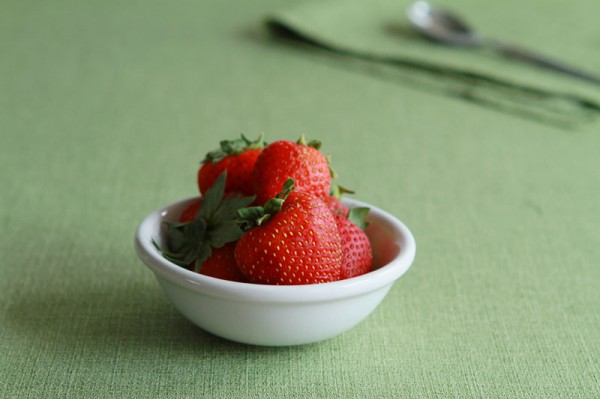
This is the green background.
I really, really liked how it turned out. Seriously, this project took about 30 minutes (total!) and I now have some great options for the backgrounds of those silly cakes of mine!
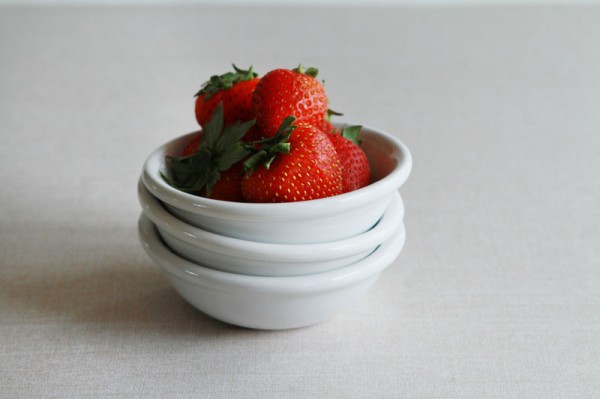
And this is the khaki linen. I choose pretty neutral colors as I am hoping they help make the food really stand out.

And this is both the green and the khaki! There are really versatile and very inexpensive.
Next I will be tackling the faux-wood backgrounds! If you have any great links or tips please feel free to share. 🙂
There is still time to enter the KitchenAid 7QT Commercial Mixer giveaway! It runs through Dec. 5th.



Wonderful tutorial Amanda!! Ok, here’s my “hot” tip for the week. Lowe’s sells packages of wainscotting – beadboard (which is already primed!) and a wider ( about 3 inches) version. From each package you can make two boards – just get a little bottle of wood glue and glue the boards together – they are already cut with a tongue and groove so it’s pretty easy! This will give you 4 different wood surfaces – pretty good for about $10 – $11!! Next hot tip – find a wood stain you like and stain one side – then to add some depth use Bri wax (you can find it at a good hardware store – found mine at our local Ace). or just plain old Johnson’s furniture wax (the stuff in the yellow can). Gives a subtle sheen to the stained wood!!
Hoping to do a little tutorial on the blog about this soon!!
These are actually great ideas!!!
This is great, Amanda! And its so much easier (for me) than painting 🙂 Thanks so much for sharing. I needed this inspiration. Cheers!
Ooh very clever and super effective! I think your photos are amazing, helped slightly by the fact everything you cook looks delicious!
I remembered seeing this tutorial about making the wooden tops, might be useful 🙂
http://www.jasonandshawnda.com/foodiebride/archives/7848
Sara
Great colors that you chose, Amanda!
Love this! I am always looking for new photography inspiration 🙂
Thank you for the amazing photography info! I think you need to add a tab….I am Photographer!
Let me just say, I LOVE your site! I’m an amateur food photographer myself (although you are much better) and I feel like I’m constantly just faking it. Glad to see that someone as good as you feels the same way. I love your tips and I will actually use them. Thanks! XOXO
these are great tips. I would never have guessed that this is fabric. It looks like painted wood. Great ideas and I needed some inspiration as my food photography is falling flat lately. Thanks.