I was browsing through some pictures for the book and realized that they all looked the same.
White background with a cake in front of it. Maybe some plates. Some forks.
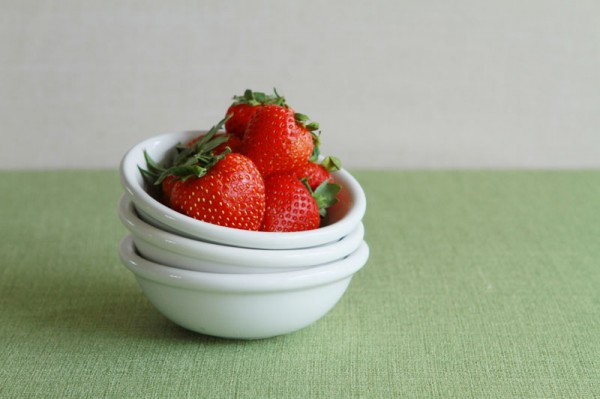
White background.
White, white, white. Then more white.
This will not do!
So I pulled up pinterest and entered photography backgrounds.
I just adore pinterest. Everything you could want or dream to one day be/have/do.
And, as it always does, I was inspired by all the ideas that pinterest offered!
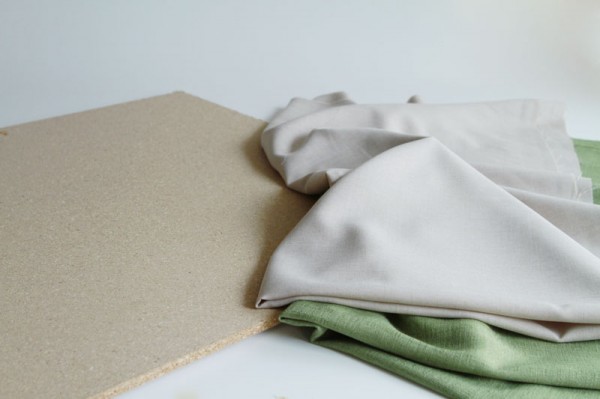
I got a few pieces of MDF, each measuring 2 feet by 4 feet. (You can use cardboard, particle board, plywood, anything that is sturdy enough to hold its shape.)
Then grabbed my trusty staple gun.
And some fabric remnants I got at the fabric store.
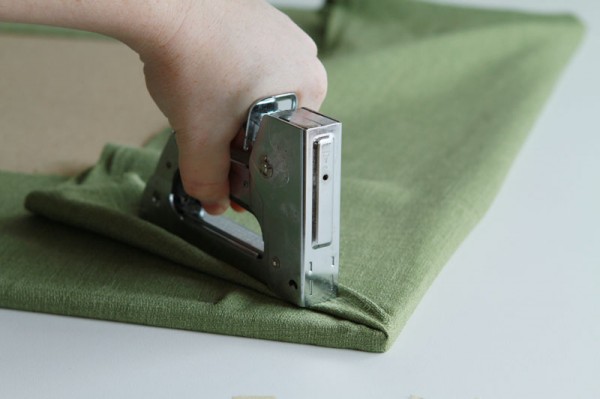
Then simply wrapped the fabric around the board and started stapling. I always pull the centers tight and staple, then work my way out to the corners.
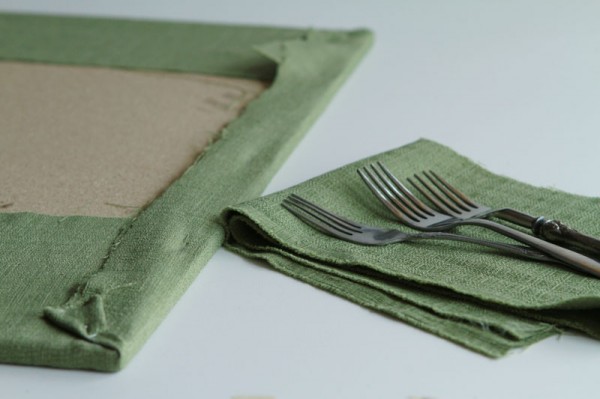
I was careful cut the excess fabric when trimming the back… if there is enough left it can be used as coordinating napkins!
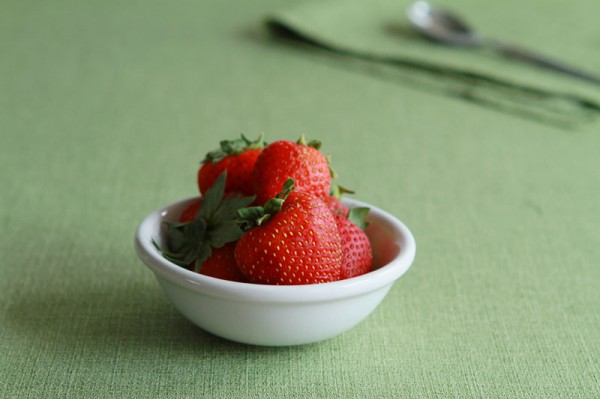
This is the green background.
I really, really liked how it turned out. Seriously, this project took about 30 minutes (total!) and I now have some great options for the backgrounds of those silly cakes of mine!
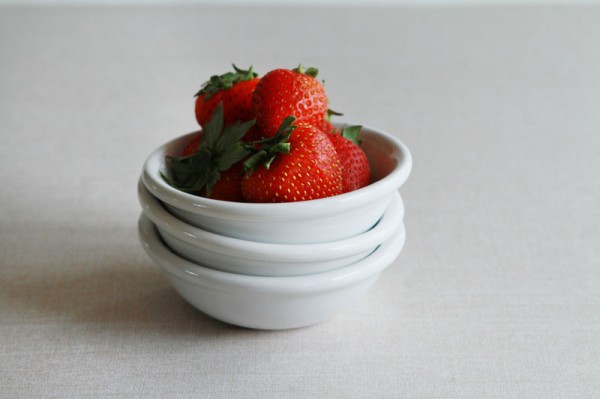
And this is the khaki linen. I choose pretty neutral colors as I am hoping they help make the food really stand out.

And this is both the green and the khaki! There are really versatile and very inexpensive.
Next I will be tackling the faux-wood backgrounds! If you have any great links or tips please feel free to share. 🙂
There is still time to enter the KitchenAid 7QT Commercial Mixer giveaway! It runs through Dec. 5th.





Thank you so much for posting this!! I have been struggling with backgrounds!
I am learning so much… hope to share more as I learn more! Another trick… use wrapping paper. 🙂
I love it!! I am seriously trying to convince myself not to jump out of bed right now and go shopping!! 🙂
Oh girl… I cant even tell you how fun it was to go fabric shopping. I cant even sew and I was having a ball at JoAnne Fabrics. If you check out the remnants you can often get really cheap pieces that work great!
LOVE IT! As a former professional framer @ Hobby Lobby I can say excellent job with the fabric mount. It’s exactly how we would do it for any formal mount.
Well thank you! 🙂
If you finish off the back of the board neatly with a different fabric, you get two looks from one board!
So smart!!! I might need to do that! 🙂
I love playing with fabrics. Never thought of stapling them to a board-hmmmm, you’ve got me thinking!
Cant wait to see what you create… your pictures are always so beautiful!
How fun, Amanda! I can’t sew, but I CAN staple! Maybe I could DO that! 😉
Oh sweet Bridget. YOU can do anything. You are often the inspiration for the rest of us! 🙂 Love your new Quadruple Chocolate Cherry Cookies… I might have to make them today!
http://bakeat350.blogspot.com/2011/11/quadruple-chocolate-cherry-cookies.html
I love this…. I need to run to the fabric store asap.
Have fun! I had to completely avoid the Holiday section… all the green/red and white/blue holiday fabrics were SO beautiful! 🙂
You are so many levels of awesome.
Right back at you. I am drooling a little looking at your cupcake pic! 🙂
what a great idea, Amanda! I love these tips from Lindsay: http://www.loveandoliveoil.com/2011/04/diy-distressed-wood-photo-backdrop.html I have made a double-sided board and I want to make more!
Oh what a fantastic link! Thank you!!
I have several foam core boards….I get them locally for a dollar each at a dollar tree store, but any office supply should have them. I just use spray paint and paint each side a different color. It really works well the only issue I’ve had is with my black one. If the light hits it just right I can end up with a glare, but that’s only happened if I end up photographing at night with artificial light. I love the fact that they can be double sided and they aren’t big and bulky so storage is easy.
I love these fabric ideas. I can’t wait to try one with burlap!
Great idea! Will have to try that!
I can handle stapling. I think. Maybe I better have some supervision just in case. 😉