I was browsing through some pictures for the book and realized that they all looked the same.
White background with a cake in front of it. Maybe some plates. Some forks.
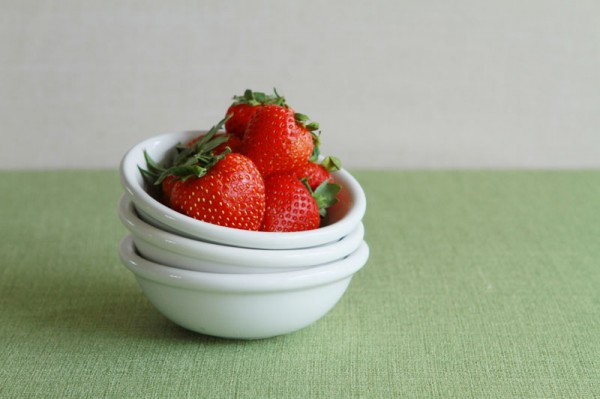
White background.
White, white, white. Then more white.
This will not do!
So I pulled up pinterest and entered photography backgrounds.
I just adore pinterest. Everything you could want or dream to one day be/have/do.
And, as it always does, I was inspired by all the ideas that pinterest offered!
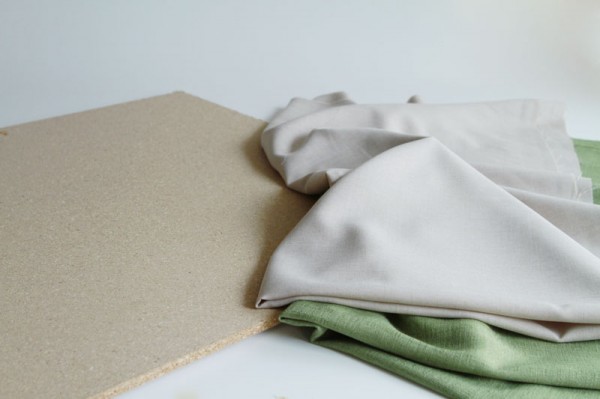
I got a few pieces of MDF, each measuring 2 feet by 4 feet. (You can use cardboard, particle board, plywood, anything that is sturdy enough to hold its shape.)
Then grabbed my trusty staple gun.
And some fabric remnants I got at the fabric store.
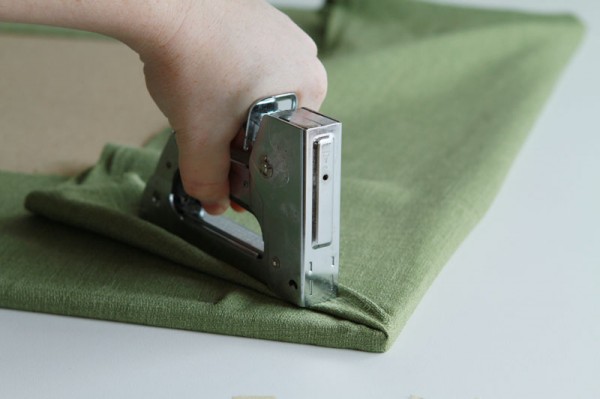
Then simply wrapped the fabric around the board and started stapling. I always pull the centers tight and staple, then work my way out to the corners.
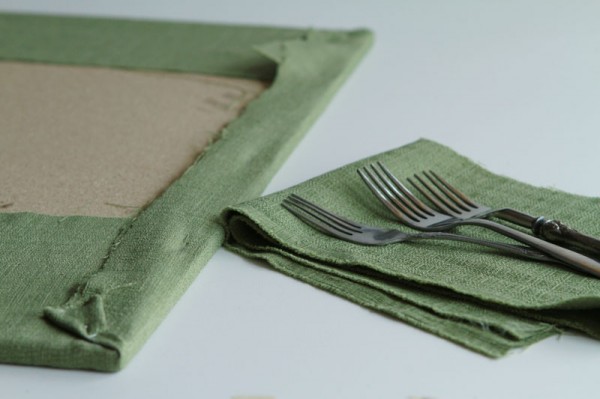
I was careful cut the excess fabric when trimming the back… if there is enough left it can be used as coordinating napkins!
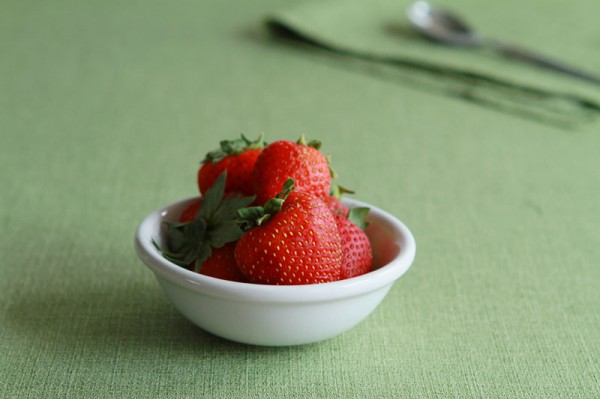
This is the green background.
I really, really liked how it turned out. Seriously, this project took about 30 minutes (total!) and I now have some great options for the backgrounds of those silly cakes of mine!
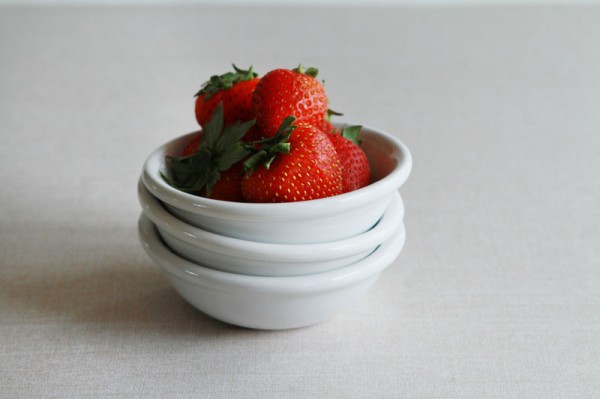
And this is the khaki linen. I choose pretty neutral colors as I am hoping they help make the food really stand out.

And this is both the green and the khaki! There are really versatile and very inexpensive.
Next I will be tackling the faux-wood backgrounds! If you have any great links or tips please feel free to share. 🙂
There is still time to enter the KitchenAid 7QT Commercial Mixer giveaway! It runs through Dec. 5th.




Thank you for these tips and the photo tutorial. I never thought to staple fabric to a board. I’ll give it a try!
I hope you do! Although, I have never seen a picture on your blog that I didnt adore… so I dont know how you can improve upon perfection. 🙂
Hi !
Love what you did! Great idea! I might even get to use the stapler I have !
I guess wallpaper would do fine as well! You can often buy leftovers, just like fabric.
I didnt know you could buy leftovers of wallpaper… I will have to be on the lookout!
I love this post I read over at Recipe Girl a few months ago! http://www.recipegirl.com/2011/06/11/if-youre-into-food-photography-and-styling/
Thanks for the link! I have to agree… Lori is pretty amazing!
‘fraid I don’t have any tips of my own, but I’ll probably keep your post in mind for myself. I don’t do much serious baking/cooking, but for when I do I sure wish I had a better backdrop than… whatever is on my table at the moment. These backgrounds look really nice, and definitely add to the quality of the pictures. And I do agree that the neutral colors really help the food stand out. Especially when you have a little contrast, like the muted and neutral green with the bright red berries in your example pictures.
Though if you had a white cake or something, I bet a really bright blue would make a beautiful background.
What a great idea!! Thanks!
You’ve inspired me yet again Amanda. I usually use a white foam core board as a background but now am thinking that some fabric pieces can easily be applied (spray glue) and easily changeable if needed. No weight either. Thanks for the inspiration. Can’t wait to get busy on this project!
Cant wait to see what you do… I just know it will be amazing! (I am such a huge fan of your work Renee!)
Love this idea; such a simple project. I think I’ll try my hand at it over the Winter holiday.
Gives you plenty of time to find the perfect fabric! 🙂
What a fantastic idea! I was just painting some boards this weekend but I need to make some with fabric now!
Oh, I cant wait to see the boards you did! 🙂
Amanda…I always wondered how folks get the fabric to look so crisp. Thanks so much for taking the time to write this post. It is so helpful. This is a craft I could even handle & I love how you key worded it on Pinterest. When you find out about the distressed wood boards please share. I need BIG help with those. My boards and props are soon to take over our whole house!! xxoo
Me too Marla!! I am running out of places to tuck boards and store fabrics… we might need to move just so I can have a prop room. *blissful sigh* can you imagine having a prop/picture room? With lots of natural light? That you could take pictures in? Your pictures and props are gorgeous… I am always inspired by your eye!
No, I could not imagine having a photo studio…outside the home. Must be nice! Thanks for your sweet compliments. Always means so much coming from you 🙂
These are great tips Amanda! I always need help with my photography, and this stuff is great!
These are wonderful suggestions! I just recently discovered the wonders of the fabric store. So many possibilities!