Finally!! Is that what you are thinking? It’s ok. You can admit it. We are all friends here.
Do you remember this little thing?
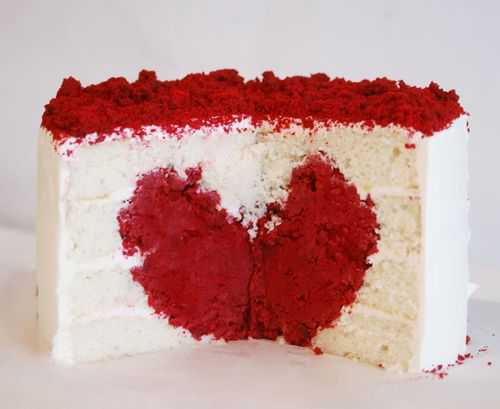
Well, it turns out some of you daring bakers want to make this Surprise Inside Cake yourselves. Yeah, you! I can’t wait to see and read all about it… send me links girls! (and boys… if there are any boys)
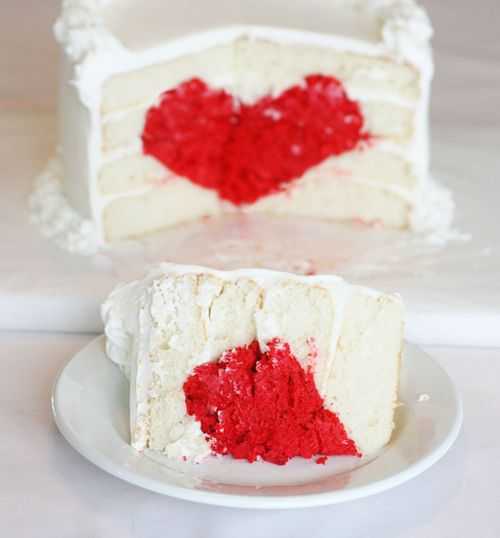
Well. In order for me to do a tutorial, I had to make another one. So, forgive the less than stellar decorations, but here is our ‘tutorial’ heart cake.
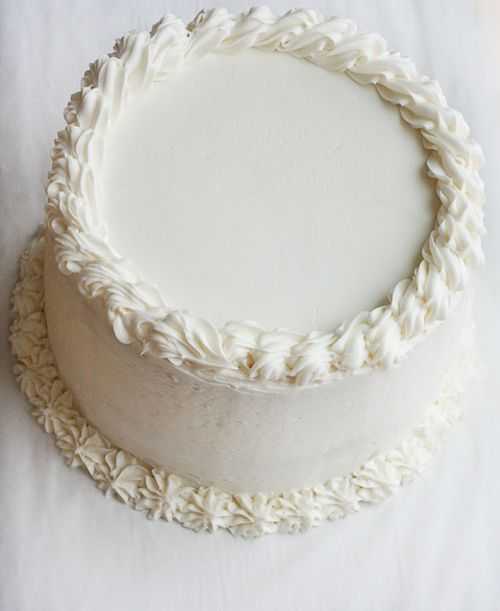
But you didnt come to see the outside right?
Here goes.
Start out by making four eight inch pans of white cake. (If you want the actual recipe, just click here)
Make one 9×13 (you can do whatever shape and size you want) pan of red velvet cake. (recipe here)
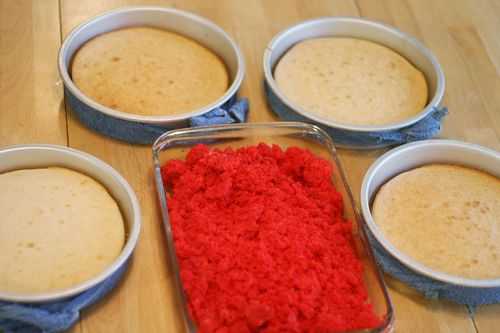
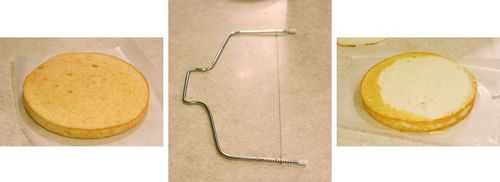
First I need to level each cake.
I use this handy dandy leveling cake thingy I got at Walmart for a few bucks.
Remember to do this for all four white cakes.
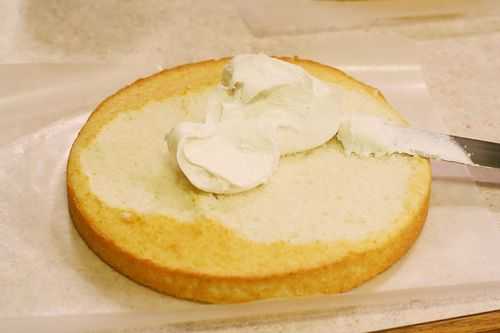
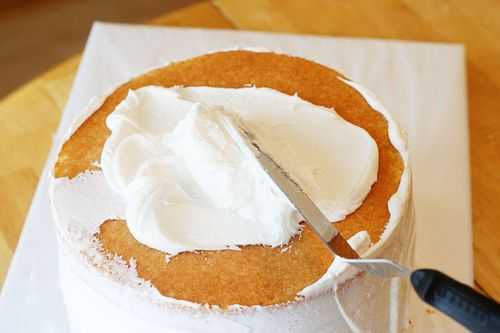
Add about 1/2 cup to 1 cup frosting and then put one layer on top. You want two separate two layer cakes at this point.
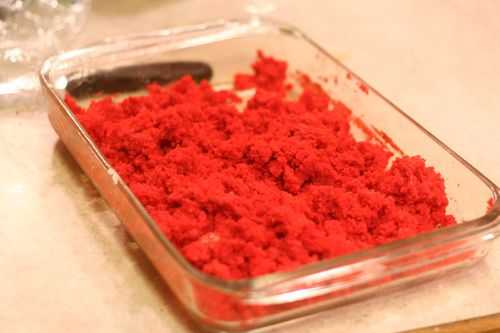
For the red velvet cake, I just ran my fork through it to break it up. Then I added about a cup of frosting and combined well.
NOW! I usually like to freeze the cakes for at least a couple hours. If you can’t freeze them, at least try and pop them in the fridge for a bit!
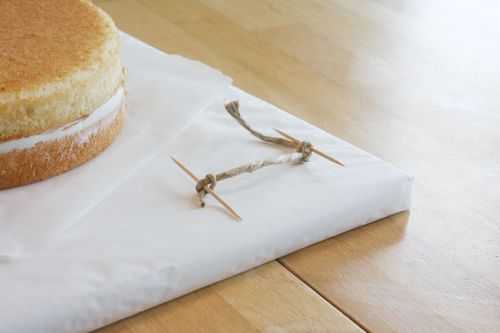
I know this looks pretty weird (maybe cause it is) but this is what I am going to use to make sure I have some uniformity in the heart design. Its just two toothpicks and a piece of twine.
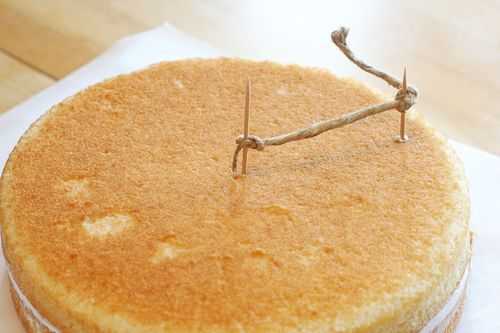
Place one toothpick in the center of the cake, then (holding firmly) drag the outside toothpick around the cake and make a circle.
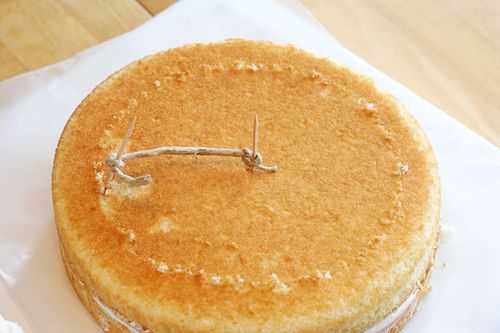
Like this! Now I have a rough guideline of where I am going to be carving. Do this to both cakes. (or, if you are a good drawer, just take a knife and cut a shallow line around the perimeter.)
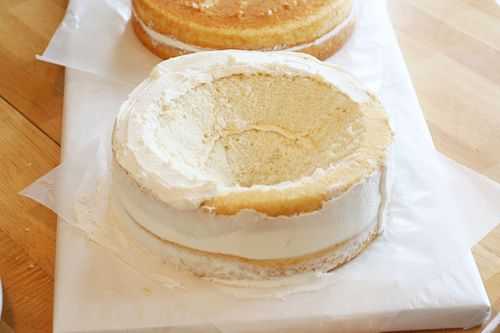
Carve out a V shape in the cake.
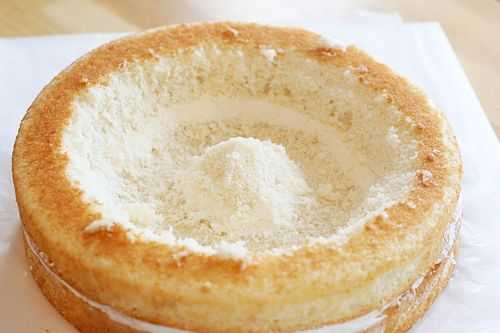
The top half of the heart is a little trickier. This time, I started with my knife in the center of the cake and created this little island.
I then moved back out to my “guide line” and started cutting. I ended up creating this channel. Once this has been created, you can go back in a do some more carving to create more detail.
Here is after I went in with a spoon and carved out a bit more.
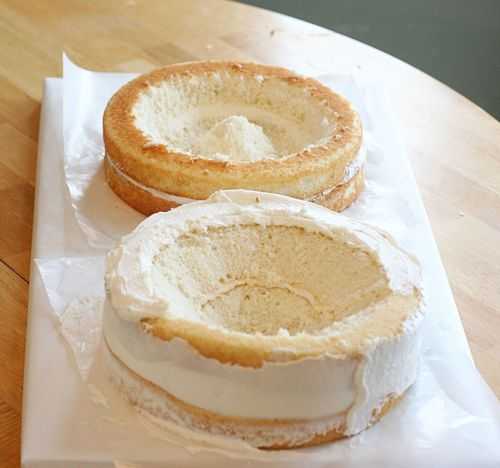
The two cakes carved out. The hard part is pretty much done now!
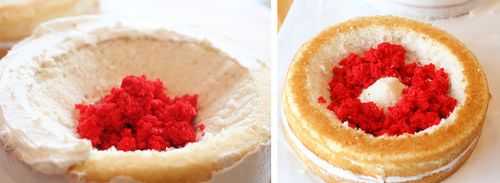
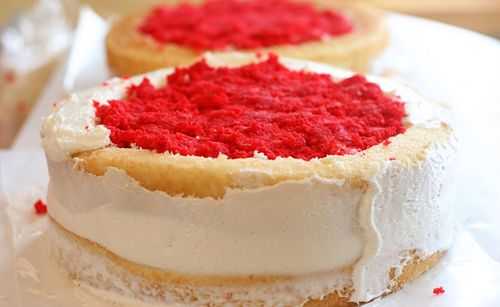
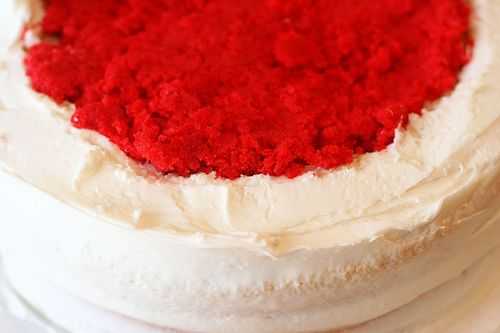
Now I can start filling in the cakes with the red velvet cake.
All filled! At this point, I put it in my freezer for about 15 minutes. Just to let them set.
I added some frosting the edge of the bottom cake. Make sure you know which is which! You are going to want to add the cake with the hallowed out ‘channel’ to the top of the V cake.
Here goes nothing! I have found the easiest way to do this is to just use your hand. Place it flat over the top of the ‘channel’ cake and flip it over. Then gently place it on the bottom cake.
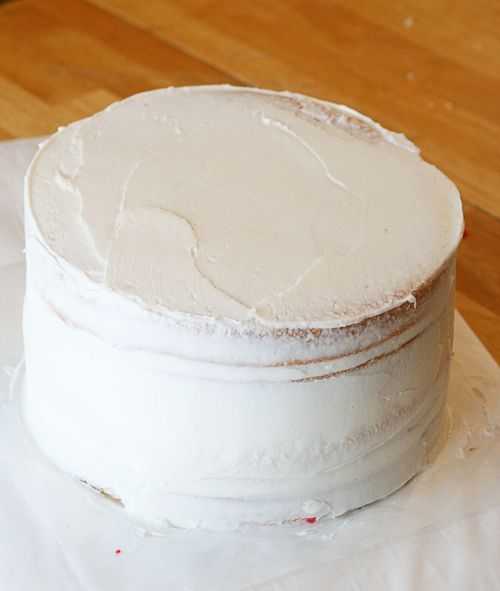
Add some more frosting and do a rough crumb coat over the whole cake.
And here is our thin layer of icing for the crumb coat. Put this in the fridge about at least a half hour, or as long as overnight.
Now. Go eat an apple. Seriously. Cause if you are anything like me you have been snacking on the cake scraps this whole time and you need a healthy energy boost.
There. Feel better? Let’s get back to work.
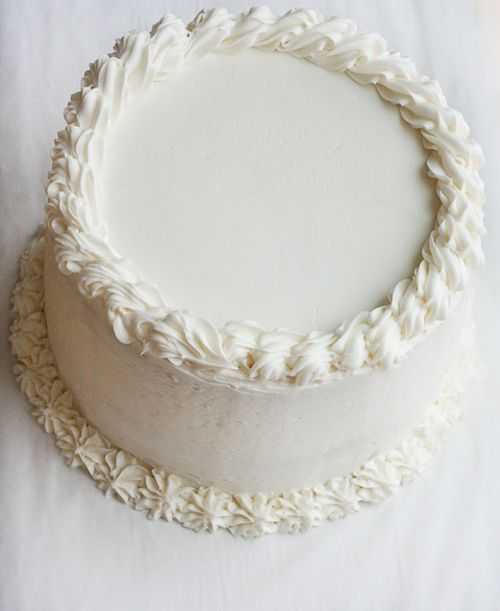
I ended up using all my red velvet cake so I didn’t have any left over for decoration. So white it is!
Ready to see what all this work was for?
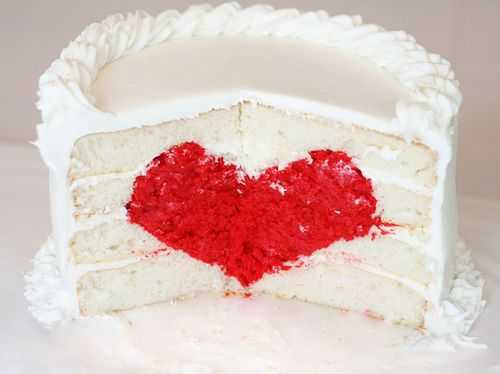
I thought it turned out pretty good! Granted, this is my third time making it in a month so I had better be able to at least make it presentable by now. 🙂
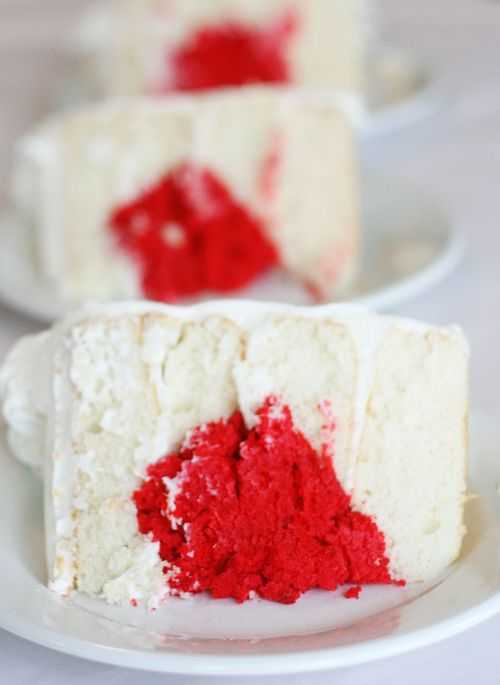
And it tastes as good as it looks! (I might be biased)
So I hope you are brave enough to try a heart cake for your loved one this Valentine’s Day. Be sure to let me know how it works out.. and take lots and lots of pictures! 🙂
I used my White Cake, Red Velvet Cake, and Buttercream Recipe to make this cake!




Health is the best treasure (which) a man can possess.
Wow, this is really cool. Just imagine the attention that you will get when you have those things around with you. Both are really awesome combination if you were to ask me.
I don’t think you really read your comments on old posts …ever. That’s sad, because making people feel involved in a blog is what helps entice people to keep coming back.
So, I guess this comment is more for people who are looking to make the frosting. This is linked for the buttercream recipe specifically under “recipes” on this sight, so I grabbed the buttercream recipe off of here for a different cake. That was a mistake. Maybe it’s because it’s so humid here, but the 1/2 cup of milk listed for the buttercream was WAY too much. I couldn’t get it to the right consistency at all. I had to use a different recipe that I found in order to be able to finish my cake. When you’ve spent hours working on a cake, it’s a bit frustrating.
I do read every comment Catherine… sounds like you were right on in your deduction, the humidity has played a huge factor in baking for me all year. I have modified many recipes these last few months that I have never had to alter before. I would have been happy to share that with you. Also, if you felt that consistency was too runny, adding a bit more sugar can help.
Hope you find a recipe that works the best for you!
Be blessed-
Amanda
Whoops. My sincere apologies. I was completely wrong, then; I’m sorry.
I did end up finding a recipe that worked. I have the spare from it sitting next to a container of this buttercream bound for cupcakes tomorrow. This recipe still tastes delicious, so it’ll work for that quite nicely.
Wow! I love this… and I can’t believe how simple it is! Very awesome, I will be trying this SOON! 🙂
HI Amanda,
I’m just starting out decorating cakes this year. And just very recent started selling my cakes. But I must confess I use…. (it hurts to say it) boxed cake. I know, I know it’s horrible. But just recently a friend asked me if I wanted her to get the word out on my cakes. Even though I tell my very few customers it’s boxed I don’t feel right calling it my own. So I’m taking the plunged to try a bake from scratch! I feel that using your recipes I could try my very best. I have the decorating down, but now it’s time for the baking. Wish me luck!
Is there any advice you could give me? Check out my blog @ http://imaginationcakes.blogspot.com
Again a BIG thank you,
Jennie
This is the most coolest and lovely recipe I ever saw. You’re really incredible and one of a kind!
Hello, thank you for such a wonderful post. Written very informative. I have read with great pleasure. Good luck!
My boyfriend did this and it came out looking pretty great. I didn’t know he could cook!