Finally!! Is that what you are thinking? It’s ok. You can admit it. We are all friends here.
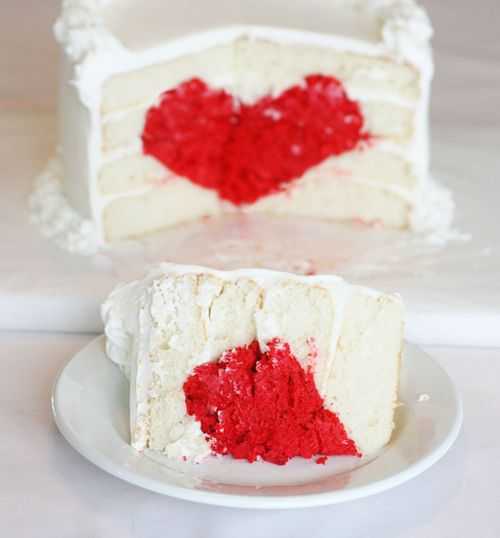
Do you remember this little thing?
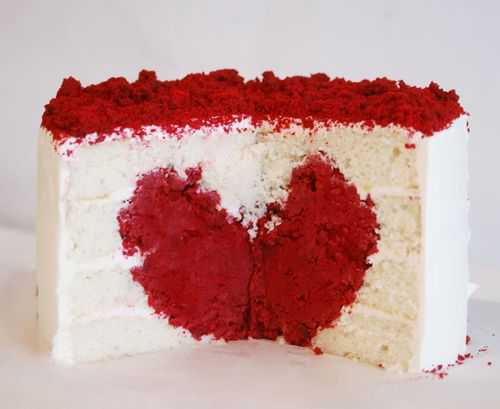
Well, it turns out some of you daring bakers want to make this Surprise Inside Cake yourselves. Yeah, you! I can’t wait to see and read all about it… send me links girls! (and boys… if there are any boys)
Well. In order for me to do a tutorial, I had to make another one. So, forgive the less than stellar decorations, but here is our ‘tutorial’ heart cake.
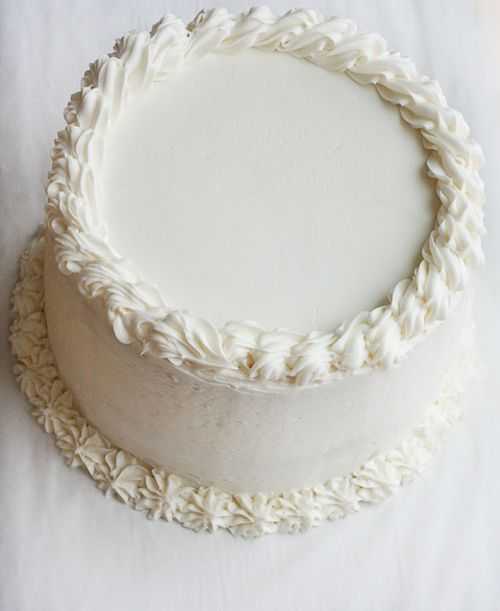
But you didnt come to see the outside right?
Here goes.
Start out by making four eight inch pans of white cake. (If you want the actual recipe, just click here)
Make one 9×13 (you can do whatever shape and size you want) pan of red velvet cake. (recipe here)
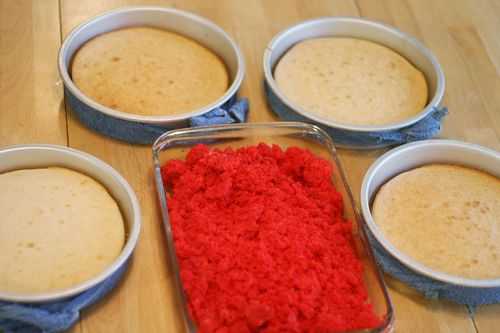
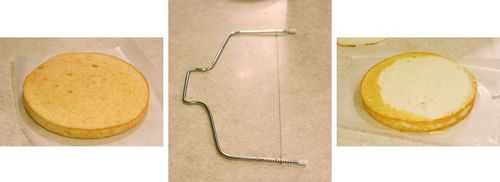
First I need to level each cake.
I use this handy dandy leveling cake thingy I got at Walmart for a few bucks.
Remember to do this for all four white cakes.
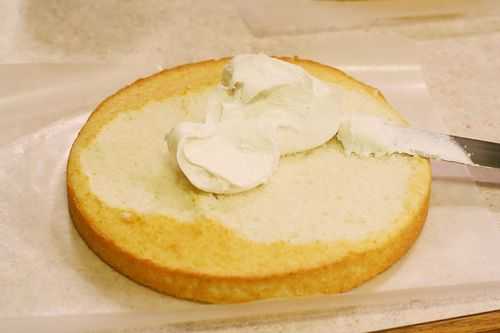
Add about 1/2 cup to 1 cup frosting and then put one layer on top. You want two separate two layer cakes at this point.
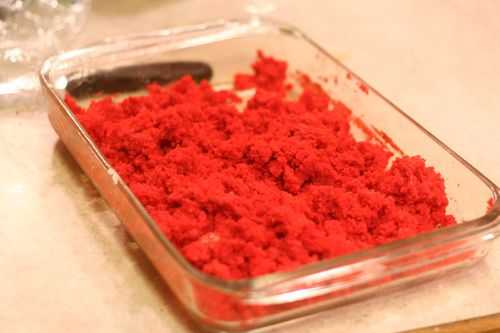
For the red velvet cake, I just ran my fork through it to break it up. Then I added about a cup of frosting and combined well.
NOW! I usually like to freeze the cakes for at least a couple hours. If you can’t freeze them, at least try and pop them in the fridge for a bit!
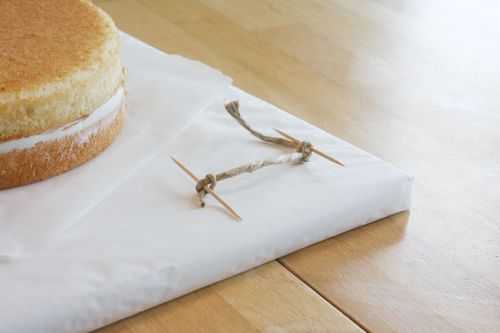
I know this looks pretty weird (maybe cause it is) but this is what I am going to use to make sure I have some uniformity in the heart design. Its just two toothpicks and a piece of twine.
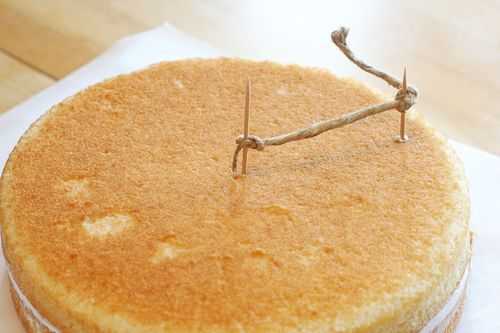
Place one toothpick in the center of the cake, then (holding firmly) drag the outside toothpick around the cake and make a circle.
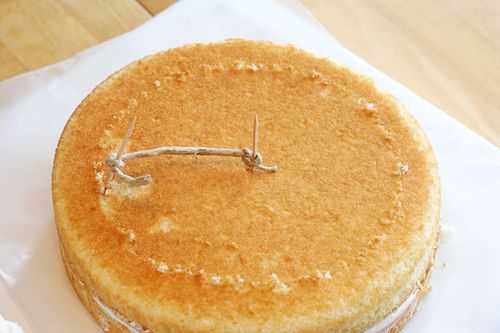
Like this! Now I have a rough guideline of where I am going to be carving. Do this to both cakes. (or, if you are a good drawer, just take a knife and cut a shallow line around the perimeter.)
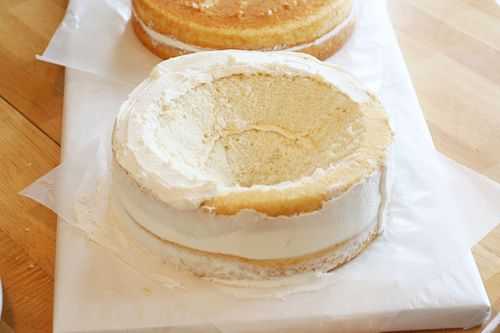
Carve out a V shape in the cake.
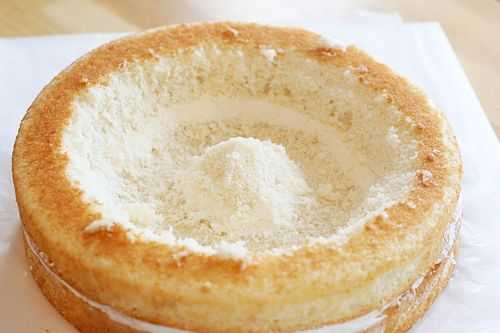
The top half of the heart is a little trickier. This time, I started with my knife in the center of the cake and created this little island.
I then moved back out to my “guide line” and started cutting. I ended up creating this channel. Once this has been created, you can go back in a do some more carving to create more detail.
Here is after I went in with a spoon and carved out a bit more.
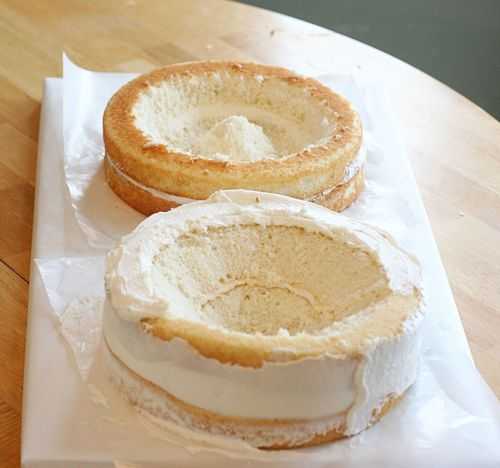
The two cakes carved out. The hard part is pretty much done now!
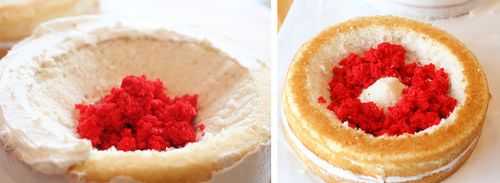
Now I can start filling in the cakes with the red velvet cake.
All filled! At this point, I put it in my freezer for about 15 minutes. Just to let them set.
I added some frosting the edge of the bottom cake. Make sure you know which is which! You are going to want to add the cake with the hallowed out ‘channel’ to the top of the V cake.
Here goes nothing! I have found the easiest way to do this is to just use your hand. Place it flat over the top of the ‘channel’ cake and flip it over. Then gently place it on the bottom cake.
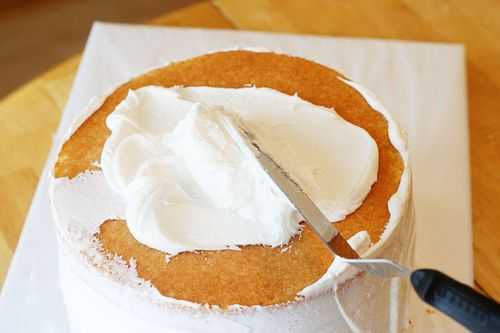
Add some more frosting and do a rough crumb coat over the whole cake.
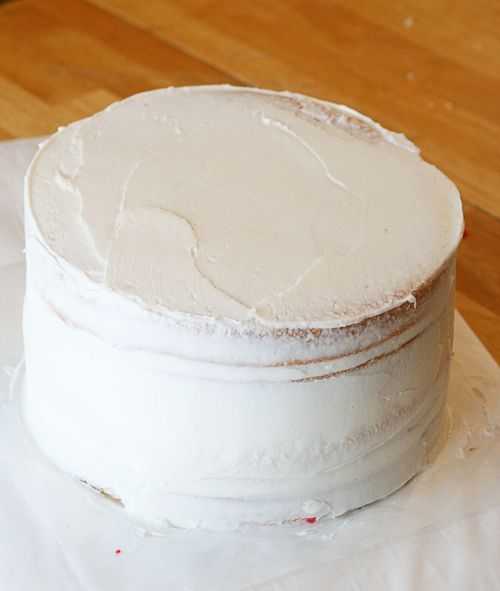
And here is our thin layer of icing for the crumb coat. Put this in the fridge about at least a half hour, or as long as overnight.
Now. Go eat an apple. Seriously. Cause if you are anything like me you have been snacking on the cake scraps this whole time and you need a healthy energy boost.
There. Feel better? Let’s get back to work.
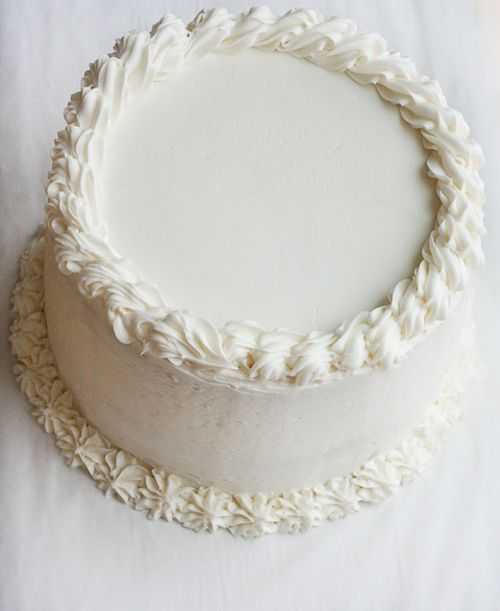
I ended up using all my red velvet cake so I didn’t have any left over for decoration. So white it is!
Ready to see what all this work was for?
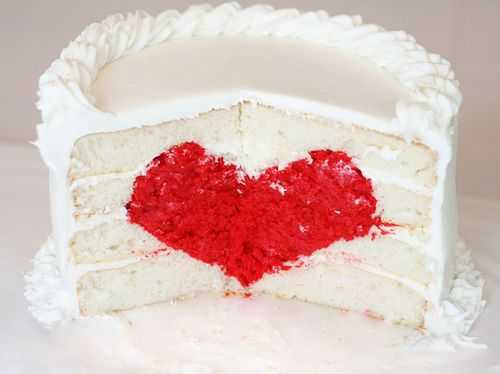
I thought it turned out pretty good! Granted, this is my third time making it in a month so I had better be able to at least make it presentable by now. 🙂
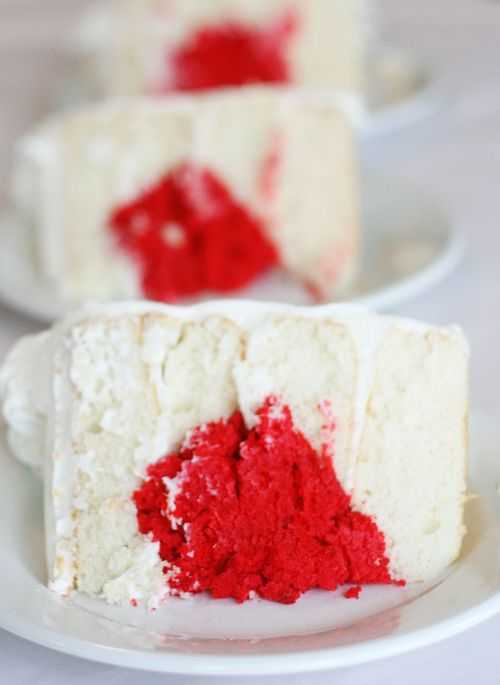
And it tastes as good as it looks! (I might be biased)
So I hope you are brave enough to try a heart cake for your loved one this Valentine’s Day. Be sure to let me know how it works out.. and take lots and lots of pictures! 🙂
I used my White Cake, Red Velvet Cake, and Buttercream Recipe to make this cake!

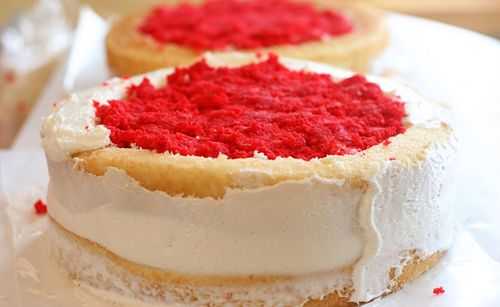
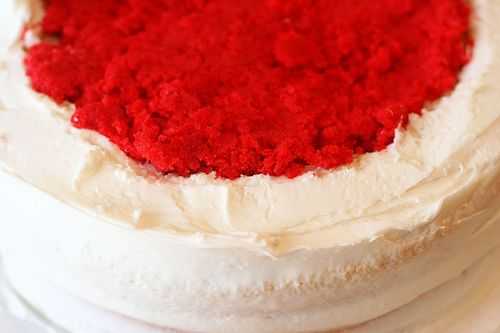



I made it today!!! (church vday date night tonight) I can not WAIT to cut it open to see how it turned out. My only concern is that maybe I didn’t pack the red velvet in hard enough and that it will crumble and fall apart instad of looking cool. BUT hopefully it turned out! I also made a heart with royal frosting and put that atop 🙂
Oh waaahhh. I just realized I forgot to mix the frosting in with the red velvet. DAMN IT!!! 🙁 Hopefully it still turns out ok. Damn…..Cake making with 3 kids 4 and under I was bound to screw something up. 🙁
At least the outside is pretty.
http://i78.photobucket.com/albums/j98/nicoblue0220/SDC10893.jpg
Thanks so much for this awesome tutorial!! I made this cake yesterday and just shared photos on my blog:
http://howsweeteritis.blogspot.com/2011/02/sweeter-valentines-day.html
Looks amazing. Just attempted this. I was doubtful about the 4 eggs instead of egg whites but made it as directed. I have a yellow cake. 🙁 Will try again with egg whites. Thanks for the inspiration.
Well I did it!! I followed your great directions (except I used a strawberry for the heart instead of red velvet) and I think it came out very good for my first time. My friends were amazed. Everyone kept asking me where I got the mold to make the cake. When I told them there was no mold involved it was all carved and made by hand. They were really blown away after I told them that. If you’d like to see how my cake turned out check it out here.
http://www.southernsprout.com/inspiration/heart-cake/
Thanks for the great idea. I plan on making it again.
this is hard work, but it worth it !!! what a cake of LOVE !! terrific !!
Thank you so much for putting your time into this tutorial! I just finished doing one for the kids tomorrow! I can not wait to cut into it and surprise them! Thanks again!
I think I just saw your cake shown on the Martha Stewart show! Yay!!! You go girl!!
OMG! I love your heart cake! And the tutorial is awesome!
I had to share your tutorial today on my blog!
http://www.thesweetsbar.com/happy-valentines-day-heart-cake/
I have two girls and this year the eldest has requested a rainbow birthday cake.
I’m thinking that her younger sister would be beside herself with excitement if I made this sumptuous heart-filled version for her special day.
Thank you for sharing with such amazing detail!
Felicity x