Finally!! Is that what you are thinking? It’s ok. You can admit it. We are all friends here.
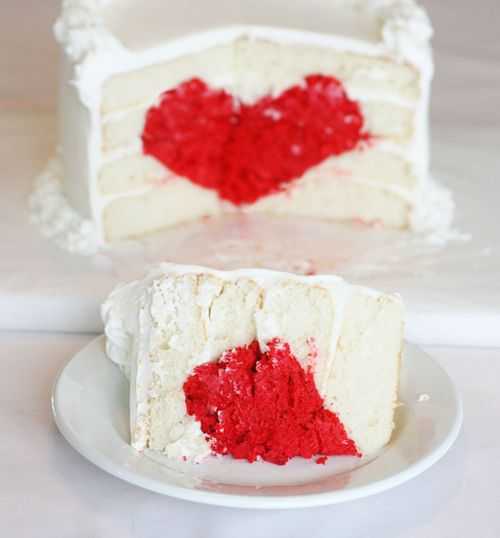
Do you remember this little thing?
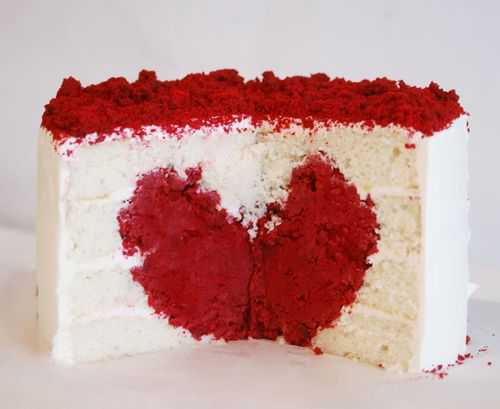
Well, it turns out some of you daring bakers want to make this Surprise Inside Cake yourselves. Yeah, you! I can’t wait to see and read all about it… send me links girls! (and boys… if there are any boys)
Well. In order for me to do a tutorial, I had to make another one. So, forgive the less than stellar decorations, but here is our ‘tutorial’ heart cake.
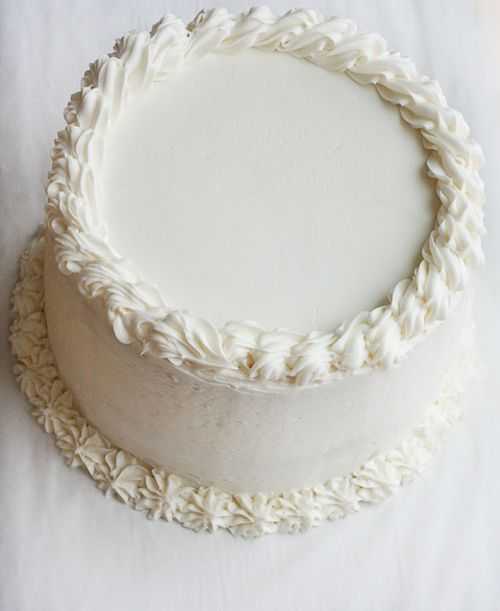
But you didnt come to see the outside right?
Here goes.
Start out by making four eight inch pans of white cake. (If you want the actual recipe, just click here)
Make one 9×13 (you can do whatever shape and size you want) pan of red velvet cake. (recipe here)
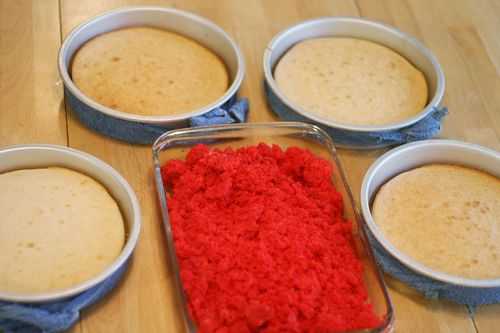
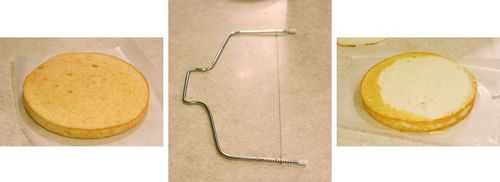
First I need to level each cake.
I use this handy dandy leveling cake thingy I got at Walmart for a few bucks.
Remember to do this for all four white cakes.
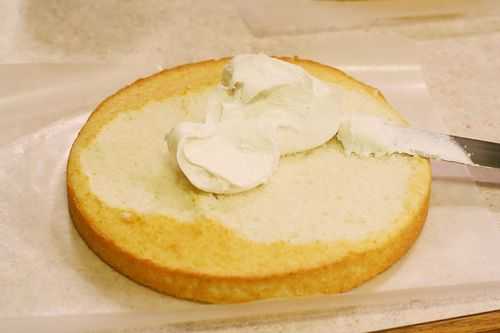
Add about 1/2 cup to 1 cup frosting and then put one layer on top. You want two separate two layer cakes at this point.
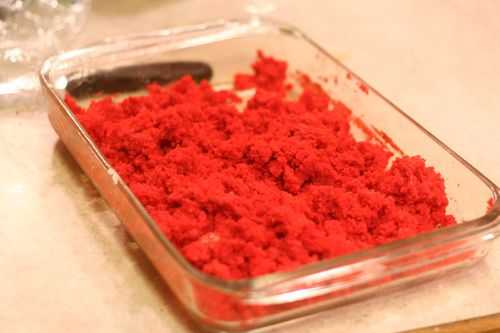
For the red velvet cake, I just ran my fork through it to break it up. Then I added about a cup of frosting and combined well.
NOW! I usually like to freeze the cakes for at least a couple hours. If you can’t freeze them, at least try and pop them in the fridge for a bit!
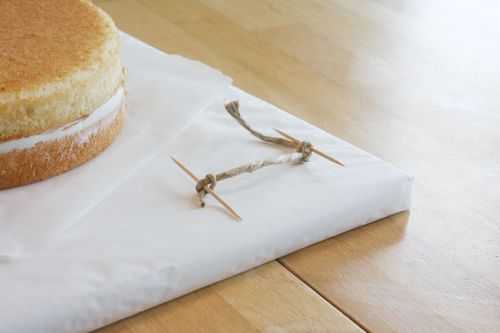
I know this looks pretty weird (maybe cause it is) but this is what I am going to use to make sure I have some uniformity in the heart design. Its just two toothpicks and a piece of twine.
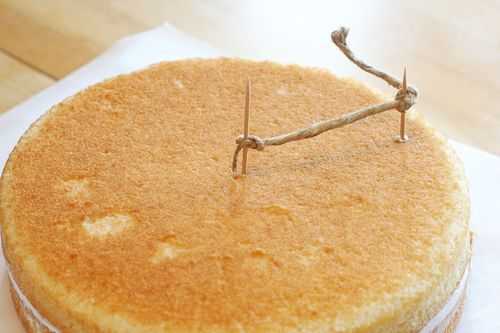
Place one toothpick in the center of the cake, then (holding firmly) drag the outside toothpick around the cake and make a circle.
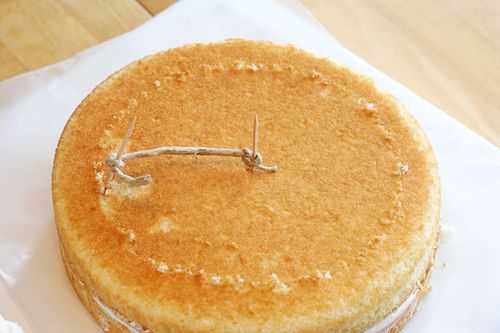
Like this! Now I have a rough guideline of where I am going to be carving. Do this to both cakes. (or, if you are a good drawer, just take a knife and cut a shallow line around the perimeter.)
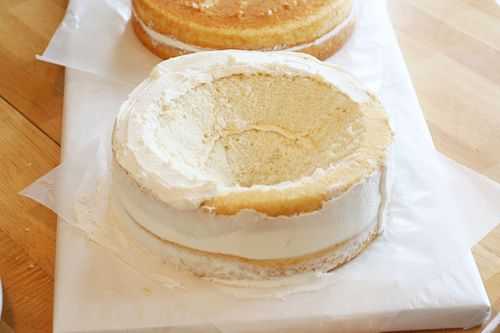
Carve out a V shape in the cake.
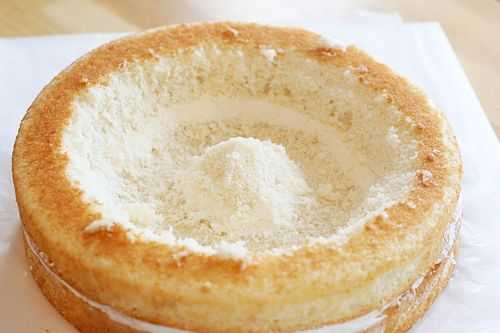
The top half of the heart is a little trickier. This time, I started with my knife in the center of the cake and created this little island.
I then moved back out to my “guide line” and started cutting. I ended up creating this channel. Once this has been created, you can go back in a do some more carving to create more detail.
Here is after I went in with a spoon and carved out a bit more.
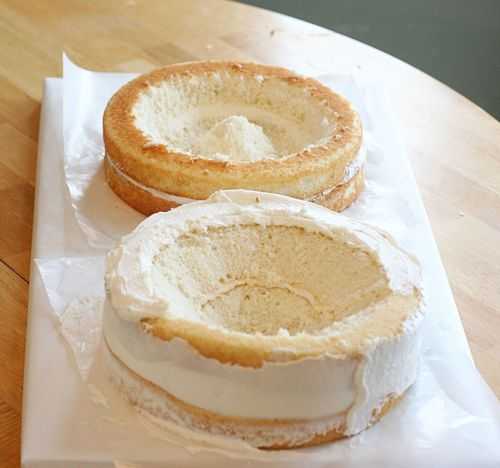
The two cakes carved out. The hard part is pretty much done now!
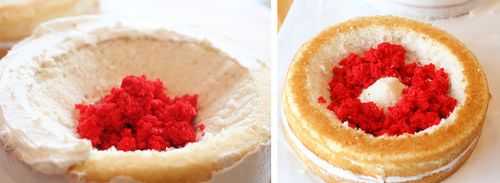
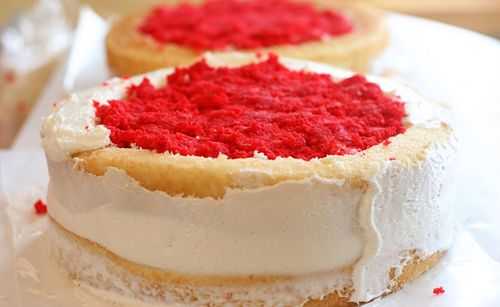
Now I can start filling in the cakes with the red velvet cake.
All filled! At this point, I put it in my freezer for about 15 minutes. Just to let them set.
I added some frosting the edge of the bottom cake. Make sure you know which is which! You are going to want to add the cake with the hallowed out ‘channel’ to the top of the V cake.
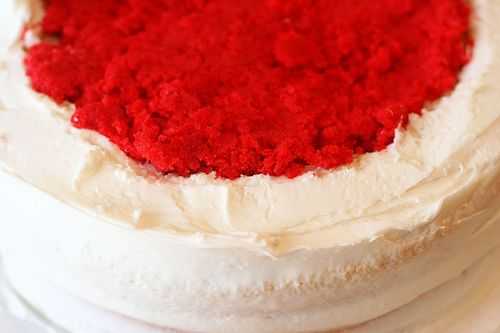
Here goes nothing! I have found the easiest way to do this is to just use your hand. Place it flat over the top of the ‘channel’ cake and flip it over. Then gently place it on the bottom cake.
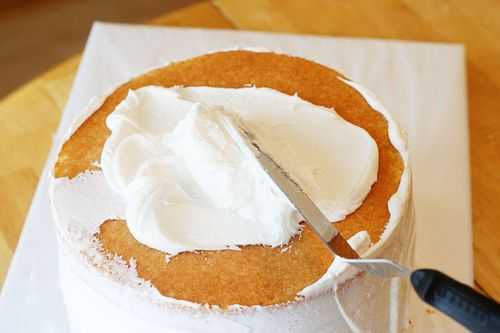
Add some more frosting and do a rough crumb coat over the whole cake.
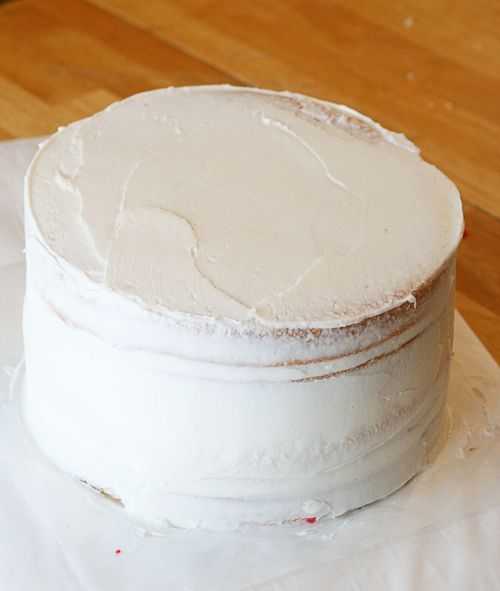
And here is our thin layer of icing for the crumb coat. Put this in the fridge about at least a half hour, or as long as overnight.
Now. Go eat an apple. Seriously. Cause if you are anything like me you have been snacking on the cake scraps this whole time and you need a healthy energy boost.
There. Feel better? Let’s get back to work.
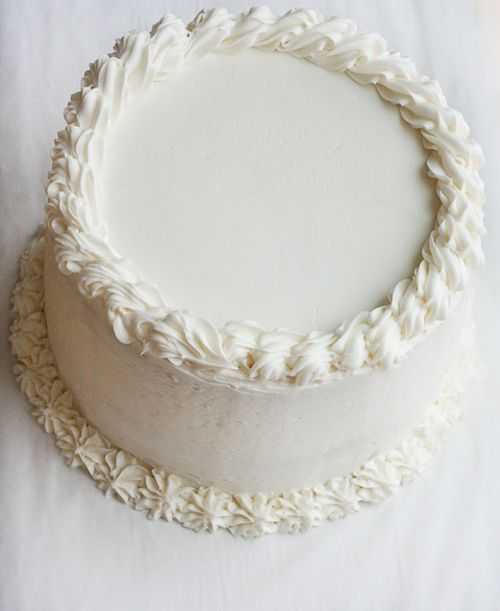
I ended up using all my red velvet cake so I didn’t have any left over for decoration. So white it is!
Ready to see what all this work was for?
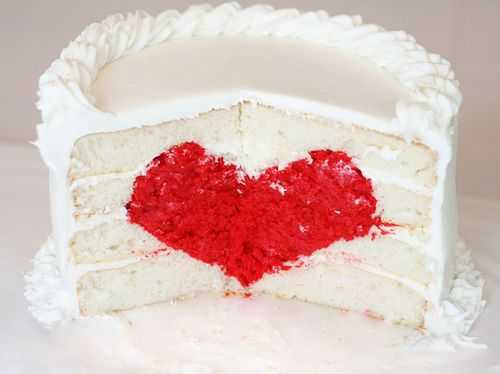
I thought it turned out pretty good! Granted, this is my third time making it in a month so I had better be able to at least make it presentable by now. 🙂
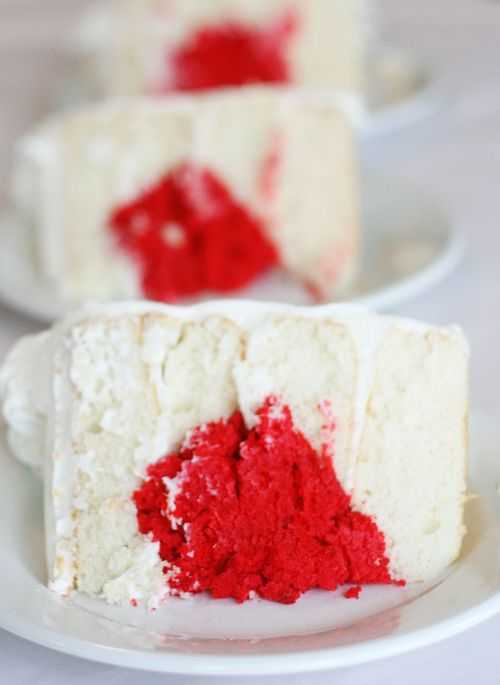
And it tastes as good as it looks! (I might be biased)
So I hope you are brave enough to try a heart cake for your loved one this Valentine’s Day. Be sure to let me know how it works out.. and take lots and lots of pictures! 🙂
I used my White Cake, Red Velvet Cake, and Buttercream Recipe to make this cake!




Wonder if you can do this for a mickey mouse inside? I have been trying all day yesterday to do something like this but with a brownie paste…maybe cake is the key! The brownie paste that is molded to do the ears just keeps sinking to the bottom while I cook the cake. Going to try and come up with a cutout for the ball on the bottom and use the top of your heart for the ears but a bit more rounded…any advice?
You absolutely can! I just do not post a tutorial for trademark reasons. 🙂
gorgeous cake you did a wonderful job. maybe some day i will get up enough courage to try this, also there is a broken link for one of the pictures. the one where you are ready to flip the cake over and put it on top of the bottom half.
If you’d like to try a frosting that isn’t so sweet, here’s a recipe I found about 50 years ago in a cookbook from Rose’s Deli in New York City. I call it a French Buttercream.
Cream together:
1 c. (2 sticks) regular butter
1/2 c. Hi-Ratio Shortening, like Sweetex, OR white Crisco
Add and beat in:
2 T. light Caro Syrup
1 t. vanilla
Add:
2 c. 10X Confectionary Sugar (Domino 10x versus a generic 6x sugar)
(If the bag has already been opened, I sift before adding)
Whip on high speed until light and fluffy.
Add:
2 egg whites, or pasteurized egg whites
(add one egg white at a time, and only beat about 30 seconds after the 2nd egg white is added)
The frosting will take on a whole different texture.
Refrigerate cake when frosted and decorated. Let warm up a little just before serving so the frosting isn’t hard.
Here’s the fun part:
For a Chocolate Frosting, add 1/2 c. sifted cocoa to the butter and shortening, and use vanilla.
For an Orange Frosting, add 1 t. orange extract in place of the vanilla, and some freshly grated orange zest. Add some food color if you want it more orange.
For a Lemon Frosting, add 1 t. lemon extract and some freshly grated lemon zest.
You can make any flavor you want, by changing the extract you use – strawberry, banana, etc.
I know there is a great deal of controversy over the use of raw egg whites. It is the philosophy of many chefs I know to use the raw egg, as long as you know your purveyor, and have confidence that their eggs are fresh, and handled correctly.
If you have a problem with this, simply use pasteurized egg whites from your favorite store. I think most stores carry them now.
Or you can heat raw egg whites, over a hot water bath, until they reach a temperature above 140
degrees. Be careful to stir them and don’t let them cook.
OH MY GOD! I can’t say anything except WOW!
I only can say a sentence…you’re great………….thanks
Thanks for sharing the recipe for the heart cake. I’ve been admiring this picture for a couple of years now and dreaming of how delicious it must be. Now I can find out for myself!
Thanks again.
Sincerely,
Anne M.
Red food coloring causes cancer. Use Beet juice to color your red velvet cake. Works great and you won’t be able to taste the beets. 🙂
Thanks for the info.
I have a question I will be making this cake in a couple of weeks (super excited) but I have to travel with it. What would the best way to travel with this cake with the 2 halves or as one whole cake. Time of travel is approximately 4 1/2 to 5 hrs. Thank you for allowing us to see your wonderful work.
Hi Stephanie! I would travel with your whole cake. Once you make it (assemble it), freeze it. That will ensure more stability! 🙂
Thanks Amanda
Lovely tutorial
I want to make this cake but am thinking of swapping the flavors that is redvelvet cake and vanilla heart but the red velvet is a very moist cake do you think it would work
Hi, I have a few questions. Is this a crusting frosting? Does it work well for covering the cake under fondant? Also, how long can it be left at room temperature?