I am in buttercream daisy overload. Learning how to pipe daisy’s from buttercream is not as easy as I would have thought!
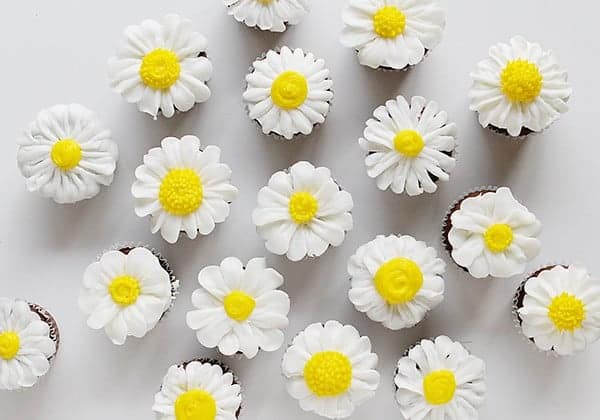
I started a couple weeks ago by making a buttercream peony. It was fun. And addicting. So I decided now is as good of time as any to start piping all the flowers. Being a novice at piping intricate designs, I decided to start easy.
A daisy.
A sweet, simple daisy that anyone can do.
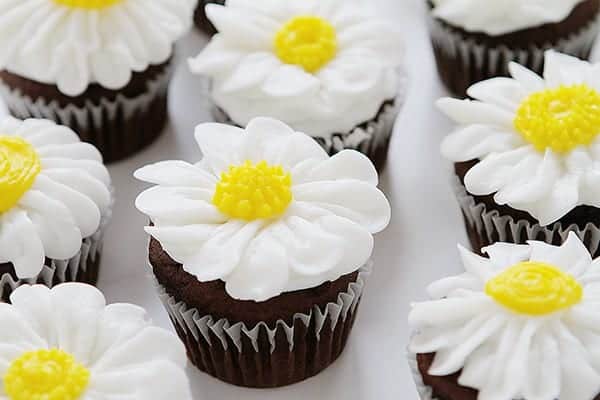
Except, I didn’t really think they looked like daisies! I mean, not as close to a daisy as I would have thought one could do with buttercream.
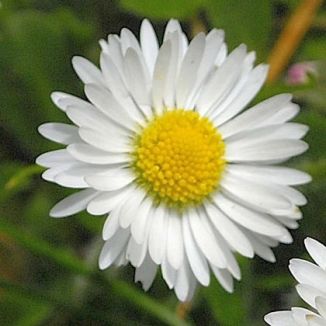
Basically, a daisy has long skinny petals that are not uniform and widest at the middle or petal end, tapering in at the base. The center is yellow with a lot of texture and the center can be very large and protrude greatly, or smaller and more simple.
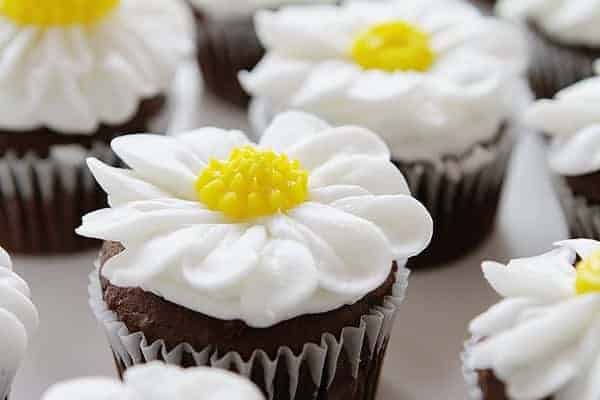
Needless to say, it’s not as easy to pipe as I thought! So I just played around with the limited knowledge that I have and hoped for the best.
Tips for Success:
In the first video, the one with more detail, I used a #124, #2 and #10. (The #5 is also in this picture and while I didn’t use it in the video, I will explain why it is there below!) These tips are all from Fat Daddio’s and the blue tips (although the two on the right look green because of the yellow frosting!) are the gel tips. I adore these and love the quality and consistency they offer.

I also ended up with a beautiful little dome on my cupcake. Because this affected the appearance of the daisy so much, I cut off the dome and then piped.

You can certainly skip this step if you do not want to waste any glorious cupcake!
I used my Whipped Vanilla Buttercream for the flower and tinted 1 cup yellow.
For the more detailed daisy, I started with the #10 tip and piped out a circle around the cupcake. I wanted the petal edges to be slightly elevated at the tips. This also helps the center of the daisy to be down a bit, lower than the base of the petals. While not necessary, I just preferred this look.
I then piped out the flowers, applying consistent pressure from bottom to top and working in sections. When the flowers are piped out one after the other in a row is just seems a bit matchy-matchy to me. Again, this is just the way I preferred, it is not essential.
After the petals are done I piped out the center and then went back in with the smaller dots for details. I think next time I will add a little orange or deeper yellow to my piping bag so there is more contrast in color. I also like the idea of adding a row of bigger dots around the base, using the #5 tip and then the smaller dots just above. I recommend going back in with your finger and gently pressing the tall tips down, just so they are all the same height. (I did not do that in the video!) Also, using a #1, #2 and #3 tip would be lovely – very time consuming- but a lovely effect!
For the simple and quick daisy, I used a #103 tip for the petals and a #10 tip for the yellow center.

Ok! So clearly I put more time and energy into the daisy than I should have! You can see above there are a LOT of different styles and techniques here. But this is definitely a fun learning process and I can’t wait to move to the next flower!




This is so great! I’ve done roses, chrysanthemums, hydrangeas, lilies, you name it, but never daisies. Great tutorial; the video is so helpful!
Can you share links if you have blogged any of those flowers?! I would love to learn from a pro!
Amanda…you make this look so easy…but… I am pretty sure I would find several ways to screw it up 🙂
Thank you for your tutorial! These are the cutest cupcakes I have ever seen, my friend! Daisies are so happy! Pinned!
I just love playing with frosting flowers! Another great one to add to the book. Pinned!
I am loving all these buttercream flowers! You’re inspiring me!
Just perfect. I love fun food.
Glad I clicked over since Feedly cut off half the post. Beautiful daisies! I really need to work on piping!
Oh they’re perfect and look just like little daisy flowers! Love the video too!
How cute! Perfect for spring and summer 🙂
For some reason your video won’t play for me.