Homemade Peanut Butter Cups are a creamy peanut butter filling coated with milk chocolate for a treat that is better than store-bought. The best part about this recipe is that it uses only 4 simple ingredients that you probably have on hand! For another tasty chocolate peanut butter treat, be sure to try my Chocolate Peanut Butter Fudge!
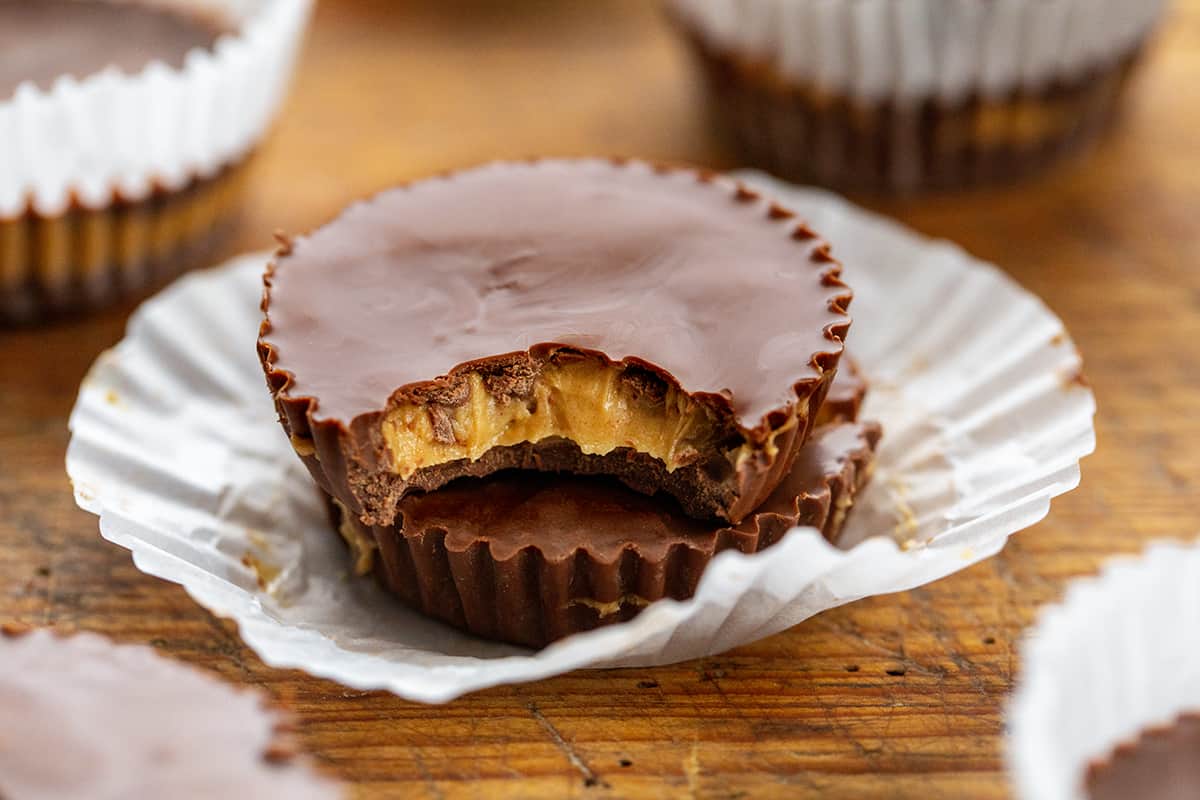
Homemade Peanut Butter Cups
I am a sucker for everything chocolate and peanut butter (peanut butter balls, anyone?). And, when I can make my own treats with this flavor combination, it is even better! And, with this treat, there are no added preservatives like when buying peanut butter cups from the store. If you need some holiday treats, add them to your easy-finger food Christmas party options or as a part of your Christmas dessert charcuterie board.
Ingredients & Substitutions
Peanut Butter: I used creamy peanut butter in this treat; but, crunchy peanut butter would also be delicious. For other nut butter options, try these with almond or cashew butter.
Sugar: Confectioners’ sugar (also known as icing sugar or powdered sugar) is added to the peanut butter and butter to sweeten the filling.
Chocolate: I used milk chocolate chips for the coating.
Can I Use a Different Kind of Chocolate?
Yes! In fact, we taste-tested these treats using all milk chocolate (which is what we ended up using), all semi-sweet chocolate (which was okay), and a mix of semi-sweet and milk chocolate (which everyone also loved). Other options that would be delicious would be dark chocolate or even white chocolate.
How to Store
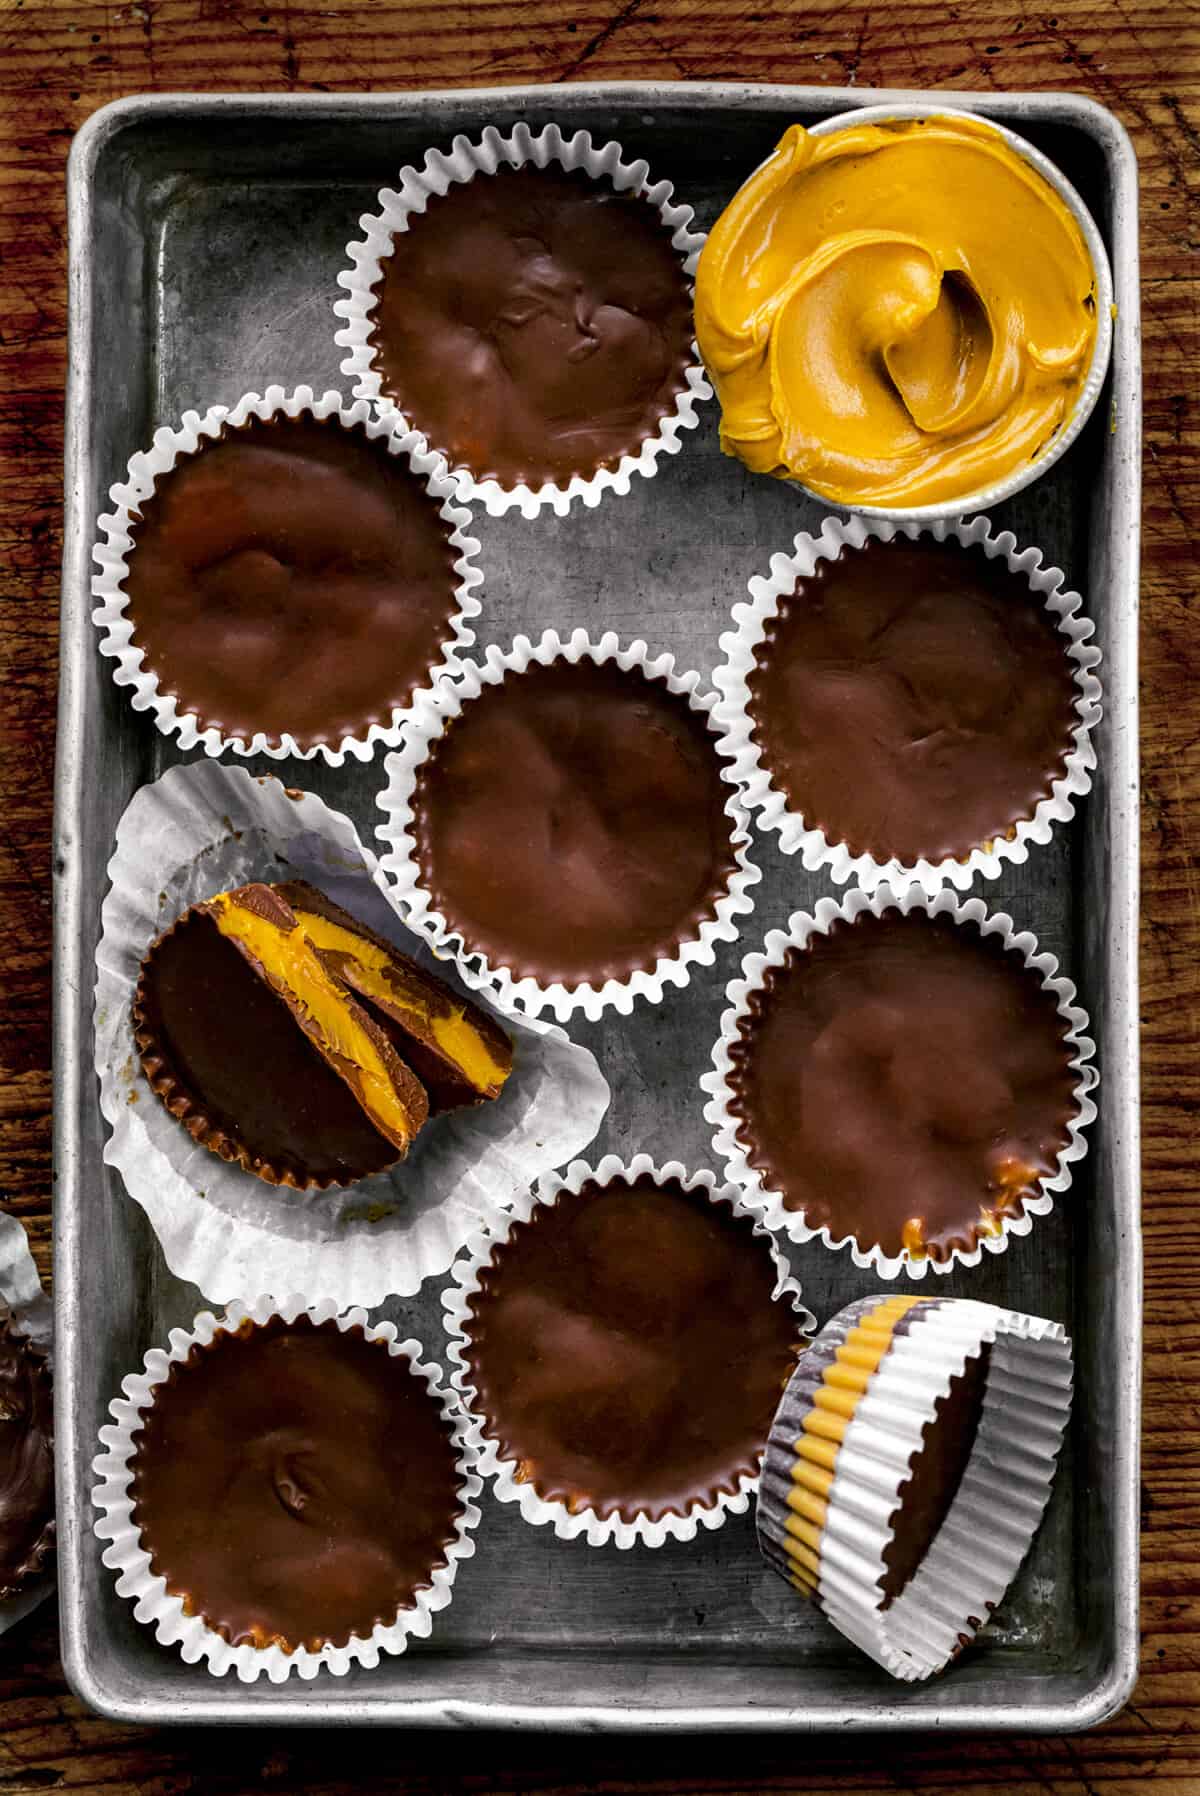
Homemade Peanut Butter Cups should be stored in an airtight container in the refrigerator. This will prevent the chocolate from melting. They will last 4-5 days.
Can I Freeze Homemade Peanut Butter Cups?
Yes! Get a jump start on your holiday treats and freeze the peanut butter cups until ready to serve. To freeze them, place the peanut butter cups in a freezer-safe container for up to a month. When ready to enjoy, let them thaw at room temperature for 5-10 minutes.
Homemade Peanut Butter Cups
Ingredients
- ½ cup (129 g) creamy peanut butter
- 3 tablespoons unsalted butter, room temperature
- ¼ cup (31 g) confectioners' sugar
- 2 cups (364 g) milk chocolate chips
Instructions
- Line a standard 12-cup muffin tin with liners. Set aside.
- In a medium bowl add peanut butter, butter, and confectioners' sugar. Use a hand mixer on low and combine all of the ingredients. Set aside.
- Add the chocolate to a microwave-safe bowl. Heat in 20-second increments, stirring after every 20 seconds, until the chocolate is melted and creamy (about 1-2 minutes total).
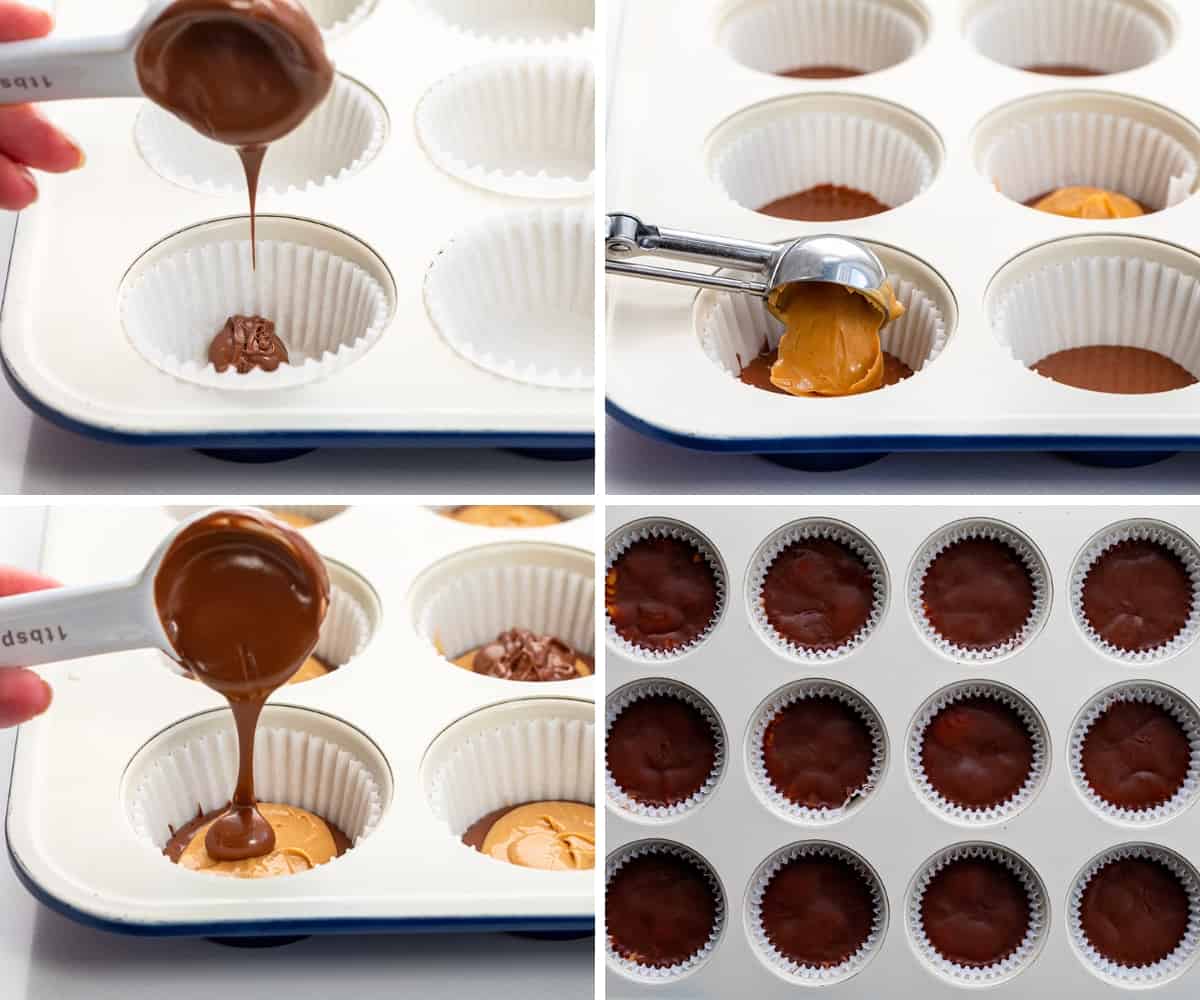
- Add about 1 tablespoon of chocolate to the bottom of each muffin tin (only enough to fully coat the bottom of the liner). Top with 2 heaping teaspoons of the peanut butter mixture in the center. Add about 1 tablespoon of chocolate to the top of each cup. Carefully tap the muffin tin onto the counter to help the chocolate settle and smooth out the tops.
- Chill in the refrigerator for 1 hour, or until set, before serving.
Did you make this recipe?
Thank you for making my recipe! You took pictures, right? Well go ahead and post them on Instagram! Be sure to mention me @iambaker and use the hashtag #YouAreBaker.


These are the best recipe on peanut butter cups that I have found and I was searching for at least 1 and a half hours!
I read the instructions a few times. Please tell me when to add the butter.
#2 In a medium bowl add peanut butter, BUTTER, and confectioners’ sugar.
How long are these good for if kept in fridge
These are the best ever and I have made different recipes of these peanut butter cups. And this one I am sticking with it is creamy Oh, they are the best.They deserve ten thumbs up. Give it a try and you won’t use any other recipe but this one for them.
I was wondering the same.
Water got in my chocolate. Chocolate won’t Melt and is dull. Can I save it?
If water got into your chocolate and it seized (becoming dull and grainy), there is a way to salvage it. Chocolate seizes because water disrupts its smooth fat structure, but here’s how you can fix it:
Add More Liquid:
Slowly add 1 teaspoon of hot water or milk at a time to the seized chocolate while stirring constantly. This may seem counterintuitive, but adding more liquid can smooth the mixture out again.
Keep stirring until the chocolate returns to a glossy, smooth consistency.
Use for a Different Purpose:
If the chocolate doesn’t fully recover, you can repurpose it into a sauce or drizzle by adding more liquid (milk, cream, or water) and using it for other desserts.
For future reference, ensure your utensils and bowls are completely dry before melting chocolate, as even a drop of water can cause seizing.
I hope this helps!
Delicious. It took me a couple times to get it right. Instead of a tablespoon of chocolate on the bottom of the cup, I use just a little less than a teaspoon – just barely enough to cover the bottom. I also halved the powdered sugar so they’re not quite so sweet and more peanut buttery.
Easy, delicious and way better from scratch
Perfect! You do not need any other recipe. I used natural peanut butter – that kind that has the oil on top – and I emptied the entire jar into the mixer, mixed it really well, and then put back in the jar what I did not need for the recipe. Worked perfectly. I had also zapped my butter in the microwave so it was a tiny bit liquid which did not seem to hurt anything at all. Thank you so much, I made them an hour ago and I think they are all gone already – I need to triple the recipe next time (that would use a full jar of peanut butter!)
Can I used Peanut butter powder instead of peanut butter?
I made these but used half peanut butter and half nutella. Yummy
I just made these with Wowbutter (a soy butter peanutbutter alternative) due to nut allergies.
My husband and son have gobbled them up, and while I’m a bit more reserved, my husband says they are very similar to actual peanubutter cups (though he says they need a little more salt in the soybutter filling)
I will be making these again, but possibly trying with salted butter instead of unsalted, and/or adding a little pinch of salt to the filling.
I have tried making these again, and adding approx 1/4 tsp of fine sea salt to the soy butter. My husband said it is spot on with the addition of the salt.
Again
NUT FREE ALTERNATIVE! So many of us have nut allergies, and have never tasted a peanutbutter cup in our lives. Now we can make our own 😀
Delicious, but the recipe didn’t quite make enough for 12, more like 8. I had to make a bit extra peanut butter mixture and a bit more chocolate