Wanna know how to make my super easy and fun petit fours? Well you have come to the right place my friend.
Lets start with the main ingredients.
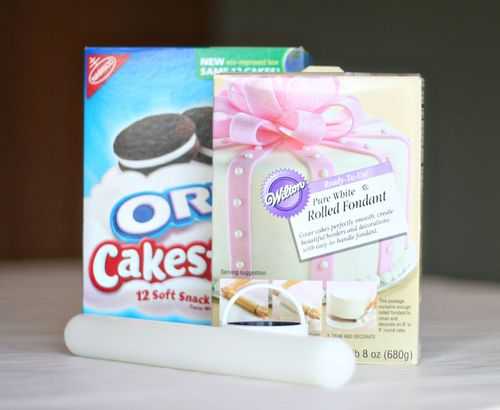
Oreo cakesters. (They used to make vanilla which worked the best, but I havent seen those for a long time…if you find um, grab um, buy 25 boxes and send them all to me! Or, just email me.)
Fondant (I use pre-made)
Rolling Pin
Red Food Coloring (not pictured)
Optional: Royal Icing, small round cookie cutter, small heart cookie cutter, corn syrup, sparkling sugar
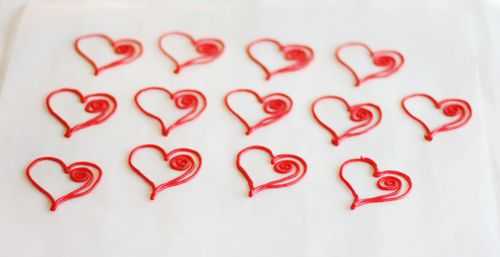
I made these hearts the day before with some royal icing. I also made a few white ones just in case I changed my mind and didnt like the red.
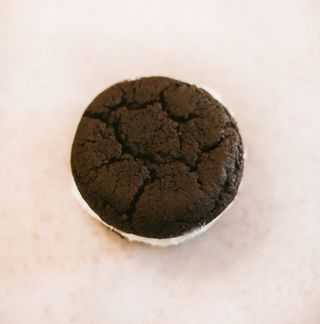
Meet Mr. Oreo Cakester. I call him Lou.
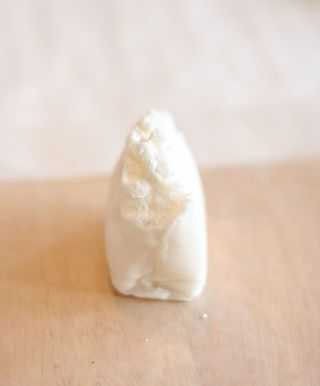
Grab a good size chuck of fondant. Especially if this is your first time. You are going to want to play around.
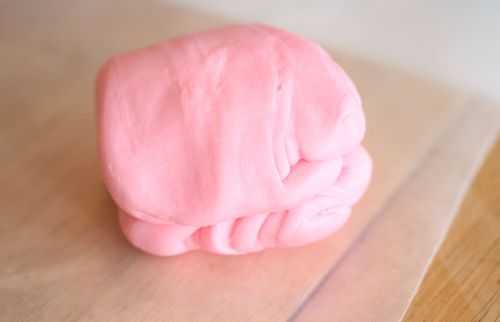
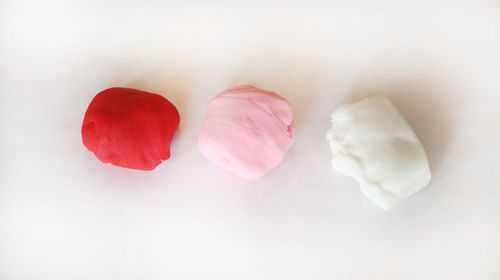
Knead your fondant so it is more pliable. Since I need to make some pink today, I am going to add one little dot of Ateco red gel food coloring.
That one little dot made this cutie patootie pink.
I wanted to use three colors, so I made some red as well.
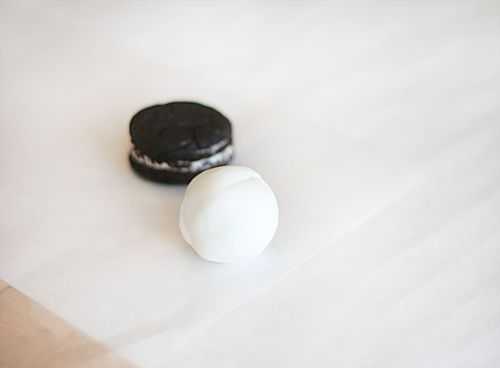
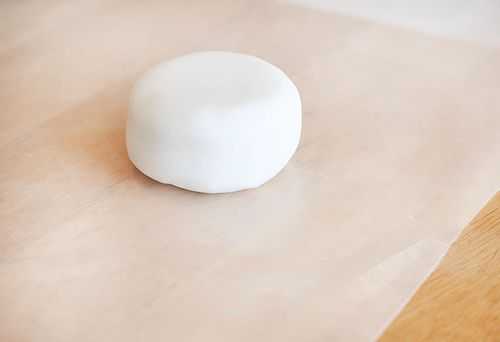
From your white fondant, take about a small egg size. Since the cakester is black, and I am covering it in white, I want it to be a bit thicker then usual.
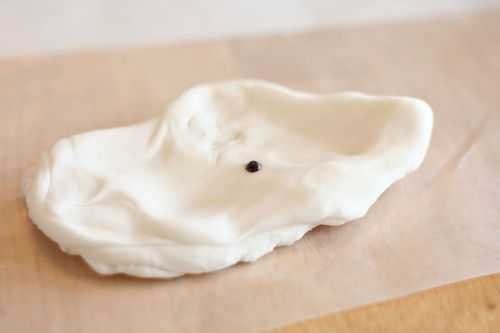
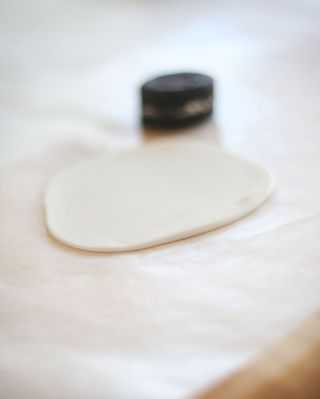
Roll out fondant into about a 1/4 inch thickness. I am working on wax paper. If you have granite or marble or a special fondant matt you can use any of those. They work way better.
I am poor. I use wax paper.
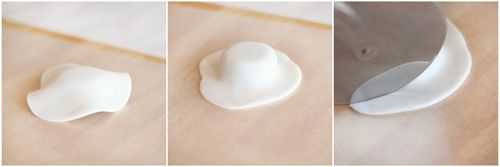
Place the rolled out fondant over the cakester.
Gently press down on the sides. I use the sides of my pinky to smooth it over. This takes practice, so just relax and have fun working with it! (also watch Cake Boss and Food Network Cake Challenge’s lots and lots)
If your fondant tears or you have any problems, just start over!
Take a pizza cutter or a sharp paring knife and cut closely around the bottom edge.
This is what it should look like after you have trimmed it.
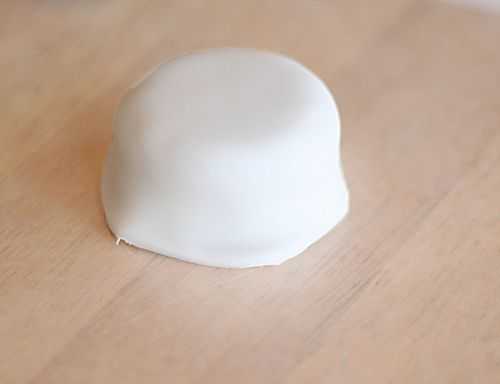
Gently flip over the cakester and smooth the edges of the fondant over. Be sure to remove any crumbs you see along the way. If you dont you could accidentally rub it into your fondant.
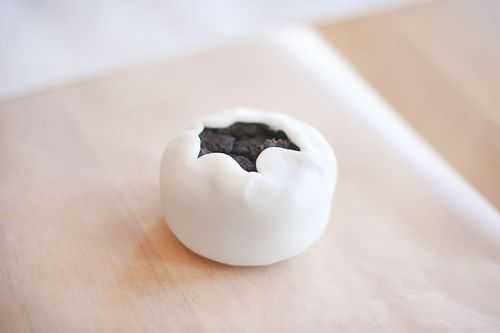
And here is the fondant covered cakester!
Or, Lou with his clothes on!
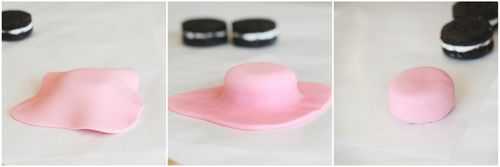
Here it is again in pink.
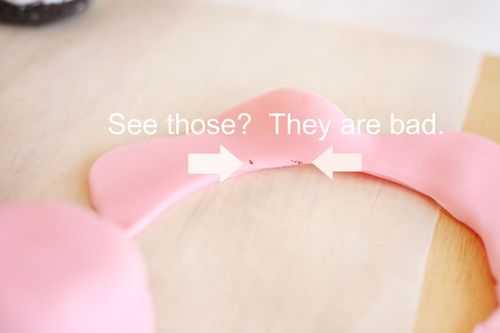
If you want to reuse your fondant, be on the lookout or crumbs. Just cut them off or pick them out.
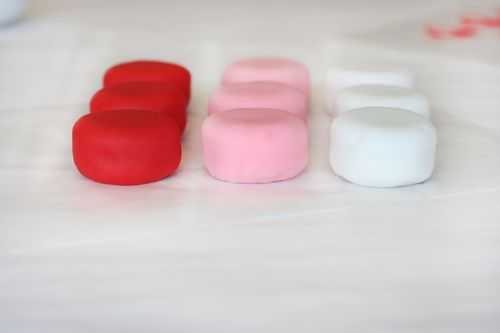
Here are the three colors for Valentines Petit Fours.
You can now decorate them any way you want… write on them with royal icing or place a candy heart on top that says ‘be mine’ or place a Hershey’s Kiss on top!
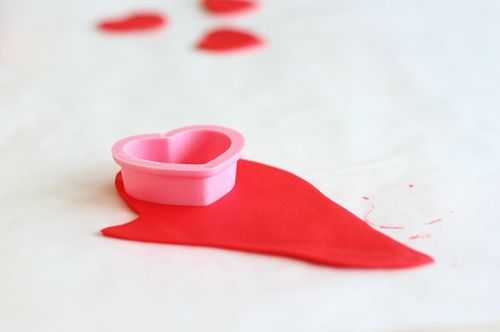
I decided to roll out a bit extra of the red fondant for some hearts. This fondant is pretty thin as I am just using the hearts for decoration.
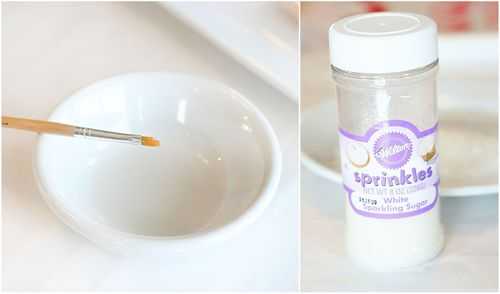
To decorate the pink cakesters I am using a bit of watered down corn syrup and some white sparkling sugar.
I will *paint the sides of the cakester with the corn syrup then gently roll it on a plate of the sparkling sugar.
*Make sure you have a paint brush that is for food only.
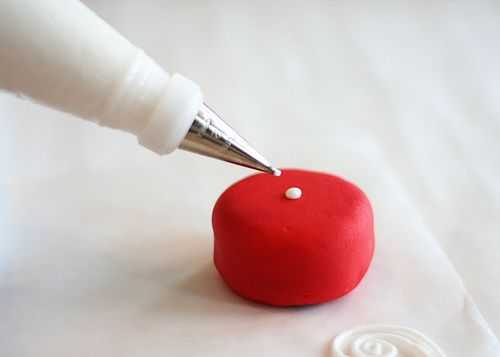
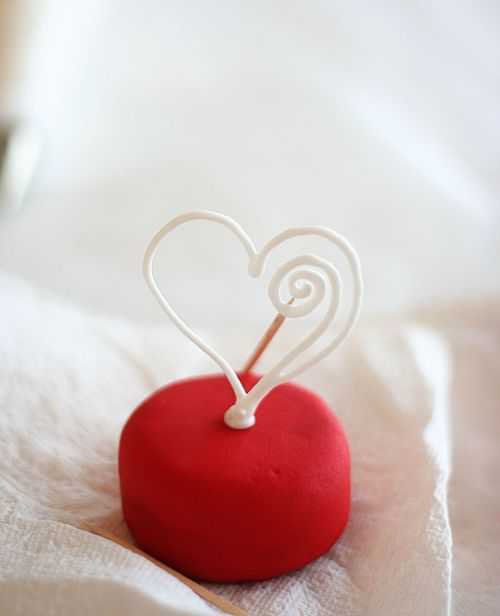
For the red cakesters I am going to attach those royal icing hearts I made the day before. Just drop a dot of white royal icing (this must be the traditional royal icing with meringue powder) in the center and attach the heart. They are delicate, so be gentle.
Since I didnt have time to sit and hold the heart in place, I propped it up with a toothpick.
Would you like to see the final product?
Really?
Are you sure???
Ok…here goes…
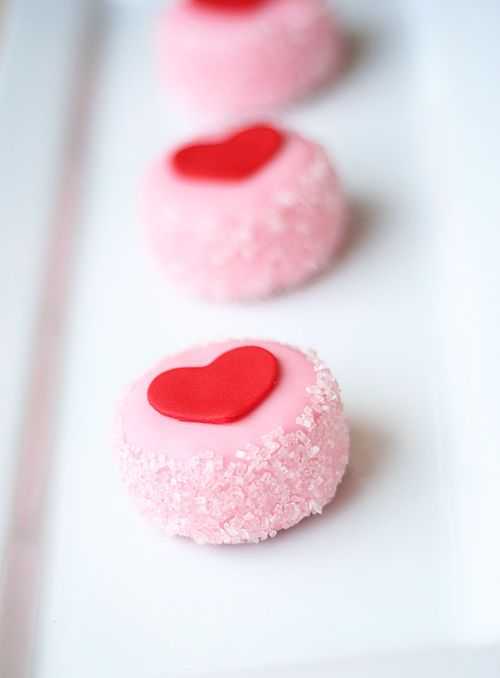
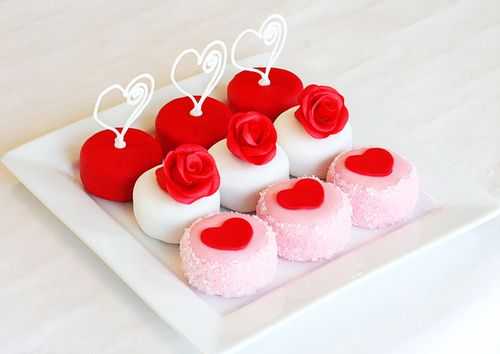
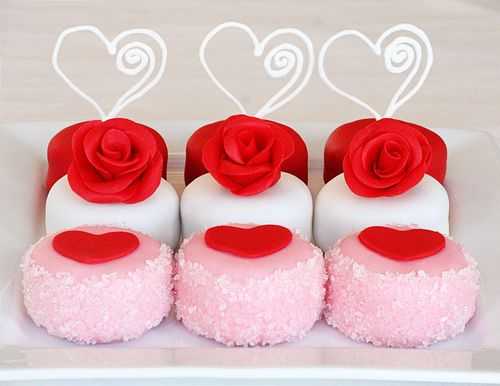
Here are the pink sparkling sugar petit fours with red fondant heart.
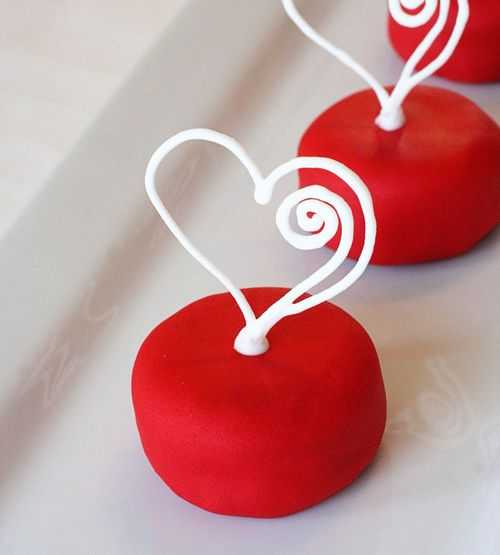
Here are the red petit fours with white royal icing heart.
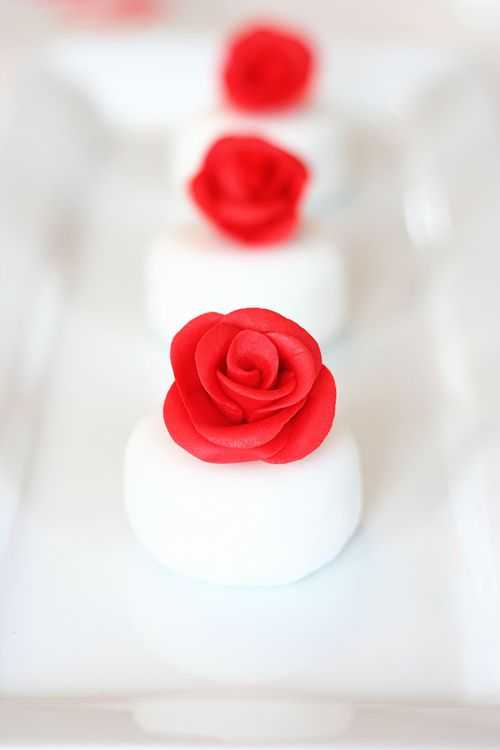
And here are my favorite.
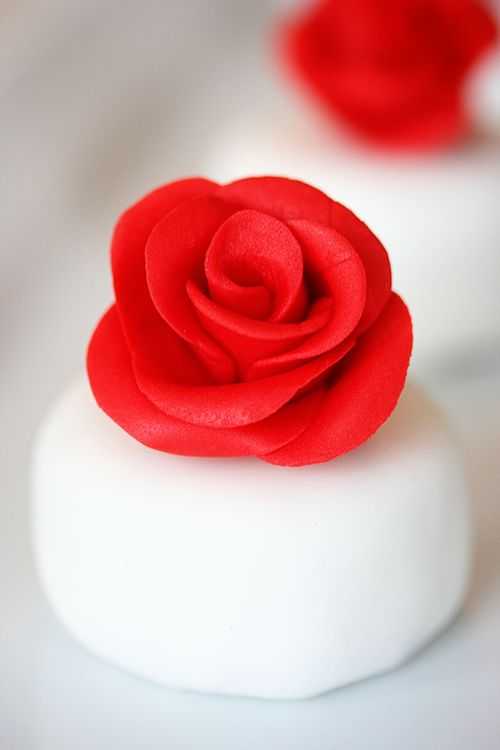
The white petit four with a red fondant rose delicately resting on top.
Or, Lou all dressed up with a gift for his lady.
These were a last minute addition, because my red royal icing hearts I had made didnt quite look like I wanted them too. So I went to youtube and watched a video on making fondant roses.
Although they are my first, I really like them, and cant wait to do more!
What do ya think? Are you ready to try some of your own?
I cant wait to see!





Hi there, I can’t find cakesters, what can I use instead?
You are so talented. I really enjoy seeing you work and hope you continue for a long time. Thank you so much for sharing all this with me (us). 🙂
Thank you for this lovely Valentine gift idea! I’d love to try these for next month!
I really want to try these! You make it look easy and give good step by step instructions with humerous comments..lol Thank you!
Great tortouriL n love how yes created Lou n dressed him… can’t wait to fry this for Valentines