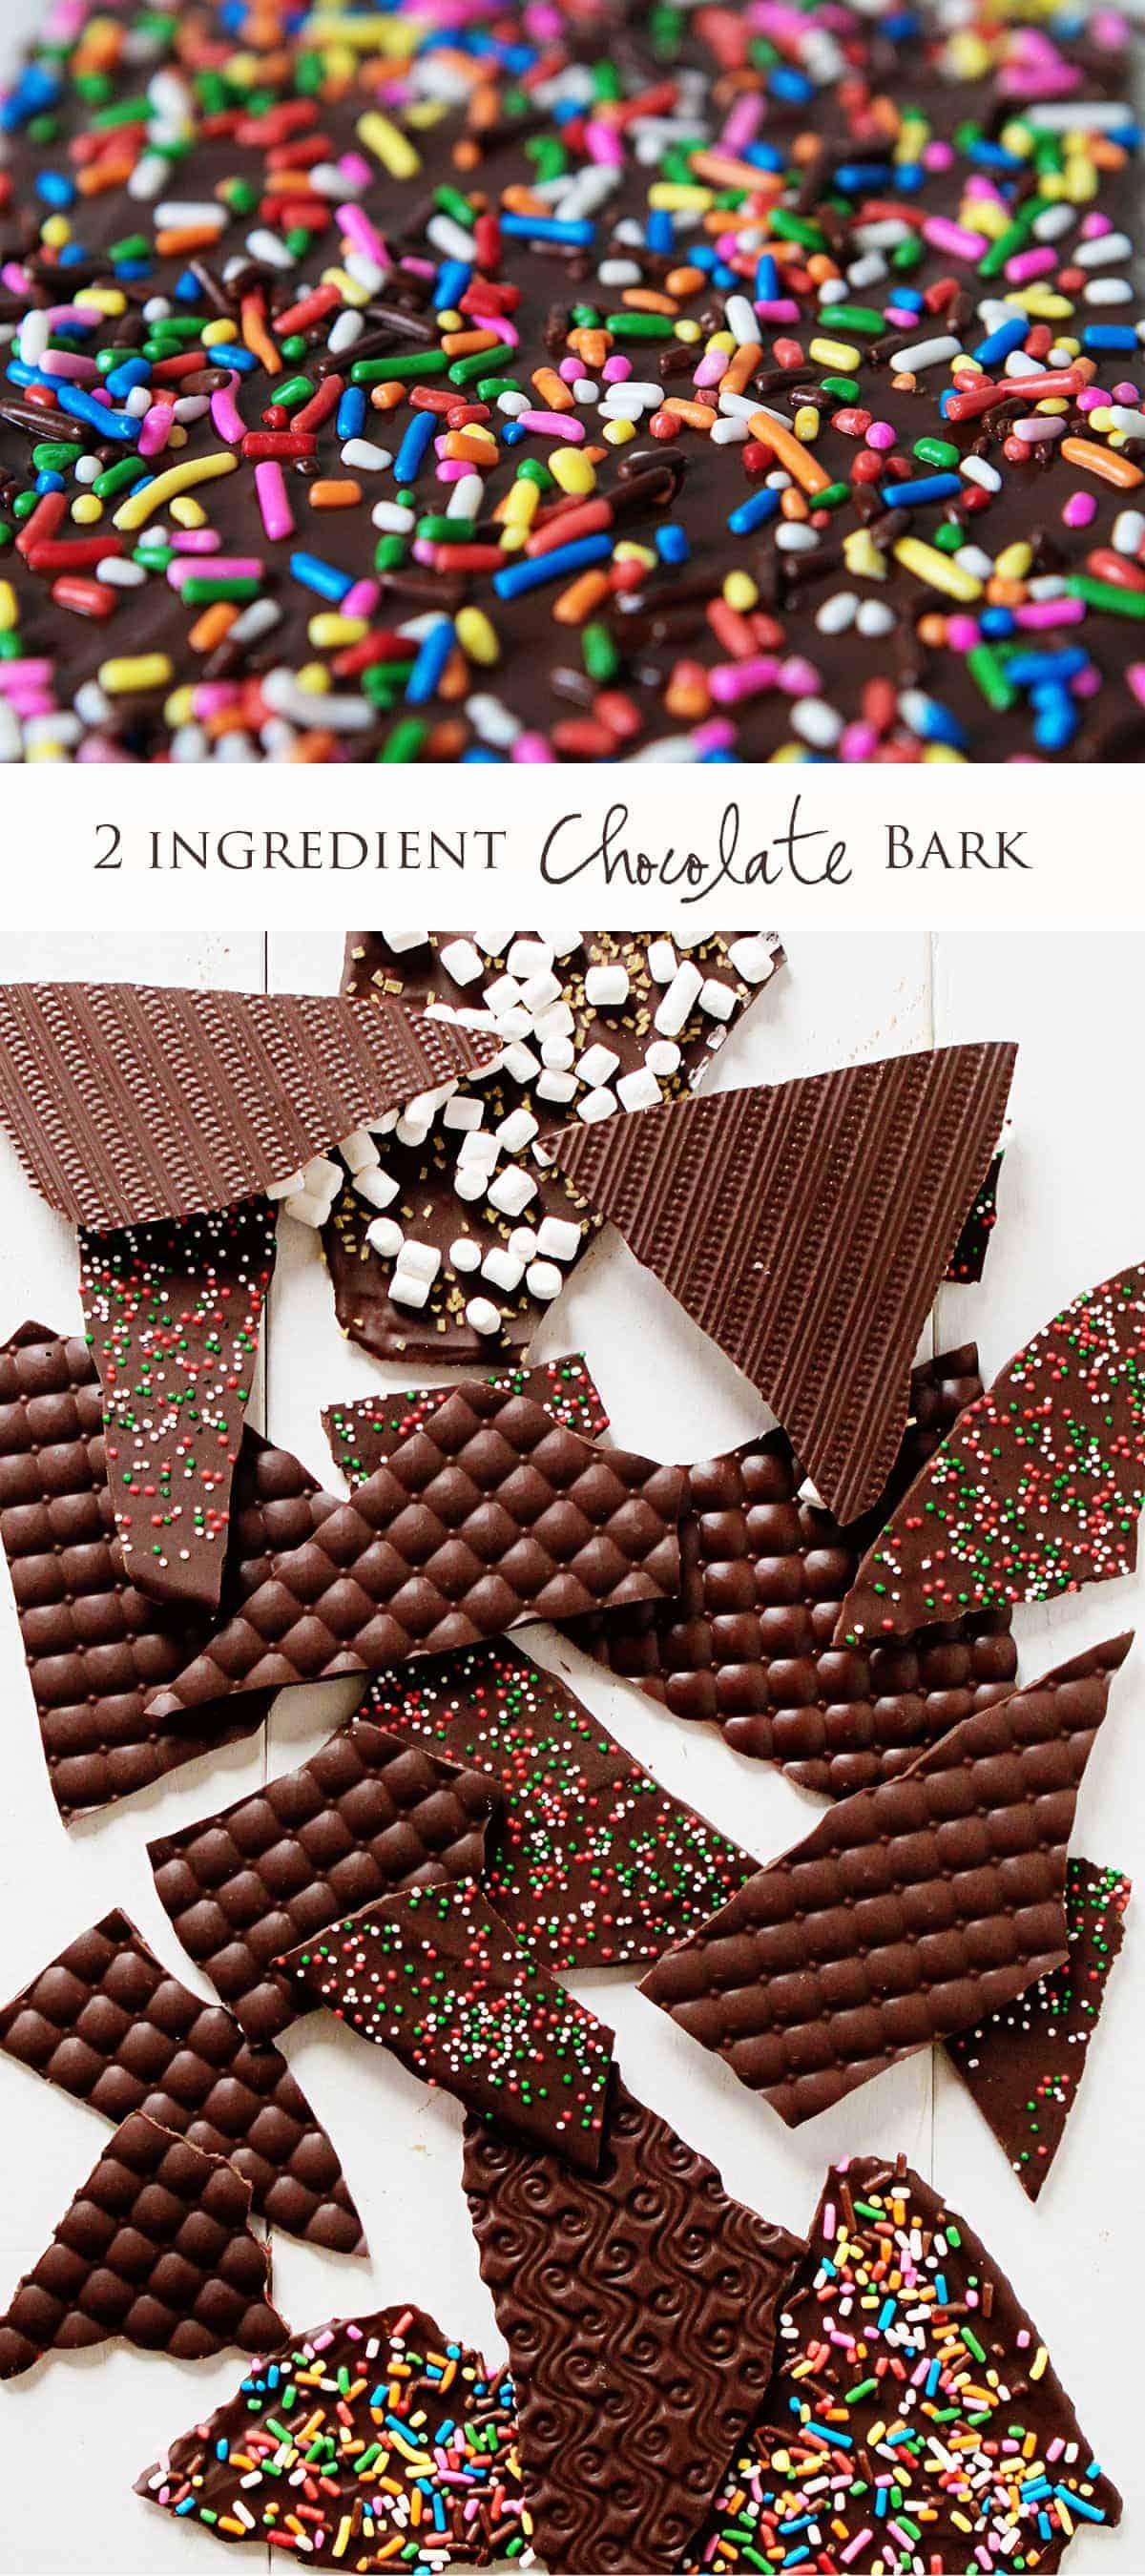
This easy chocolate bark is a fun way to create a seasonal design that incorporates the things people love. Chocolate and fun! If you are looking for more fun chocolate creations, try my best chocolate cake or cookie recipes!
Chocolate Bark
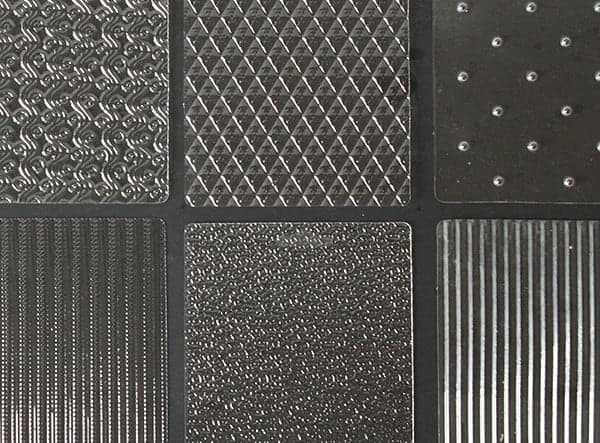
One day I was looking at some old silicone fondant mats (that I have basically never used!) and decided that they would be a perfect way for creating chocolate bark! That very day I tested out my theory and it worked brilliantly. However, I ended up using my plastic fondant mats and found the smaller size and rectangle shape to be easier to work with. I used these fondant impression mats that were sitting in the back of my prop closet. They are beyond cheap… I think $5 for a set of four.
PRO TIP: Got kids? If you don’t have fondant mats, try using play-doh accessories! Just make sure they are very clean!
What is Chocolate Bark?
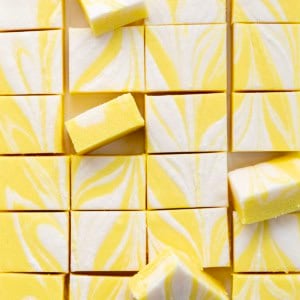
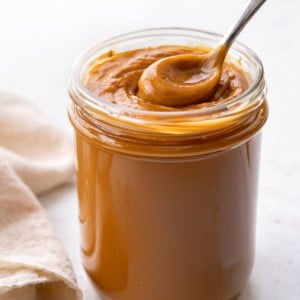
Anano Chocolate says that Chocolate bark is a type of confection that was named because of it’s resemblance to the bark of trees. It is made with melted, tempered chocolate, which is poured onto a flat surface to create a thin “sheet” of chocolate. It can be made using any type of chocolate you prefer! The quality of the chocolate is an important factor, so use the best quality chocolate you can. My top 2 favorites are milk chocolate and white chocolate.
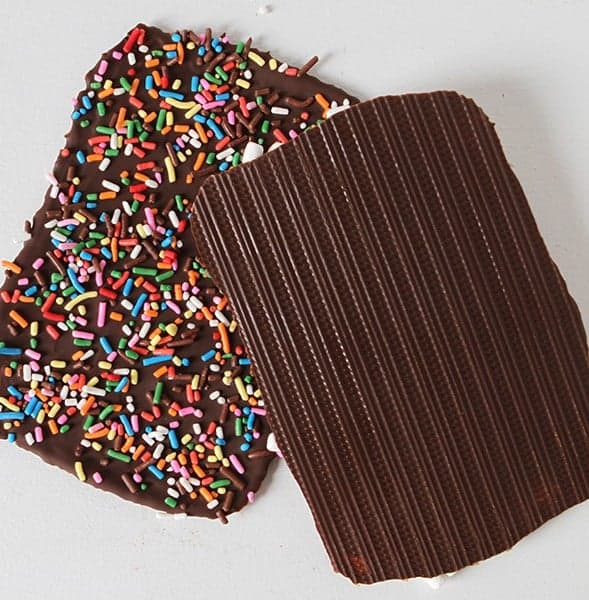
How to Make Decorative Chocolate Bark
So let’s talk about those fondant mats again. They come in every design you can think of… and all extrememly easy to use.
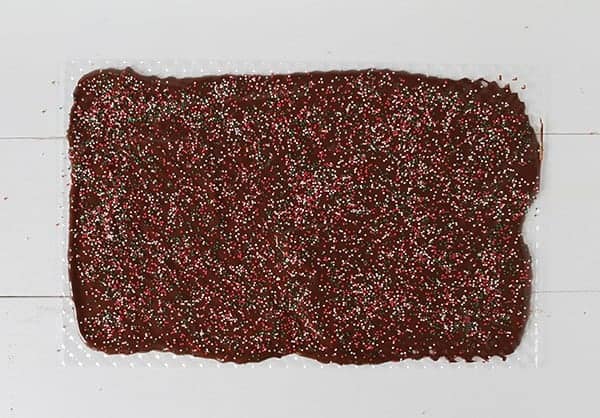
Simply pour your chocolate onto the mat. No preparing necessary, no butter or spray or parchment.
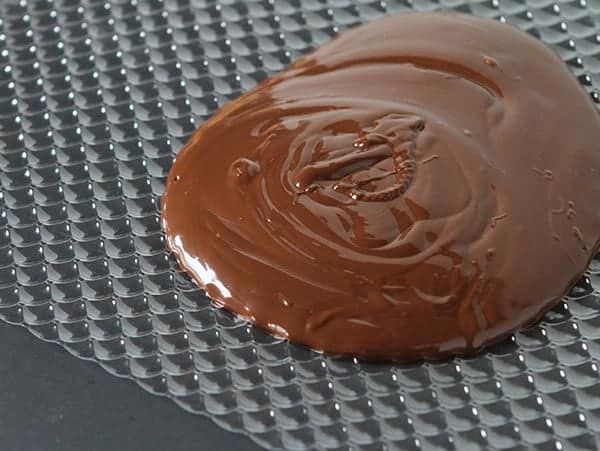
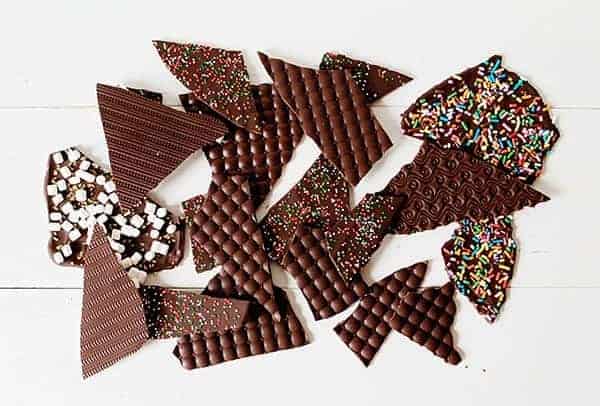
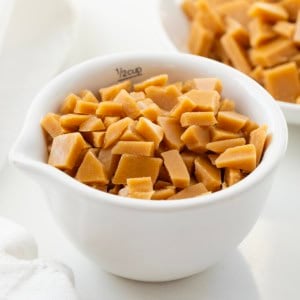
Smooth out with an offset spatula and set on a level surface in the fridge or freezer. I tend to pop in the freezer because I like to be able to sample in a matter of a few minutes! The bark will easily just pop right off of the mat. You can break it up in a rustic pattern by hand or cut it into uniform pieces for easy gift giving.
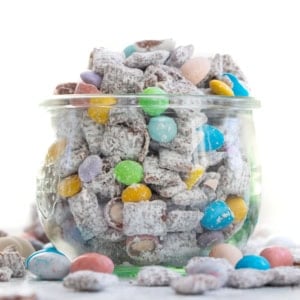
You don’t have to stick with the Christmas theme… it can be sprinkles or even a New Years Eve theme!
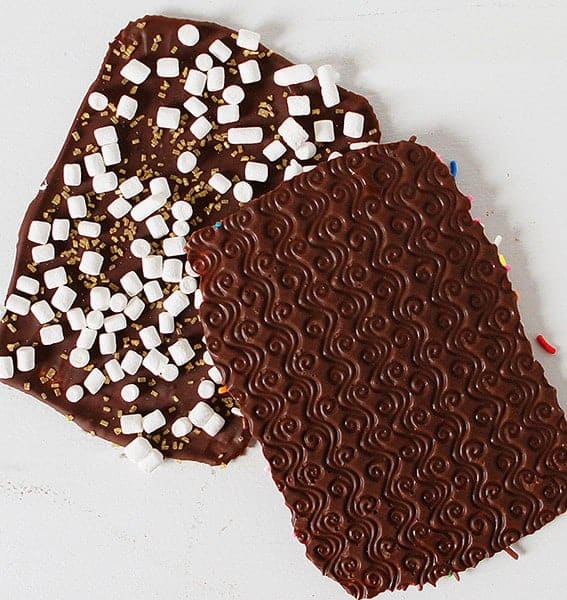
This is gold sprinkles with mini marshmallows. Be careful when choosing your sprinkles though! I much prefer jimmies on bark as the small round non-perils can have a hard crunch that is not fun when you are biting into smooth and creamy chocolate.
You can use most bark recipes with the method, and believe me, I am.
This is truly such a fun and easy way to make your holiday snacking and gifting EXTRA special!!

Two Ingredient Chocolate Bark
Ingredients
- 1 cup chocolate- dark, semi, milk, bittersweet, or white
- Decoration of choice- like sprinkles, jimmies, or candy
Instructions
- Line baking sheet with parchment paper.
- Melt the chocolate according to the packaging using the stovetop or microwave method.
- Pour the melted chocolate over the decorative mats.
- Spread the chocolate in a 1/4-inch even layer.
- Evenly sprinkle the decoration of your choice (sprinkles, chocolate chips, mints, rock candy) over the chocolate edge to edge.
- Place the baking sheet in the freezer for 10 minutes until firm.
- Allow the bark to come to room temperature before serving.
- You may need more melted chocolate depending on the size of your decorative mat.
Did you make this recipe?
Thank you for making my recipe! You took pictures, right? Well go ahead and post them on Instagram! Be sure to mention me @iambaker and use the hashtag #YouAreBaker.


Amanda, that is such a genius idea! The end result is so pretty (: Now I just need to get my hands on some silicone fondant mats…
What a fun idea! I need to get some of those mats!
This is total genius…I have to try this!! And I love Manuela too…her IG account is to die for!
Agreed!
Ok, this is beyond genius! OMG OMG OMG is what is running through my mind (and I might have said it out loud a few times). I definitely need to make this asap, because it’s so easy and perfect!
This bark is stunning! I need those awesome mats!! 😉
Just wanted to come back to this post to tell you THAT THIS WORKED! You are amazing, thank you for sharing this amazingness!
That’s great!!
Does the chcolate need to be tempered or will it stay?
Hi Dear Amanda
I am so happy to find you plz I need your pressious ideas to follow Iam newely in desserts home business healthy food espesially in dates and nuts and dried fruits
I love your recipes
You made a complex topic feel simple. Really a real gem approach overall. Looking forward to more posts like this.