This cake was a horrible, happy accident. I love the final product, but getting there was no easy task!

To make the above cake you will need:
white cake recipe – I doubled the recipe (3 layers for the bottom of this cake, I saved and froze the 4th layer) with 8-inch round cake pans, then 1 additional white cake recipe in two 6-inch round cake pans.
buttercream recipe tripled (reserve one recipe for the final piping)
red, yellow, green, blue food color (mix color to make orange and purple)
cake stand, see my cake stand collection here
rotating cake stand
straws or wooden dowels
small offset spatula
bench scraper
#362 large open star tip, see how to store tips here
pastry bag
pastel sprinkles
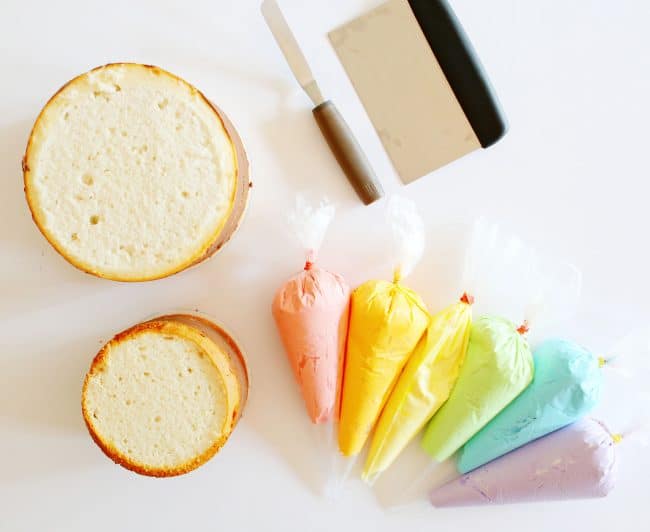
Begin by baking the cakes. I baked three TOTAL white cake recipes. First, I doubled the white cake recipe and baked 4 layers of white cake. (I only used 3 for my cake, so the fourth layer was wrapped and frozen for later use.) I then whipped up another white cake recipe and baked it in two 6-inch round cake pans.
When cakes are done baking and cooled, level them.
Prepare chocolate buttercream. (The little girl that I was making this cake for requested chocolate frosting between the layers so that is I what I did. You can certainly use white buttercream if you prefer.)
Begin by placing first 8-inch round layer of cake on cardboard round and place that directly on top of rotating cake stand. Cover with 1/2 cup to 1 cup of chocolate buttercream. Smooth out with a small offset spatula. Place next 8-inch round layer on top and add chocolate buttercream. Finish with final layer of white cake. (Cake should be 3 layers) Cover the sides of the cake with chocolate buttercream. Chill in freezer while assembling the next tier of the cake.
Place 6-inch cardboard round on the rotating cake stand. Set one 6-inch round layer of white cake on the cardboard. Cover with 1/2 cup of chocolate buttercream. Place the final 6-inch layer of cake on top and fill in the sides with chocolate buttercream. Move this 2-layer cake to freezer.
Prepare white buttercream. Separate buttercream into 7 bowls. (You need to save about 2 cups to cover the top and sides of both tiers of cake in a crumb coat.) Divide the remaining frosting between 6 bowls. You should have about 1 1/2 cups per bowl. Tint pink, orange, yellow, green, blue, and purple. Once you have tinted all of the frosting, place each color in a pastry bag and seal with a rubber band.
Tint pink, orange, yellow, green, blue, and purple. Once you have tinted all of the frosting, place each color in a pastry bag and seal with a rubber band.
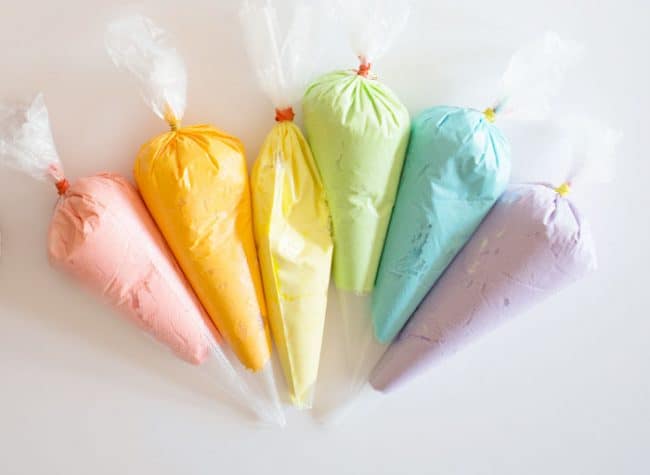
Remove your 3-layer cake that is on the cake stand from the freezer. Cover the cake in a thin layer of white buttercream, this is your crumb coat.
Cut off the tip from the purple bag of frosting. With your cake on the rotating cake stand, press bag of purple frosting against the very bottom layer of your cake and apply pressure with one hand while turning the cake round. Do this twice, or make sure you use enough frosting to cover about 2 inches at the bottom of your cake. (The cake should be about 6 inches tall.)
Repeat this process with the blue frosting. Then repeat that with the green frosting. Make sure just a bit of your green frosting overlaps on top of the cake.
Now take the bench scraper and hold it flat against the side of the cake. Holding your hand steady, start to move the cake stand around, trying not to stop. Go around as many times as you need to create a smooth finish on your cake.
Here is a video on how I did that! (There is a BUNCH of extra steps in this video… just ignore that part!! I am so embarrassed.)
Now! Back to this cake.
Take a straw and insert it into cake. Lift it up just a tad and then cut it so that it is level with the top of the cake. (You can use wooden dowels, but they should be measured and cut ahead of time.)
Set the 6-inch cake stack on top. Repeat the method you used above, only this time, start with yellow. Then orange. Then red. Smooth out the top.
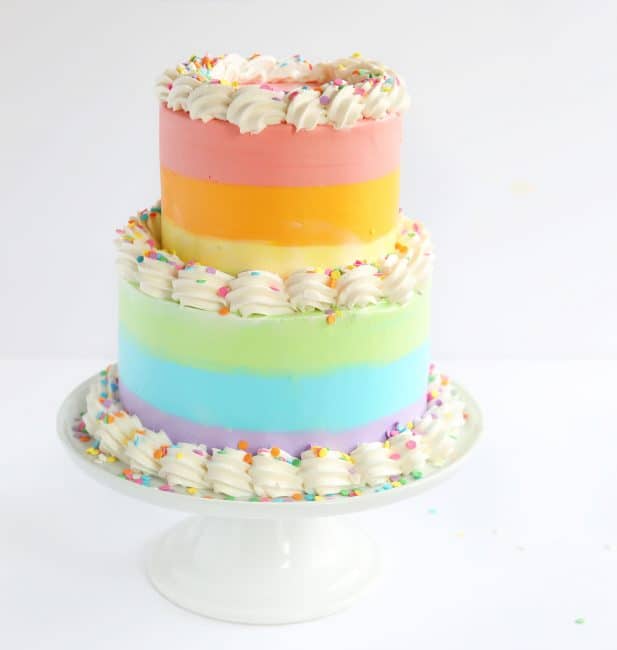
Fill pasty bag that has been fitted with a #362 tip with buttercream. (any large open star tip will work) Start piping out a shell pattern around the base of each cake. Then finish with that same shall border pattern around the upper edge.
Cover the piping with pastel sprinkles and chill until ready to serve!
So! If you saw that video you saw how HORRIBLY I messed up this cake. It was UGLY.
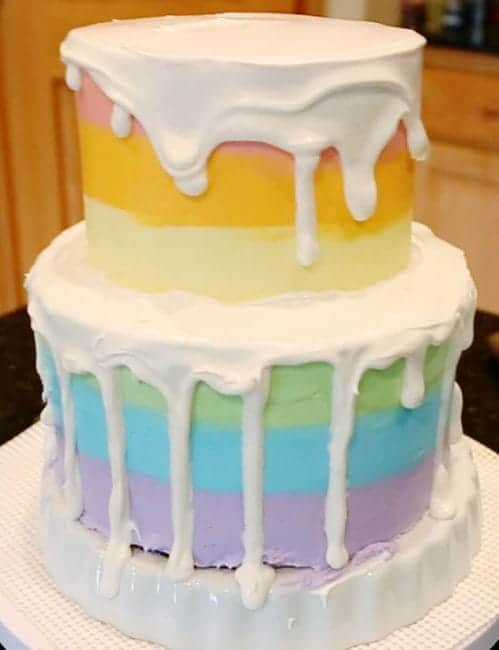
I mean. I don’t even know. Literally, have no excuse.
But I think it was able to come back nicely to a cake that is at the very least #nothideous. 🙂
If you have any questions please let me know. I am writing this post at 2:00am and I am not sure my brain is working right. 😉


can you recommend a chocolate cake recipe I could use instead of white cake?
I’ve followed you for years now, and it’s great to see that even you make mistakes, it makes me feel less of a mess when doing piping catastrophys over here.
Lots of love from France
I watched your video with tears in my eyes. I have been decorating cakes for over 50 years. My mom taught me and always said that cake decorating is just covering up one mistake with another! You got lucky with your first cover-up!
Your tutorials are great; Never too old to teach this dog new tricks. I’m making my grandson’s 18th birthday cake and doing a chocolate ombre side, and have had so much fun making sphere truffels chocolate, cream and blue and then luster-dusting them all up. They are going to make up a star studded galaxy because the future is right there just waiting for him.
Thanks for sharing your talent!
Sharon