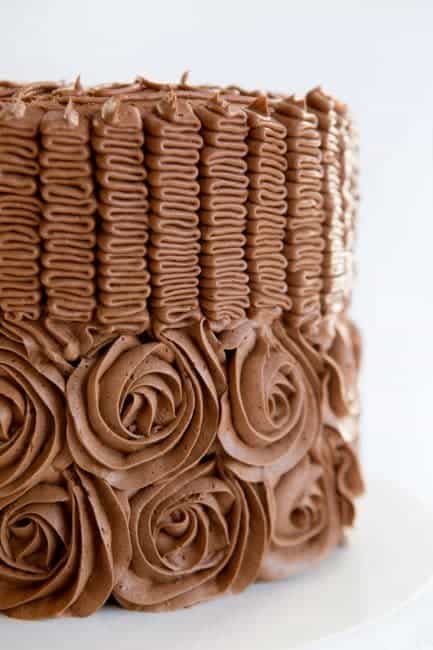
Audrey, my sweet 8-year-old, designs her birthday cake every year. This is the cake she settled on for this year! It’s a rainbow layer cake with whipped chocolate buttercream in a rosette and ribbon pattern. If you want a more traditional birthday cake, try my favorite Happy Birthday Cake!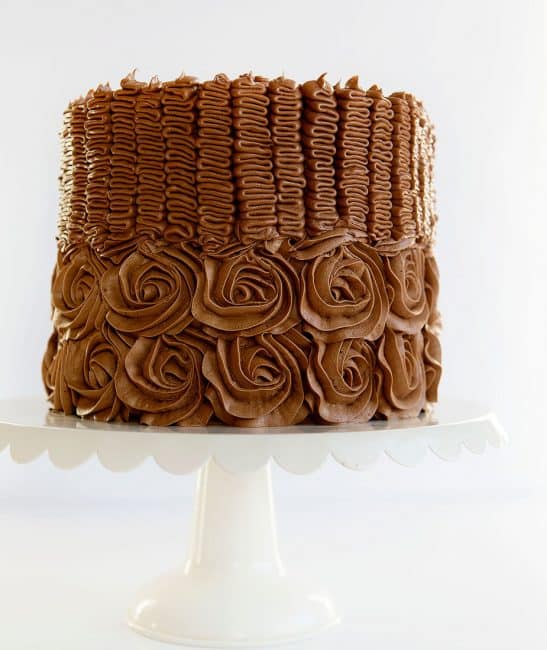
Rainbow Birthday Cake
To make this cake you will need:
3 boxes white cake (you can use your favorite from-scratch white cake recipe)
food color (red, orange, yellow, green, blue, purple)
chocolate buttercream (I tripled my recipe)
1M or 2D tip for rosettes
#104 tip for ribbon piping
#5 (or #7, #10, #12) small round tip
rotating cake stand
How to Make a Rainbow Cake
Prepare cake batter following directions on package. Divide cake batter in half. Tint one purple, one blue. Bake in 8-inch round cake pans. Cool to room temperature.
Prepare cake batter following directions on package. Divide cake batter in half. Tint one green, one yellow. Bake in 8-inch round cake pans. Cool to room temperature.
Prepare cake batter following directions on package. Divide cake batter in half. Tint one orange, one red. Bake in 8-inch round cake pans. Cool to room temperature.
When all cakes are cooled, level them to be all the same height. Place all cakes in the freezer for 1 hour or up to overnight.
Prepare whipped chocolate buttercream. Place buttercream in pastry bags. I used 7 bags for all my buttercream.
Place your rotating cake stand on the counter. Place the cake stand (that you want to serve the cake on) on the rotating cake stand.
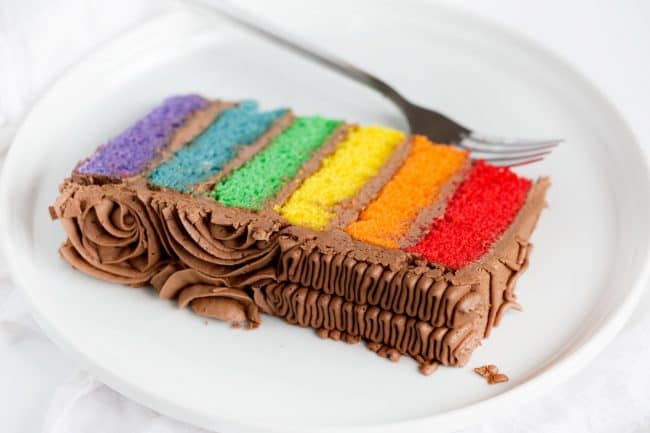
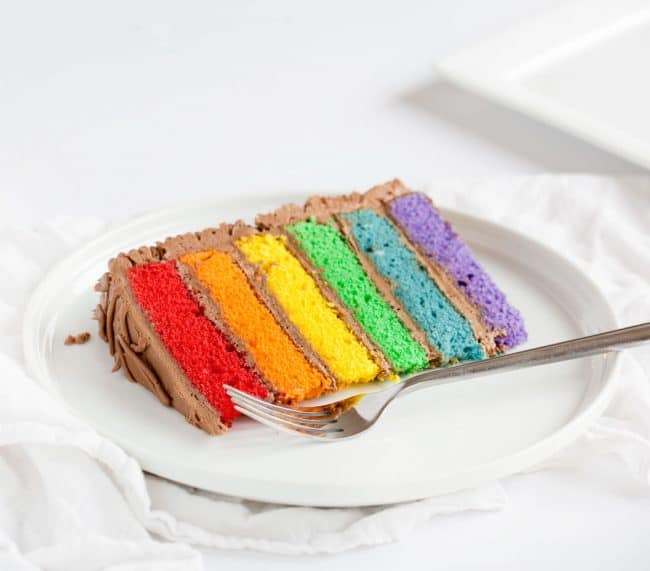
Place the chilled purple layer on the cake. Pipe out chocolate frosting in a thin layer. Smooth out with a mall offset spatula.
Repeat with blue, green, yellow, orange, and red.
Cover outside of cake with chocolate buttercream. Smooth out with a mall offset spatula. You can use a bench scraper to get a very smooth finish.
Drop 1M (or 2D or large open star tip) into a pastry bag and fill with chocolate buttercream OR drop in a bag you have already filled. (I call this double bagging and you can learn more about that here)
Starting at the bottom of the cake, pipe out a rose. Try to end the piping at the top of the rose, away from the center. You can easily cover up loose ends with your next row of roses. (full tutorial on how to make a rose cake here)
Do two layers of roses.
Next switch to a #104 tip. Starting right on top of the roses, move the tip back and forth and short movements and pipe up. I offer tutorials for this method here and here.
I wrote a specific message to my daughter on top of the cake, “Happy Birthday Audrey” with a couple of hearts. You can write whatever would be appropriate for your occasion!
Here is a video assembling and decorating this cake:
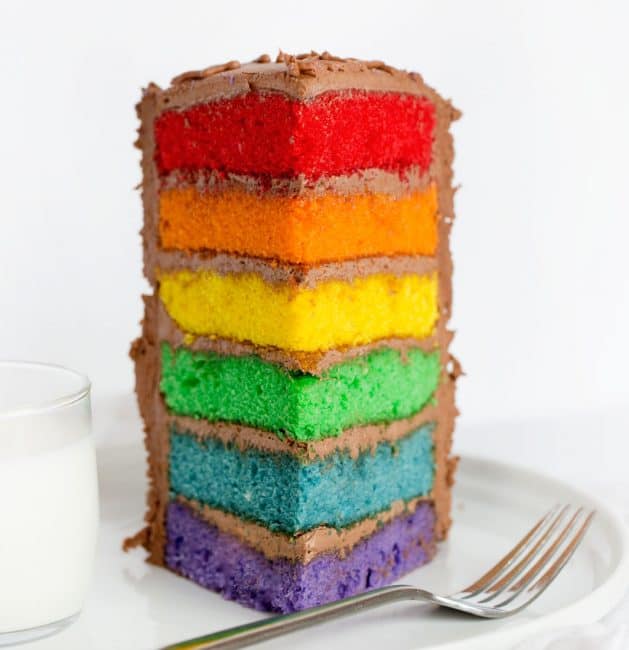
Audrey loved her cake and I can’t wait to see what she designs next year! 🙂
Check out my other great BIRTHDAY CAKE recipe here!



I just love your creativity! The cake looks perfect for my friend’s upcoming birthday!
Thank you! Gotta admit though, I had nothing to do with designing this one! 🙂 <3
The combination of the roses and the ribbons is perfection! It seems modern and classic all at the same time. Absolutely in love right now!
Amanda, is this the same chocolate buttercream frosting you featured in your recent Instagram video with your Bosch mixer? It looks amazing!
Yes!
Hi
I love most of your recipe specially whipped chocolate frosting.
I used that recipe every time I make cake it turns out so beautiful and delicious.
keep posting nice recipe.
How long will a decorated cake stay fresh
Could I please have your chocolate buttercream recipe, I just love your recipes❤️❤️