

These Apple Butter Thumbprint Cookies are a little bit like a snickerdoodle and a little bit like apple pie! The cookies are soft and buttery, rolled in cinnamon sugar, and filled with apple butter. They have all those cozy fall flavors in one little cookie.
I love using my Slow Cooker Apple Butter for the filling, but store-bought apple butter works, too. If you are in the mood for more fall baking, check out my Fall Baking Recipes for more cozy treats to make this season!
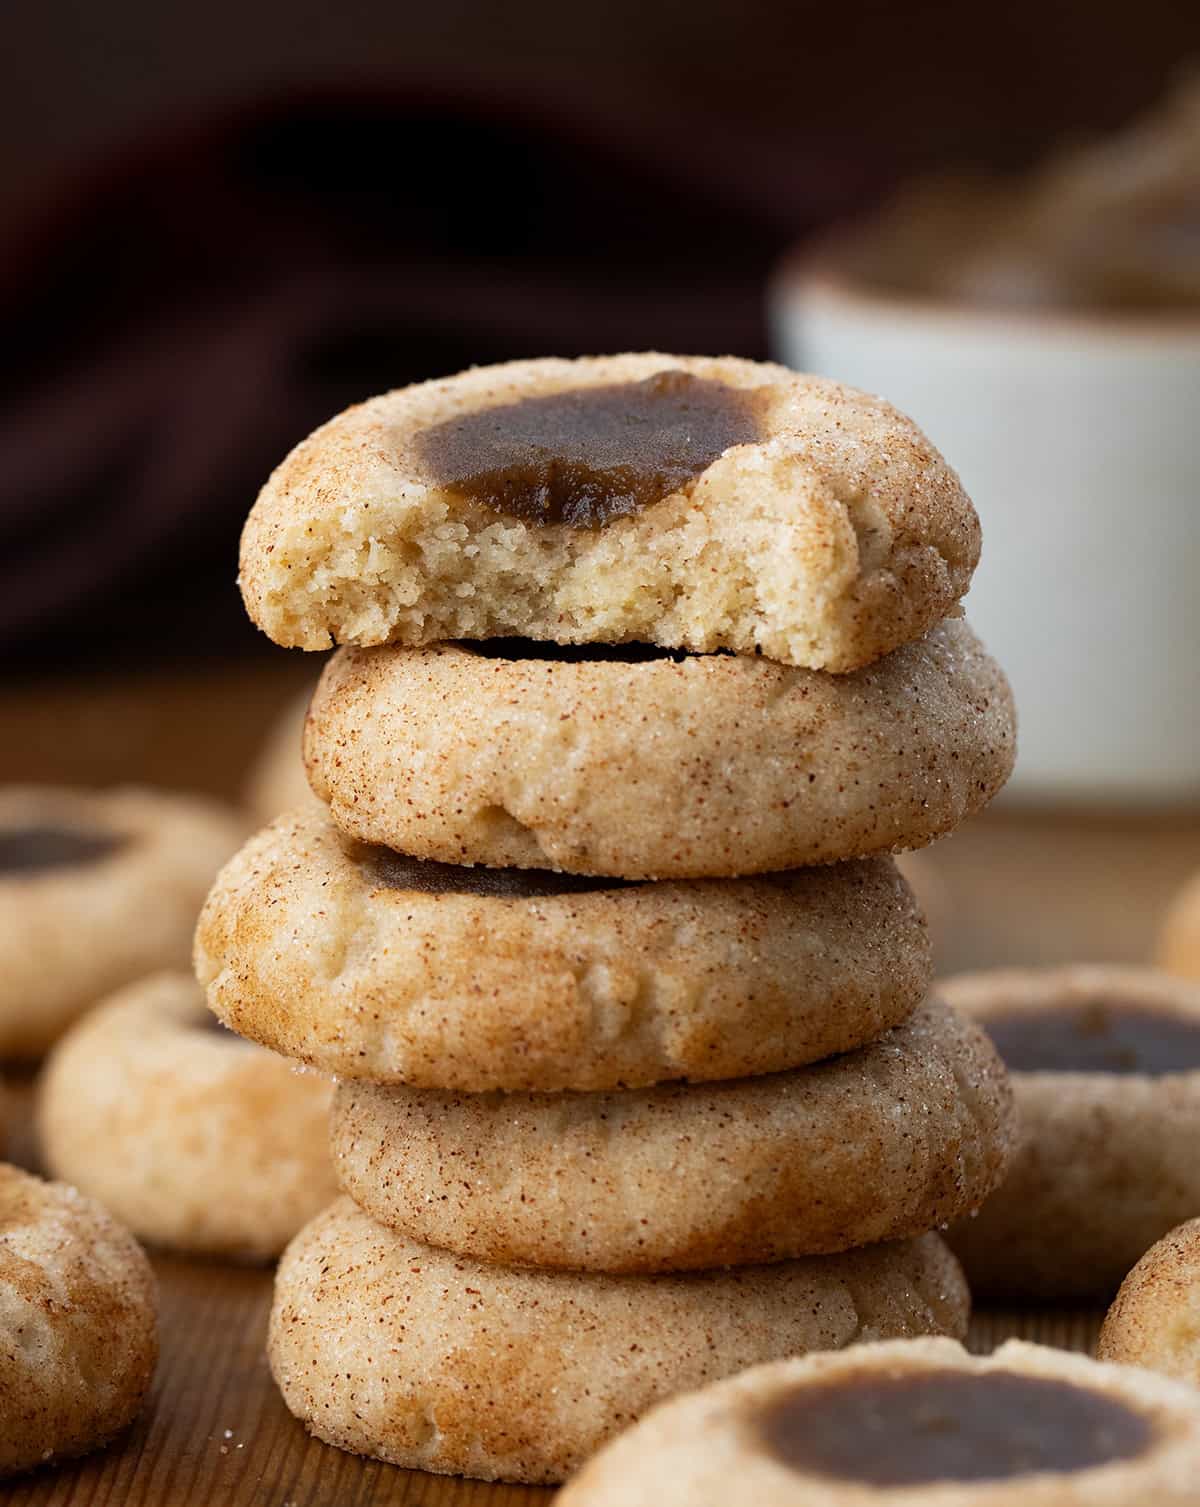
Ingredients & Substitutions
- Granulated sugar: Used in both the cookie dough and cinnamon sugar coating. It adds sweetness and gives the cookies their lightly crisp coating.
- Ground cinnamon: Adds warm cinnamon flavor to the coating.
- Apple pie spice: Used in both the dough and coating for extra apple pie flavor. You can use a store-bought blend or my homemade Apple Pie Spice.
- All-purpose flour: Gives the cookies structure while keeping them soft and tender.
- Baking powder: Helps the cookies rise slightly as they bake.
- Kosher salt: Balances the sweetness and brings out the other flavors.
- Unsalted butter: Use softened butter so it creams easily with the sugar. If using salted butter, you may want to reduce the added salt.
- Egg: Helps bind the dough and gives the cookies structure. Room-temperature eggs blend more easily into the butter mixture.
- Vanilla extract: Adds a little extra flavor to the cookie dough.
- Apple butter: Fills the center of each cookie with sweet, spiced apple flavor. I love using my homemade Apple Butter, but your favorite store-bought apple butter works, too.
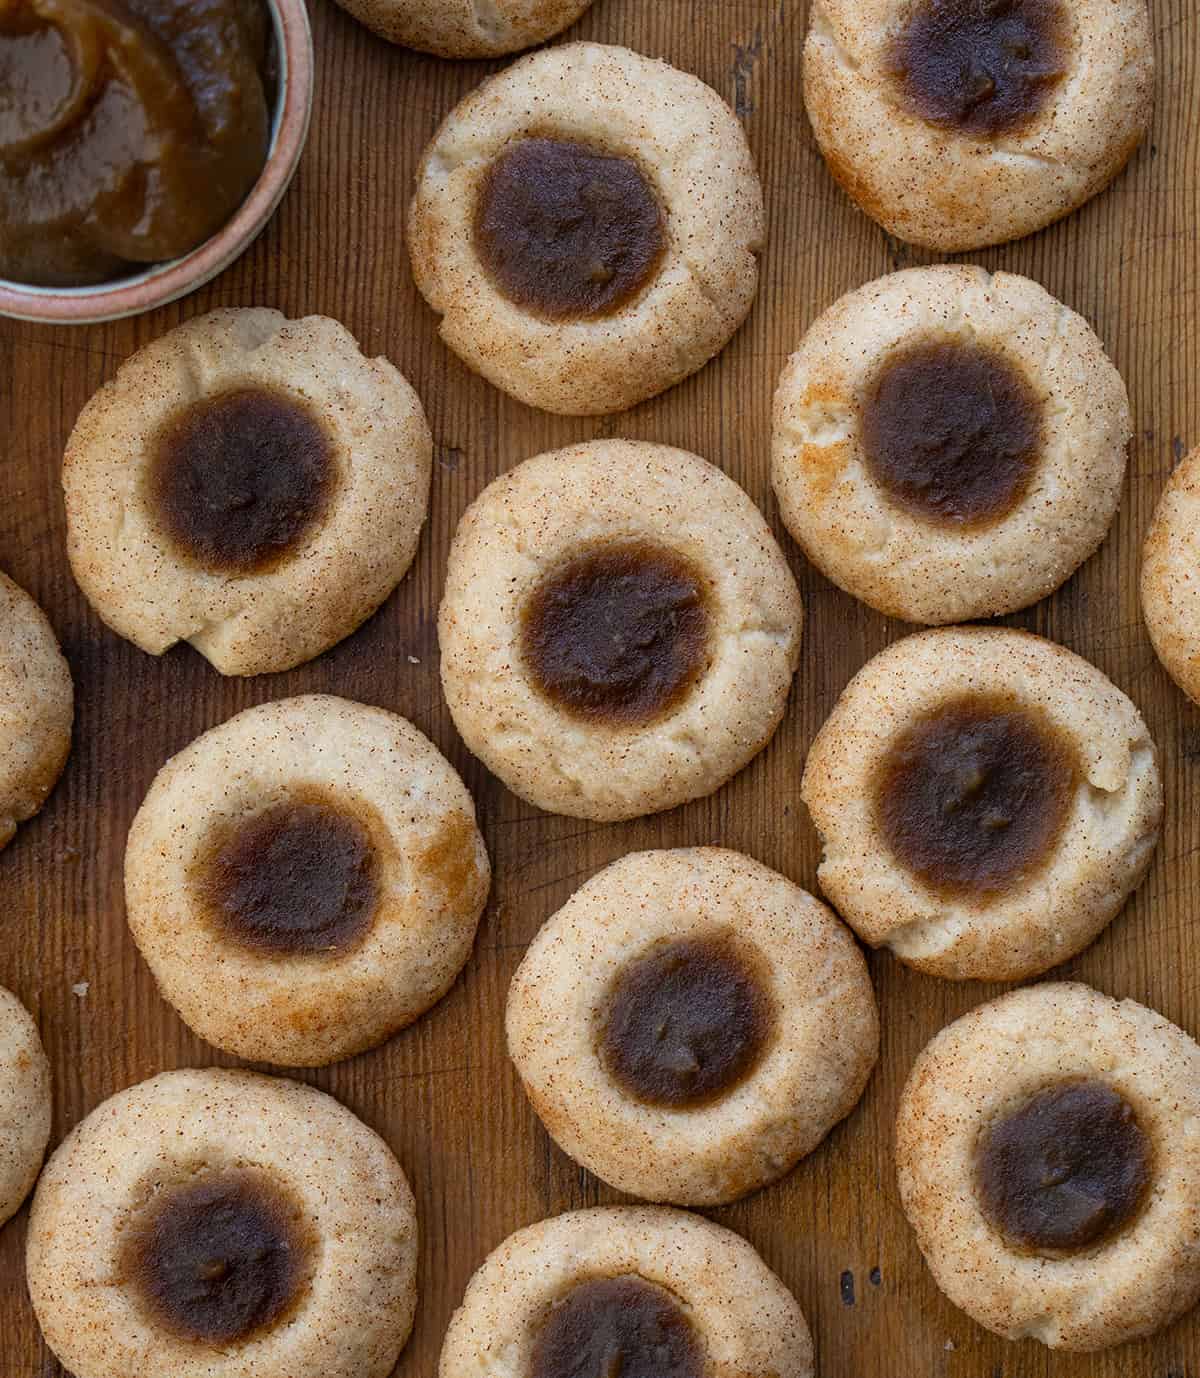
Tips for the Best Apple Butter Thumbprint Cookies
- Use softened butter. The butter should be soft enough to mix easily, but not melted. This helps create the right cookie texture.
- Make a deep indent. Use your thumb or the end of a ½-teaspoon measuring spoon to make a good-sized well in each cookie. This gives you enough room for the apple butter.
- Chill the shaped cookies. Don’t skip this step! Chilling helps the cookies hold their shape and keeps them from spreading too much in the oven.
- Don’t overbake. The edges should be set, but the centers can still look a little soft when you take the cookies out of the oven.
- Press the centers again if needed. The indents may puff up slightly while baking. Gently press them back down while the cookies are still warm before adding the apple butter.
- Use thick apple butter. A thicker apple butter will sit nicely in the center of the cookie instead of spreading. Homemade apple butter works especially well.
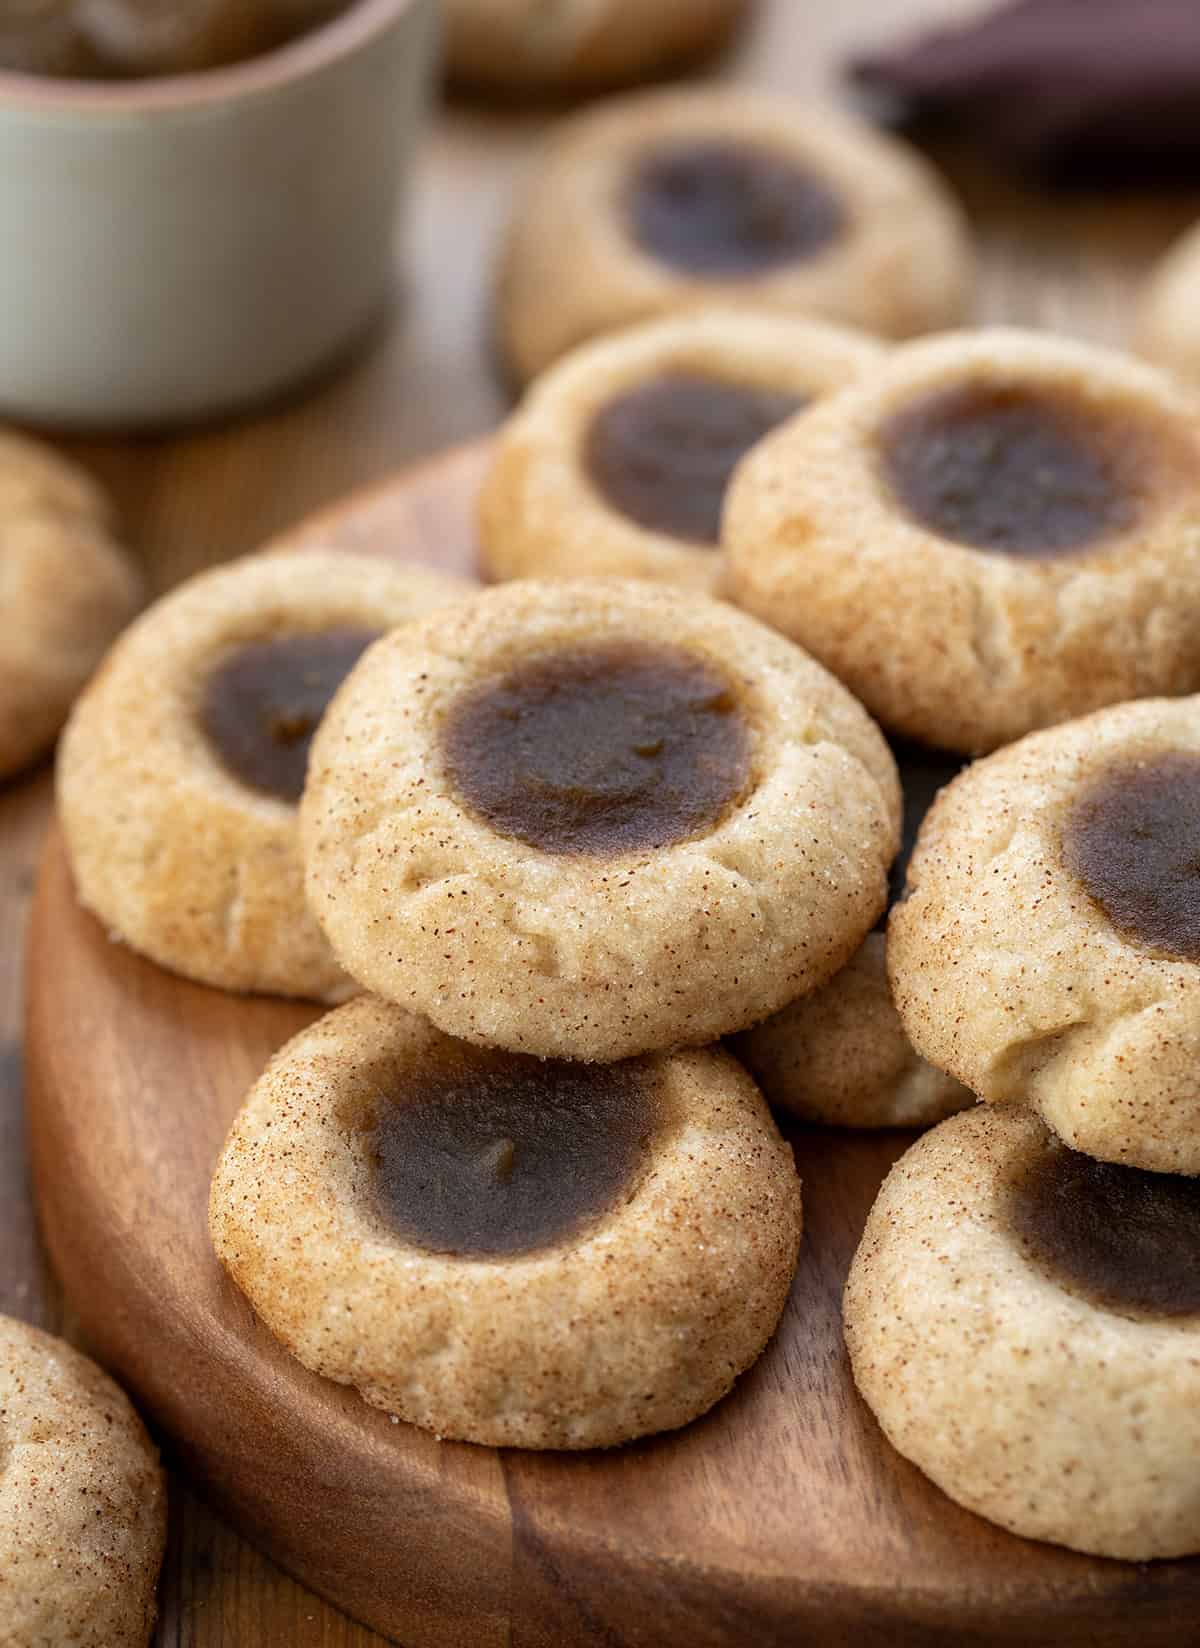
FAQs
Can I use store-bought apple butter?
Absolutely! Homemade apple butter adds great flavor, but your favorite store-bought apple butter will work just as well. Choose one with a thick consistency so it stays nicely in the center of the cookies.
Why do I need to chill the cookie dough?
Chilling the shaped cookies helps the butter firm up and keeps the cookies from spreading too much in the oven. It also helps them hold their thumbprint shape while baking.
Can I make these cookies ahead of time?
Yes! You can shape the cookies, make the indents, and refrigerate them for up to 24 hours before baking. Keep them covered in the refrigerator until you are ready to bake.
Can I use a different filling?
Sure! While apple butter gives these cookies their apple pie flavor, you could fill them with caramel sauce, fruit preserves, or another thick filling you enjoy. Keep in mind that the texture may vary depending on the filling.
Can I freeze Apple Butter Thumbprint Cookies?
Yes. Let the baked cookies cool completely, then store them in an airtight, freezer-safe container for up to 2 months. Thaw them at room temperature before serving.
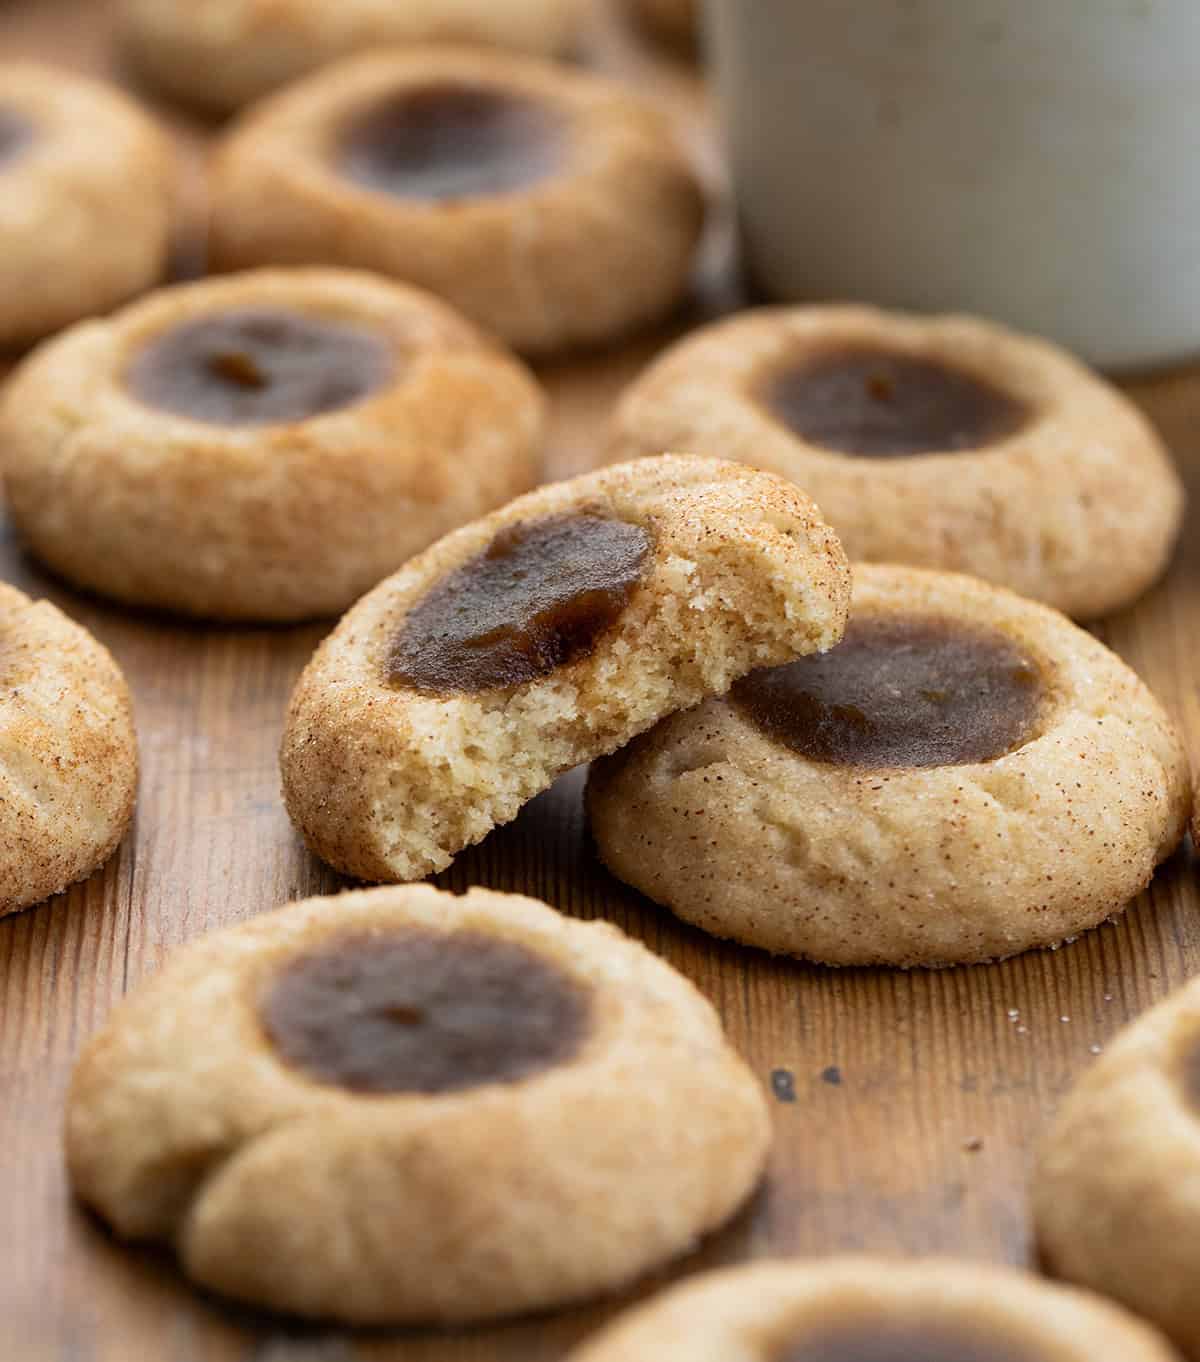
Ways to Use Apple Butter
Have extra apple butter after making these cookies? There are so many easy ways to use it! Try it:
- Spread on toast, butter swim biscuits, or English muffins
- Swirled into oatmeal or yogurt
- Spoon over pancakes and waffles
- Spread on muffins (have you tried my apple butter cruffins?) or quick breads
- Used as a filling for cakes (like my apple butter cake), cupcakes, and cheesecakes.
- Served alongside roasted pork or chicken
- Added to fall-inspired baked goods for extra apple flavor
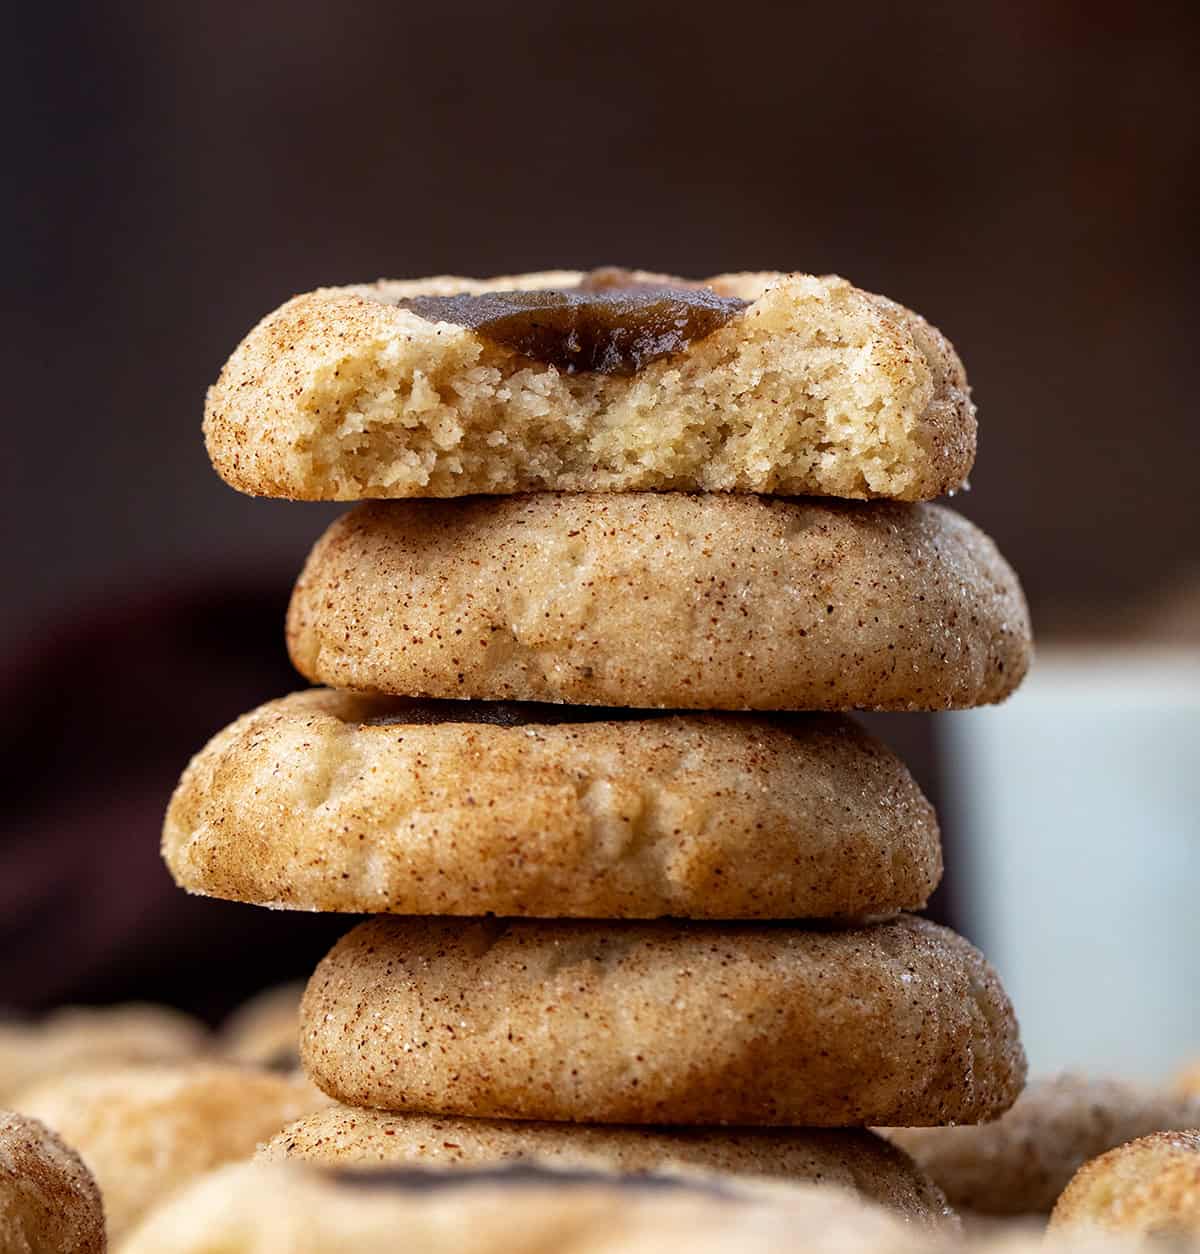
How to Store Apple Butter Thumbprint Cookies
Room Temperature: Store the cooled cookies in an airtight container at room temperature for up to 3 days. Place parchment paper between layers if needed to keep the apple butter from sticking to the cookies above.
Refrigerator: I don’t recommend refrigerating these cookies. The cold temperature can make the cookies lose some of their soft texture.
Freezer: For longer storage, freeze the cooled cookies in an airtight, freezer-safe container for up to 2 months. Place parchment paper between layers, then thaw at room temperature before serving.
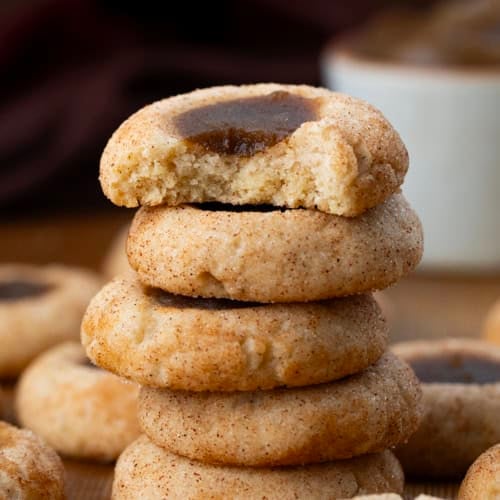
Apple Butter Thumbprint Cookies
Ingredients
Cinnamon Sugar Coating
- ⅓ cup (67 g) granulated sugar
- 1 teaspoon ground cinnamon
- ¼ teaspoon apple pie spice
Cookie Dough
- 2 ½ cups (313 g) all-purpose flour
- 1 ½ teaspoons apple pie spice
- 1 teaspoon baking powder
- ½ teaspoon kosher salt
- 1 cup (2 sticks / 227 g) unsalted butter, softened
- ¾ cup (150 g) granulated sugar
- 1 large egg, room temperature
- 1 ½ teaspoons vanilla extract
Filling
- ½ cup (120 g) apple butter, homemade or store-bought
Instructions
- In a small bowl, mix together the granulated sugar, cinnamon, and apple pie spice. Set aside.
- In a medium bowl, whisk together the flour, apple pie spice, baking powder, and salt.
- In a large bowl, beat the softened butter and granulated sugar until light and creamy, about 2 minutes. Add the egg and vanilla and mix until combined. Gradually add the dry ingredients, mixing on low just until a soft dough forms. Do not overmix.
- Scoop the dough into 1-inch balls, about 1 tablespoon each. Roll each ball in the cinnamon-sugar mixture, coating it evenly. Place the cookies on a parchment-lined baking sheet.
- Use your thumb or the end of a ½-teaspoon measuring spoon to make a deep indent in the center of each cookie. If the dough cracks around the edges, gently press it back together.
- Cover and chill the shaped cookies for at least 2 hours, or up to overnight. Chilling helps the cookies hold their shape while baking.
- When ready to bake, preheat the oven to 350°F. Arrange the chilled cookies on parchment-lined baking sheets, spacing them about 2 inches apart. Bake for 11 to 12 minutes, or until the edges are set and the centers still look slightly soft.
- Remove the cookies from the oven. If the centers have puffed up, gently press the indents down again using the end of a spoon or measuring spoon. Spoon about ½ teaspoon of apple butter into the center of each cookie.
- Return the cookies to the oven and bake for another 1 to 2 minutes, just until the apple butter is warmed through and slightly set.
- Let the cookies cool on the baking sheet for 5 minutes, then transfer them to a wire rack to cool completely. The apple butter will set a little more as the cookies cool.
Did you make this recipe?
Thank you for making my recipe! You took pictures, right? Well go ahead and post them on Instagram! Be sure to mention me @iambaker and use the hashtag #YouAreBaker.













Recipe looks delicious