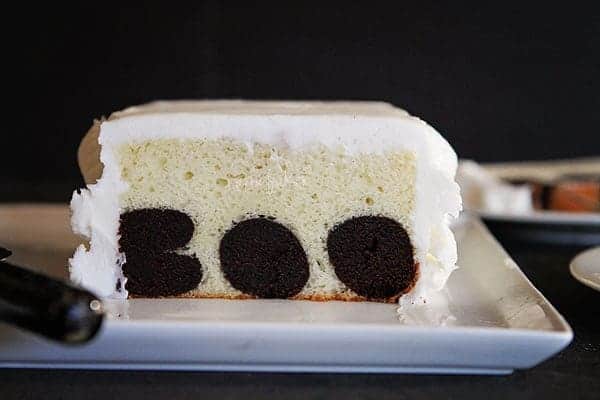
I love the idea of having words inside a cake and this tutorial will share just one method of achieving that. I actually did my first already baked surprise inside cake for my book, Surprise-Inside Cakes, back in 2011. (The book is out this March!) Cant wait to show you that one! 🙂
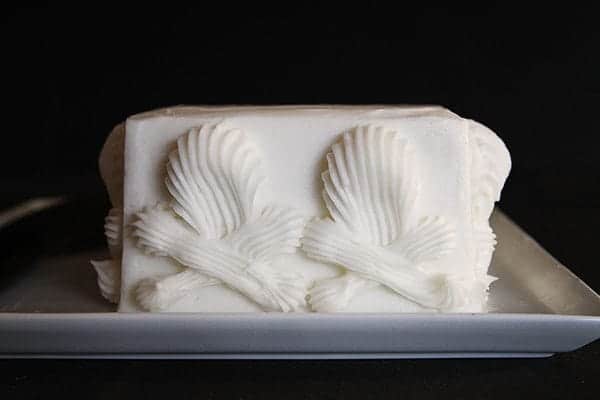
I created this skull surprise inside cake and now have a tutorial for it! If you want to create the skulls on the outside, I share the tip #’s on my post.
(I will link to some recipes, but feel free to use your own or a box mix!)
1 recipe buttercream (or your preferred frosting)
Start by baking one chocolate cake in a 9×13 pan. Allow cake to cool to room temperature. Prepare buttercream. Cover with plastic wrap until ready to use.
Remove any hard edges or burnt spots and then add approximately 1/2 cup of frosting. Using your hands, mix the frosting into the crumbled cake until fully incorporated. You are creating a play doh like consistency, or a cake pop consistency. (The exact same consistency you would use when making cake balls) You can add more frosting if needed!
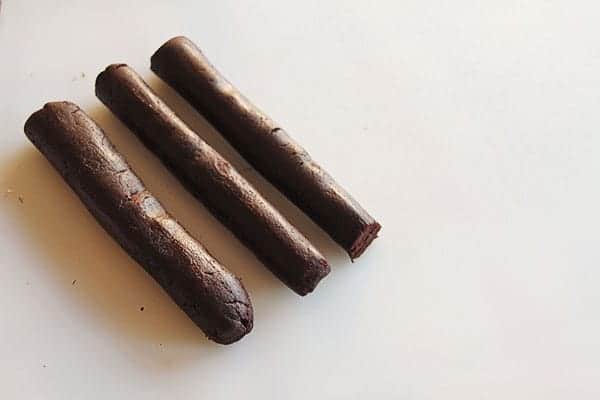
Take about a handful size of cake mixture and roll it into a snake. The snake should be about 1 1/2 inches in diameter and as long as your pan. (I used a 5×9 inch pan so my snake was about 9 inches long) Roll out two more snakes, only make them approximately 1 inch in diameter.
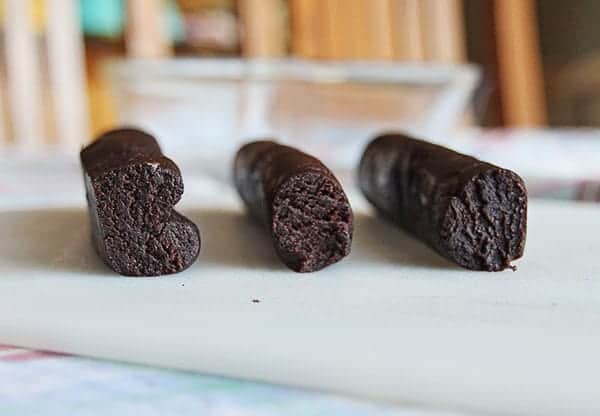
Place the largest snake on a cool solid surface and press down slightly; you want to create a hard edge on the back; you are forming the back of the B. Using your pinky finger or the back of a long knife, press down in the center of the snake. This will create the two bumps of the B.
For the other snakes, simply press down very slightly to turn the O shape into more of an oval.
This is how they should look.
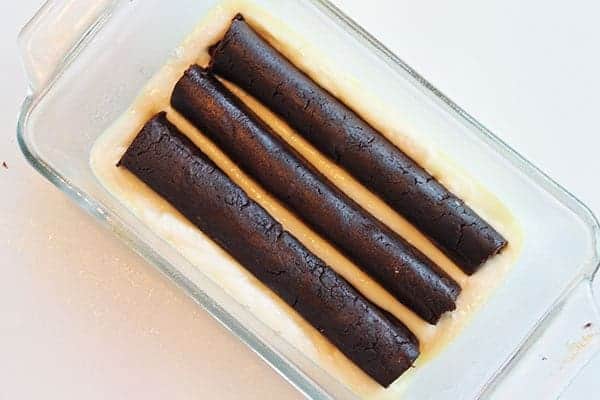
Prepare white cake batter. Spray (or butter and flour) a loaf pan or 5×9 inch pan. Pour half of your white batter into loaf pan. Carefully lift cake snakes into pan and place in order. B first, then the two O’s.
This is a very important step… mark your pan in some way so that you know what end is which. I dabbed a bit of batter to the top of my pan so I knew which end was correct.
Cover the BOO with remaining batter and bake for at least 32 minutes. You will be able to tell this cake is done when it cracks at the top and pulls away from the sides.
Allow cake to cool then remove from pan, being sure to note what side is the correct side to cut from first. We want to read that BOO correctly!
At this point I trimmed my cake to make a perfect rectangle. I cut excess cake off the top so that it was flat and even then made sure the sides were squared off.
I then covered my cake in a crumb coat and let it sit for an hour. Make sure you know what side you want to cut into! You can make a mark on your cake plate or on the cake itself.
I then went back and covered the cake in a smooth coat of frosting and decorated with skull-type embellishments.
Tips & Tricks:
Get comfortable with the cake mixture. Play around until you get shapes that you like. This can be fun!
You do not need to do the “skull” embellishment on the sides of the cake. You can decorate in any way you want
This cake does not dry out; it stays moist and delicious.
Please do let me know if you have any questions! I will stick around the computer today just in case. 🙂


Fantastic! My grandsons are going to love this cake. Why does’t the BOO inside get dry or overbaked if it’s being baked twice? (scratching head here)
And I love your fancy skull & crossbones! 😉
You are amazing~
Thanks Catherine! I believe it has to do with moisture and heat insulation. While the batter is baking around the cake mixture it seems to not pull any moisture out. I have made a few of these twice baked cakes now and it seems that the consistency of the interior cake does not change at all! It stays moist! Hope your grandsons love it!
Awesome! Thanks so much for sharing your method!
Thank you so much Melissa!
Thank you for such kind words Amanda. You are my hero.
Oh stop it! Silly. You are mighty talented my friend!
I literally do not have a crafty/creative bone in my body. But you just made me believe I could do this! And I am totally going to try. Worst case I will have a buttercream covered cake…. which no one in my family will complain about {esp me!}. 🙂 Thanks for the great tutorial.
You CAN do it!! I hope you do and have a fun time in the process. Have a great day!!
Can v rite any person name instead of boo?
I had no idea! That is too cool! Thank you for showing us the tricks of the treats!
Love the cake, your recipes and ideas….can’t wait for your cookbook!
Great idea for Halloween!
What an absolute fantastic idea! My head is swirling with ideas!!