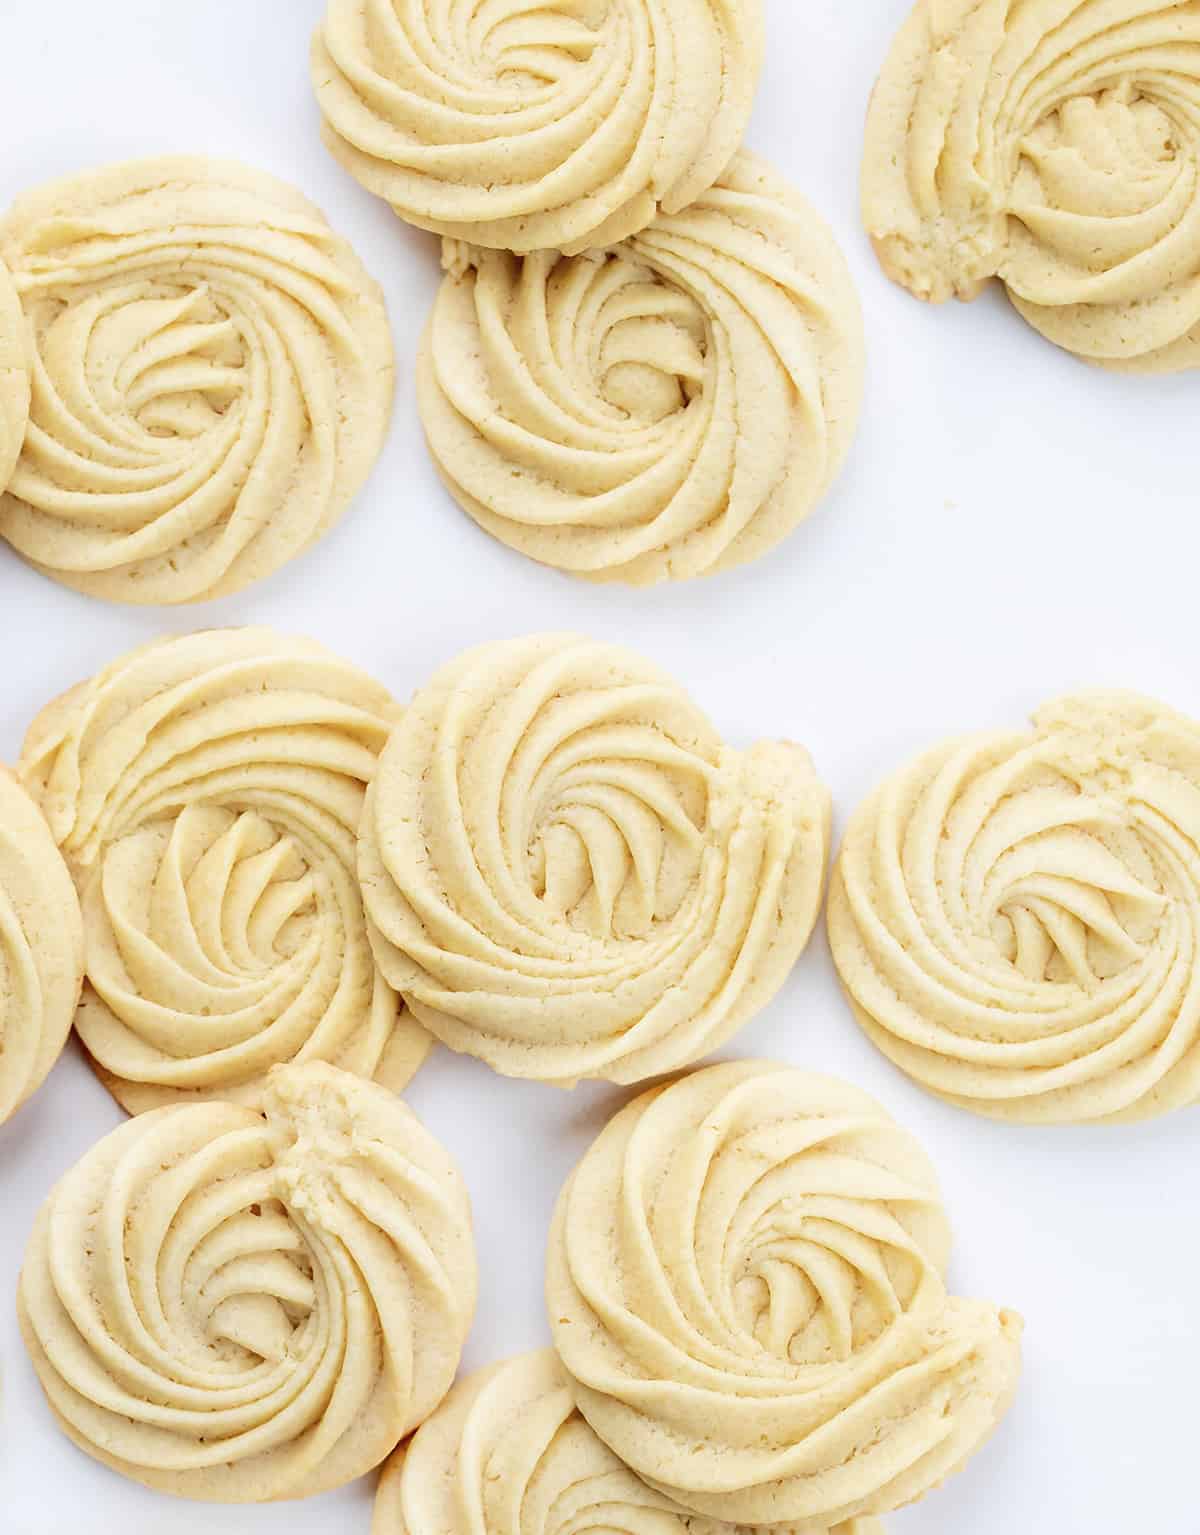
Butter Cookies are buttery, tender cookies that can be enjoyed as-is with a cup of coffee or tea or as a base for decorating holiday cookies. These are piped out into a swirl shape and are similar to spritz cookies. Both can be customizable to your festivities or occasion.
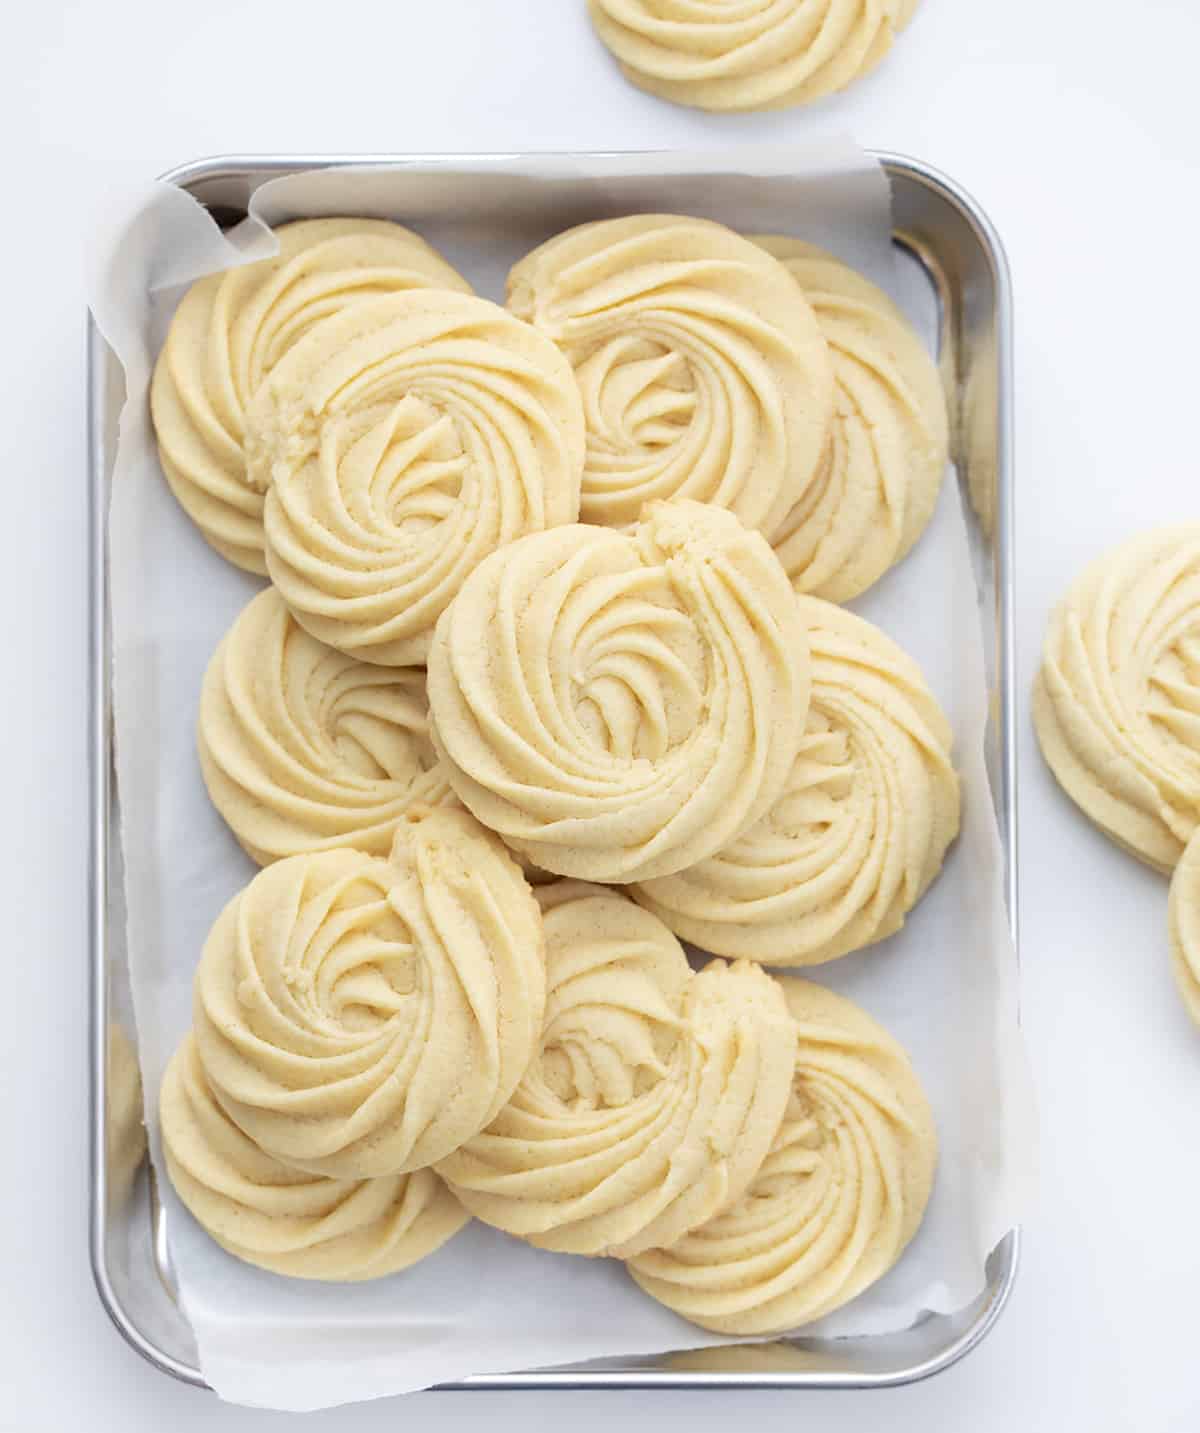
Butter Cookies
Butter Cookies are synonymous with Christmas cookies (remember the blue tin?), and I wanted to find a recipe as easy as possible. Once I saw OwlBBaking’s soft butter cookies, I knew they were a winner. I know how busy the holiday season can be, so a cookie recipe that does not take all day with no chilling time works for me (and it will for you)! However, you will still get a buttery cookie that is sturdy enough to decorate. I plan to dip each cookie in chocolate ganache made with butter with some added sprinkles, which I plan to add to my Christmas dessert charcuterie board.
Ingredients & Substitutions
Butter: Since these are butter cookies, you will need butter, of course! In fact, you will need 2 sticks of unsalted butter. The ratio of butter and all-purpose flour is the perfect combination for a solid cookie recipe.
Sugar: Granulated sugar is creamed with butter until light and fluffy.
Eggs: You will just add egg yolks to the cookie dough; it helps make the dough easier to work with. But, don’t waste the egg whites, which can be used in another recipe like Fried Ice Cream.
Milk: Add about a tablespoon of milk at a time to the dough, or until the dough is pliable, but still sticky.
Can I Make the Dough Ahead of Time?
Sure! If you want to get the cookie dough made in advance, you can store it in the refrigerator, wrapped in plastic wrap, for up to 3 days. Or, freeze the dough. To freeze, first, get the dough mixed together. Next, pipe out the cookie dough onto a lined baking sheet. Then, place the sheet of cookie dough into the freezer until solid (1-2 hours). Once solid, store the piped cookie dough in a freezer-safe bag that is labeled, dated, and includes the baking instructions. When ready to bake, just add a couple of minutes to the baking time, no need to thaw first.
Can I Make Butter Cookies Without a Piping Bag?
Yes! If you don’t have a piping bag, you could simply add dollops of the dough onto the lined baking sheet to bake. They won’t have the lovely swirl shape, but will still be delicious and easy to decorate!
How to Store Butter Cookies
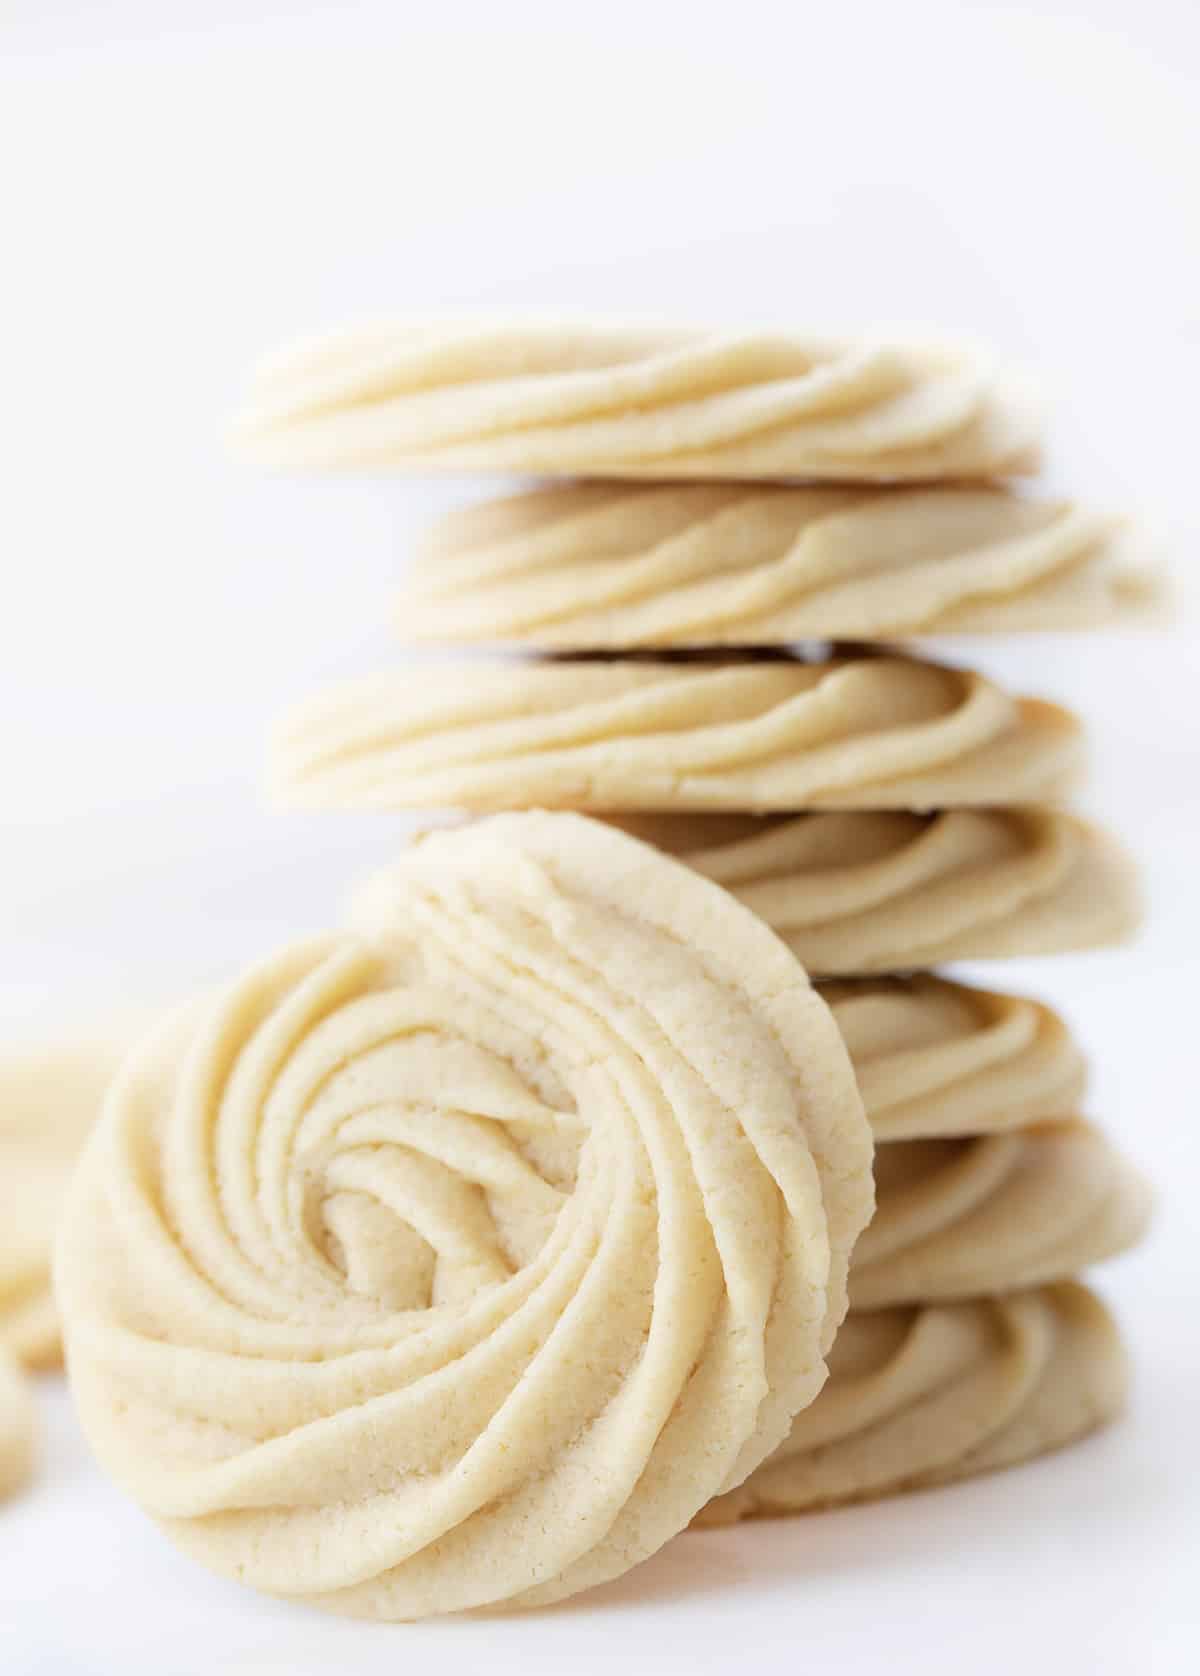
Once the cookies have been baked, they can be stored in an airtight container at room temperature. They will last up to a week. You can also freeze the baked cookies. First, let them cool completely. Then, store them in a freezer-safe container for up to 3 months. They could possibly last longer, but the taste may be affected the longer they are stored. For more tips, check out my Guide to Freezing, Baking, and Storing Cookies.
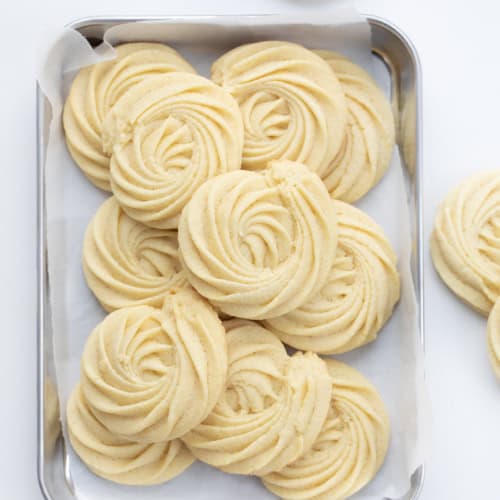
Butter Cookies
Ingredients
- 1 cup (2 sticks / 227 g) unsalted butter, room temperature (which is slightly cool)
- ⅔ cup (133 g) granulated sugar
- 2 large egg yolks, room temperature
- 1 teaspoon vanilla extract
- 2 cups all-purpose flour
- ¼ teaspoon kosher salt
- 2-3 tablespoons whole milk, room temperature
Instructions
- Preheat oven to 350°F. Line a large baking sheet with parchment paper.
- In a large bowl using a hand mixer on medium speed, cream together the butter and sugar until light and fluffy.
- Add the egg yolks and vanilla. Mix until combined.
- In a separate bowl whisk together the flour and salt.
- Slowly add the flour mixture to the butter mixture. Mix on low until combined, scraping down the sides of the bowl as needed.
- Working 1 tablespoon at a time, add milk until the mixture is sticky, thick, and well combined. Set aside.
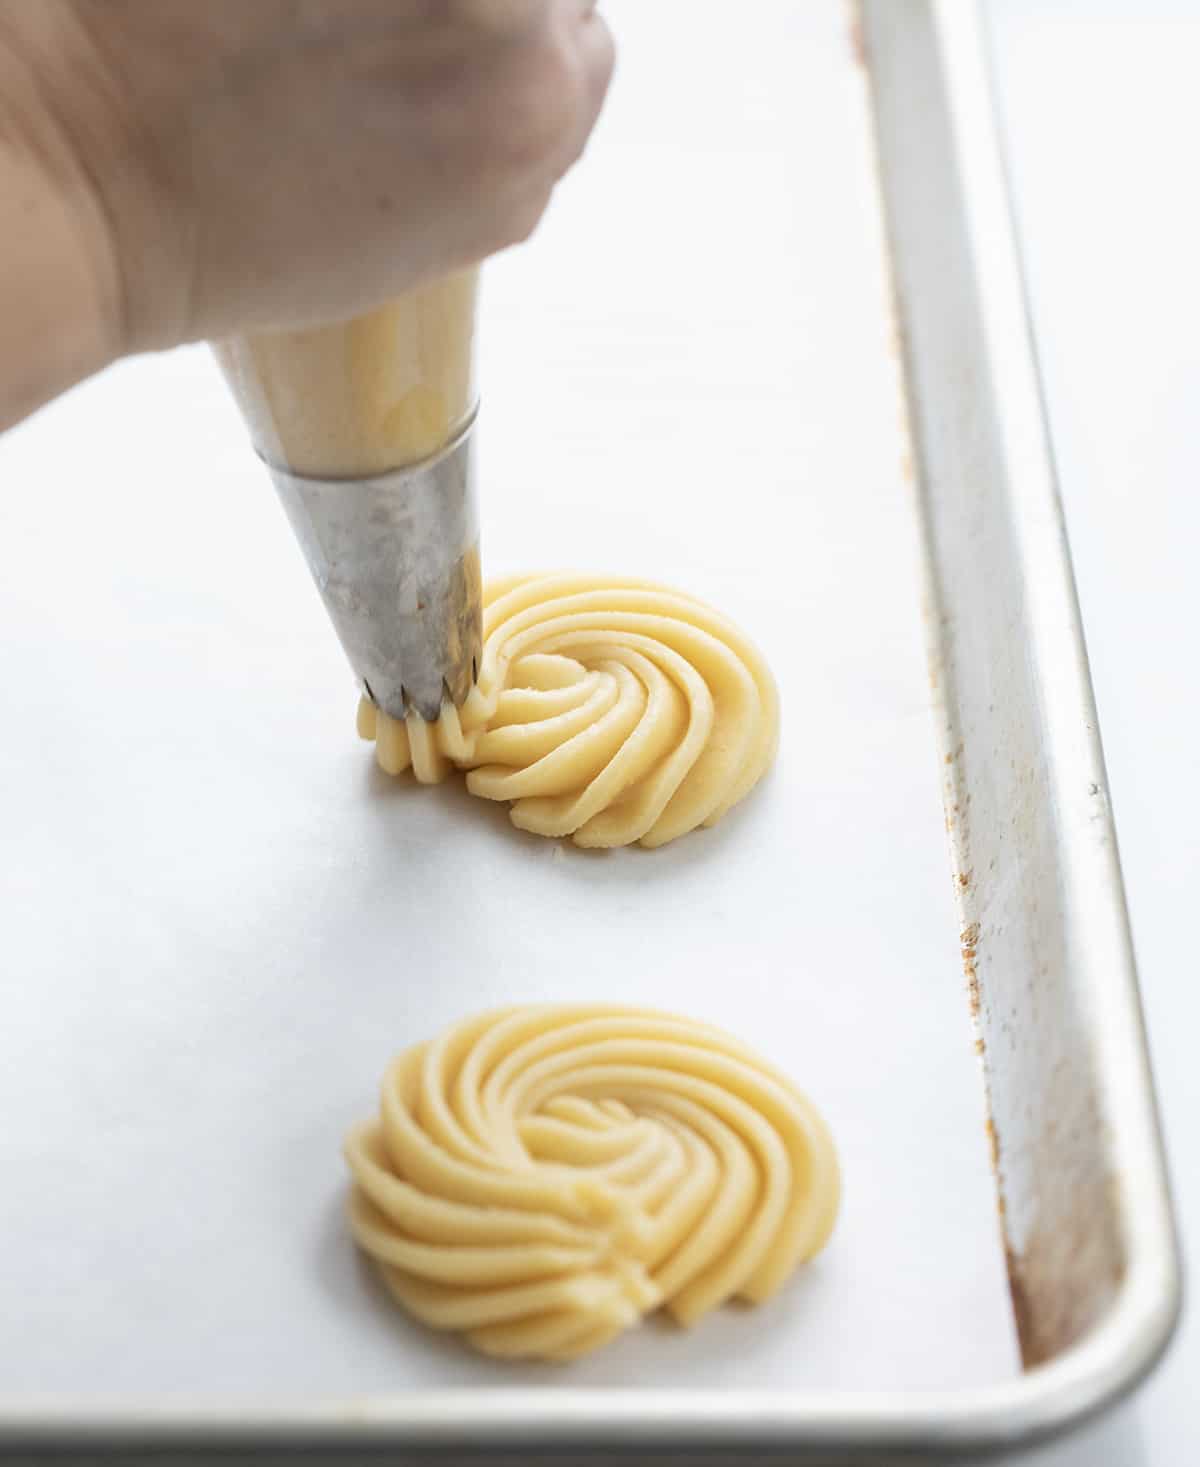
- This is a very thick batter, so you will need a heavy-duty piping bag, or you can use the double bag method. To do that you will need two piping bags, one fitted with a large star tip and one that has not been cut. Transfer the batter to the piping bag with no tip. Clip the tip of that bag and place it inside the second piping bag that is fitted with the star tip.
- Pipe the batter into a circular pattern onto the lined baking sheet, leaving about 1 inch in between each cookie.
- Bake 13-15 minutes, or until golden brown.
- Allow the cookies to cool on the baking sheet for 10 minutes before transferring to a cooling rack. Let the cookies cool completely before decorating.
Video
Did you make this recipe?
Thank you for making my recipe! You took pictures, right? Well go ahead and post them on Instagram! Be sure to mention me @iambaker and use the hashtag #YouAreBaker.



With my arthritis it’s hard to pipe the cookies so I used my electric cookie shooter and they turned out perfect! Hopefully when my granddaughter comes for a visit we will try your way. she loves to bake I got her started when she was two. She is really good.
Hi, I have a question. Do you have to use a hand mixer or could I use my kitchen aid stand mixer?
U can use a electric mixer just ona lower setting
This didn’t spread at all but I just couldn’t get to squeeze out of piping bag. Spritz cookie gun worked just fine!
These look delicious! Any chance you could add a “print” button? I don’t want to screen shot all the ads :^(
Also, what number frosting tip did you use?
Thanks so much!
Hi Cathy! There is a PRINT button, right in the recipe card. Any large star tip will work for this design.
How many cookies does this recipe make?
These look delicious and so pretty! Which star tip did you use (number/brand)? Thanks!
Love your recipes 😋
How many cookies does this recipe make?
Hi Marilu! The recipe card says 16 cookies… that is if you pipe them the exact same way I did and make them the same size. 🙂
fabulous
May I use my cookie press instead of a piping bag?
I love your recipes. Would this cookie work if made with gluten-free flour?
My son loved them. Taste great. I’m not sure what I did wrong though because after I piped them and placed them in the oven they spread and they had zero shape. Just one big blob of a cookie. And I didn’t ansd any milk at all to the batter. It was really thick and tough to pipe as you said, but they didn’t set. I’m not sure what I did wrong.