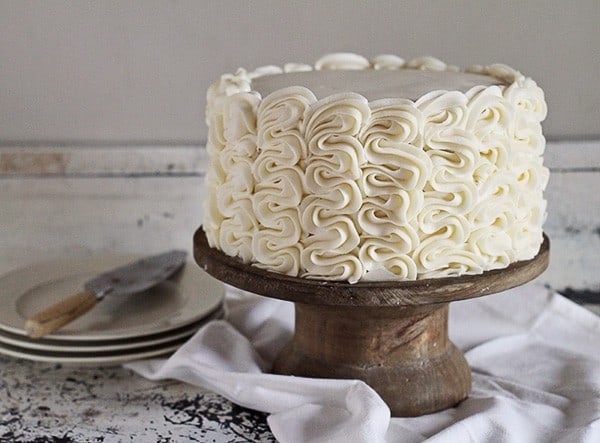
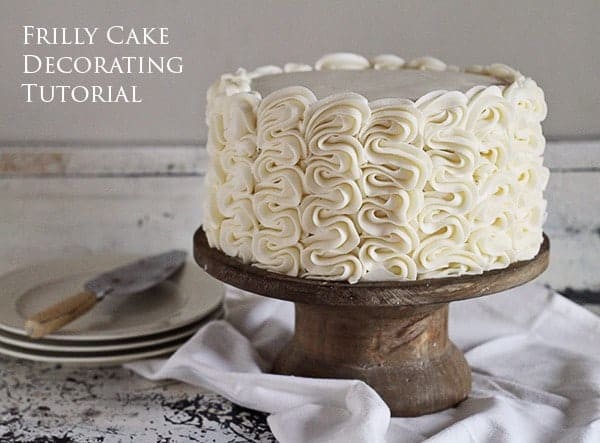
I had no idea what to call this cake… and after much thought frilly cake to mind. I thought “frilly” seem to vague, so I looked it up in the thesaurus, hoping to find a better word. But then, listed right below the synonyms for frilly were the antonyms. And they were: plain, simple, unadorned, unfancy.
So yeah. Frilly wins. Cause this cake is NOT plain or unadorned!
And here is the best part… this decorating technique could not be easier! Slip a 1M tip into your pastry bag, fill it with frosting of choice, then wiggle your bag back and forth up the side of the cake. Easy!
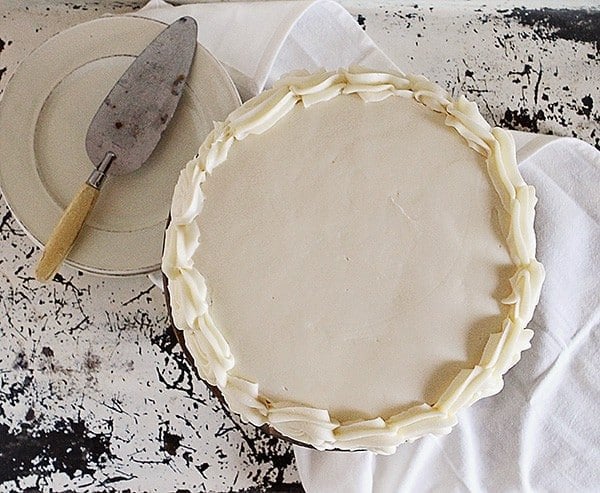
Now. The only (and I do mean only) setback to this method is the sheer amount of frosting. After having made it a few times I decided that a smooth top was the way to go.
First start by getting as smooth of a top as you can. (I talk a bit about that in my post on How to Build a Layer Cake) You can leave the sides with only a crumb coat as they will eventually be covered with the “frills”.
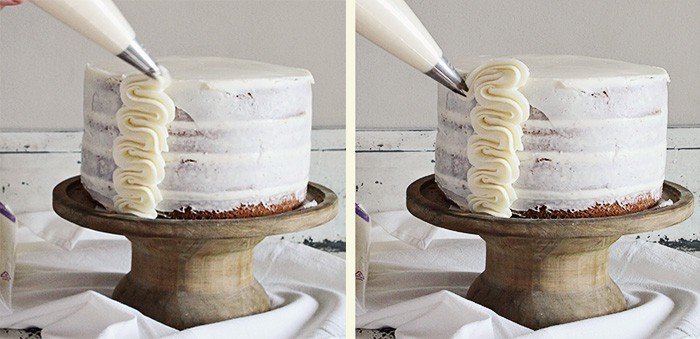
Now bring the frosting up the side of the cake (more details below) and then swoop the tip of the frosting bag down.
As you can see, once I got to the top of the cake I guided the bag over and down to the side of the piped row and then released the pressure. Repeat that every time you reach the top of the piped row. You will cover up the end of the frosting with your next piped row.
And now for the row itself!
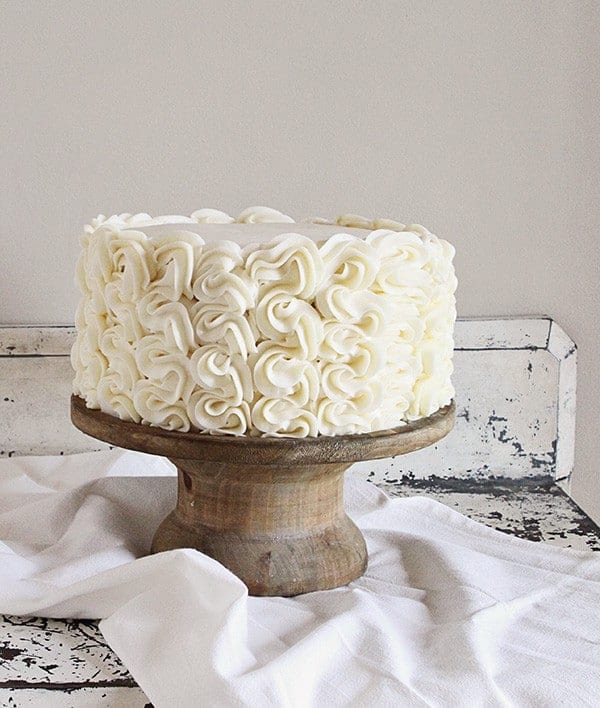
This couldn’t be easier. Simply start at the base of the cake and apply pressure to your pastry bag. (You will be using approximately a 2-inch width for your row, but this can vary depending on the size of your cake) Move your tip up and back and forth at the same time, applying consistent pressure to the pastry bag. When you reach the top bring the tip down and over as I have shown above.
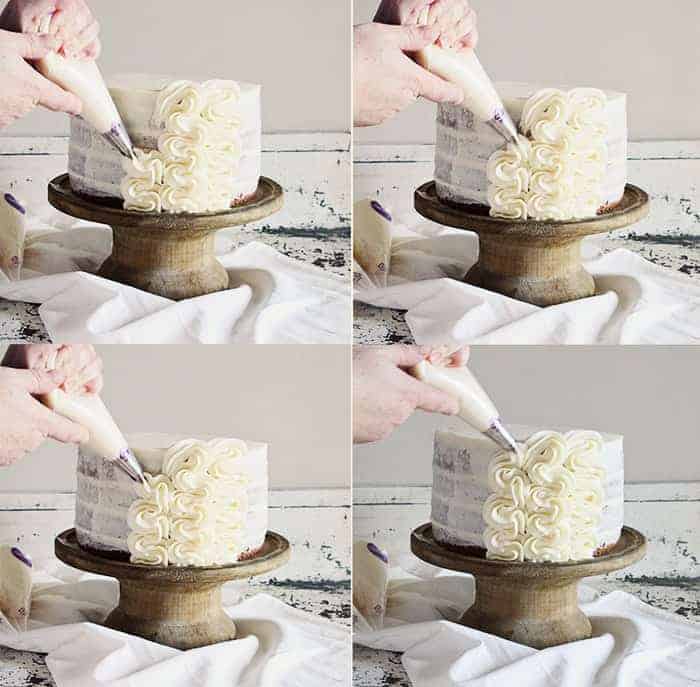
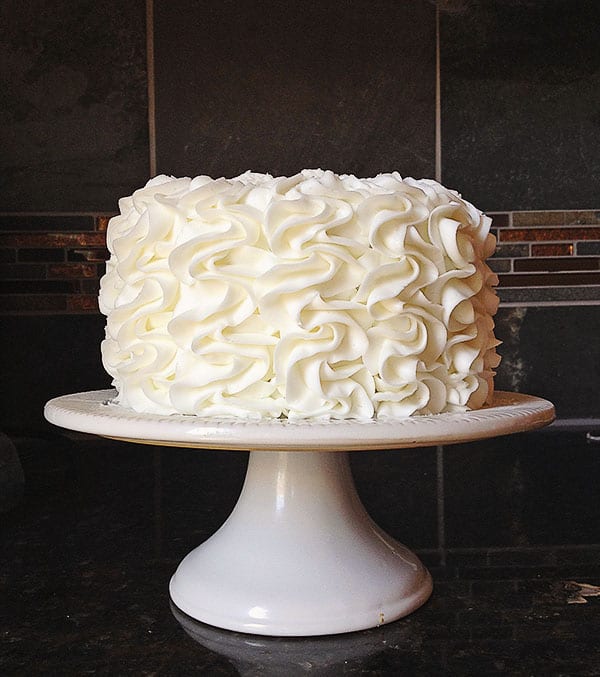
I have made enough of these cakes now to know that you can achieve different results when applying different pressure and speed.
For instance, in the cake picture above I moved slower and didnt apply as much pressure. I tried to be consistent with my movements. (But got a tad sloppy with the very top part… whoops!)
In this picture, I applied greater pressure and moved a bit more erratically, going for more of a “ruffle” look. And yes, this is the same cake, I just made the sides different as an example!
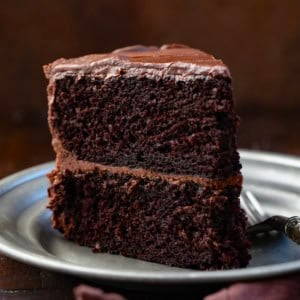
Here is another cake I did with the same technique. I used my best Crusting Buttercream Recipe (dont read the comments if you dont like drama) on the Best Chocolate Cake Recipe ever. Since this cake was a bit smaller (2 layers vs. the 4 layer cake above) it was easier to choose the “frillier” option of lots of pressure and quicker movements.
Hope you like this quick and easy way of decorating a cake. But I must warn you… you will use a LOT of frosting. For this 4-layer cake I used three of my Cream Cheese Frosting recipes. Three full recipes! But, I happen to love frosting so I hope you will forgive me.
Let me know if you have any questions! Happy Cake Decorating!



I feel so inspired Amanda! Seriously. Who needs a wedding cake done? I’m going to frill that baby up!
You are so cute!! Have a fabulous day girl!
You have been so generous to share your techniques. Thanks for the recipes too. Gorgeous as always. Absolutely LOVE that cake stand! Where did you find such a gem?
I ordered it from a little online boutique a almost 2 years ago… and havent been able to find my receipt! I cant remember the name! They had such beautiful things too.. its a real shame! 🙁
So, so pretty. It looks like it’s draped in silk fabric to me! Plus, it looks super easy to do. Thanks for the tutorial Amanda!
Thank you sweet Renee!
Its sooo girly and since I work part time in a bakery, I will share this post with those cake ladies who do the pixie dust magic cake decorating. I love watching all the sweet love you share. You always share your pixie dust. How generous. Thank you. How a super sparkly day, lady!
AmyRuth
Love that… pixie dust… such a lovely way to think about things! 🙂
This is adorable! I really love your video for the patriotic rose cake. I would love to see more videos of your work.
Found this…. its close Amanda but this was just a quick search for a similar stand
http://www.etsy.com/listing/81372093/cake-topper-wedding-walnut-wood-display
AmyRuth
I love this style. So pretty!
Thanks so much for the tutorial. Love it! But I probably like the last picture the best the all-over-frilly. Maybe even with a hint of yellow or pink for a colored edge? Thanks for sharing!
Absolutely GORGEOUS!!! You make such pretty cakes!!! (Love that stand)
Hahahahahhaaa!!! So no, I am so not into drama (and was just talking to a friend this morning about avoiding others’ drama!), but I *HAD* to go find out what drama there could POSSIBLY be about cakes! Yikes!! I have a “tried and true” frosting/buttercream recipe given to me by a friends years and years ago that involves powdered sugar and CRISCO!! And I’ve been using it to decorate cakes with for that long as well. Some folks love it! Actually, nobody has ever NOT loved it though I have gotten a look or two when I pulled out the Crisco!
Sorry butter. I love you and buy pounds of you every week, but you just don’t have what it takes to keep your shape like Crisco does. I guess I have a bad attitude… I love to decorate and bake, but I just can’t get so serious about a name! My recipe calls for a bit of salt, a tsp of vanilla and a 1/4 tsp of butter flavoring. It may not contain *real* butter, but it sure takes like it!
Though I’m not sure I like having my integrity questioned! Hahaha… Whatever! Meanwhile, you keep rocking on dearheart!!! I, for you, wouldn’t miss a post!!!
Isn’t that comment thread hilarious. I mean, you can’t help but laugh about the uproar over shortening vs. butter. I live in south Texas and although I’m not a big fan of using shortening, I have to if I want my decorations to hold up, especially during the summer months. These people have never dealt with scorching heat! And you’re right, on the integrity… I mean seriously? haha. People need to relax and eat some cake.