Some of the most common emails I get is “Can you do a tutorial on how to make a layer cake?” or “How do I get my crumb coat smooth?”
I would love to share the tips and tricks that I use!
This is the SUPER FAST and EASY version!
Use a good recipe. This can be a box mix or your favorite homemade recipe. You are looking for a cake the bakes up flat and even and moist and firm. Easy right? (This is my favorite chocolate cake recipe, it is perfect every time!)
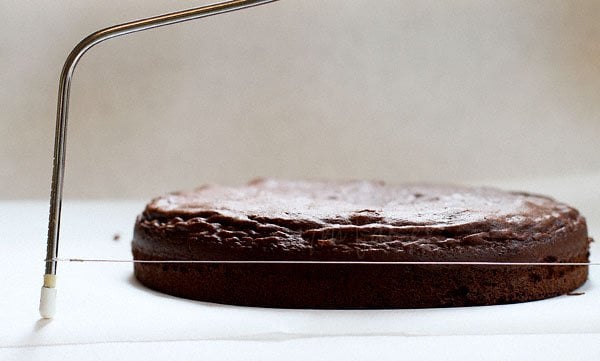
Just in case your cake does not bake evenly, have no fear! You can simply level your cake. There are three easy ways to do that:
Use leveler or a long serrated knife to skim off the top dome part of your cake.
If your cake has risen above the edges of your cake pan, you can rest the knife on the edges of the pan and use the pan as your guide.
As soon as your cake is done baking, take a clean towel and lay it on top of your cake. Press gently and evenly. Tip: This only works if your cake is done baking! So make sure you test it.
Make sure all your layers are the same height.
Chill your layers before assembly. I find that working with a chilled or partially frozen cakes really helps. There is nothing worse than trying to assemble a layer cake and having it fall into pieces in your hands. And you totally know I am speaking from experience.
There are many methods to torting, or using frosting in between the layers of your cake. I like to do what is easiest and whatever method requires as few tools as necessary.
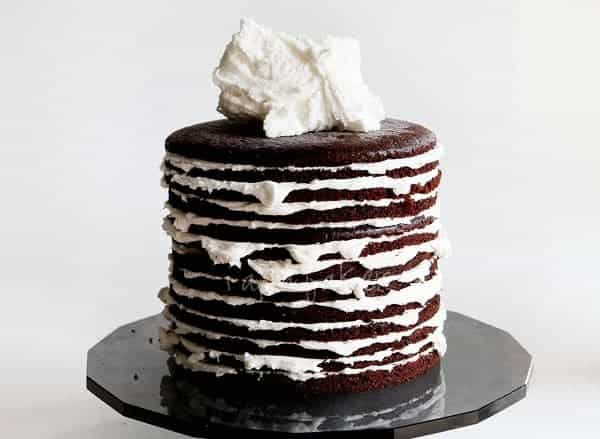
I just decide before hand how thick I want my layer to be and then use an appropriate amount of frosting. One-half cup is a nice thin layer on an 8in cake, but 1 cup of frosting is my go-to amount. I like frosting. Lots of it.
I typically use about a cup of frosting on a 6in as well as an 8in cake. I don’t recommend that. You be normal and use less on that 6in cake, ok?
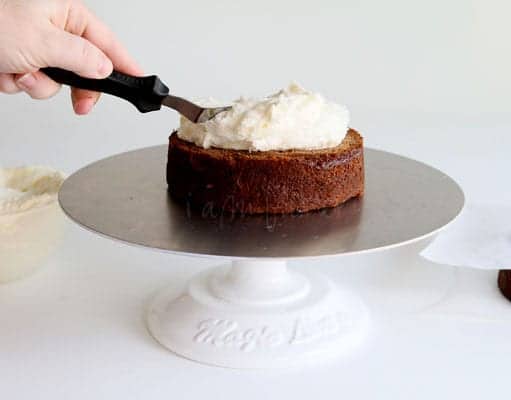
Place your first layer on your cake stand. Put frosting on it and use a small offset spatula to make frosting an even layer.
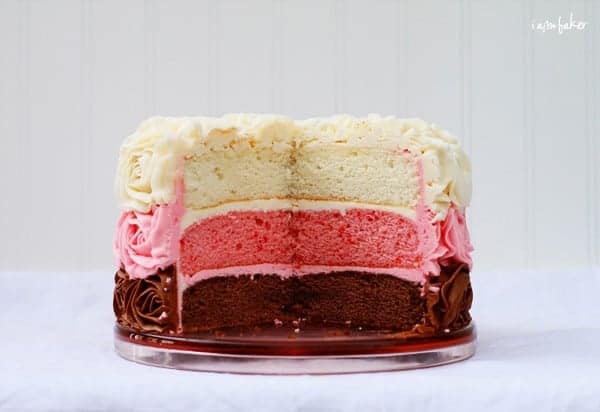
Place your next layer on top. Some frosting should “spill out” the sides and that is exactly what you want. Repeat this process; frosting, layer of cake, frosting, layer of cake, until you have added all your layers.
When making a layer cake it is important to do a crumb coat.
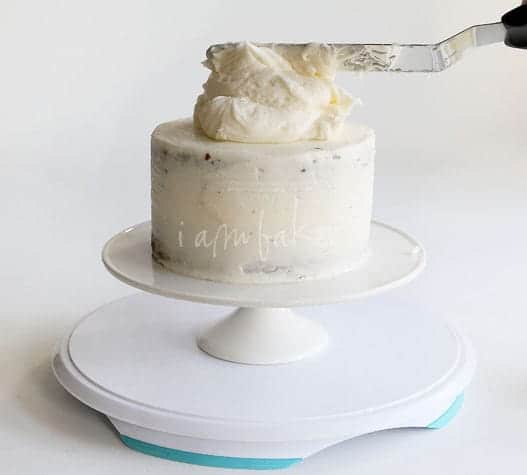
A crumb coat is simply a thin layer of frosting applied to a cake. The crumb coat is intended to seal in crumbs, hence the name, crumb coat. Maybe too much frosting spilled out, or your layers may not be perfectly aligned, or maybe your cake is slightly lopsided. Doing a crumb coat is a great opportunity to fill in any problem areas.
Want to see how this cake turned out? It’s the New Years Eve Cake in my book, ‘surprise-inside cakes’!
Use an offset spatula. I put a dollop on top of the cake and then use the spatula to bring it down over the sides, making sure to get the frosting all the way to bottom.
If you have a rotating cake stand, you can place your spatula flat against the cake and slowly turn the stand. This will help smooth out the frosting and create an even coat.
You can also use a bench scraper and move around the cake. If you see any uneven spots, simply add more frosting to those areas and then repeat with the offset spatula or bench scraper.
Once your cake is covered in the crumb coat, I usually chill it for at least 10 minutes. I like the cake to settle and the frosting to set.
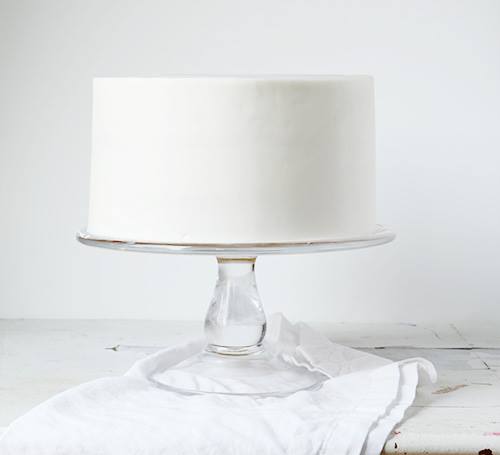
To decorate a cake, I start by putting a smooth layer of frosting on. This is done the same way as the crumb coat. Place a dollop on top of the cake and pull it down over the sides using an offset spatula.
To smooth out the sides, make sure the cake is covered in an even layer of frosting, then place spatula (or bench scraper) flat against side of cake. Slowly turning cake, smooth out layer of frosting until you have polished, even coat.
This step takes practice, so don’t be too hard on yourself if it doesn’t look perfect. Just keep at it until you are comfortable with how your cake looks!
Once you have the sides done, use your spatula to smooth out the top. Starting at the edge, gently press your spatula against the frosting and move in, towards the center of the cake. Repeat this around the entire cake until you have removed excess frosting.
You can use the small offset spatula to go around cake to make the top crisp and clean.
NOTE: If there are any dents or areas without enough frosting, simply add more frosting and then smooth out again. You can do this process as many times as needed!
I have also placed my cake stand directly on a rotating stand, and this helps me when smoothing out the edges.
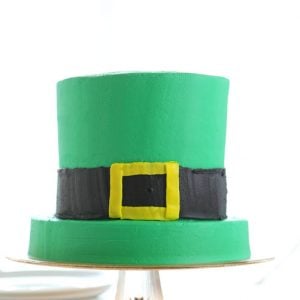
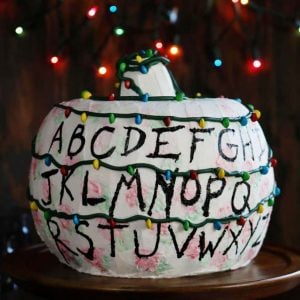


I made one…didn’t turn out that great!
I’ve made layer cakes… some failures and some successes… always looking for any tricks/tips to keep me going:) Thanks!!
I’ve made layer cakes before. This tools would inspire me to make much more!
I love to make multiple layer cakes. Winning would be great!
My layered cakes have never looked as good as yours. I love what you come up with and I hope one day I can get close to what yours look like.
never have. But I’d love to try someday for the right occasion!
Yup!
This is my bamboo cake: http://www.ironwhisk.com/2012/02/chocolate-bamboo-cake/ (unfortunately I don’t have a photo of the layers inside, just the ouside & preperation) so here’s another one with that photo just in case – an Earl Grey Chiffon Cake with Maple Meringue http://www.ironwhisk.com/2012/07/earl-grey-chiffon-cake/
Thanks! 🙂
I have made quite a few layer cakes and I really enjoy it! I liked this post because now I know I’m doing it “right”. 🙂 I would love to win this giveaway, I think all of my cake tools are from the dollar store! :/
Anna
http://www.askannamoseley.com
I’ve been too scared to try one!
I have made a lot of layer cakes, it is one of my favorite thing to do!