Just in case anyone wanted to make their own Hydrangea Cake, here a a couple quick tips to make it easier for you!
First, I baked my cake. I just did a regular white cake with the lemon curd filling and lemon frosting. (Seriously delish.. and perfect for spring or Mothers Day!)
I used 8in pans then carved around the edges to make my ‘bouquet’ shape.
You can also bake cake in round pyrex bowl or basketball cake pan or something round.
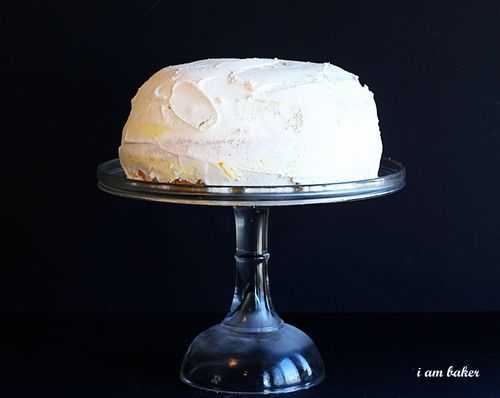
I then covered the cake in buttercream frosting and chilled it in the fridge.
For the flowers, I used the rest of my buttercream, making sure the consistency was on the thicker side. Pick the colors that you prefer, and create three of four variations for your petals.
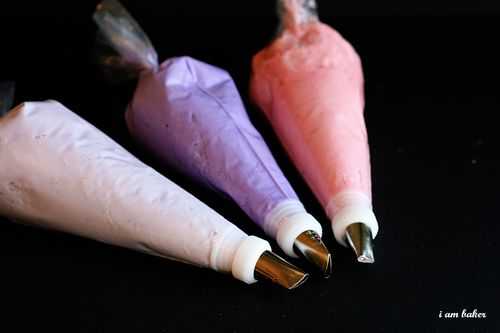
Using a #104 tip with the small edge out, I just piped out four petals to each flower.
I think the actual hydrangea petals are a bit more flat, so if you can master the tip you can create a more realistic looking petal!
(This was my first time trying this flower… I am hoping to improve more for next time… I also want to make this cake in white and pale pink… can’t you just see it???)
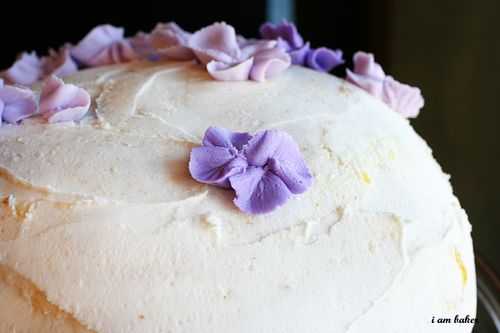
I started with one color in one section then made a bunch of flowers overlapping each other again and again.
Then went back in with another color and started adding more flowers. Anytime I saw a flower that I didn’t think was good enough I just added a new one on top of it!
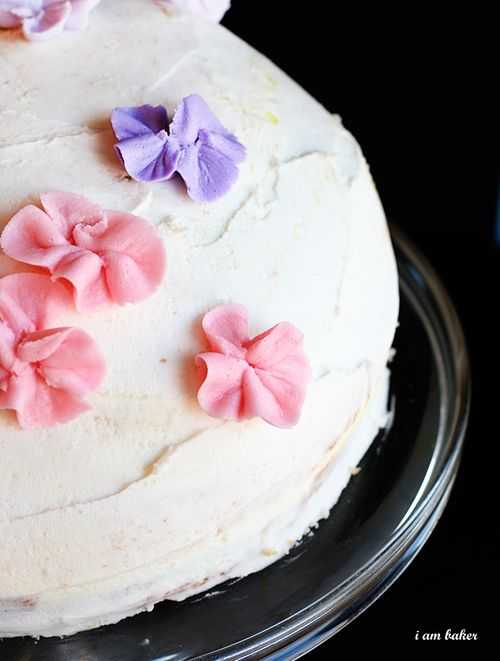
This is a really forgiving and easy technique… you really can’t go wrong!
And when you are all done, you get this…
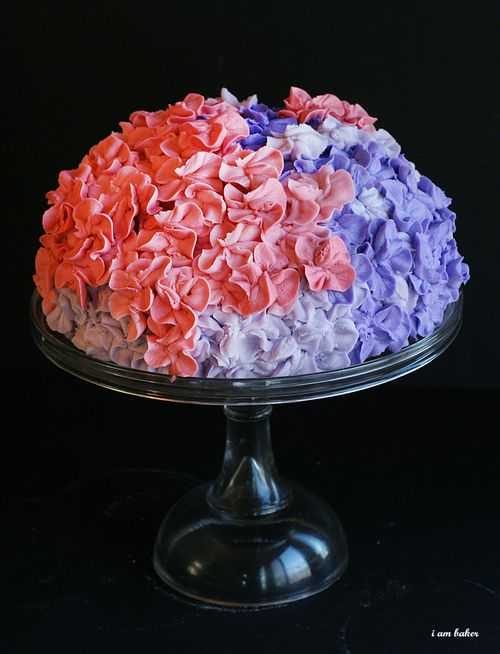
Hope you will try it.
And be sure to leave a link and let me know if you did!
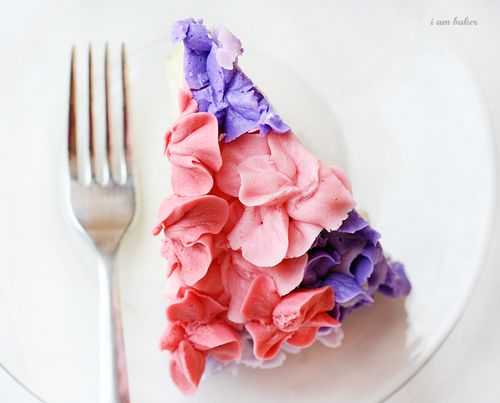
Stunning! I saw this on Pioneer woman’s site. Congratulations on yet another feature Amanda!
This is absolutely stunning. Gorgeous. Breathtaking.
How do you make the petals?
I think I´ve gone twice over your cake, and everytime I look at it, it´s more beautiful. WOW!, congratulations. I love Hydrangeas, so this could be my favourite cake.
Kisses from Spain
Marialuisa
I love this cake so much, I was inspired to try it myself today. It didn’t turn out as beautiful as yours but I am happy with it and had fun doing it. Thanks!
Wow – I am impressed, so beautiful and fairly simple – thank you for sharing
I used 8in pans then carved around the edges to make my ‘bouquet’ shape.
You can also bake cake in round pyrex bowl or basketball cake pan or something round.
I just spotted your wonderful cake! I think I will make cupcakes and bring them to my Mom. She ‘s in a nursing home.
Not the big question is… how do I make sugar free buttercream?
Awesome looking cake, this will be on my retirement List of things to do.
I used your tutorial for a rose cake a few months ago and think I am going to have to try this one too. It is so beautiful! You do such an incredible job making incredibly beautiful cakes with relatively simple steps. Thank you!
I really love the way you integrated the different colors.
This cake is beautiful, very creative. Shared it with my sister and daughter(hoping she makes it for me for Mother’s Day)! So glad I came upon your tutorial, it’s terrific and I just love your commentary!
This would be a wonderful cake for a bridal or baby shower, just customize the colors to fit the shower…sooo beautiful, I just love it!
hi! beautiful cake! i want to make it for my mother next week! i am wondering if you baked 2 layers of the white cake you have linked, and cut them horizontally in half to make 4 layers or if you made 4 layers of that white cake. also, i’ve never shaped a cake before – any tips for dome-ing? or do you know of an online tutorial? thanks so much!
Attempting to make this for Mother’s Day but in cupcake form. Bretton Woods housewives, I’m sure I’ll have enough for you too! I’m only sharing if they turn out decent. 🙂
I failed. 🙁
A friend of mine forwarded me this recipe with a tongue-in-cheek request that I make it for her birthday (she lives about a thousand miles away, so that’s not likely, LOL). It was so pretty that I decided to make it for my grandmother’s instead. For a family gathering of that size, though, we need two cakes, so I first did a bundt cake with basket-weave icing, then set the hydrangea cake on top. Once I added some braid to finish the basket, it was fun and fabulous! You can see a (not fabulous) photo at http://roseannamwhite.blogspot.com/2011/05/word-of-week-memorial.html
This is my first time on your blog and the attraction was your beautiful hydrangea cake post. The tutorial makes it so quick, easy and fun, even for a beginner. What a great summer party idea.
I will be sure to add you to my blog: http://caketopperboutique.com/letsparty
Hi there!
Kind of a silly question, but I just want to double check: is that two layers that you cut in half to make the four, or four separate layers?
Thanks so much!!!
Amanda,
We are just wondering if you can share with us the wrist action with the 104 tip. We can’t get our petals to come out like yours. HELP!!!!
M & B
http://www.youtube.com/watch?v=no5w43oHcDw
Here is a video I like… hope it helps!
Just gorgeous. And I agree w/ Jen you made it look easy and I’m not sure that I could duplicate it even close.
Thanks for sharing this! I tried a few of the flowers and after a little practice they started to look better…I wasn’t brave enough to do the whole cake but i’m pretty happy with the results
http://foodiheart.blogspot.com/2011/08/brown-sugar-birthday-cake.html
Can’t you just picture setting this in some sort of hanging basket to display? ‘Cause I TOTALLY want to try that after seeing this cake. 😀
http://www.facebook.com/pages/Annies-Edibles/116612826086
So beautiful and creative! And the colors…wow! Just amazing!
I wanted to let you know that I just linked to your tutorial in this post. For YOU – A bunch of flowers – one dozen flower tutorials – http://creatingthehive.com/blog-post/174849/for-you-a-bunch-of-flowers
I love your blog, and this cake is one of my favorites! I made it a couple weeks ago for a bridal shower. Here is the address to see a few of the pictures:
share.shutterfly.com/action/welcome?sid=0AcMWrFizctmbmo
Thank you for the beautiful cake and tutorial!