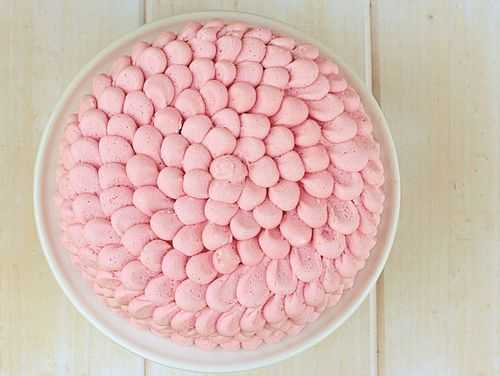
I decorated this cake in six minutes last night.
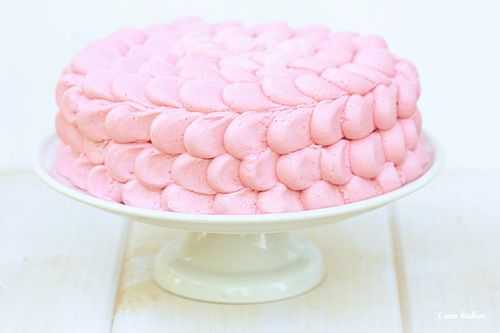
Seriously. It took maybe six minutes to cover the whole cake.
I did that because I wanted to show you the tutorial that I promised on how to make this delish Chocolate Hazelnut cake.
So now YOU can decorate a cake in six minutes.
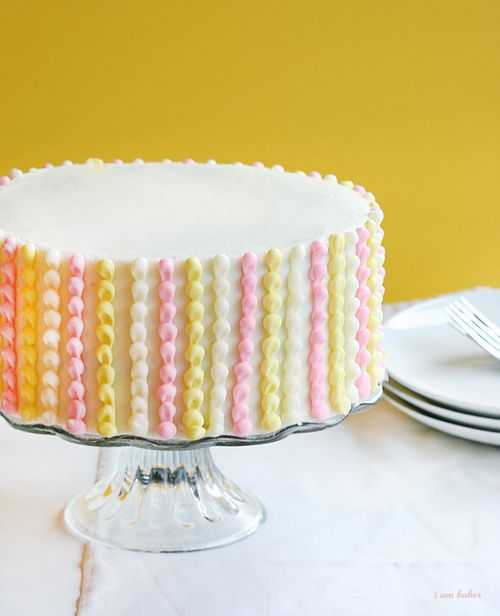
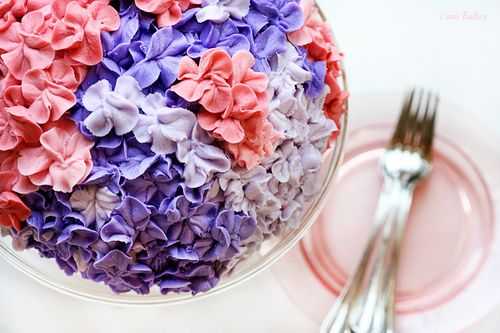
They sure look alike huh? LOL
I did use the same technique, just a different sized decorators tip!
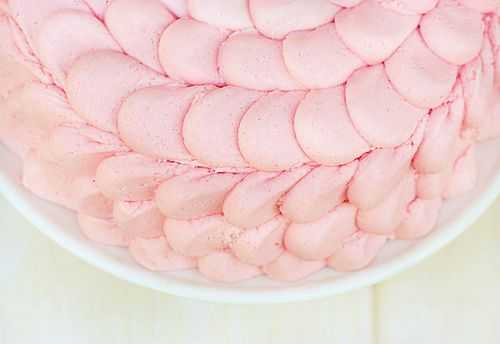
This is a 9PT tip.
And this…
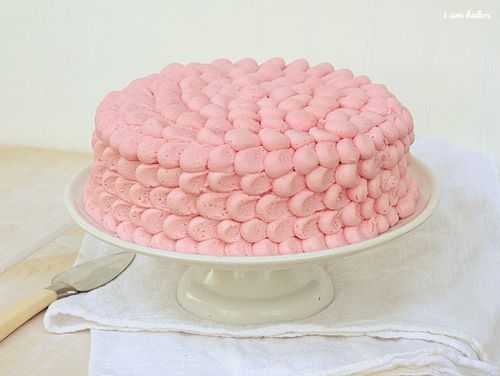
is a 2A tip!

1. Apply gentle pressure to bag and place some frosting on your cake.
2. Make a ‘dot’ with your tip.
3. Using the pressure of the tip, push down and away. (Like you are moving the tip away from the dot, but taking a bit of the frosting with you.)
Repeat this over the entire cake and you are all done!
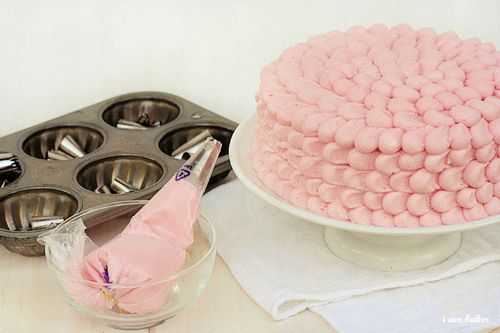
It’s a quick process and has a big impact.
The Perfect Crusting Buttercream
Ingredients
- 7 ½ cups (2 pounds / 937 g) confectioners' sugar
- 1 cup shortening, or ½ cup room temperature butter and ½ cup shortening (See alternate method of making buttercream if using butter and shortening.)
- 2 teaspoons vanilla extract, use clear if want white frosting
- ½-¾ cup whole milk, as needed for desired consistency
- 1 pinch kosher salt
Instructions
- In the bowl of a stand mixer with the paddle attachment, cream shortening and vanilla (2-4 minutes).
- Add in the confectioners' sugar, one cup at a time. If you find your mixer struggling, slowly add in milk. Use more milk for a creamy consistency; use less milk for a stiff consistency. Finally, add salt.
Alternate Method (Using ½ cup butter and ½ cup shortening)
- Place room temperature butter and shortening in the bowl of a stand mixer. Put the entire 2-pound bag (7½ cups) of confectioners' sugar on top. Then, add vanilla, ½ cup milk, and salt.
- Turn the mixer on low and mix until all ingredients are incorporated. Turn the mixer up to medium-high and mix for 2-4 minutes. Add more milk, if needed, to reach desired consistency.
Did you make this recipe?
Thank you for making my recipe! You took pictures, right? Well go ahead and post them on Instagram! Be sure to mention me @iambaker and use the hashtag #YouAreBaker.


OMG! I literally JUST did a cake like this last night. Same shade of pink and everything! I used a slightly different technique that took a little longer (blob then spread with offset spatula). Check it out: http://kwhite118.wordpress.com/
(Excuse my blog-in-the-making. I’m still learning my way around wordpress before deciding on a name, promoting, writing regularly, etc. Haha!)
Also, any tips for how to finish the final column? I couldn’t get the last one to look like it was under the first column, if that makes sense.
You make everything look so effortless and I’m definitely going to give this a try.Thanks for the ‘tip’
One of these days I´ll try to do something similar… by the way I only dream about it.
Congratulations “master”.
I am in aww of everything you do. I’ve been looking at your blog for a year now and I love every single post. You’ve got skillzzz
asktheduplex
What, pray tell, do you do with all the cakes you bake?
Hi Amanda! First I love your blogs! Second, I have a request. I do not aspire to be a great baker and therefore do not wish to invest a whole lot of cash in supplies. I’m just a girl who likes to make toothsome cakes for my husband’s birthdays that hopefully won’t crack down the middle. Could you give a girl like me some helpful tips (bearing in mind I don’t do this often and lack many supplies)? Something along the lines of “I always make sure to have a wet rag handy” or “if you don’t have a rotating cake stand try…” or, “if you’re going to get one tool get …” or maybe even “if you can afford to invest $10 get …., $20 get…” okay, so that’s actually a lot but I would appreciate it!
wow, so pretty…can it really be as easy as all that?! thanks for sharing & look forward to jumping to your tutorial!
So clever! I too thought they were all marshmallows!
Cxx
this is fabulous! i’m going to try it on a birthday cake for this weekend!
You never cease to amaze me!!! : )