Skip to content
All Recipes
Bread
Breakfast
Brownies
Cakes
Candy
Casseroles
Cookies
Cupcakes
Decorating
Drinks
Muffins
Pancakes + Waffles
Pies + Tarts
Cakes
Cupcakes
Cookies
Candy
Decorating
Author Bio
Cookbook
About
Home
▸
I Am Baker
I Am Baker
Food Blogging Diaries
Episode 4: Food Blogging Diaries
Cookies
Chocolate Dipped Wafers {Thin Mint Copycat}
Drinks
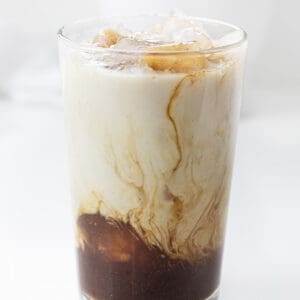
Iced Brown Sugar Oat Milk Espresso Shaker {Starbucks Copycat}
Cookies
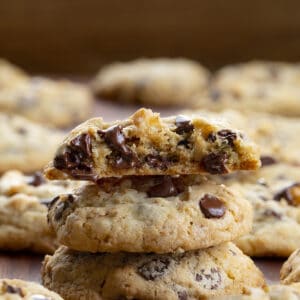
Walnut Chocolate Chip Cookies {DoubleTree Copycat}
I Am Baker
How to Throw a Virtual Dinner Party
I Am Baker
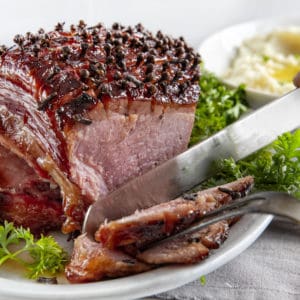
Honey Glazed Ham
I Am Baker
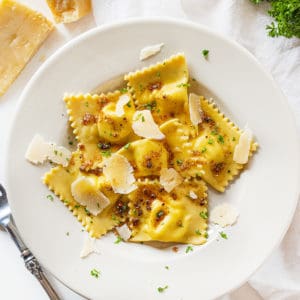
Homemade Five Cheese Ravioli With Garlic Brown Butter Sauce
I Am Baker
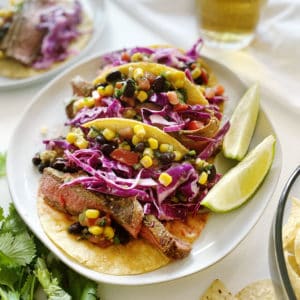
Heart Healthy Steak Tacos
I Am Baker
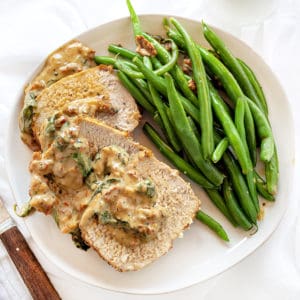
Pork Loin with Roasted Garlic Cream Sauce
Cookies
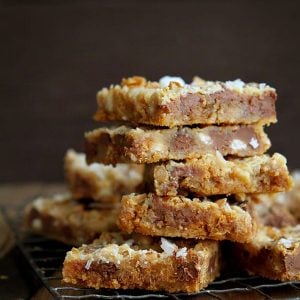
Magic Cookie Bars
I Am Baker
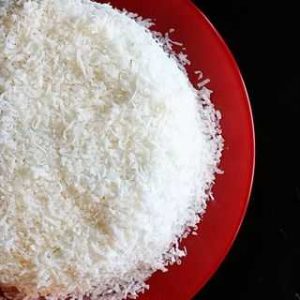
White Cake {Coconut Frosting}