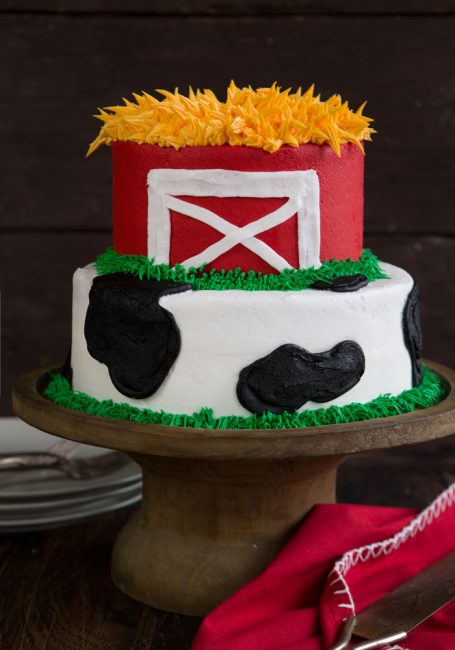
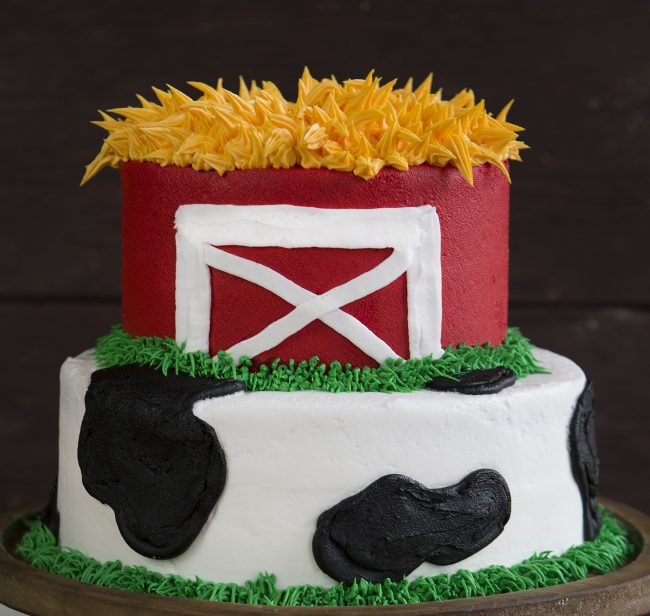
Creating this Cow and Barn Cake was the most fun I have had decorating in a while. This is one of those cakes that every level of baker can do… and have a great time doing it!
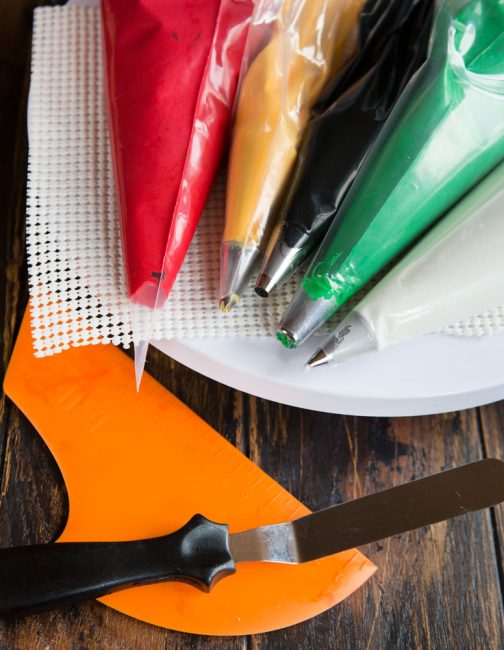
To make this cake you will need:
8-inch round 2-layer cake (any flavor)
6-inch round 2-layer cake (any flavor)
2 full buttercream recipes (at least 9 cups of total frosting)
red, green, yellow, black food color
small offset spatula
bench scraper
toothpick
straws
scissors
decorating tips: #233, #28, #10, and #47
cake stand
rotating cake stand
Start by baking cakes. (I used this Yellow Cake recipe.) I doubled my recipe and added 2 cups of batter to each pan. (two 8-inch pans and two 6-inch pans.) Bake cakes and when they are done allow to cool to room temperature.
Prepare a double batch of whipped vanilla buttercream. Reserve about 3 cups of white to cover the cow cake. Then color 2 cups of the frosting red. (To find out how I color frosting red check out this post.) Tint about 2 cups yellow, 1 cup black, and 1 cup green. (These amounts will vary depending how on you pipe. To be safe I always make MORE frosting than I need so that there is extra and I don’t have to backtrack and try to color match. You can easily triple the buttercream recipe.)
Place frosting in piping bags.
When ready to assemble cake, level cakes (if necessary). Set your cake stand on a rotating cake stand. Place one layer of cake on cake stand. Add a layer of white buttercream and smooth with small offset spatula. (Make sure you save at least 1/4 cup of white frosting for the barn door detail.) With #10 tip, pipe out random shapes with the black buttercream. Go back and smooth them out with the small offset spatula. These will be the cow spots. You do not need them all over the top of the cake as this will be covered with the next layer cake. Set that layer of cake in the refrigerator to chill.
Insert a straw near the center of the cake. You will be using 3 straws as support, so try to envision a triangle shape that is smaller than the 6-inch cake you will be setting on top. I insert the straw, pull up slightly, cut and then press the straw back ino that cake. Repeat this 2 more times. Set that layer of cake in the refrigerator to chill.
Now start working on the 6-inch cake. This will be covered in the red buttercream. Cover it and smooth out just like you did with the 8-inch round cake.
Chill this layer in the freezer for 30 min. or in the refrigerator for at least 2 hours.
When the red cake is very chilled, you can move it on top of the white cake. I use an offset spatula and slide it under the cake then carefully lift and move to the other cake. Try to center it and let one edge rest on the white cake. Carefully slide out the offset spatula and let it rest on top.
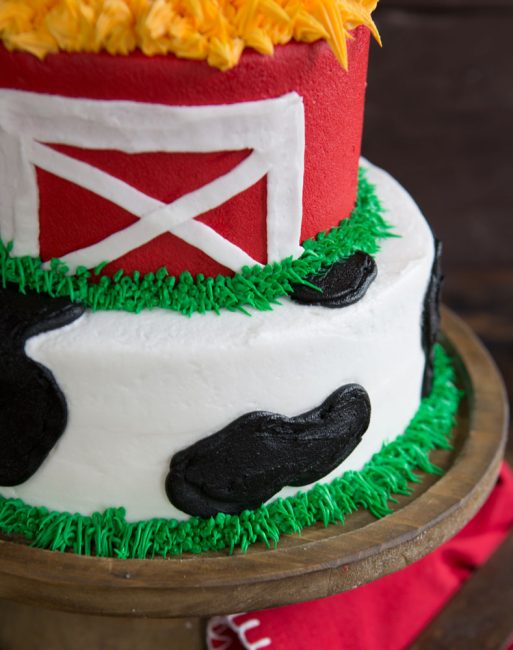
Using a toothpick, draw out the barn door shape onto the red cake. Now, with your #47 tip in a pastry bag with white buttercream, pipe over the toothpick lines.
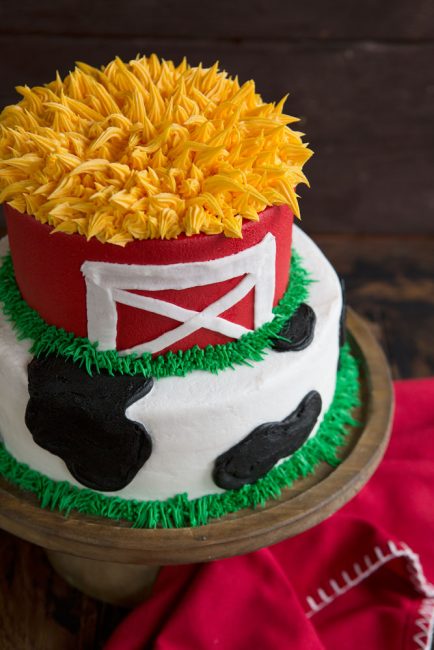
Using a #28 tip and the yellow buttercream, start piping out hay “spikes” on top of the red cake. I moved my bag around so that some spikes were pointing up, some to the side and some down. Do this around the entire top of the red cake.
You can now move on to the green grass detail around the bottom edges of the cake. Using a #233 grass tip, pipe out the grass. I simply apply pressure at the base of the cake, then pull up and release pressure.
Here is a video on how I made this cake:
Creating a fun Cow & Barn cake is a great way to celebrate any country themed event. You can customize the cake to add animal figures or even add additional tiers! I love the idea of a chicken cake on top of the barn or adding windows to the barn.


This is adorable. I love the grass between the layers!