I love the idea of treating the special people in your life in a special way… cake! These 4 Easy Buttercream Cakes are designed with “mom” in mind… in soft pastels and flowers galore!
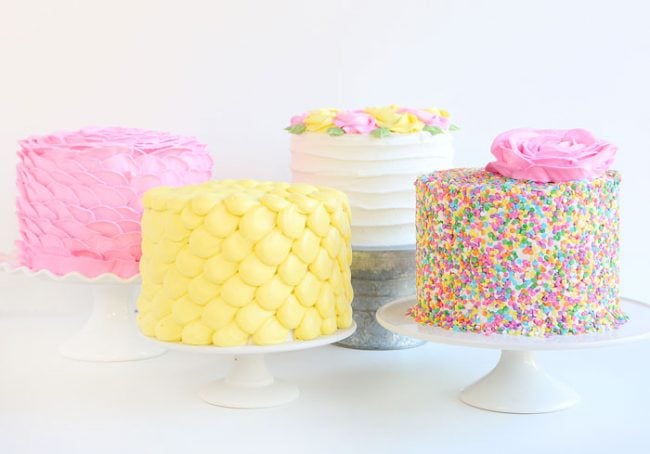
To make these cakes you will need:
cake
sprinkles
piping tips
offset spatula
cake stand
rotating cake stand
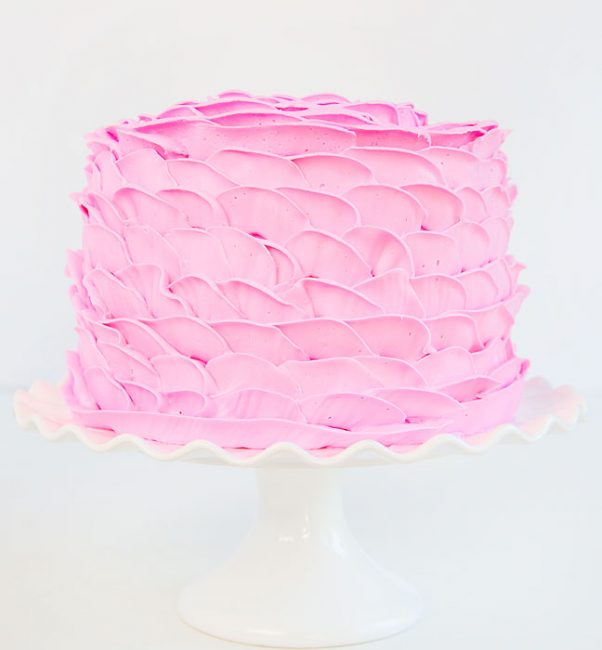
Rose Cake
Make a batch of buttercream and tint it pink. Fill up pastry bags with buttercream and fit bag with a #127 tip. (This is basically a giant #104 tip)
Starting with a crumb coated cake, pipe a little dob in the center of the cake. Start adding “petals” are the dob. You are going to repeat this motion around the entire top of the cake.
On the sides you will do the came motion, only against the side of the cake.
Tips: This cake works best with the double bagging method (you go through lots of buttercream!) and when using a rotating cake stand.
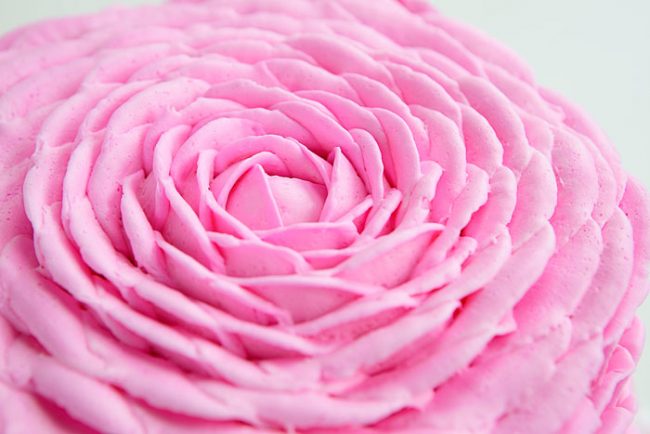
(Video Below)
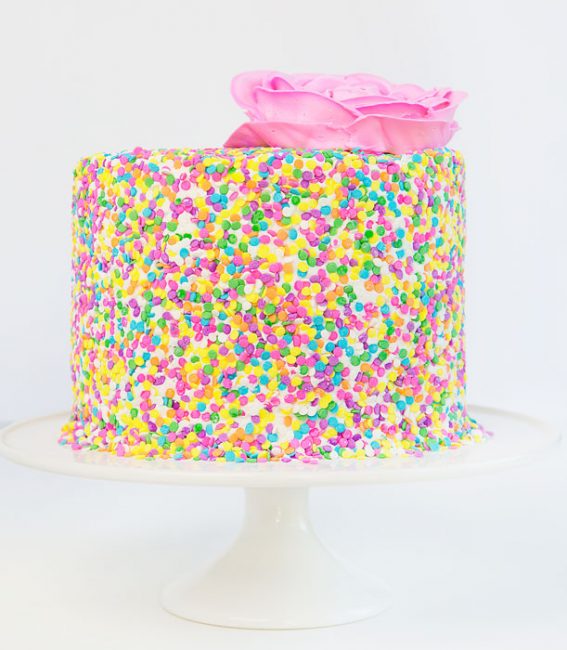
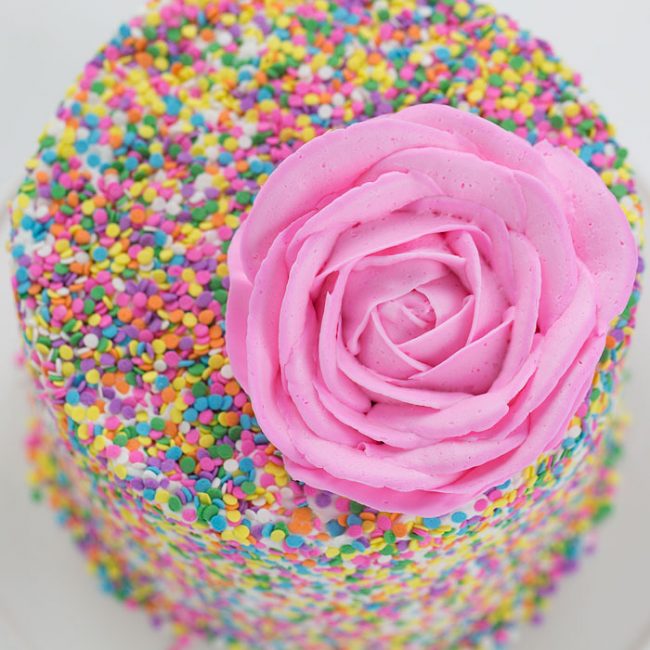
Pipe out a giant pink rose on a piece of parchment. When I do this, I place a piece of parchment on a rotating cake stand and then begin the rose piping. When done, I place the rose on the parchment in the freezer until ready to assemble cake.
Cover cake with buttercream and then start applying sprinkles to the sides and top. Press in with your hand to get the sprinkles to stick. Once you have covered the cake, use a fondant smoother to press the sprinkles in and get a more uniform shape.
Pipe out a little dob of pink frosting, then place your chilled rose on top. Fill in with any petals as needed.
Tips:
Place your cake on a cookie sheet before adding the sprinkles. When they fall, you can easily scoop them back up for re-use.
You can also pipe the rose directly on the cake.
(See my sprinkles cabinet here)
(Video below)
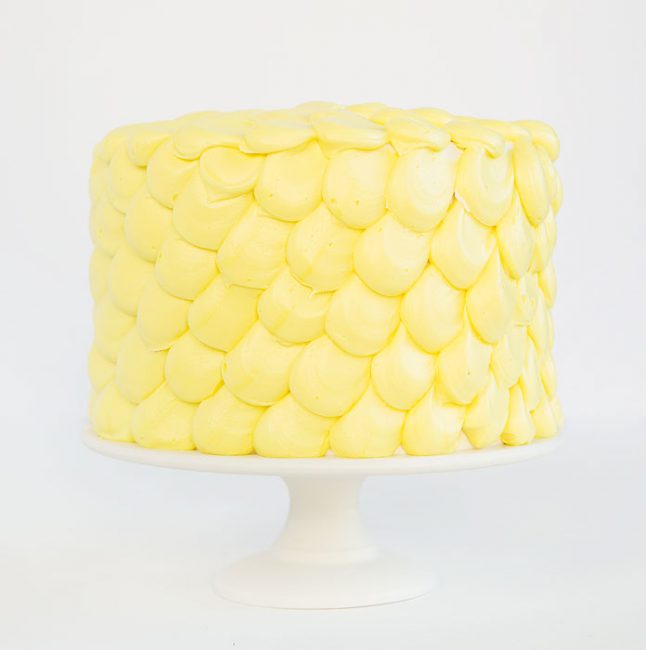
Add an Ateco #808 tip to a pastry bag and fill with yellow buttercream. Using a bench scraper gently press into side of crumb coated cake and create a guideline.
Starting at the bottom of a guideline, pipe out a dollop and then swoop up. Repeat this up the line. Move to the next line and repeat. Repeat this around the entire cake.
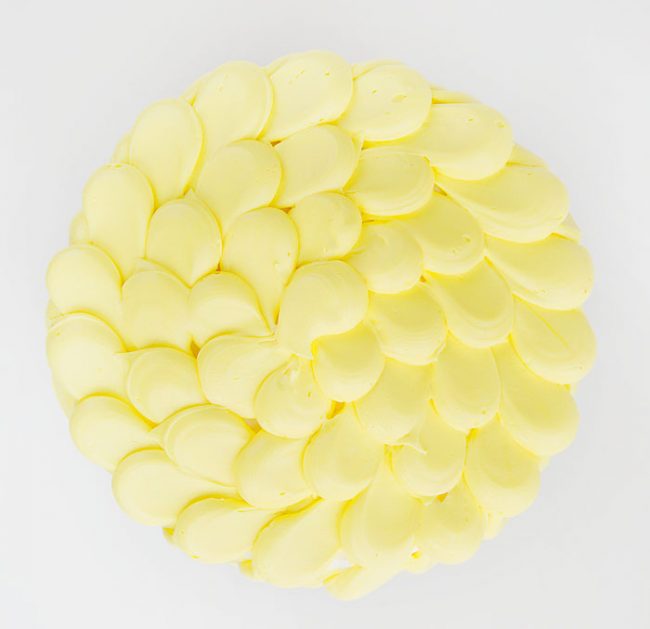
For the top of the cake, start at the outer edge and move inward, creating a spiral design.
Tips:
Having a loose (soft) buttercream works best for this simple design.
(Video Below)
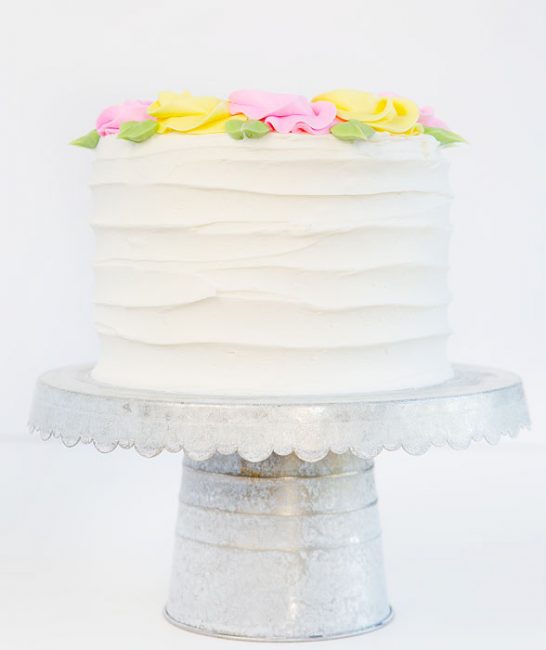
Cover cake in a crumb coat, chill, and then cover with a generous layer of white buttercream. Place on rotating cake stand.
Using a large spatula (can be offset) start at the bottom and turn the cake on the rotating cake stand. Wipe spatula if needed and then move up slightly and repeat.
For the top, start at the outer edge and move in slightly as the rotating cake stand is turning.
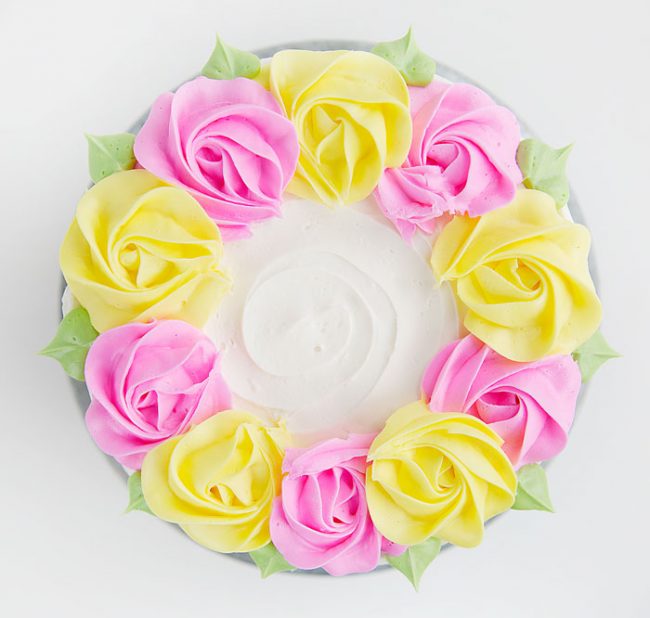
Place some pink and yellow buttercream in a pastry bag fitted with a 1M tip.
Pipe out rosettes around the edge of the cake. Using a leaf tip, add some leaves with green buttercream around the edge.
Tips:
A rotating cake stand is essential for this design.
Having a thick layer of buttercream works best with this technique as you are removing frosting and don’t want to see the bare cake underneath.
Here is a quick video on how I made these cake:
I hope you enjoy these 4 Easy Buttercream Cakes!




It looks so easy . Seeing the piping ends before you start would be helpful. Loved all of the 4 cakes you showed now to try one of them .
Absolutely beautiful artwork on the cakes. I have always wanted to learn to decorate what I bake
So simple but exceptionally beautiful! Well done!
Thank you so much, but I was wondering if you have a recipe for buttercream.
I kept seeing “video below.” Saw your lovely cakes but no video for any of them.
Tammy