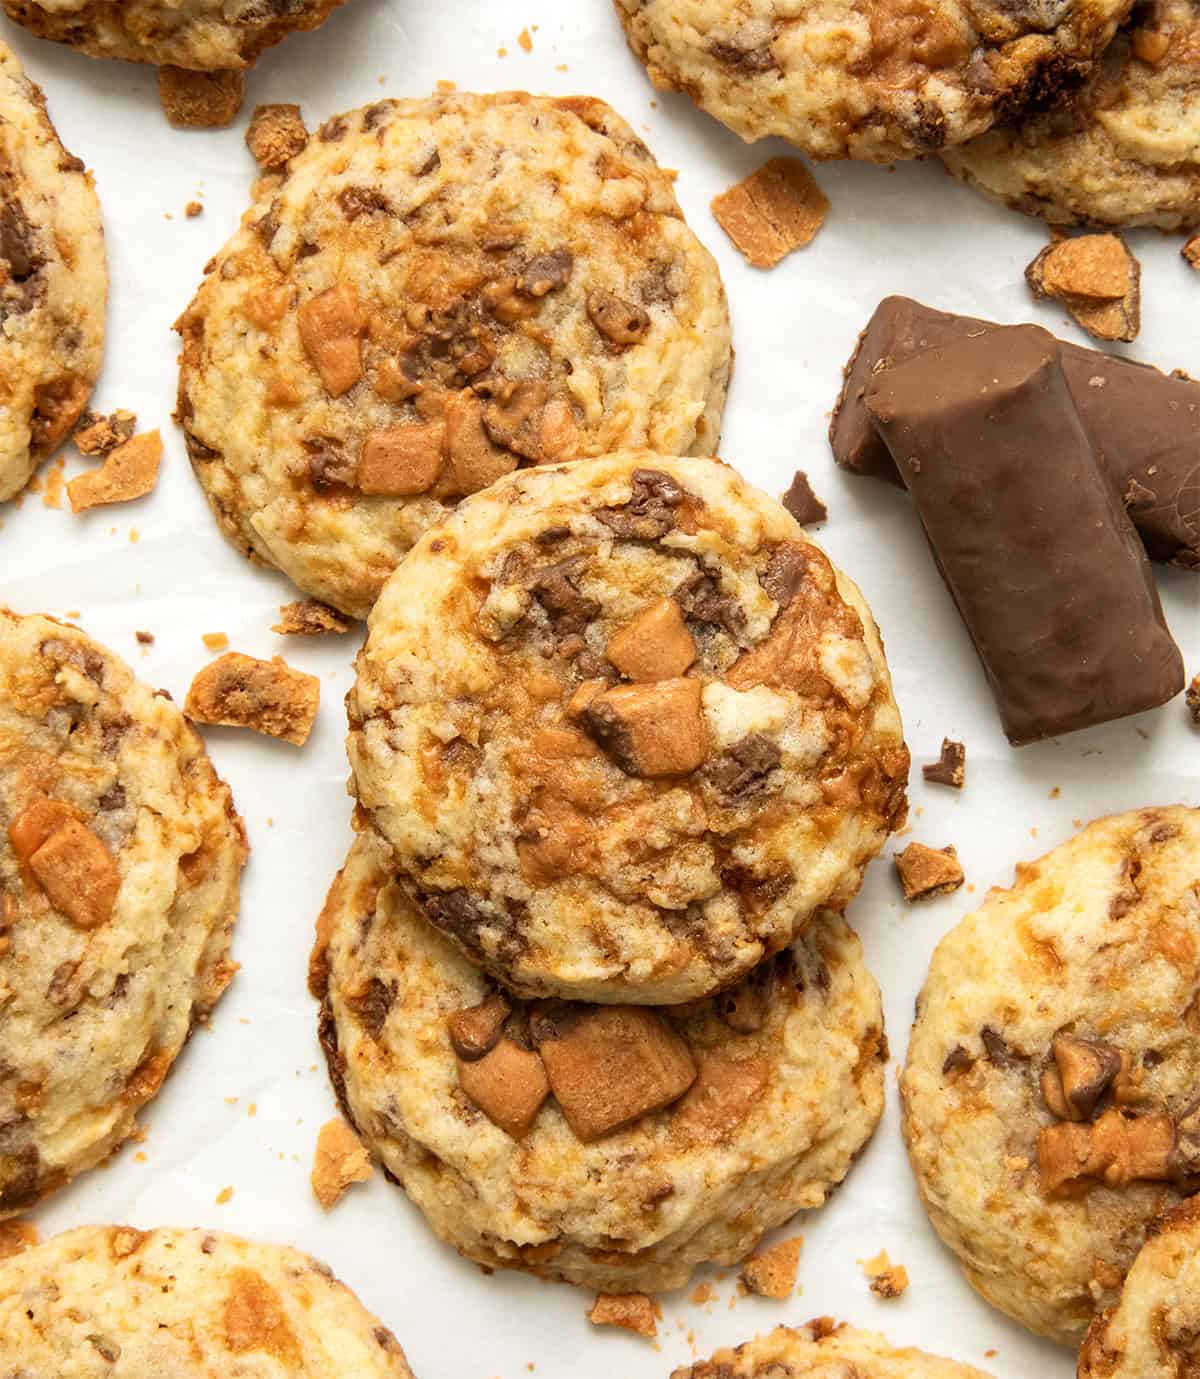
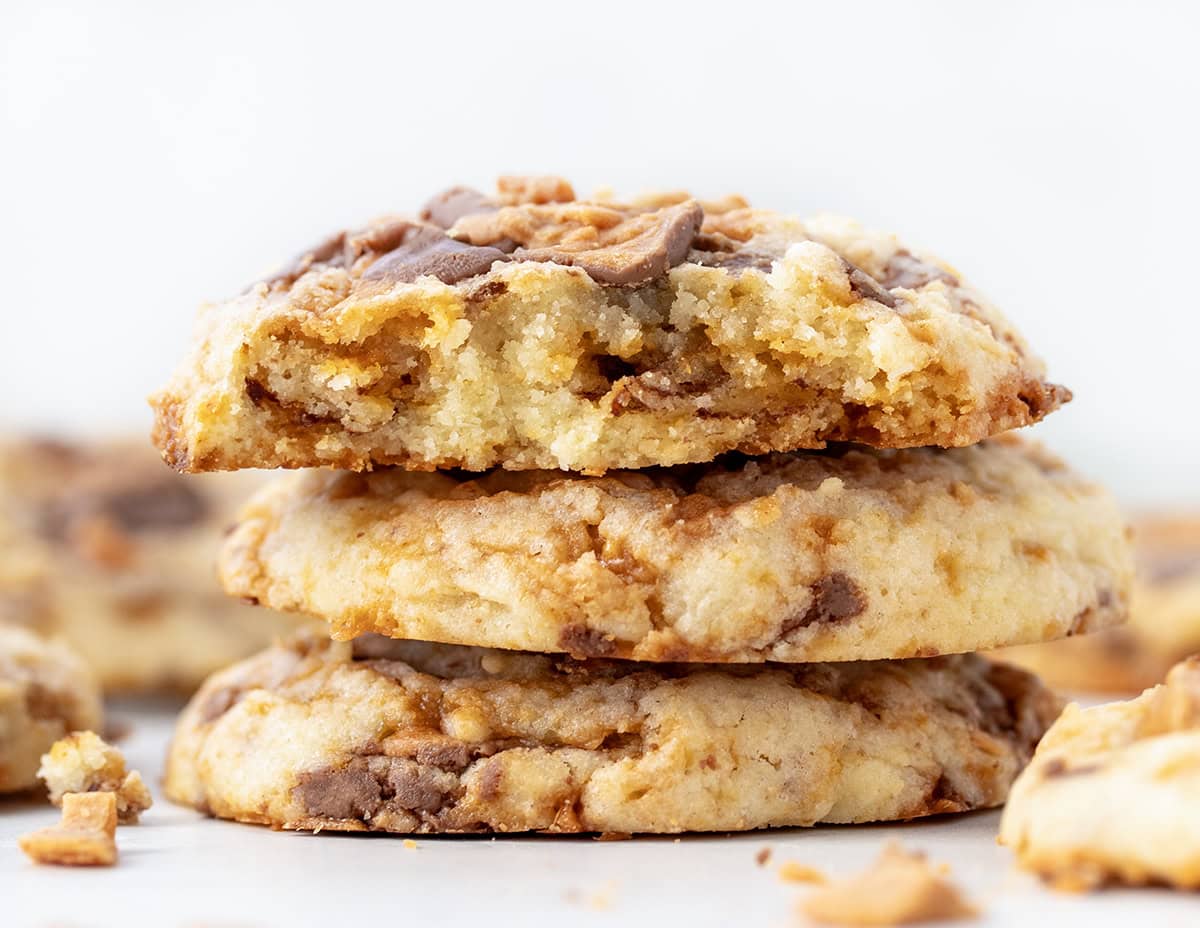
If you love the irresistible crunch and peanut buttery flavor of Butterfinger candy bars, you’re going to want to make these Butterfinger Cookies! Soft, chewy, and loaded with chopped Butterfinger pieces, these cookies are the perfect sweet treat to satisfy your candy and cookie cravings all in one bite. If you’re loving all things Butterfinger, be sure to check out my Butterfinger Dip next!

Ingredients & Substitutions
- Butter: I prefer using unsalted butter for these cookies. But if you only have salted butter on hand, just reduce the added salt in the recipe by a pinch or two.
- Sugar: I stick with regular granulated sugar for these cookies. It keeps the texture light and lets the Butterfinger flavor shine.
- Eggs: Make sure the eggs are at room temperature before mixing them into the dough. This helps give the cookies their soft, chewy texture. Out of eggs? Check out my egg substitutes to try.
- Flour: All-purpose flour works best for these cookies. Nothing fancy here! Just make sure to measure it properly so the cookies don’t turn out dry.
- Butterfinger Candy Bars: I use fun-size Butterfinger candy bars for these cookies. They are easy to chop and give you the perfect mix of crunchy, peanut buttery bits in every bite. Chop them into small pieces so the candy melts into the dough a little but still leaves plenty of texture. Feel free to sneak a few bites while chopping… I know I do!

Can I Use Butterfinger Baking Bits Instead of Candy Bars?
Yes, you can use Butterfinger baking bits instead of chopping up candy bars! The baking bits are made for mixing right into cookie dough and will save you a little prep time. Just use the same total amount (about 1 ½ cups) as you would with the chopped candy bars. Keep in mind, the bits are smaller and more uniform, so the texture will be a little different. The cookies might be less chunky, but still packed with that signature Butterfinger flavor.
Can You Add Chocolate Chips to Butterfinger Cookies?
Yes, you can! I recommend using mini chocolate chips so they blend nicely with the chopped Butterfinger pieces without overpowering the cookie. If you add chocolate chips, try reducing the amount of Butterfinger candy a bit to keep the perfect balance of flavors and textures.
Can You Freeze Butterfinger Cookie Dough?
Yes! You can absolutely freeze Butterfinger cookie dough for later. Just scoop the dough into balls and place them on a baking sheet. Freeze for 1–2 hours, then transfer the dough balls to an airtight container or freezer bag. When ready to bake, place the frozen cookie dough balls on a lined baking sheet and bake as directed, no need to thaw! Just add an extra minute or two to the baking time.

How to Store Butterfinger Cookies
Keep your Butterfinger Cookies fresh by storing them in an airtight container at room temperature. They’ll stay soft and tasty for 3 to 5 days.
Can You Freeze Butterfinger Cookies?
Yes! To freeze baked Butterfinger Cookies, place them in a freezer-safe container or zip-top bag for up to 3 months. When ready to enjoy, simply thaw them at room temperature or warm them in the microwave for a few seconds to get that fresh-baked softness back. Check out my Guide to Freezing, Baking, and Storing Cookies for more helpful tips!

Butterfinger Cookies
Ingredients
- ½ cup (1 stick / 113 g) unsalted butter, room temperature
- 1 cup (200 g) granulated sugar
- 2 large eggs, room temperature
- 2 cups (240 g) all-purpose flour
- 1 teaspoon kosher salt
- 1 bag (10.2 ounces) Butterfinger fun-size candy bars, (about 16 fun-sized bars) chopped
Instructions
- Preheat oven to 350°F. Line a baking sheet with parchment paper.
- In a large bowl, beat butter and sugar with a hand mixer until light and creamy.
- Add the eggs and mix until just combined.
- In a medium bowl, whisk together flour and salt.
- Slowly add the flour and salt mixture to the wet ingredients on low speed, mixing until everything comes together into a thick dough.
- Gently fold in most of the chopped Butterfinger pieces, reserving about ¼ cup for the topping.
- Using a 2-tablespoon scoop, drop the cookie dough onto the lined cookie sheets, leaving about 2 inches between each cookie.
- Press a few reserved Butterfinger pieces on top of each cookie.
- Bake for 10 to 12 minutes, or until the edges turn a light golden color and the centers look set but still soft. Do not overbake.
- Let the cookies rest on the baking sheet for 5 minutes before moving them to a wire rack to cool completely.
Video
Did you make this recipe?
Thank you for making my recipe! You took pictures, right? Well go ahead and post them on Instagram! Be sure to mention me @iambaker and use the hashtag #YouAreBaker.
What the Test Kitchen had to say about this recipe:

Autumn
These cookies are so good and so easy to make. And, they are filled with plenty of Butterfinger pieces so you can taste it in every bite!

Elizabeth
If you love Butterfingers, I can guarantee you will love these cookies! They are great!

Stephanie
I am addicted to these cookies! I love the Butterfinger pieces in there!

Bella
This is the perfect combination of a candy bar and a cookie! I had to have another one!


These look awesome. My grannies will love them