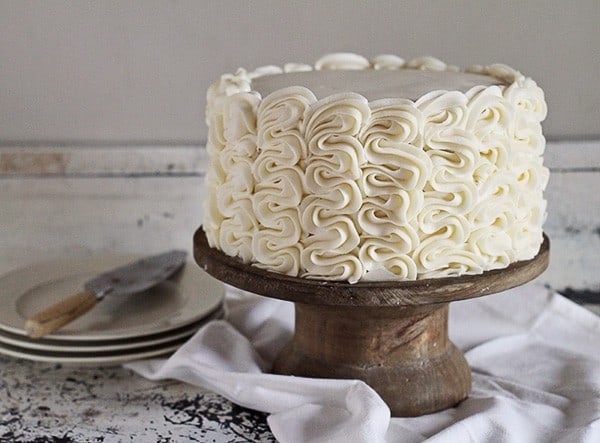
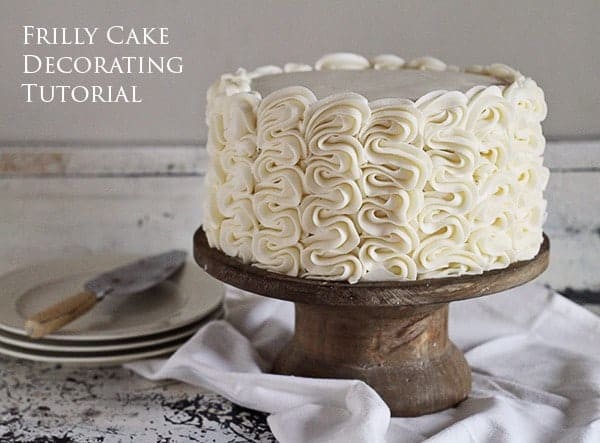
I had no idea what to call this cake… and after much thought frilly cake to mind. I thought “frilly” seem to vague, so I looked it up in the thesaurus, hoping to find a better word. But then, listed right below the synonyms for frilly were the antonyms. And they were: plain, simple, unadorned, unfancy.
So yeah. Frilly wins. Cause this cake is NOT plain or unadorned!
And here is the best part… this decorating technique could not be easier! Slip a 1M tip into your pastry bag, fill it with frosting of choice, then wiggle your bag back and forth up the side of the cake. Easy!
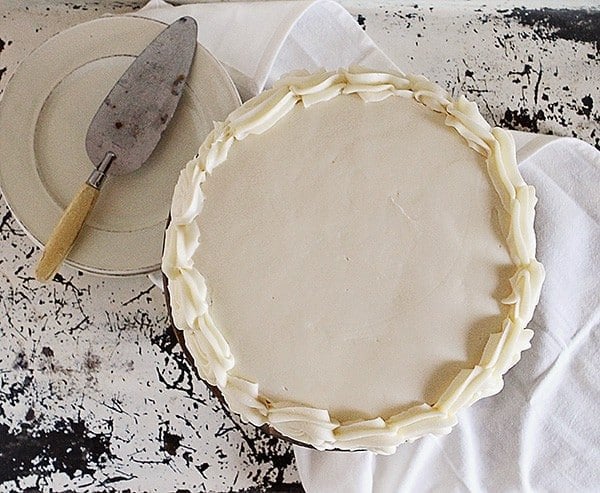
Now. The only (and I do mean only) setback to this method is the sheer amount of frosting. After having made it a few times I decided that a smooth top was the way to go.
First start by getting as smooth of a top as you can. (I talk a bit about that in my post on How to Build a Layer Cake) You can leave the sides with only a crumb coat as they will eventually be covered with the “frills”.
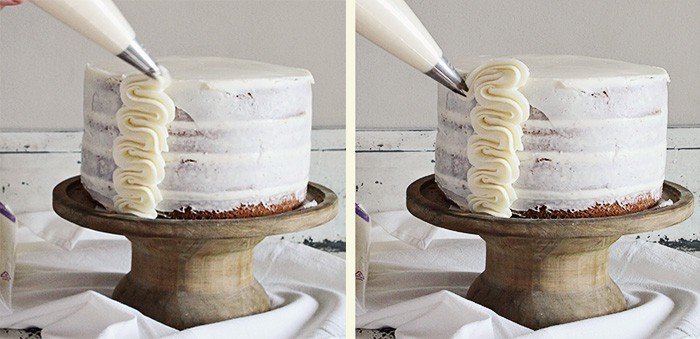
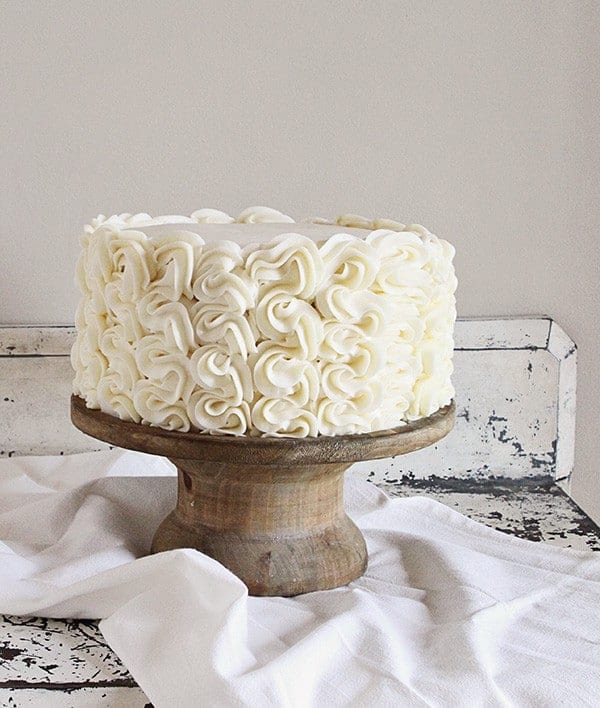
Now bring the frosting up the side of the cake (more details below) and then swoop the tip of the frosting bag down.
As you can see, once I got to the top of the cake I guided the bag over and down to the side of the piped row and then released the pressure. Repeat that every time you reach the top of the piped row. You will cover up the end of the frosting with your next piped row.
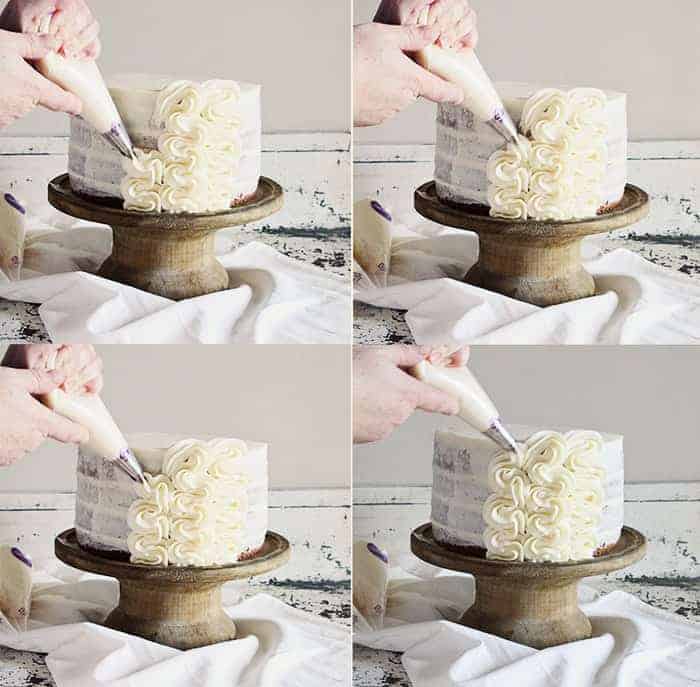
And now for the row itself!
This couldn’t be easier. Simply start at the base of the cake and apply pressure to your pastry bag. (You will be using approximately a 2-inch width for your row, but this can vary depending on the size of your cake) Move your tip up and back and forth at the same time, applying consistent pressure to the pastry bag. When you reach the top bring the tip down and over as I have shown above.
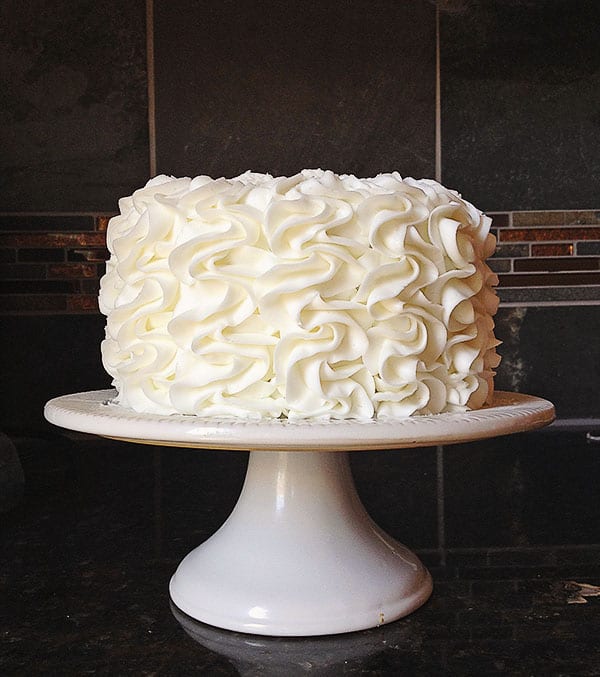
I have made enough of these cakes now to know that you can achieve different results when applying different pressure and speed.
For instance, in the cake picture above I moved slower and didnt apply as much pressure. I tried to be consistent with my movements. (But got a tad sloppy with the very top part… whoops!)
In this picture, I applied greater pressure and moved a bit more erratically, going for more of a “ruffle” look. And yes, this is the same cake, I just made the sides different as an example!
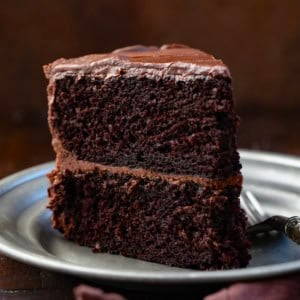
Here is another cake I did with the same technique. I used my best Crusting Buttercream Recipe (dont read the comments if you dont like drama) on the Best Chocolate Cake Recipe ever. Since this cake was a bit smaller (2 layers vs. the 4 layer cake above) it was easier to choose the “frillier” option of lots of pressure and quicker movements.
Hope you like this quick and easy way of decorating a cake. But I must warn you… you will use a LOT of frosting. For this 4-layer cake I used three of my Cream Cheese Frosting recipes. Three full recipes! But, I happen to love frosting so I hope you will forgive me.
Let me know if you have any questions! Happy Cake Decorating!



I love this cake. Simply gorgeous!
Amanda I just did my birthday cake in your design…it is sooooo pretty! It is my firstborn’s birthday too…so in actuality, the cake is for him…loved it!
So gorgeous! I love that you decorated both sides a little differently. They’re both beautiful, but I especially love the extra-ruffley side.
Hi! I want to be in the line of folks saying an enormous THANK YOU!! :0) What a cool deal! Most of us have a 1M handy and if not, they always have them at Michaels or even grocery stores have had them lately – such a cool tip & i think it was about a buck!
Anyway, this is just so pretty and i enjoyed your dictionary bit! One of my friends and i love to say “fancy” when we’re silly (so 99% of the time) so i got a smile out of “unfancy” Hehe :0) Didn’t even know that was a word and hope i nevr have to use it!
Wow i am rambly. I just ate too much frosting, which apparently is a thing. Oooops! Thanks again, i am really looking forward to trying this method – your cake is definitely FANCY!! Frilly is the perfect name!
beautiful! thanks for sharing the tutorial! 🙂
Gorgeous! I want to go into my kitchen and make this cake like right now!
one word: #obsessed.
This cake is so pretty. I can’t wait to try it. I love your rose cakes too. Thanks for sharing your skills and talent with us.
OMG
That looks incredibly amazing
This is gorgeous, Amanda! So very you! xo