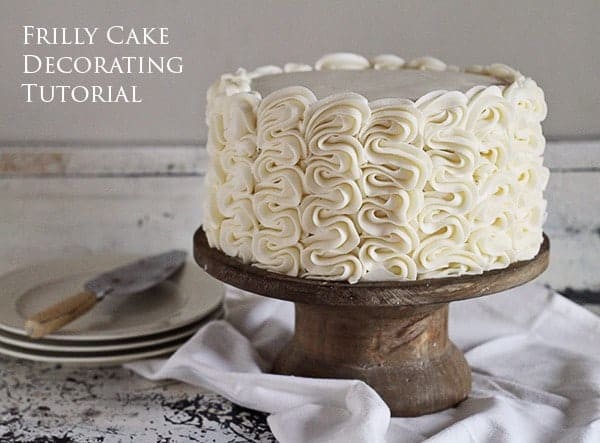
I had no idea what to call this cake… and after much thought frilly cake to mind. I thought “frilly” seem to vague, so I looked it up in the thesaurus, hoping to find a better word. But then, listed right below the synonyms for frilly were the antonyms. And they were: plain, simple, unadorned, unfancy.
So yeah. Frilly wins. Cause this cake is NOT plain or unadorned!
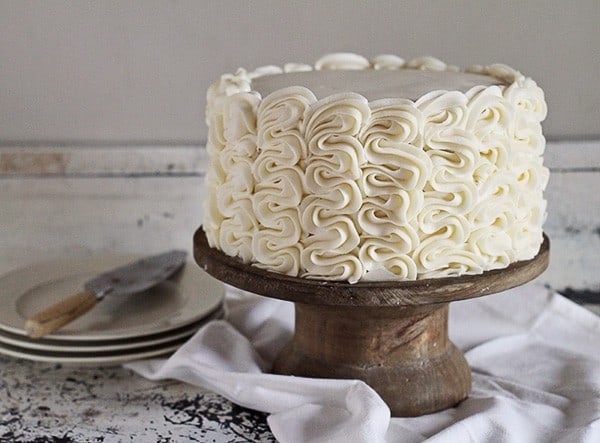
And here is the best part… this decorating technique could not be easier! Slip a 1M tip into your pastry bag, fill it with frosting of choice, then wiggle your bag back and forth up the side of the cake. Easy!
Now. The only (and I do mean only) setback to this method is the sheer amount of frosting. After having made it a few times I decided that a smooth top was the way to go.
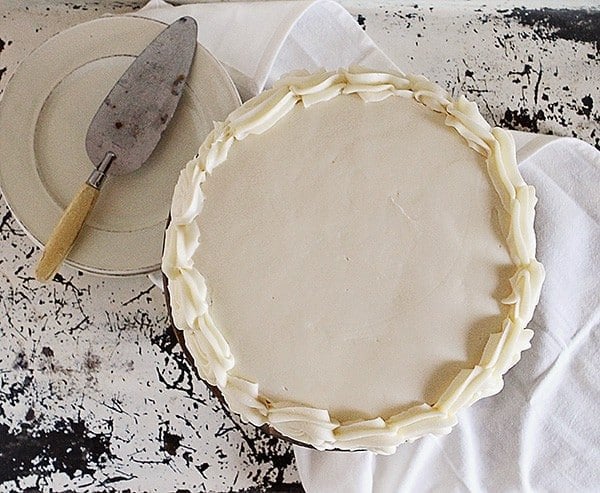
First start by getting as smooth of a top as you can. (I talk a bit about that in my post on How to Build a Layer Cake) You can leave the sides with only a crumb coat as they will eventually be covered with the “frills”.
Now bring the frosting up the side of the cake (more details below) and then swoop the tip of the frosting bag down.
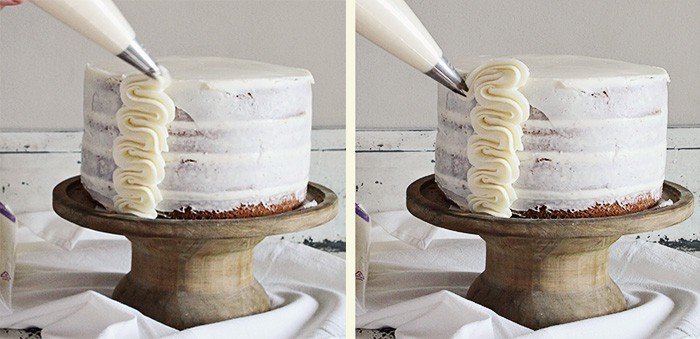
As you can see, once I got to the top of the cake I guided the bag over and down to the side of the piped row and then released the pressure. Repeat that every time you reach the top of the piped row. You will cover up the end of the frosting with your next piped row.
And now for the row itself!
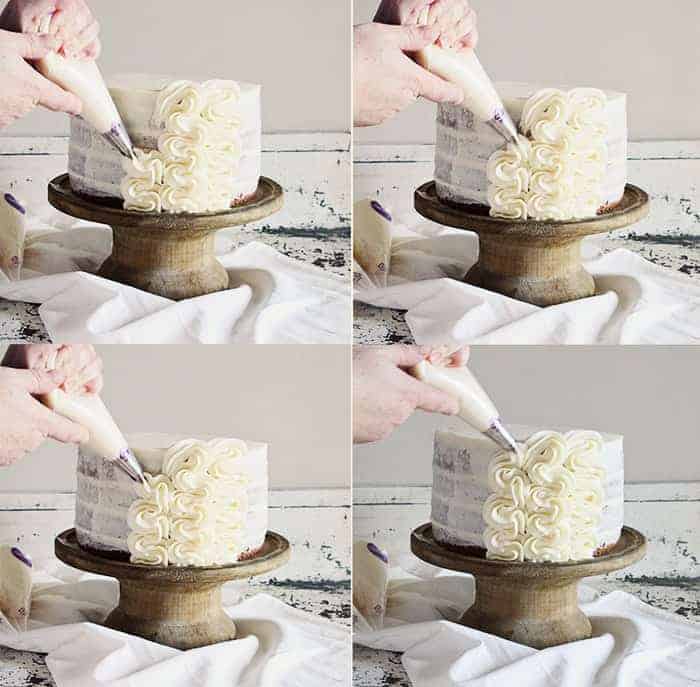
This couldn’t be easier. Simply start at the base of the cake and apply pressure to your pastry bag. (You will be using approximately a 2-inch width for your row, but this can vary depending on the size of your cake) Move your tip up and back and forth at the same time, applying consistent pressure to the pastry bag. When you reach the top bring the tip down and over as I have shown above.
I have made enough of these cakes now to know that you can achieve different results when applying different pressure and speed.
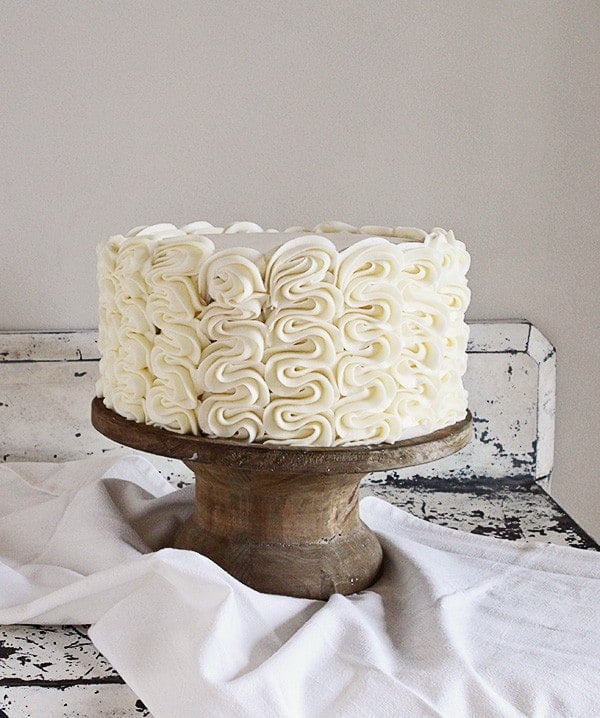
For instance, in the cake picture above I moved slower and didnt apply as much pressure. I tried to be consistent with my movements. (But got a tad sloppy with the very top part… whoops!)
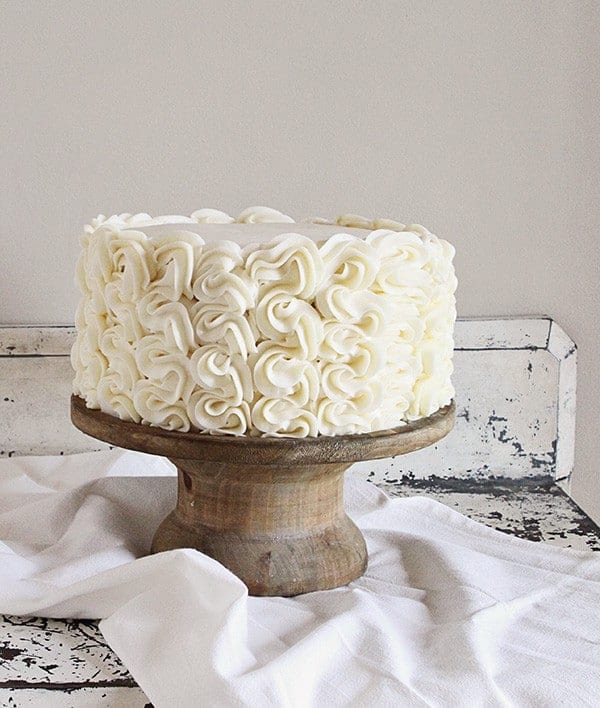
In this picture, I applied greater pressure and moved a bit more erratically, going for more of a “ruffle” look. And yes, this is the same cake, I just made the sides different as an example!
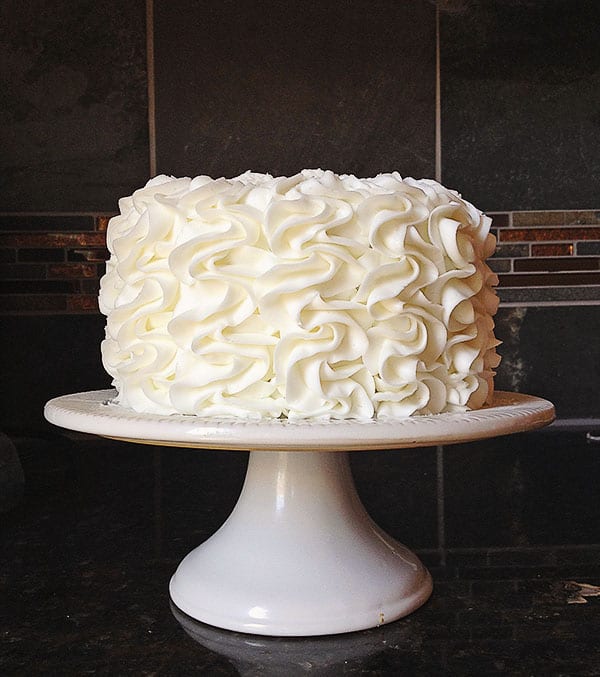
Here is another cake I did with the same technique. I used my best Crusting Buttercream Recipe (dont read the comments if you dont like drama) on the Best Chocolate Cake Recipe ever. Since this cake was a bit smaller (2 layers vs. the 4 layer cake above) it was easier to choose the “frillier” option of lots of pressure and quicker movements.
Hope you like this quick and easy way of decorating a cake. But I must warn you… you will use a LOT of frosting. For this 4-layer cake I used three of my Cream Cheese Frosting recipes. Three full recipes! But, I happen to love frosting so I hope you will forgive me.
Let me know if you have any questions! Happy Cake Decorating!


Hi Amanda..such a sweet look. I love it! Question: were you ever concerned that cream cheese frosting may be too soft to hold the piped shape and remain adhered to the cake?
Hi Paula! I made the frosting from scratch so I made sure it was a stiffer consistency. So no, it being too soft was not a concern! 🙂
Hi! Did you make any changes to your cream cheese frosting recipe to make sure it was a stiffer consistency? If I follow the recipe exactly as it is in the link, will it be stiff enough for this cake? Thanks!
Hello Amanda,
I am writing to you on this post as I didn’t find your e-mail anywhere on the blog. I have one and only question: what shall I do if I don’t want to have crusting buttercream? whatever I do, whatever quantity of confectioner sugar or butter or liquids I use.. I always end up with the sugar NOT melting.
Can you please help.
Thank you,
Sounds like you are using a SMB recipe? You do not need to use a crusting buttercream recipe to make the frilly cake (or rose cake) but your frosting does need to be a stiffer consistency. Happy baking!
So pretty! I love a frilly, but simple cake.
Hi there what nozzle type did you use for the last cake?for the ‘friller’ technique ?
Thanks Ellie
Hi Amanda,
Thanks for sharing this! It’s so pretty and the fact that its so easy is simply a bonus! This is definitely going to be my next cake! The one with extra pressure looks so fab, like a million bucks! Thanks for sharing again!!!
Hi Amanda,
I love your posts and want to thank you for generously sharing your talent. I tried the more ruffly look but mine didn’t look good at all:(. So I tried again and still blah:(. Iif
Hi Amanda,
Thank you for generously sharing your talents. I tried the more ruffly technique but I just can’t get it to look nearly as pretty as yours:(. If you have any tips for me, I would really be so thankful, because I just love the look!
I just wanted you to know that I fell in love with this cake design. My good friend recently had a birthday and I decided to try my own version of this design. It turned out fabulous but was different because I used different ingredients and went about it differently. But my design came from your original concept.
I don’t have a 1M tip, would a 2C or 2D tip look okay?
Yes!
Thanks! Can’t wait to try this! 🙂
This is gorgeous! I can’t wait to have a go! Amazing cake stand too!