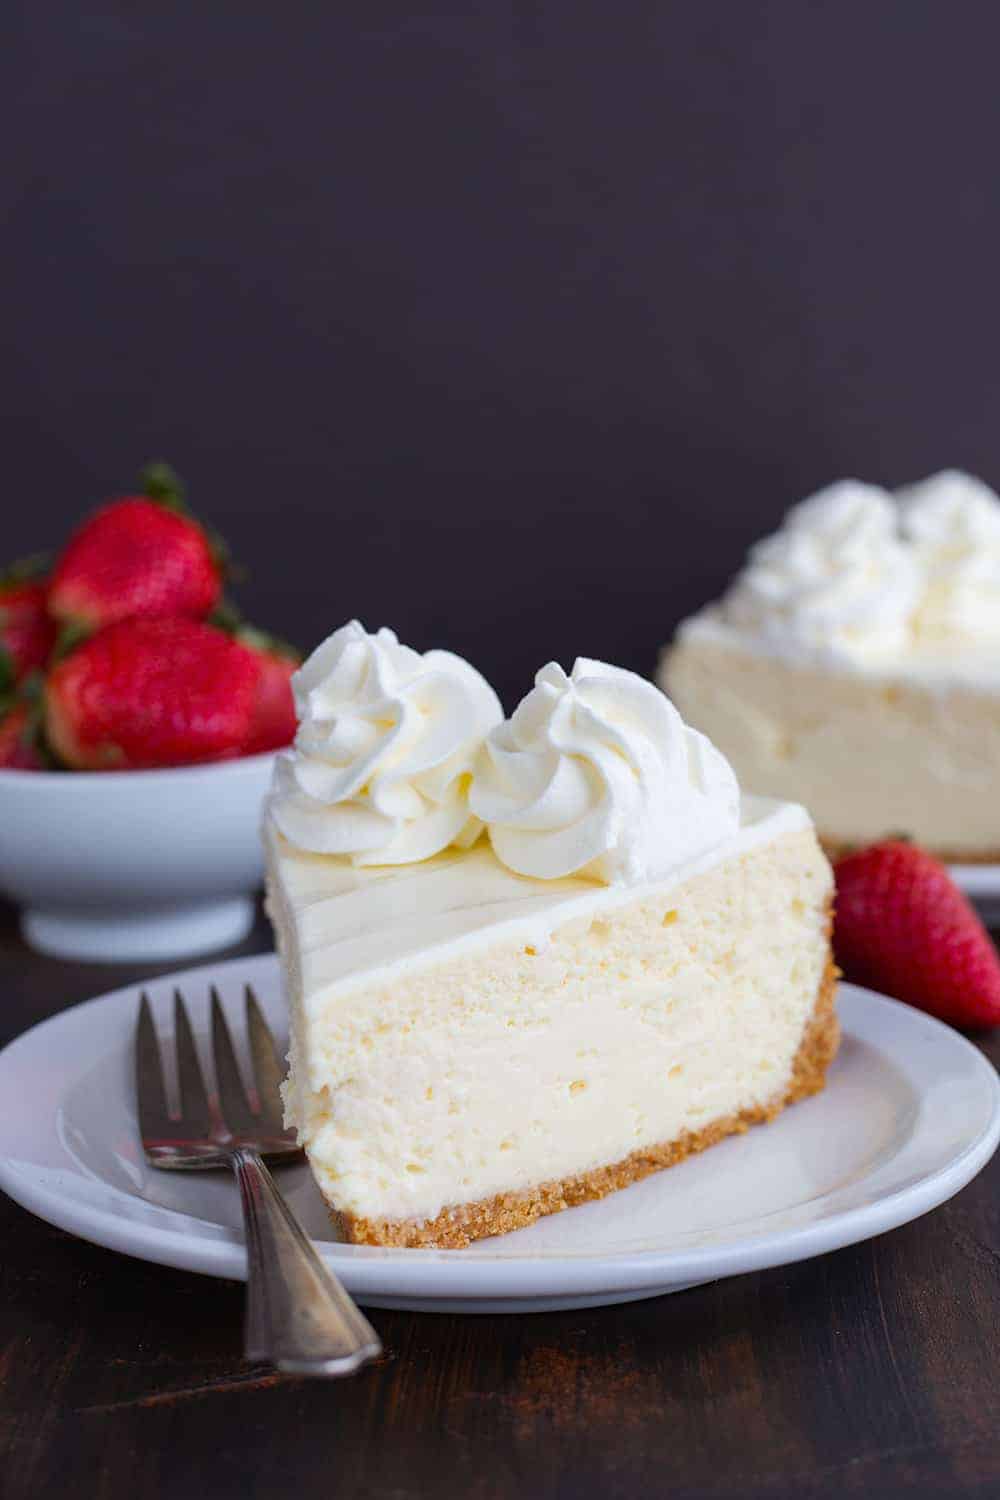
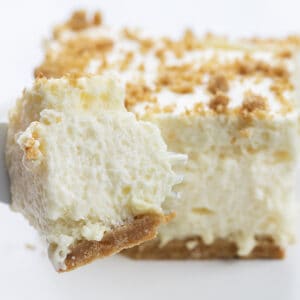
This Cheesecake Recipe has a silky cream cheese filling and a buttery graham cracker crumb crust. It’s a great go-to cheesecake recipe that can be topped with your favorite fruits and is perfect for all of your special occasions. If you happen to prefer a no-bake version, try my No Bake Cheesecake. It’s popular for a reason! Oh, and Strawberry Cheesecake!
Cheesecake Crust Recipe
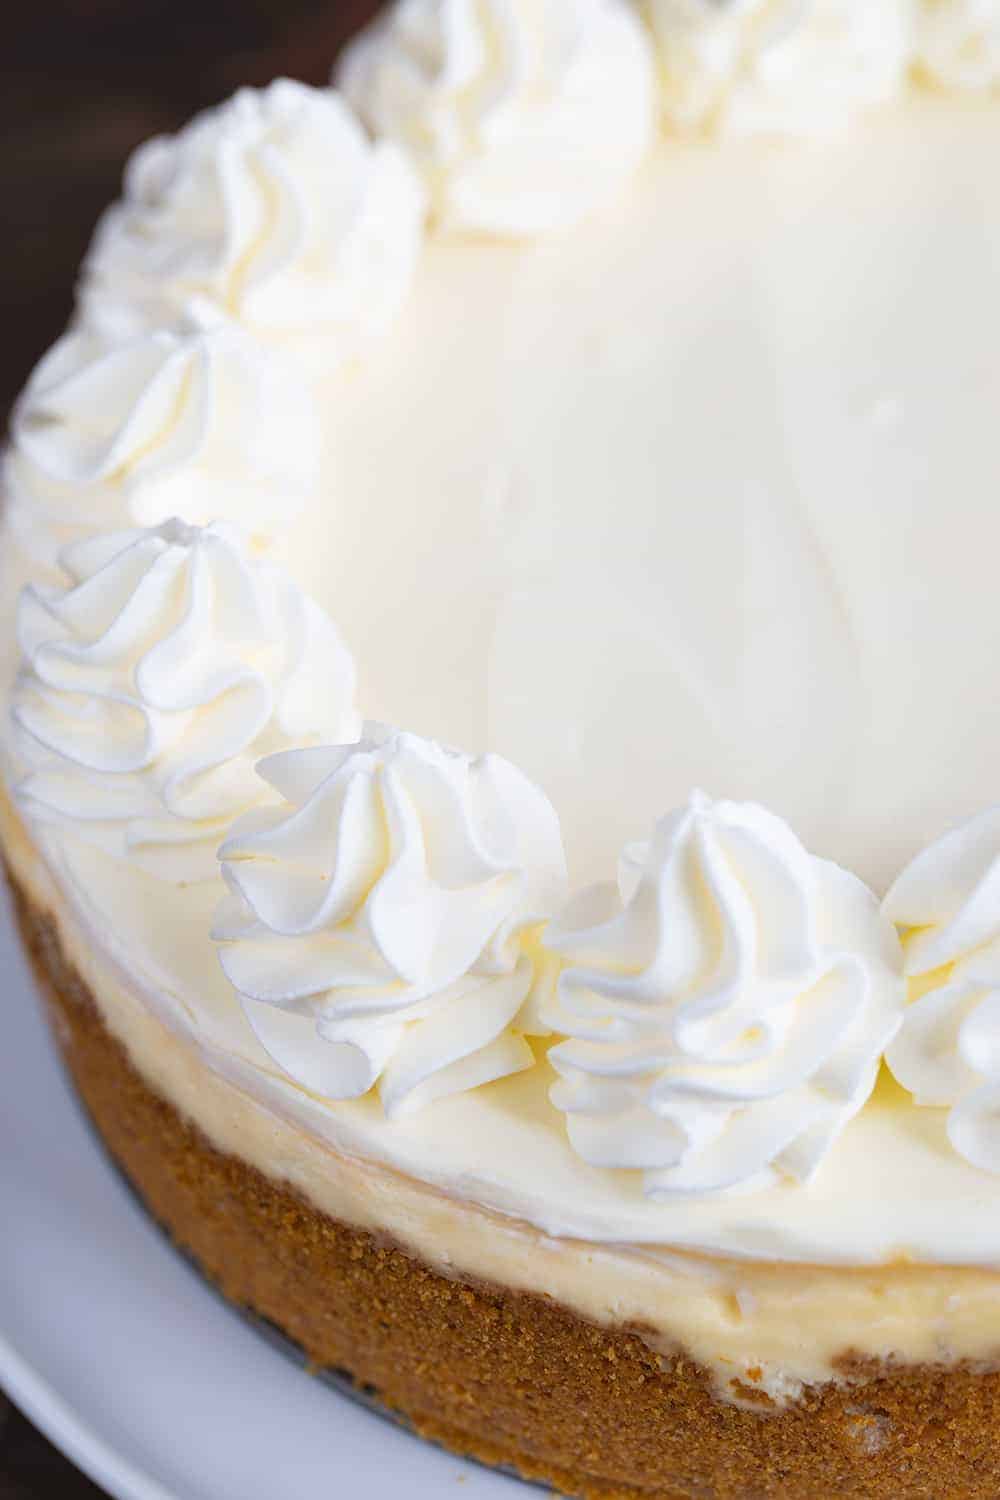
An easy cheesecake crust recipe can be made from graham crackers, any cookies, animal crackers, etc. There are cheesecakes with brownie crusts and cookie crusts too, but we’re going to stick to the basic cheesecake crust recipe to keep with our perfect cheesecake theme.
A cheesecake crust recipe is easy and typically only consists of 2 to 3 ingredients. If you’re using a cookie, you can omit the sugar. For this classic cheesecake crust, graham cracker crumbs, granulated sugar, and melted butter were used.
The butter binds everything together so bits of crust don’t pop up in the cheesecake. The sugar is just to sweeten the deal.
Graham Cracker Crumbs
Pre-Crushed vs Crushing Yourself
The quality of store-bought graham cracker crumbs has changed in the last few years and they seem to be less flavorful and have a different texture. When possible, I recommend the full sheets of honey-flavored graham crackers and crushing them yourself or utilizing a food processor.
PRO TIP: When mixing together the ingredients (with a fork) I like to make sure every single graham cracker crumb is coated in butter. The butter acts as the binding agent, so when you see cheesecake recipes that have piles of graham crackers left on the plate, it is usually because they were not coated with butter.
How to Make Cheesecake Filling with No Lumps
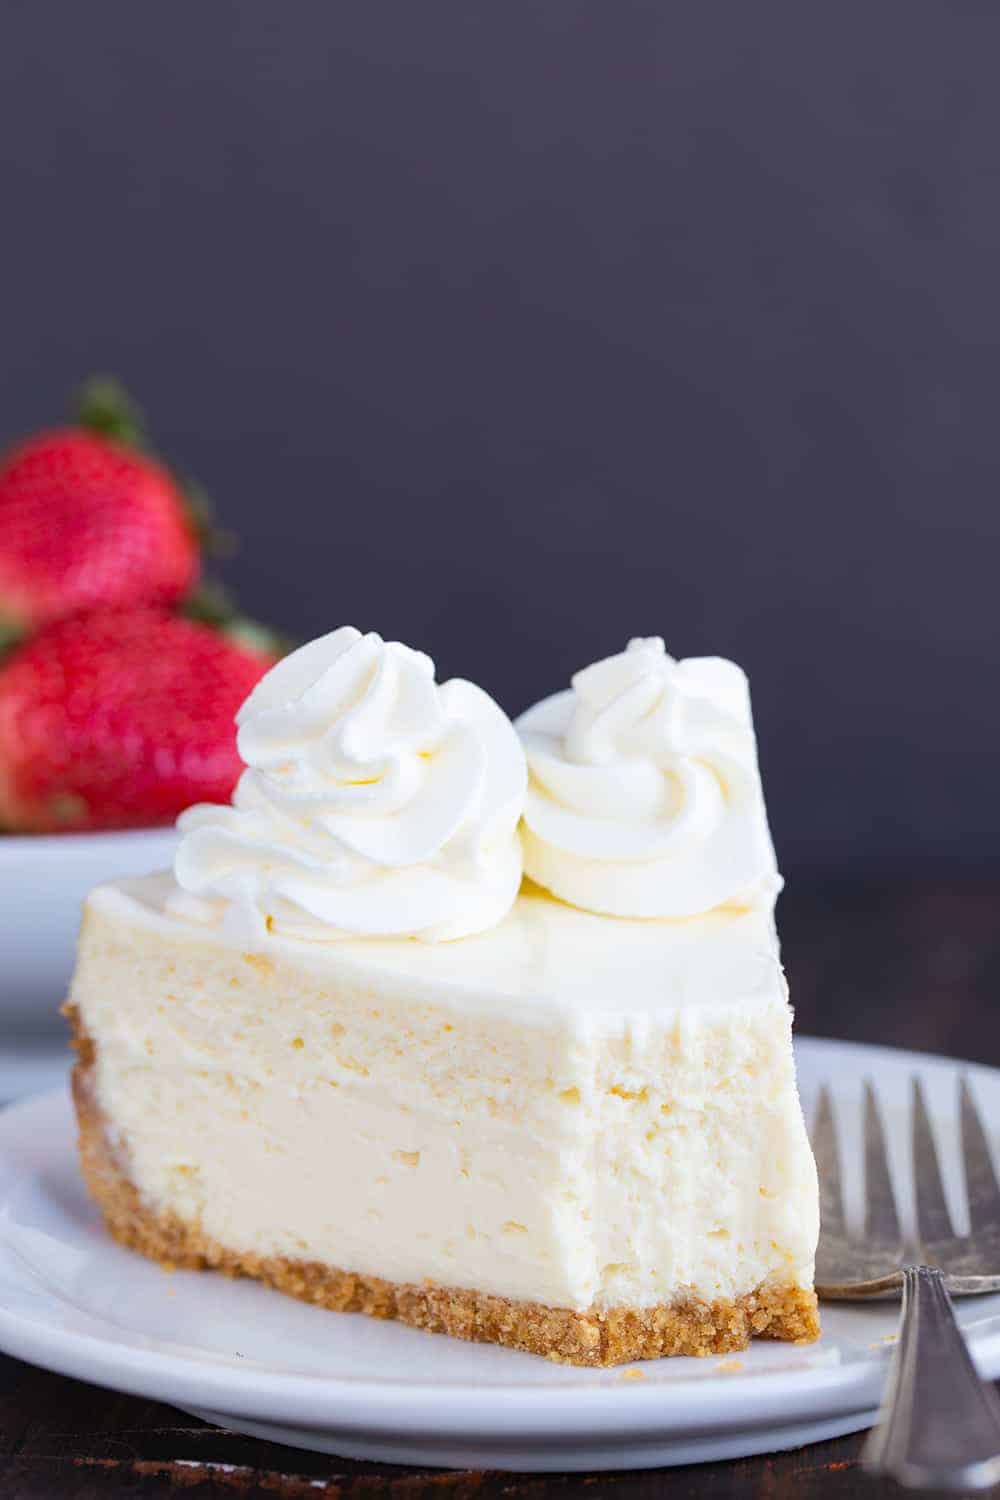
One of the most important steps in making sure you have no lumps in your cheesecake is making sure your cream cheese is at room temperature all the way through. If you have to heat your cream cheese in a microwave be sure to whisk it smooth before using not only to ensure there aren’t lumps but that there are no “hot spots” throughout. I prefer to let my cream cheese come to room temperature for about 4 hours before using it.
To make the cheesecake filling, grab a hand mixer (or stand mixer with paddle attachment) and beat the cream cheese until it’s creamy, and then just the sugar into the cream cheese. Doing this and scraping down the sides of the bowl after every step will ensure there are no lumps left before adding the ingredients with a more loose consistency.
Next, add the vanilla extract and sour cream. Lastly, add the eggs one at a time. Beat just until the egg is mixed and add the next egg. Do not overbeat the cheesecake filling otherwise, it may change the texture of your cheesecake.
Sour Cream Topping for Cheesecake
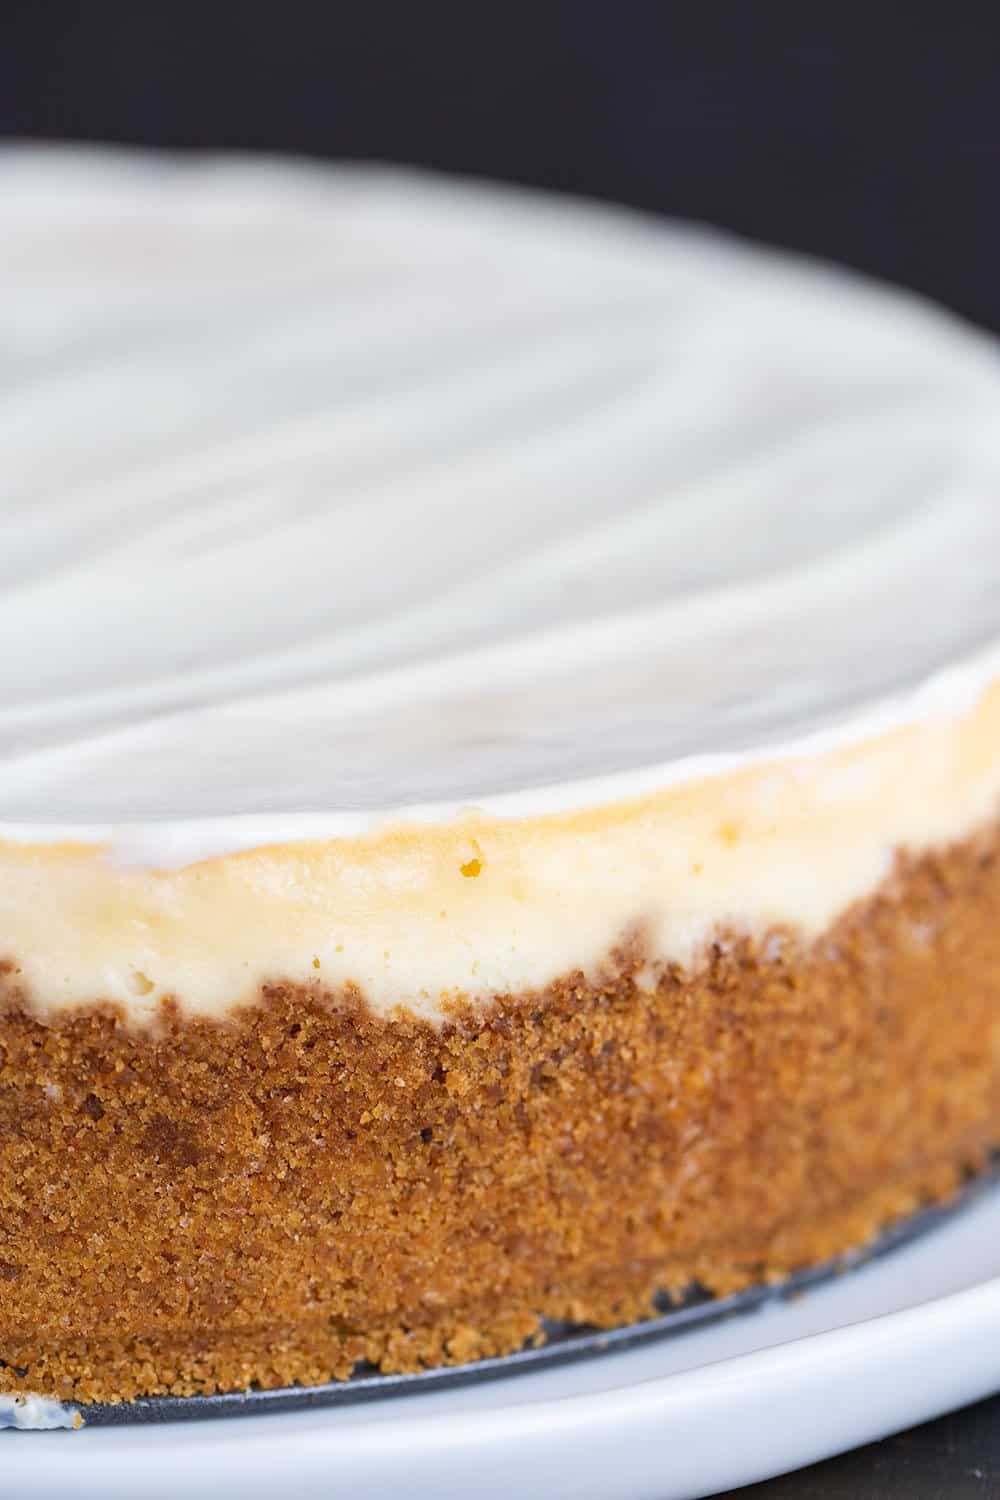
This no-bake sour cream topping for cheesecake adds a sweet and tangy flavor. I bet your favorite high-end restaurant does this too! Not only does this topping add the most WONDERFUL flavor to your cheesecake, but it works great at covering imperfections if you didn’t water bath your cheesecake and have a raised edge on your cheesecake or some cracks.

Tips for a Cheesecake Water Bath
A water bath for cheesecake is the best way to prevent the edges of the cheesecake from browning in the oven and getting cracks in the top of the cheesecake.
- Place your foil-wrapped springform pan with the cheesecake in it into a slightly larger pan and carefully place it into the oven.
- Pour the water into the larger pan, 3-4 inches deep, OR about halfway up the side of the springform pan. Using a teapot with hot water works very well, as it is easy to pour and the water is already hot.
- To keep the water from getting into the cheesecake, wrap the outside of the pan with 2 layers of heavy-duty tin foil.
How to Store and Freeze Cheesecake
Cheesecake absolutely needs to be refrigerated. I prefer to use an airtight container to store cheesecake. (The less air it is exposed to, the longer it may last.) Cheesecake usually lasts about 3 days when stored correctly. If you do not have an airtight container, wrap it tightly in plastic wrap.
Freezing cheesecake is a great option as it holds up well, but not for long. To freeze, either cut into individual pieces or freeze what is leftover. Wrap it tightly in plastic wrap and then place in a freezer-safe plastic bag or wrap in aluminum foil. Be sure to label and date. It should last about 1 month.
More Cheesecake Recipes
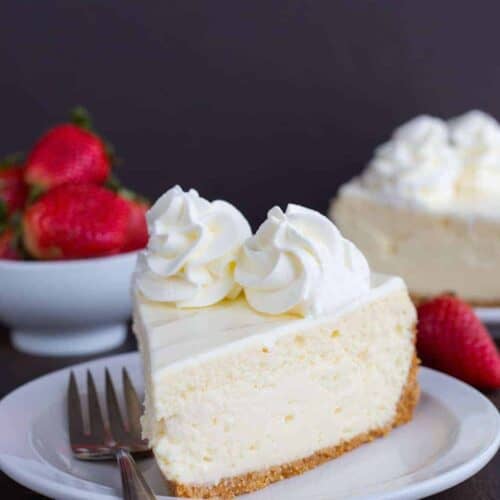
Perfect Cheesecake
Ingredients
CRUST:
- 1½ cups graham cracker crumbs
- 2 tablespoons granulated sugar
- ⅓ cup unsalted butter, melted
FILLING:
- 4 packages (8 oz. each) cream cheese, softened
- 1¼ cups (250g) superfine granulated sugar
- ½ cup sour cream, room temperature
- 2 teaspoons vanilla extract
- 5 large eggs, room temperature
TOPPING:
- ½ cup sour cream, room temperature
- 2 teaspoons confectioners' sugar
Instructions
- Preheat the oven to 350°F.
CRUST:
- Mix graham cracker crumbs, sugar, and butter. Make sure all graham crackers are coated in butter and that it is a coarse sand consistency.
- Press crust onto the bottom and 2/3 of the way up a 9-inch springform pan lined with parchment. Wrap 2 pieces of heavy-duty tin foil around the bottom and sides of the pan. Set aside.
FILLING:
- Use an electric mixer or stand mixer fitted with the whisk attachment to mix cream cheese until creamed.
- Beat in the sugar and scrape down the sides of the bowl.
- Add in the sour cream and vanilla.
- Blend until smooth and creamy. Scrape down sides of the bowl. With the mixer on low, add in eggs one by one until fully incorporated.
- Pour the filling in the crust. Carefully place the cheesecake into the pan and then place both in the oven. Fill with halfway up the side of the springform pan with water. (Pan inside pan water bath, see notes for more information.)
- Bake until the top of the cheesecake turns golden, about 60 – 70 minutes. Remove from oven. Let the cheesecake cool on a wire rack.
TOPPING:
- Combine sour cream and sugar; spread over cheesecake. Cover and refrigerate at least 4 hours. I recommend letting it chill overnight.
Video
Notes
Tips for a Cheesecake Water Bath (Step #5 above)
A water bath for cheesecake is the best way to prevent the edges of the cheesecake from browning in the oven and getting cracks in the top of the cheesecake.- To keep the water from getting into the cheesecake, wrap the outside of the pan with 2 layers of heavy-duty tin foil.
- Place your foil-wrapped springform pan with the cheesecake in it into a slightly larger pan and carefully place it into the oven.
- Pour water into the larger pan, 3-4 inches deep, OR about halfway up the side of the springform pan. Using a teapot with hot water works very well, as it is easy to pour and the water is already hot.
Did you make this recipe?
Thank you for making my recipe! You took pictures, right? Well go ahead and post them on Instagram! Be sure to mention me @iambaker and use the hashtag #YouAreBaker.
I’m Miranda from the blog Cookie Dough and Oven Mitt. Cookie Dough and Oven Mitt is a blog full of more desserts, baked goodies, and loads of tips and tricks.


I put my springform pan into a silicone pan then into a cast iron frying pan filled half way with water. No messing with aluminum foil. Works great.
So smart! The silicone pan trick. I wondered why I never read about it over the years I studied hundreds of cookbooks (mostly baking/desserts and many cheesecake only books!) and realized they weren’t that popular/available back then 80s-90s
Fantastic
I made this recipe it was titled Perfect Cheesecake. It is very good but I feel the recipe should be adjusted. The topping calls for 1/2 cup sour cream plus two teaspoons of confectioner’s sugar. The 1/2 cup does not begin to cover the top of the cheese cake. I had to get another carton of sour cream. 1 cup did the trick and made a nice top layer.
Hi Roberta! It’s a very thin layer and not meant to be thick at all. The sour cream is not overly sweet and meant to compliment the cheesecake, not overpower it. I am so glad you were able to adjust to match your preferences!
Is that whipped Cream piped on top of the cheese cake?
This is always a delicious dessert and everyone loves it.
What would happen if you used mascarpone instead of sour cream with sugar instead of sour cream? Would it work or no? I get the sour cream is to add more tang, but was just wondering? Also does it form a harden layer? The top almost looks like a thin layer of white chocolate, which I suppose you could do too if you wanted it more sweet. I know mascarpone isn’t the same texture as sour cream, that’s why I was wondering if it would work?
Can’t wait to try, making this weekend!
Great question! You can use mascarpone instead of sour cream, but the texture and flavor will shift. Sour cream brings a little tang and softens the texture in a way that’s balanced for this particular cheesecake. Mascarpone will make it richer and less tangy, which could be delicious if that’s what you’re after! If you go that route, I’d recommend adding a little lemon juice or zest to bring back brightness. Also make sure to chill the cheesecake thoroughly so it sets up nicely.
As for the top layer, the cheesecake filling won’t harden like white chocolate on its own, but if you’d like, you could melt some white chocolate and pour a thin layer on top after chilling to get that effect. Let me know how you go, I can’t wait to hear about how it turns out!
Would this work as minis made in muffin tins?
Here is a recipe:
https://iambaker.net/mini-cheesecake-recipe/
Could heavy whipping cream be used in the filling instead of sour cream?