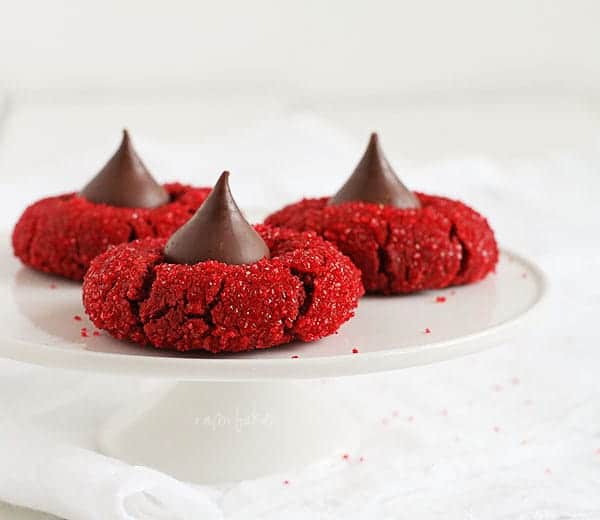
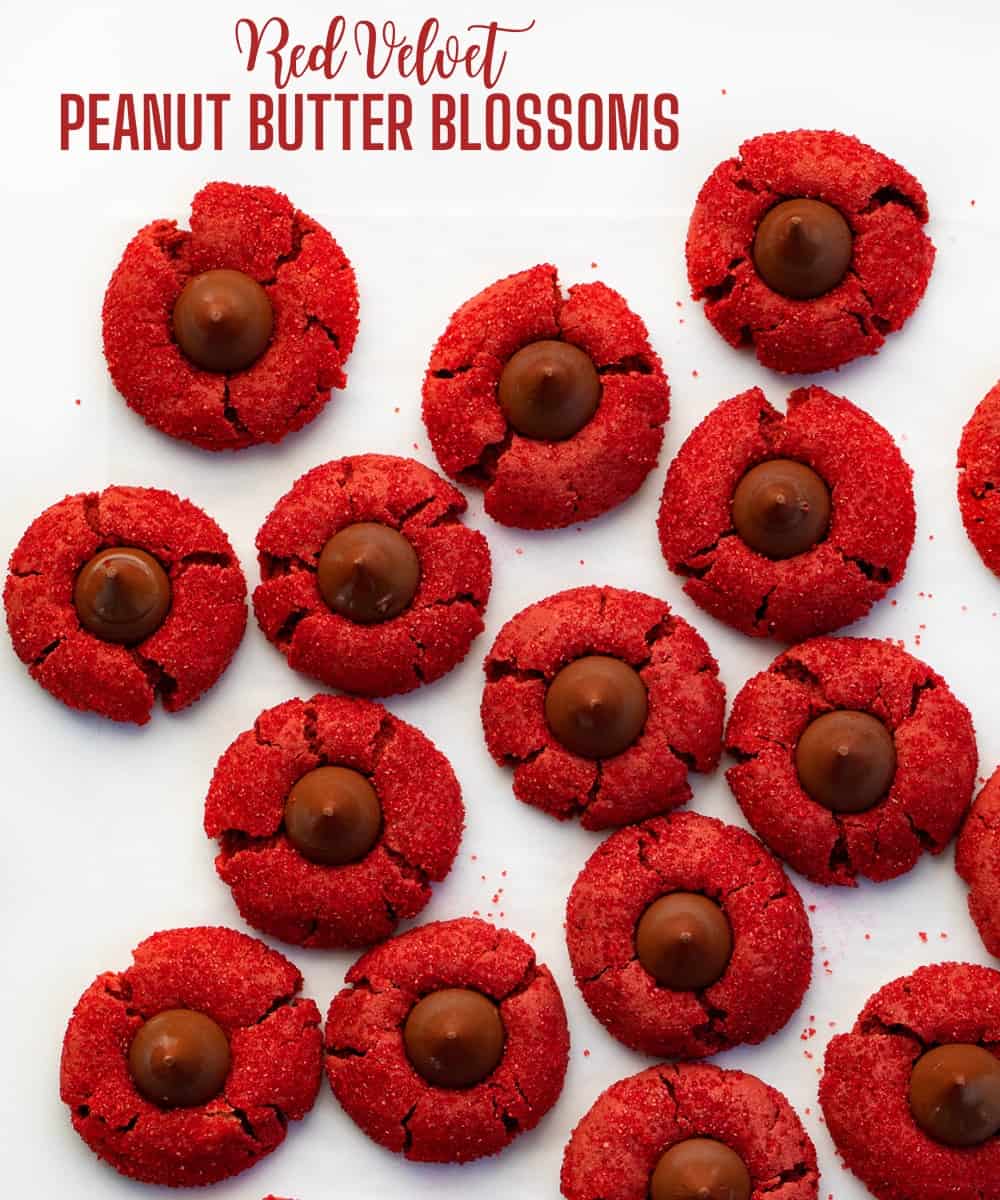
This Red Velvet Peanut Butter Blossoms recipe, a holiday and Valentine’s Day favorite, is soft and chewy peanut butter cookies with a Hershey’s kiss in the center, made with red food coloring for a festive touch. I also have a Classic Peanut Butter Blossom Recipe you will love!
Ingredients & Substitutions
Butter: I prefer unsalted butter in this recipe, as well as in many of my baked goods. It allows you, the baker, to control the amount of salt needed for the recipe. If using salted butter, omit the pinch of kosher salt in the dough.
Peanut Butter: Both creamy and chunky peanut butter would work in this recipe. The chunky peanut butter will add more texture to the cookies.
Food Coloring: Start with one teaspoon of red gel food coloring, which is more vibrant than liquid food color. No matter which variety you use, you can always add more until you get the shade of red you are going for.
Sanding Sugar: Sanding sugar is a type of decorative sugar utilized in baking to add sparkle and texture to desserts. It is coarser and larger than regular granulated sugar, making it a popular ingredient for decorating cakes, cookies, and pastries. If you don’t have sanding sugar, you could use any coarse sugar or colored decorating sugar. Granulated sugar would also work in a pinch.
Hershey’s Kisses: The traditional peanut butter blossoms are topped with Hershey’s chocolate kisses. However, if you don’t have any on hand, add a few chocolate chips to the tops of the cookies or miniature peanut butter cups. Rolos, with their soft, chewy caramel center, is another delicious choice.

Why are my Red Velvet Peanut Butter Blossoms Flat?
A flat cookie could be the result of the butter being too warm. To avoid this you can try adding cold butter to your stand mixer and beating until creamy, about 4-5 minutes. You could chill the dough before rolling in the sanding sugar or you could also chill the cookies for about 10 minutes in the freezer right before baking.
How to Bake a Chewy Cookie
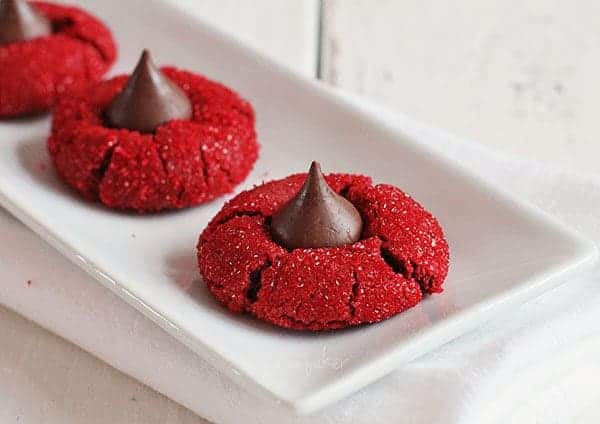
This is a soft cookie that is crispy on the outside and chewy on the inside. To ensure your cookies are chewy you can follow these tips:
- Don’t overmix the cookie batter.
- Avoid over-flouring. Be sure to measure carefully.
- Refrigerate the dough. (It is not necessary, but you certainly could do this.)
- Underbake by a couple of minutes (my favorite option).
- Use a light cookie sheet (dark colors will heat faster).
Can I Make These Cookies Ahead of Time?
Yes! Here are the steps to freezing the dough until ready to bake.
- Prepare the peanut butter blossom cookie dough according to the recipe instructions.
- Scoop the dough into balls and coat with red sanding sugar.
- Place the dough balls on a cookie sheet and place them in the freezer for 30 minutes.
- After 30 minutes, transfer the dough balls to a freezer-safe plastic bag, label it, and store it in the freezer for up to 3 months.
- When ready to bake, place the frozen dough balls on a cookie sheet in a single layer and let thaw for about an hour.
- After the dough balls have thawed, bake as instructed.
Storing Red Velvet Peanut Butter Blossoms
Baked peanut butter blossom cookies can be stored at room temperature in an airtight container for up to 5 days. To keep them soft and chewy, place a sheet of parchment or wax paper between the layers of cookies. For longer storage, freeze in an airtight container or freezer-safe plastic bag for up to 3 months.

Red Velvet Peanut Butter Blossoms
Ingredients
- ½ cup (1 stick / 113 g) unsalted butter, room temperature
- ¾ cup (193.5 g) creamy peanut butter
- 1 ⅓ cups (267 g) granulated sugar
- 1 large egg, room temperature
- 2 tablespoons milk
- 2 teaspoons vanilla
- 1 teaspoon red gel food coloring
- 3 tablespoons unsweetened cocoa
- 1 ½ cups (187.5 g) all-purpose flour
- 1 teaspoon baking soda
- 1 pinch kosher salt
- ⅓ cup (67 g) red sanding sugar
- 1 bag Hershey's Kisses, unwrapped
Instructions
- Preheat oven to 375°F. LIne a baking sheet with parchment paper.
- In the bowl of a stand mixer with a paddle attachment, add butter, peanut butter, and sugar. Mix for 2 minutes on medium speed. Reduce to low speed and add in egg, milk, vanilla, and red food coloring. Mix for about 30 seconds to incorporate. Then, increase the mixer speed to medium-high and blend until light and fluffy.
- In a separate bowl sift cocoa, flour, baking soda, and salt. With the stand mixer on slow speed, add the flour mixture to the butter mixture and beat until just combined.
- Remove the mixer bowl from the stand. Using a 1-tablespoon scoop, drop dough onto the lined baking sheet. Roll each scoop of dough into a ball.
- Pour red sanding sugar onto small plate or bowl.
- Roll each dough ball in red sanding sugar and place it back onto the prepared cookie sheet, leaving about 2 inches between each ball of dough. (If you prefer the cookies extra chewy, chill for 10 minutes in the freezer before baking.)
- Bake for 7-8 minutes.
- When the cookies are done baking, remove them from the oven and immediately press a chocolate Kiss into the center of each cookie. The cookie should crack around the edges.
- Allow cookies to cool to room temperature before serving.
Video
Did you make this recipe?
Thank you for making my recipe! You took pictures, right? Well go ahead and post them on Instagram! Be sure to mention me @iambaker and use the hashtag #YouAreBaker.
If you are looking for more Christmas Cookies I’ve got you covered! Be sure to try my BEST Apple Crisp Recipe as well as my Snickerdoodles and Sugar Cookie Recipe.
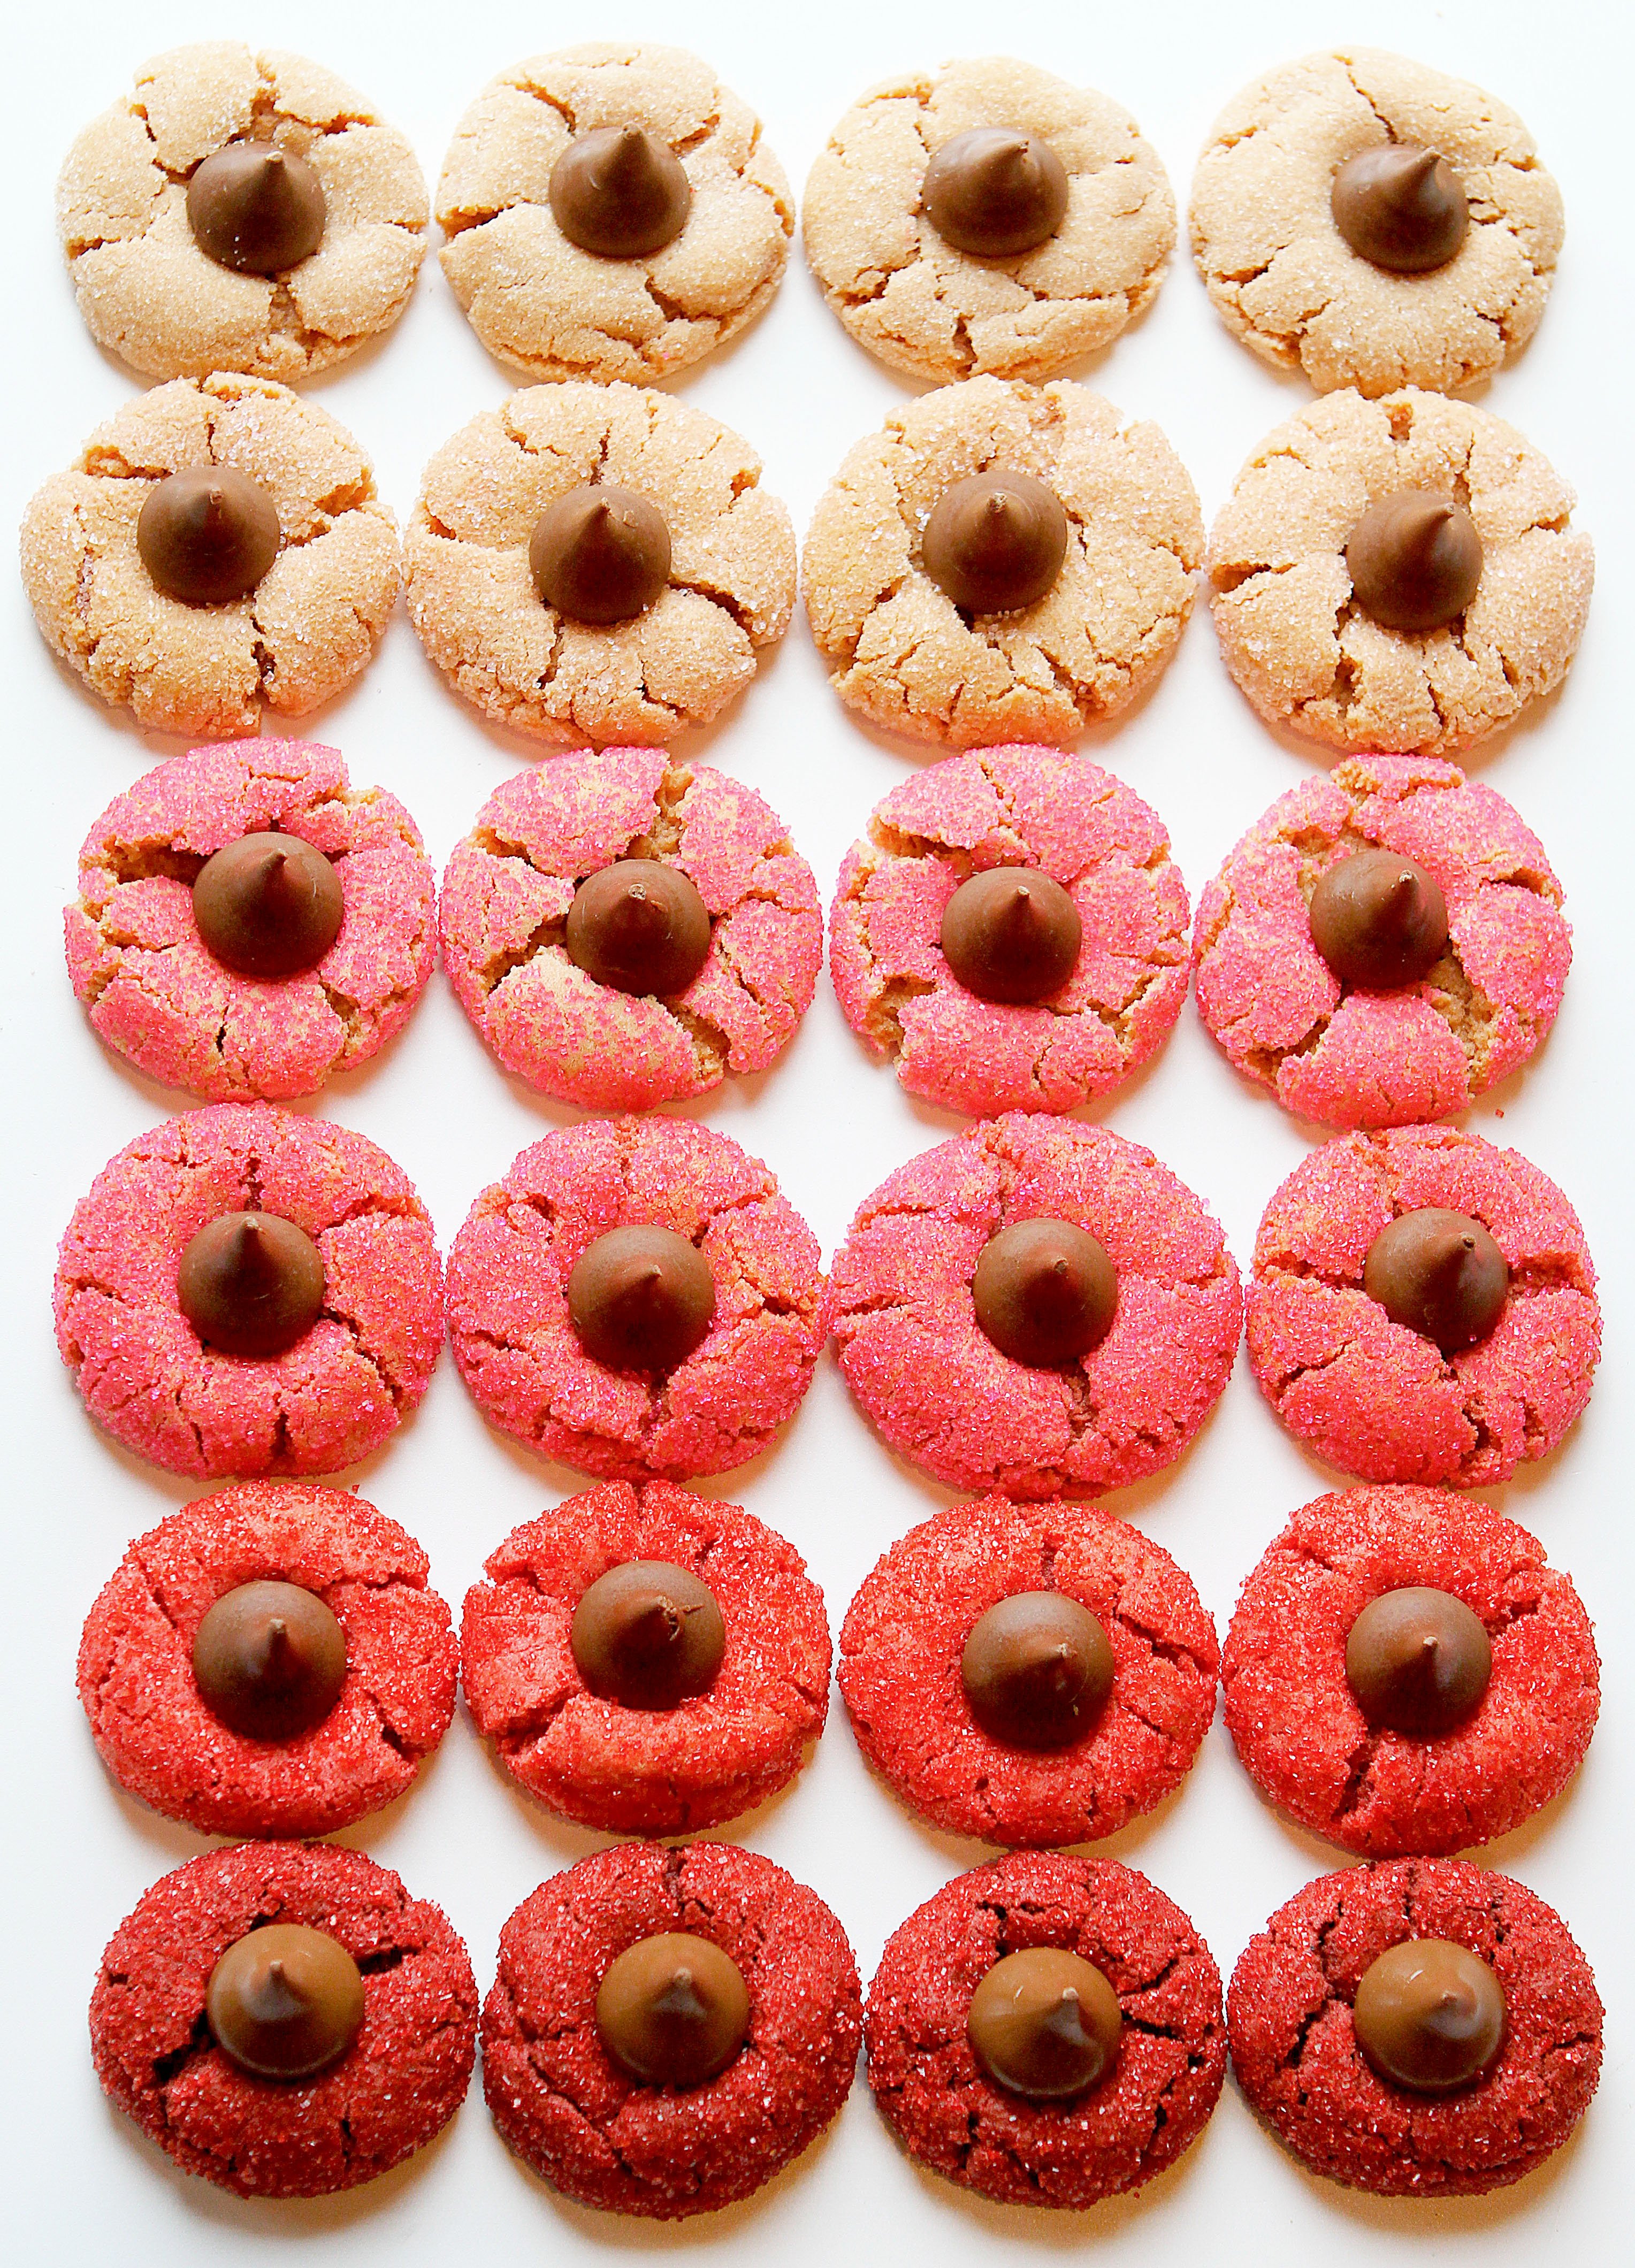
Pink Peanut Butter Blossoms
To make different shades of these blossoms, there are a couple of different things you can do!
- Add less food coloring to your batter. This will result in lighter shades of red, turning into pink.
- Do not add food coloring to the batter and simply add the pink sanding sugar to the outside of the cookie.
Both options are quite beautiful, as you can see above! <3






They look amazing but I cant imagine immediately pressing a chocolate Kiss into the center of each cookie as the chocolate will just melt and the kiss wont stand and look as hard as the kisses in your picture. I would cool the cookies a couple minutes before adding the chocolate. Especially in the middle.
Thanks for your input Ann! I can assure you, I made four dozen of these and I IMMEDIATELY pressed the kiss into the cookie for every single one. 🙂
These cookies are stunning! Pinned!
These look amazing!!! Thank you so much for the recipe! Red Velvet Cake is my all time favorite, so I know these would be right up my alley!!
What a great memory! I feel that baked goods are always a great way to show kindness.
Hell yeah!
My husband is a diabetic so no sweet stuff 🙁 Looks great. Thanks for sharing. I may keep anyway so if I get the hankering to do it anyway 🙂
I also have a daughter with peanut and tree nut allergies. Could the peanut butter simply be omitted? Or would that change the composition of the dough altogether? They look so yummy and beautiful
that I really would like to find a way to make them safely for her!
I would actually just make an entirely different recipe for the red velvet cookie. Removing the peanut butter from this recipe would, as you mentioned, just alter it too much. Happy Baking!
Use a Red Velvet Cake Mix (just the dry mix) with just 1/2 c. veg. oil and 2 eggs. Mix with a mixer until the dry cake mix has absorbed the eggs and oil. Dough will be malleable like playdough. Shape into balls (anywhere from 24-36 balls per cake mix depending on how cake like you want them to be). Roll each ball in red sparkle sugar and put on lightly greased cookie sheet. Bake at 350 for 8-10 minutes. Sprinkle the hot cookies with chocolate shot sprinkles or, I like to frost the cookies when they cool. This cookie recipe makes a more cake like cookie. I make my own buttercream frosting, or cream cheese icing works, or even icing from a can.
My son is peanut allergic also. Do you know of the product: Sunbutter? It is made from sunflower seed and is a great alternative. Could it be used in this (or other) recipes as a substitute for the peanut butter?
These are so perfect for Christmas! I have got to try making something red velvet, I’m seeing recipes everywhere!
What a great idea – these are beautiful!
My daughter and I just finished making these and I can’t stop “taste testing” them! They are so good, if my husband doesn’t get home soon he may be out of luck! Thanks for sharing!
YAY!!! SO glad you like them!!