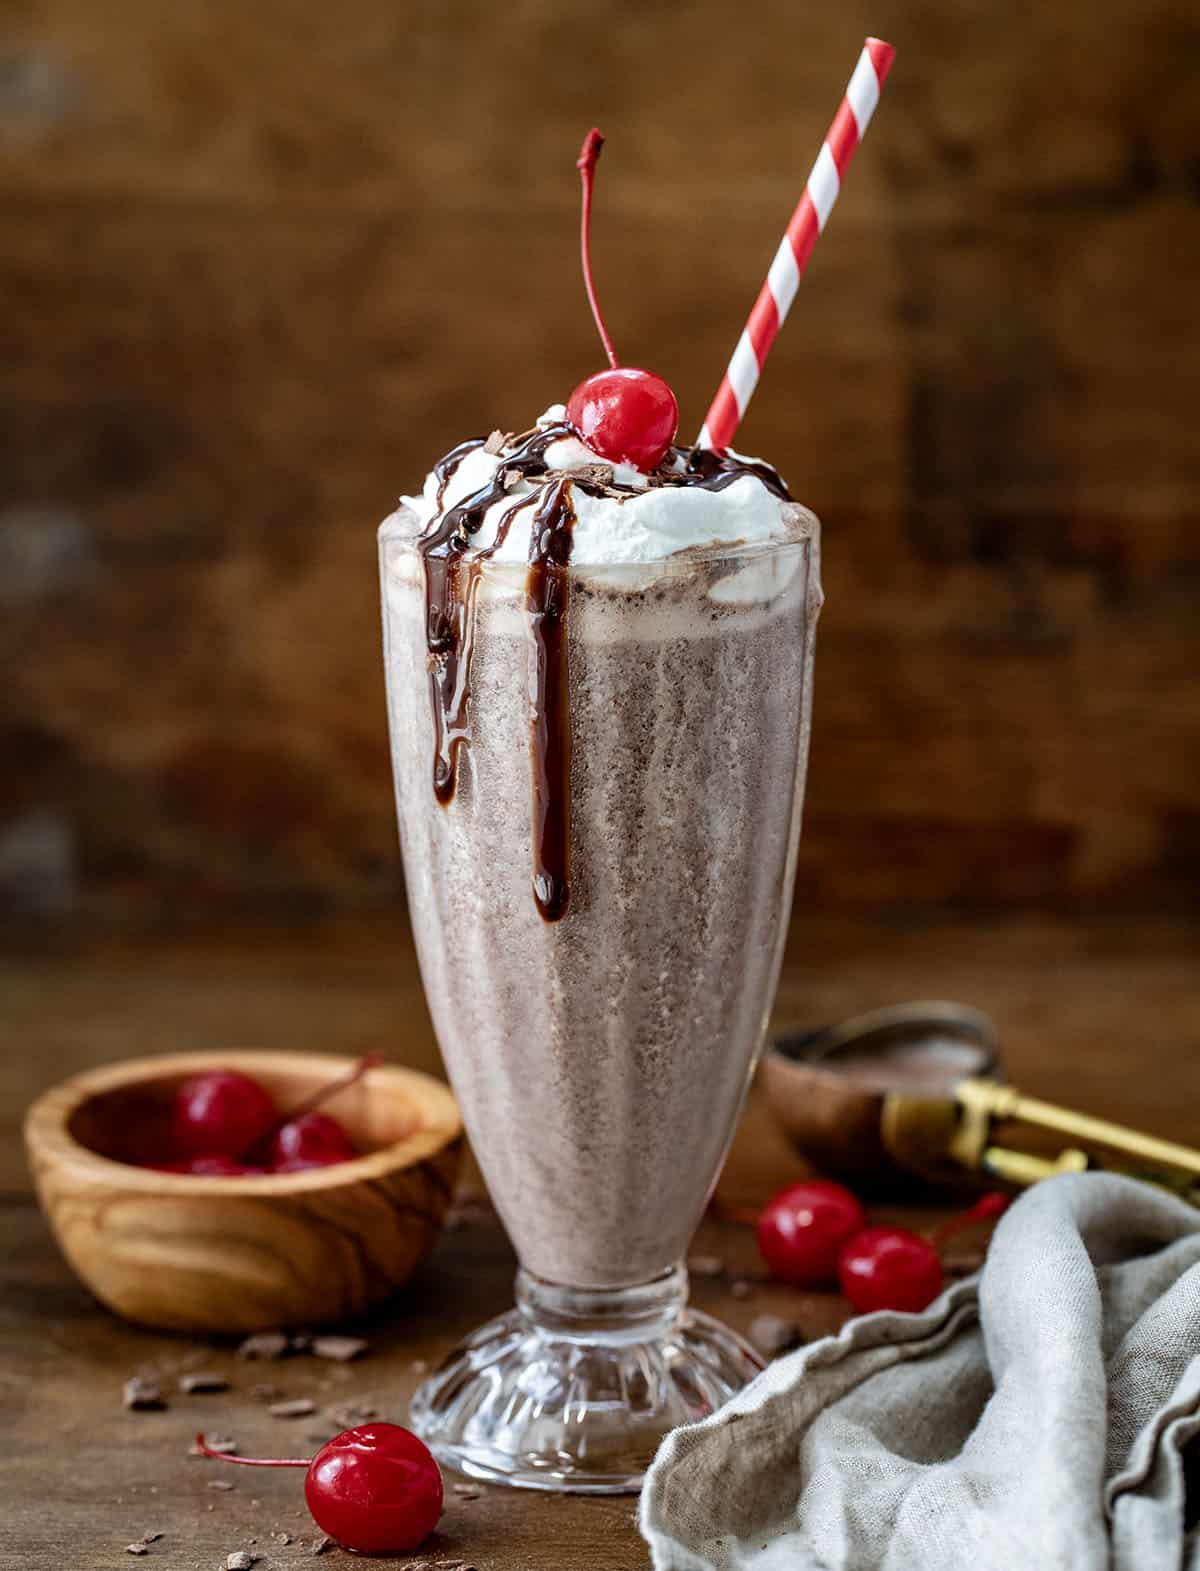
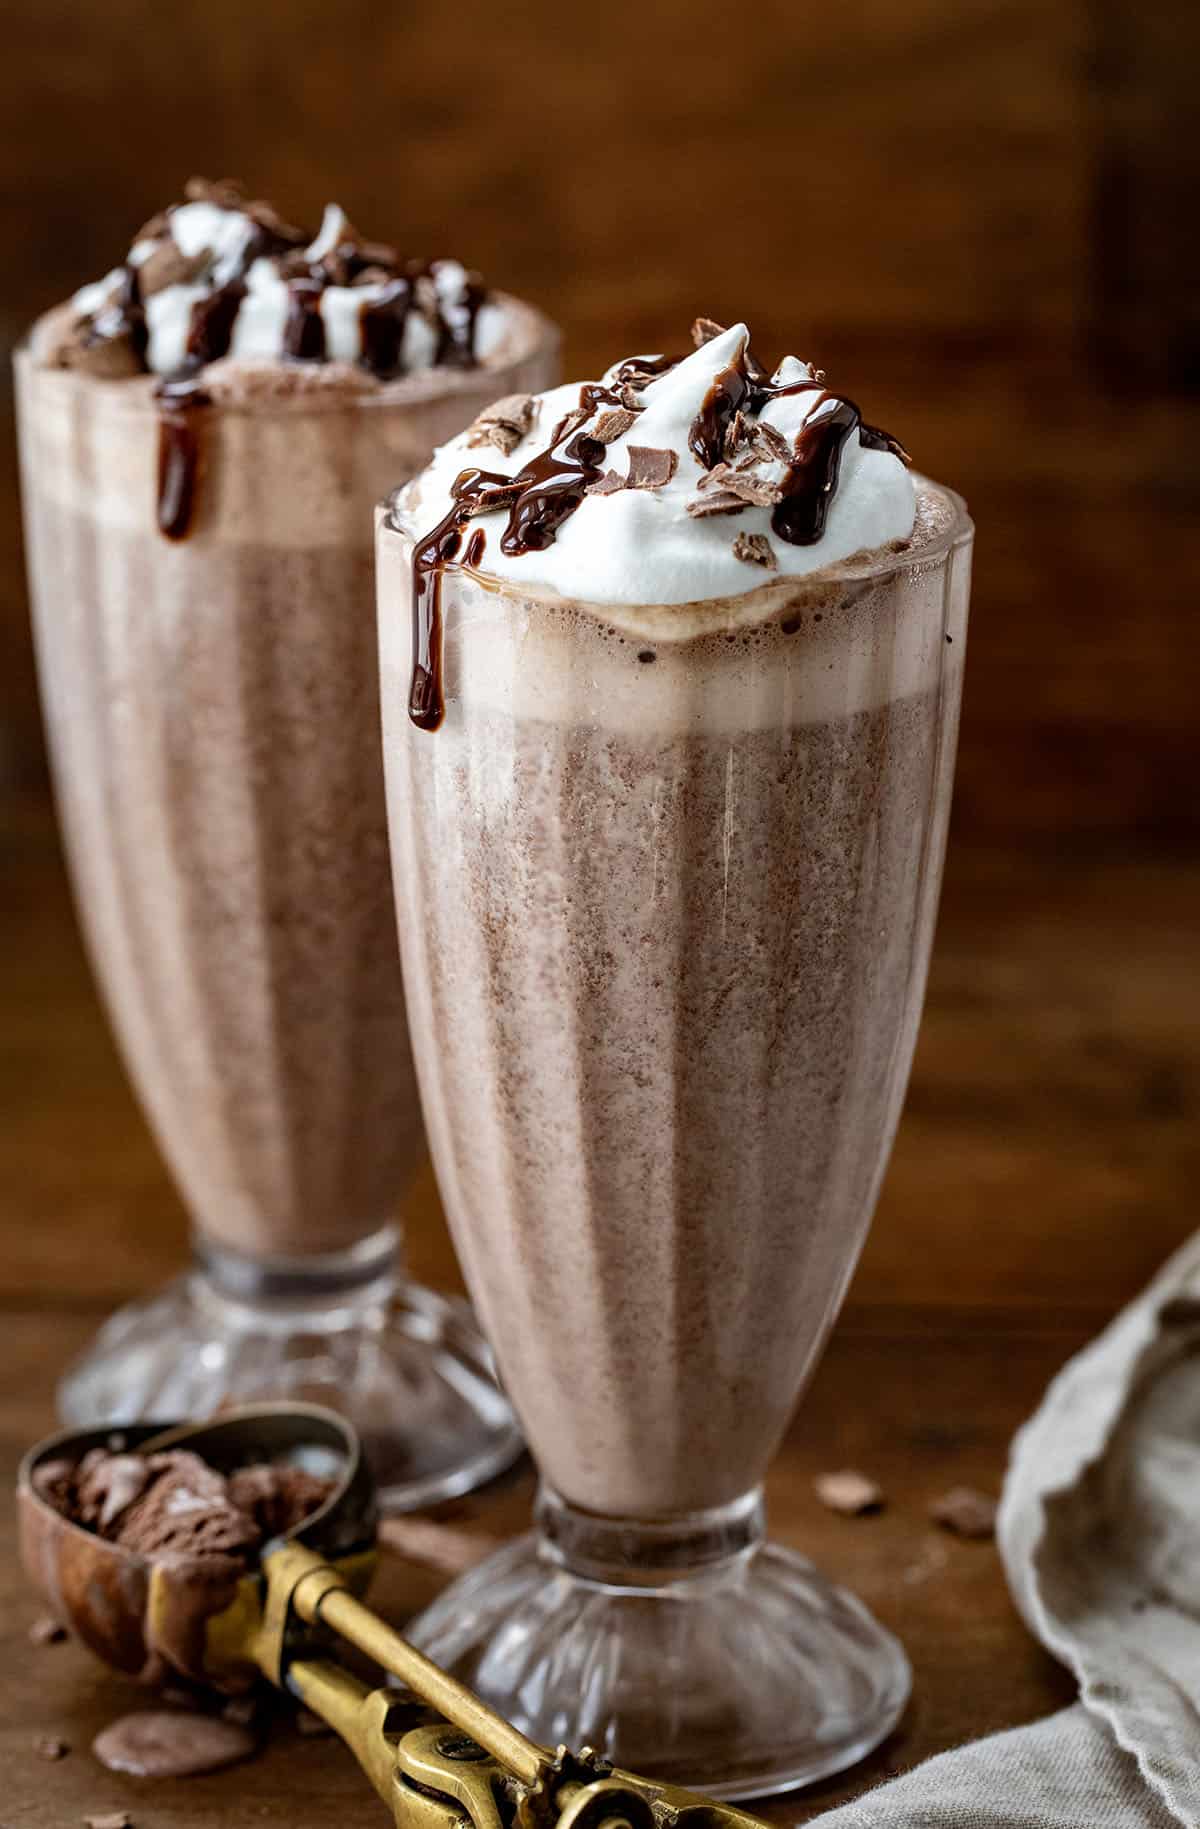
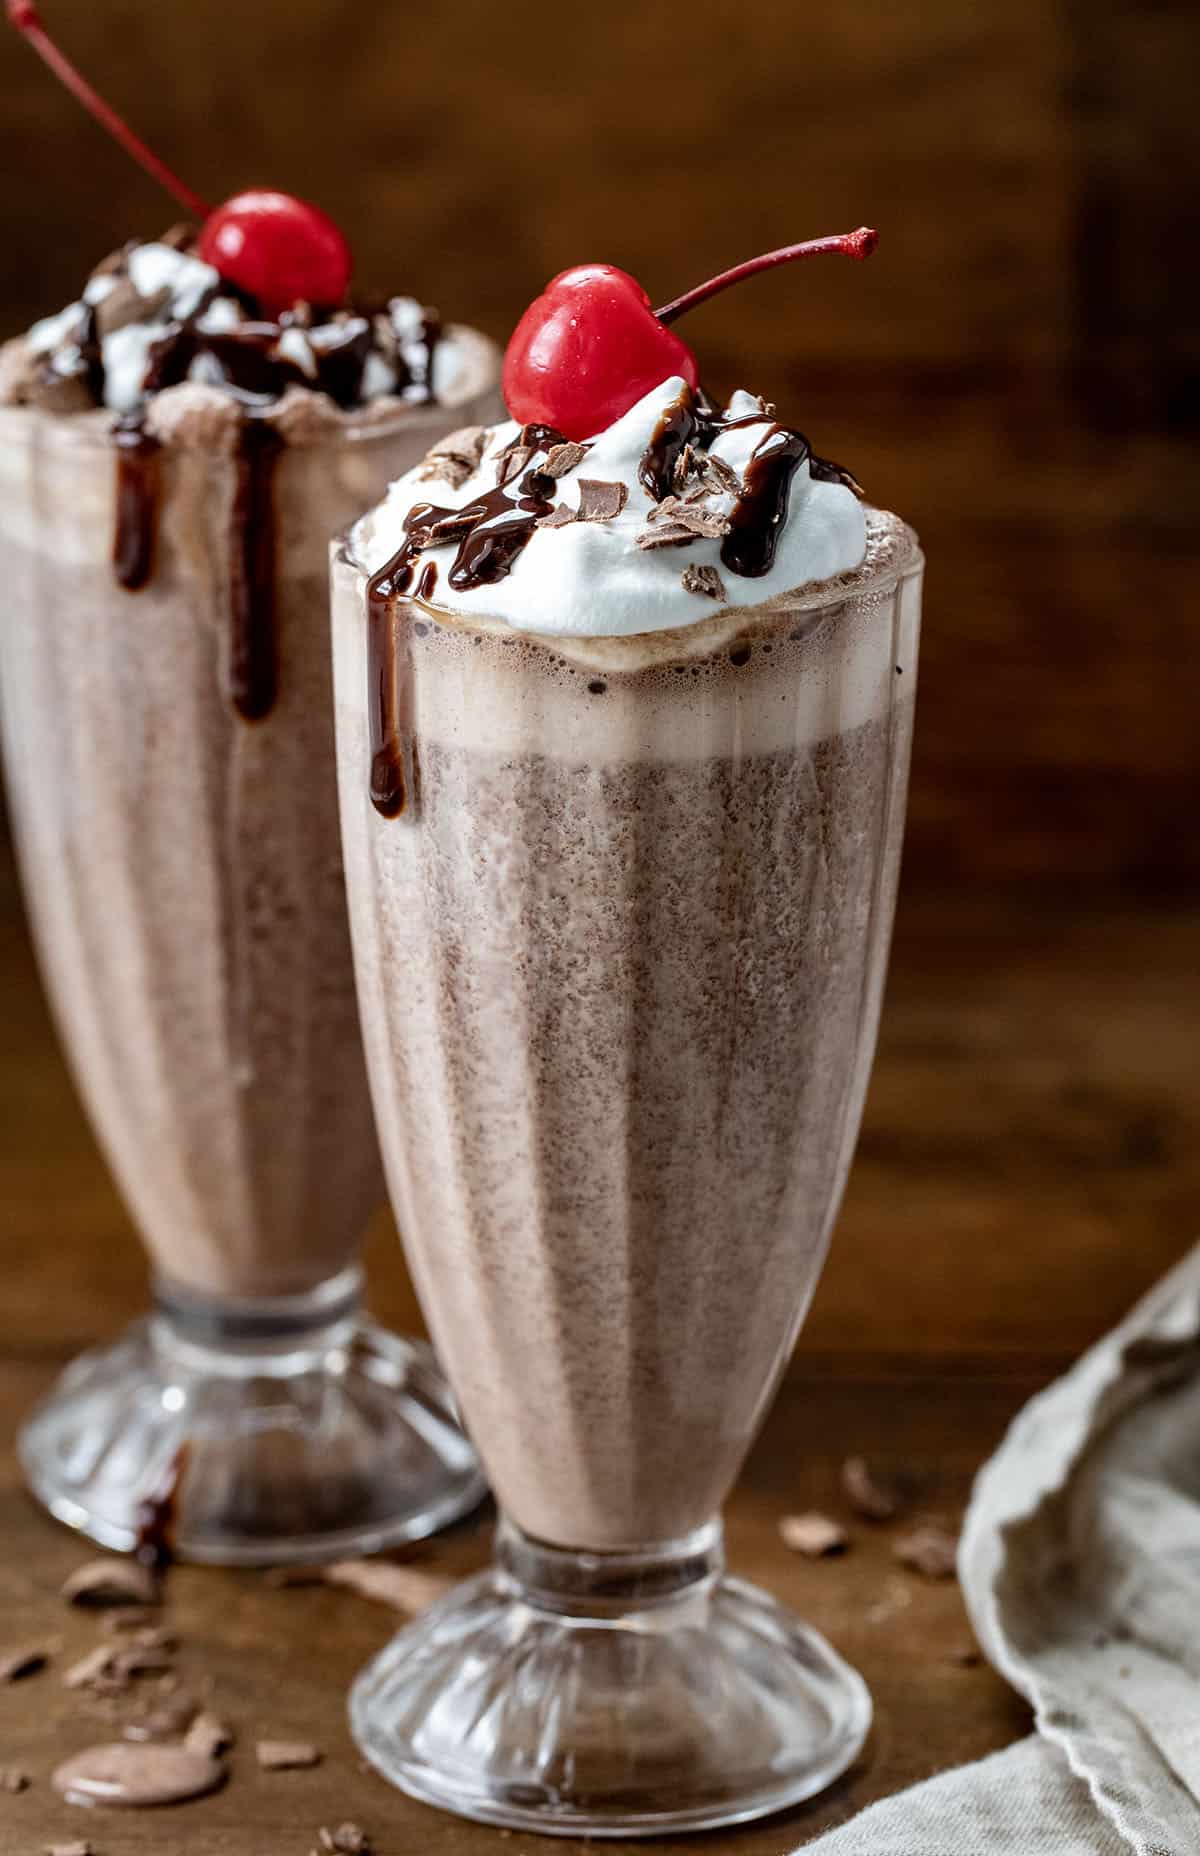
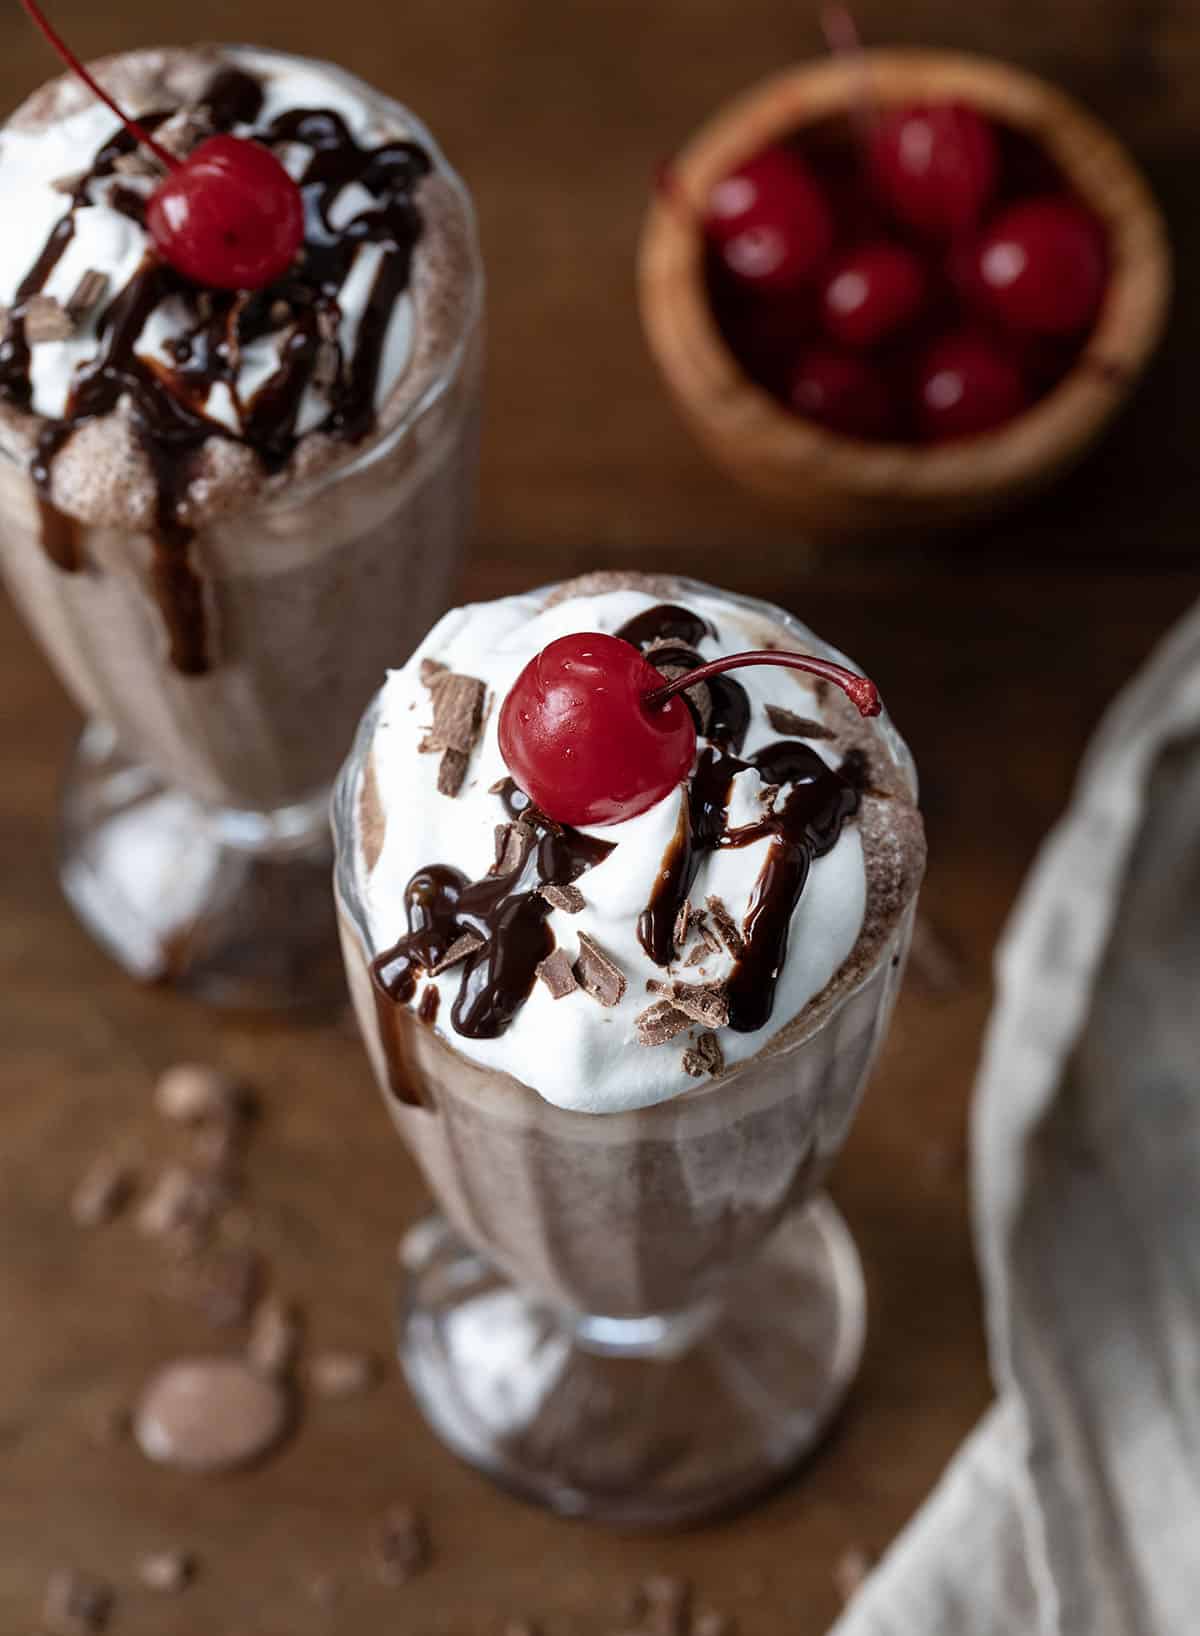
This Chocolate Milkshake is made with my no-churn chocolate ice cream and has a creamy, rich texture that will surely satisfy all you chocolate lovers out there and your sweet tooth! Add more indulgence by topping your shake with homemade whipped cream, chocolate syrup, and chocolate shavings. And, while you’re at it, add a cherry on top! In addition to this chocolate milkshake, I also have a classic Vanilla Milkshake you will love. Why not try them both?!?
Ingredients & Substitutions
- Chocolate Ice Cream: I wanted the most chocolate flavor I could get in this milkshake, so I used chocolate ice cream as the base. Homemade (you really need to check out all of my no-churn ice cream flavors, they are so good) or store-bought ice cream would work. If looking for a lighter version, try it with chocolate frozen yogurt.
- Milk: I opted for whole milk in milkshakes. The higher fat content helps the shake be nice and creamy. You could use milk that is lower in fat (2%, 1%, or skim), but that could affect the texture. You could also try using soy, almond, or oat milk.
- Chocolate Syrup: Chocolate syrup adds extra flavor and sweetness to the milkshake. The more chocolate, the better! Have some to drizzle over the top of the shake, too!
- Toppings: Although not absolutely necessary, I never skip the toppings on my milkshake! Top yours with homemade whipped cream, chocolate syrup, and chocolate shavings (it’s easy to make chocolate curls)! It looks as good as it tastes!
Can I Make A Milkshake Without A Blender?
No blender? No problem! Start by letting your ice cream sit out for a bit until it’s soft. Then, mash softened ice cream in a large bowl until it’s nice and smooth. Pour in some milk and chocolate syrup, and stir like crazy until everything’s mixed well. (It’s a good arm workout!) If it’s too thick, add a splash more milk. Finally, pour it into a glass, add your favorite toppings, and enjoy your homemade shake! A hand mixer or food processor could also work to blend all of the deliciousness together.
Chocolate Milkshake Variations To Satisfy Every Craving!
It’s easy to customize this milkshake to satisfy your cravings! Here are a few delicious options you could try:
- Mint Chocolate: Add a few drops of peppermint extract or blend in fresh mint leaves for a refreshing twist.
- Peanut Butter Chocolate: Incorporate a spoonful of creamy peanut butter for a rich and indulgent flavor (my favorite).
- Mocha: Mix in a shot of espresso or instant coffee powder for a coffee-chocolate combination. Now that would be a delicious pick-me-up!
- Chocolate Banana: Blend in ripe bananas for added creaminess and a hint of natural sweetness.
- Chocolate Raspberry: Add fresh or frozen raspberries for a tart contrast to the rich chocolate flavor.
- Nutella: Include a dollop of Nutella for a hazelnut-chocolate taste.
- Salted Caramel: Swirl in some homemade or store-bought caramel sauce and a sprinkle of sea salt for a sweet and salty treat.
- Coconut Chocolate: Mix in coconut milk or shredded coconut for a tropical twist.
- Oreo or Cookie Dough: Crushed Oreo cookies or chunks of edible cookie dough can add texture and flavor to your milkshake.
How Long Can You Store A Chocolate Milkshake?
A milkshake is best enjoyed freshly made, but you could store it in the refrigerator for 1-2 days. If refrigerating the milkshake, make sure it is in an airtight container, sealed tightly. Before serving, give the milkshake a good shake or stir to recombine any separated ingredients. You could also freeze the shakes for up to a week. Let them thaw in the refrigerator or at room temperature before blending or stirring.
Chocolate Milkshake
Ingredients
- 2 cups chocolate ice cream, softened slightly
- ½ cup (122 g) whole milk
- 2 tablespoons chocolate syrup
- whipped cream, optional, for topping
- chocolate syrup, optional, for topping
- chocolate shavings, optional, for topping
Instructions
- Place the softened chocolate ice cream, whole milk, and chocolate syrup into a blender. Blend on high speed until the mixture is smooth and creamy (about 30-60 seconds). Scrape down the sides of the blender if necessary to ensure everything is well-mixed.
- If the milkshake is too thick, add a little more milk (a tablespoon at a time) and blend again until you reach your desired consistency. If it's too thin, add a little more ice cream and blend again.
- Pour the milkshake into a tall glass. Top with whipped cream, a drizzle of chocolate syrup, and chocolate shavings. Serve immediately.
Did you make this recipe?
Thank you for making my recipe! You took pictures, right? Well go ahead and post them on Instagram! Be sure to mention me @iambaker and use the hashtag #YouAreBaker.
What the Test Kitchen had to say about this recipe:

Autumn
This chocolate homemade milkshake is pure indulgence! Creamy, rich, and decadent, it's a chocolate lover's dream come true. Plus, you can never go wrong with extra chocolate syrup on top!

Elizabeth
This is going to be my new go-to to satisfy my chocolate cravings! It's so rich and creamy, and next time, I am going to mix in a little peanut butter in mine.

Bella
This shake is so creamy and delicious, with just the right amount of chocolate flavor. Topped with whipped cream and chocolate shavings, it's an absolute delight!

Annabelle
Creamy chocolate ice cream blended with milk and chocolate syrup creates a smooth and indulgent treat. Topped with whipped cream and chocolate shavings, it's pure perfection

