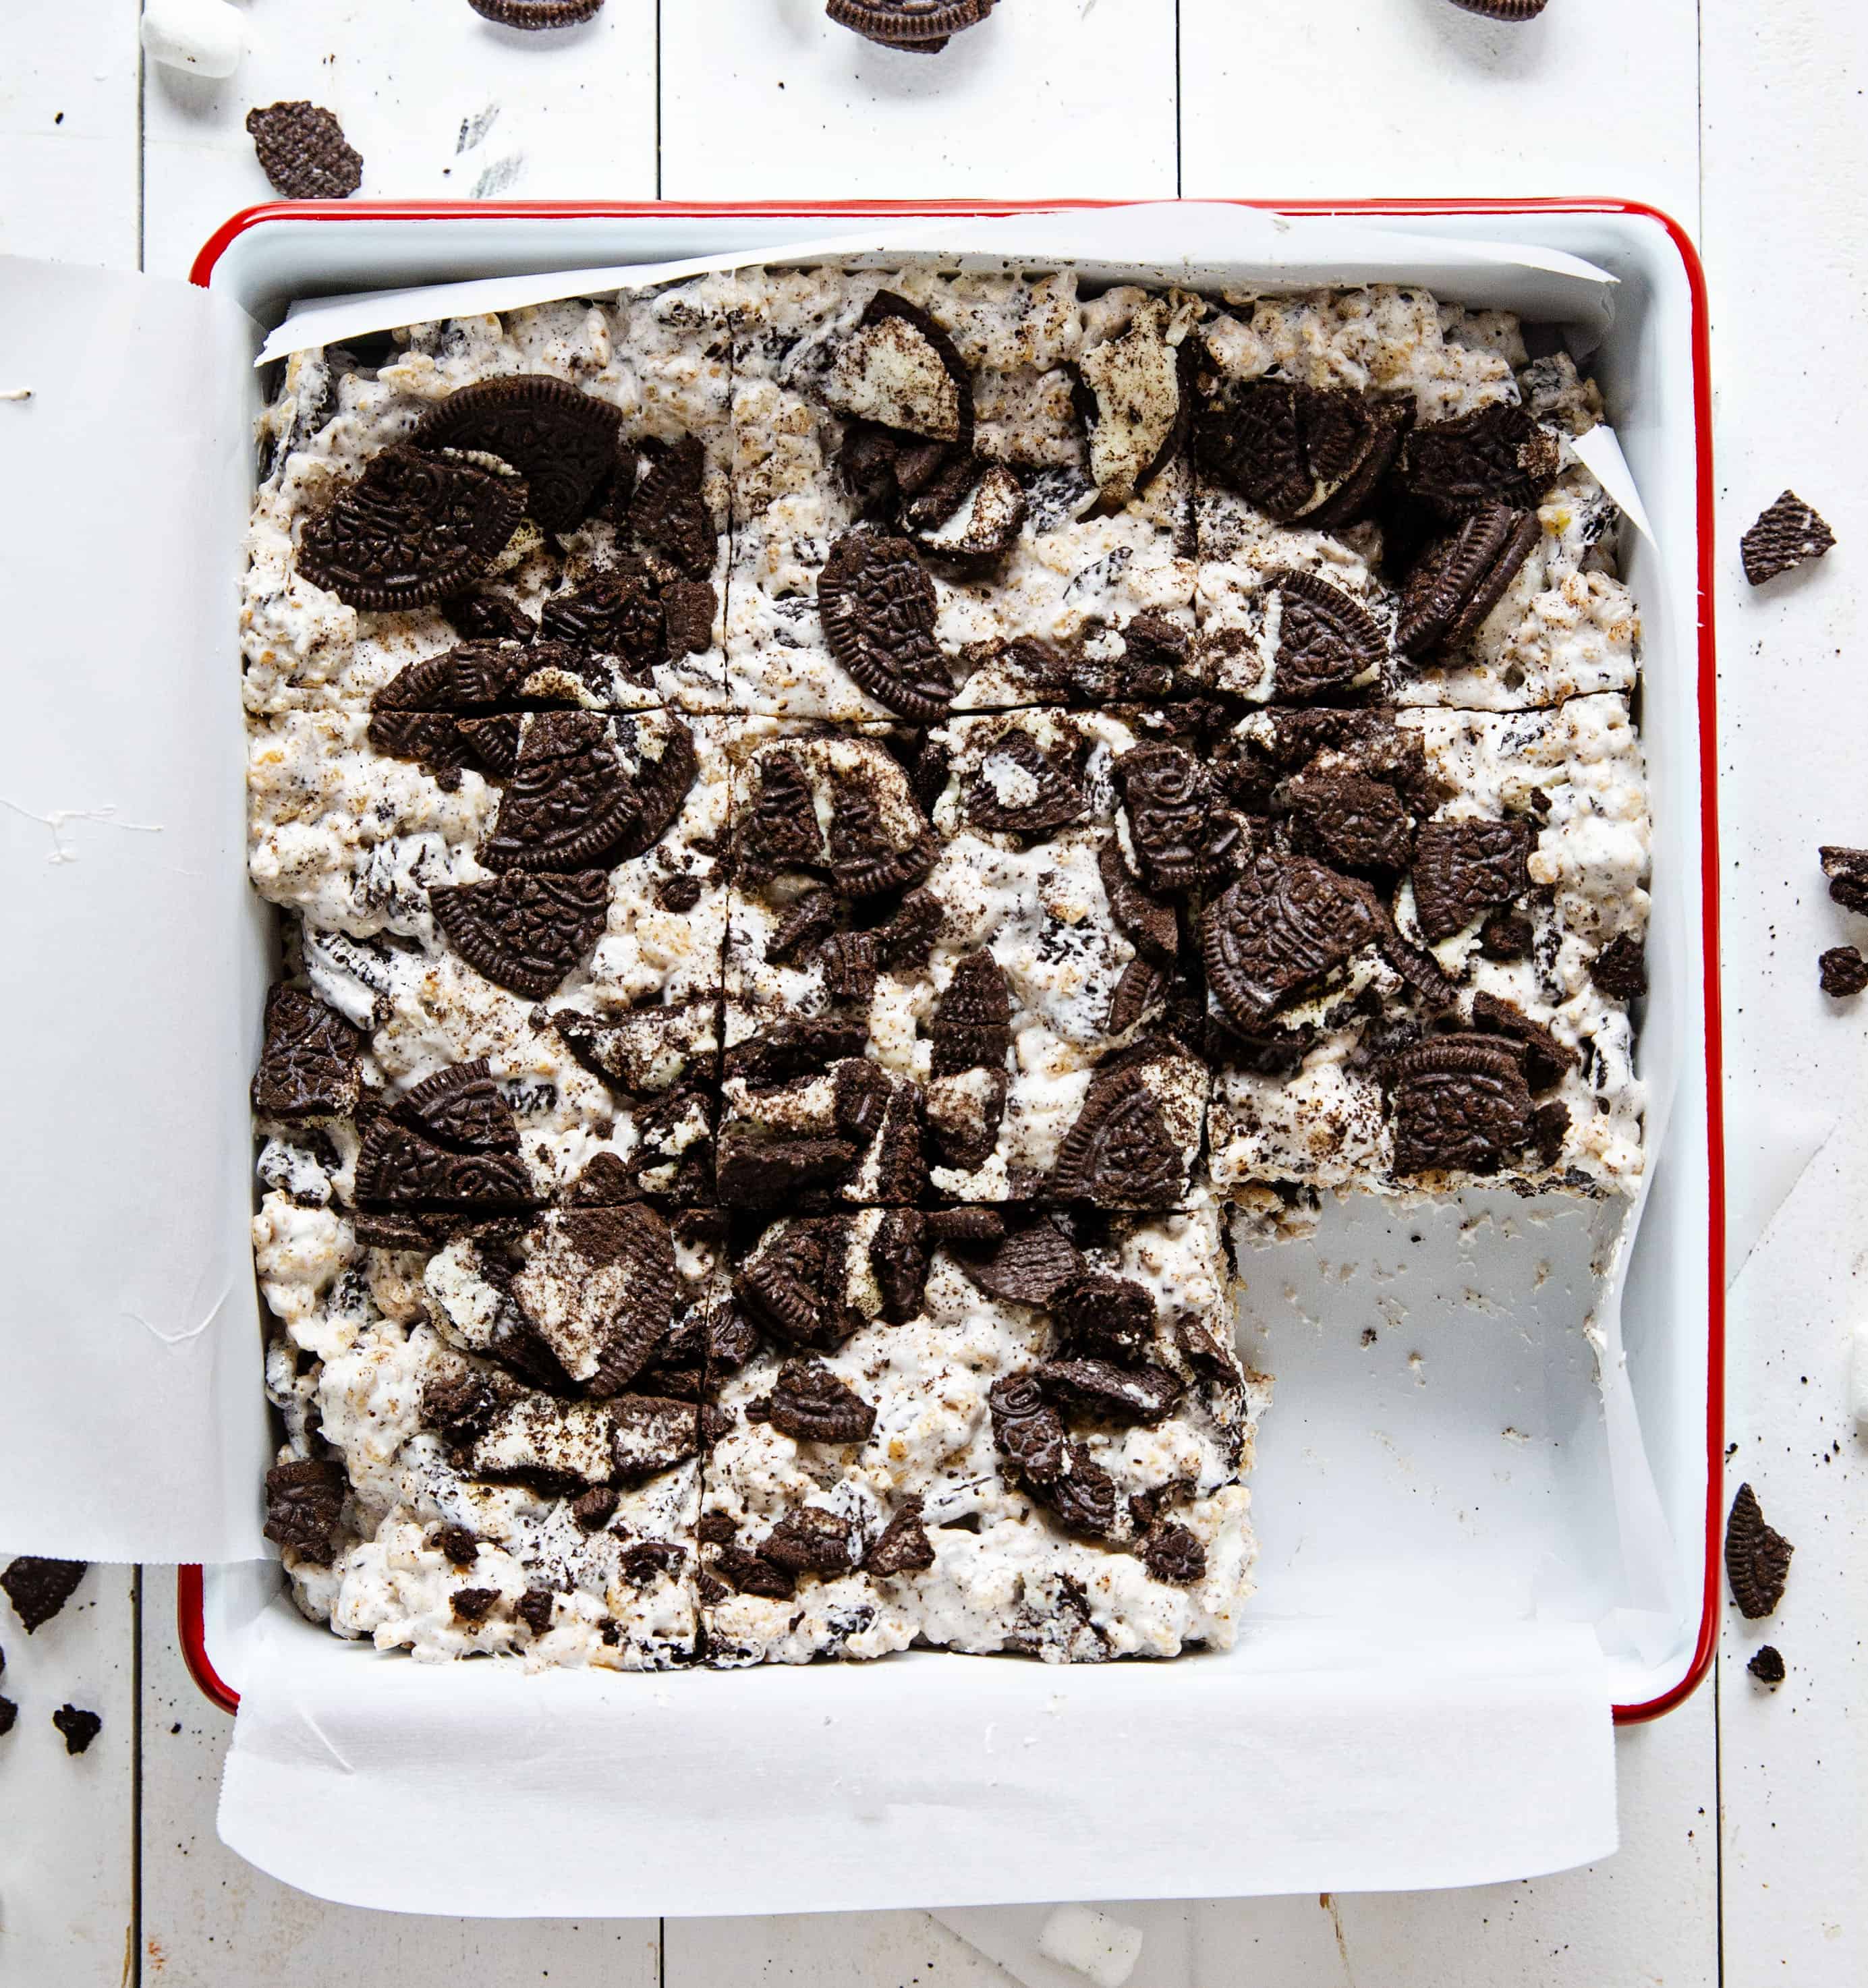
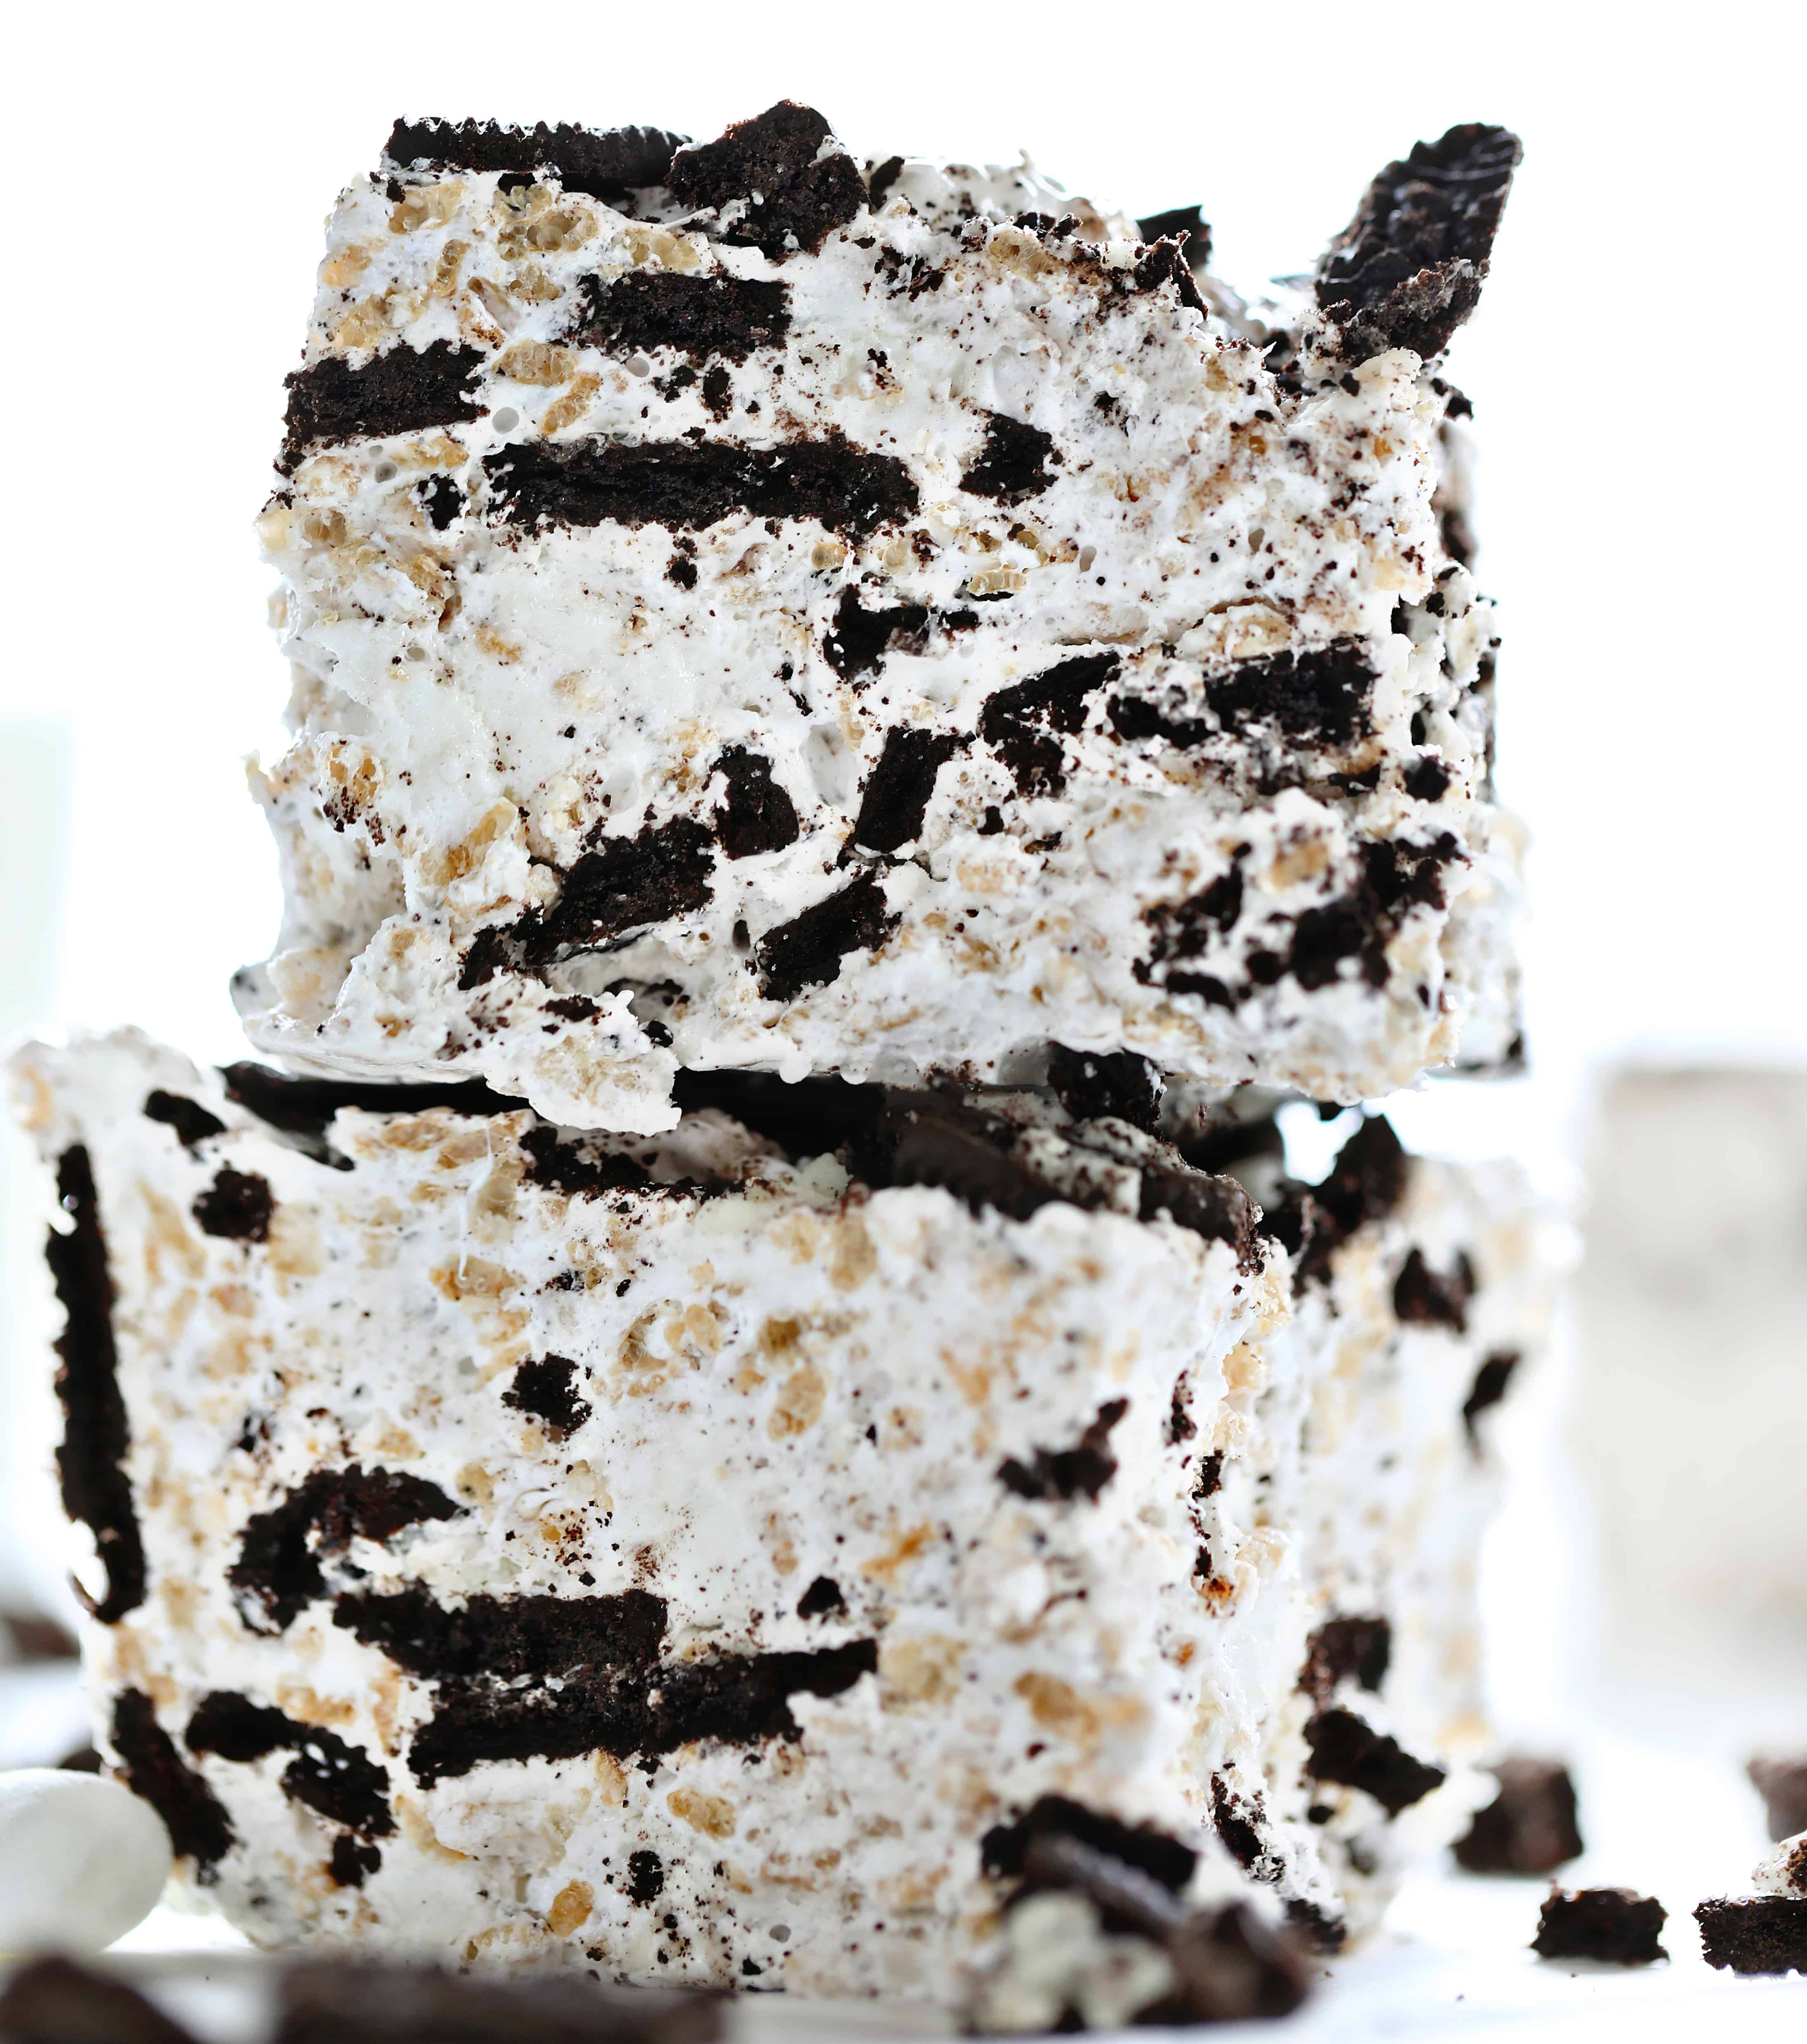
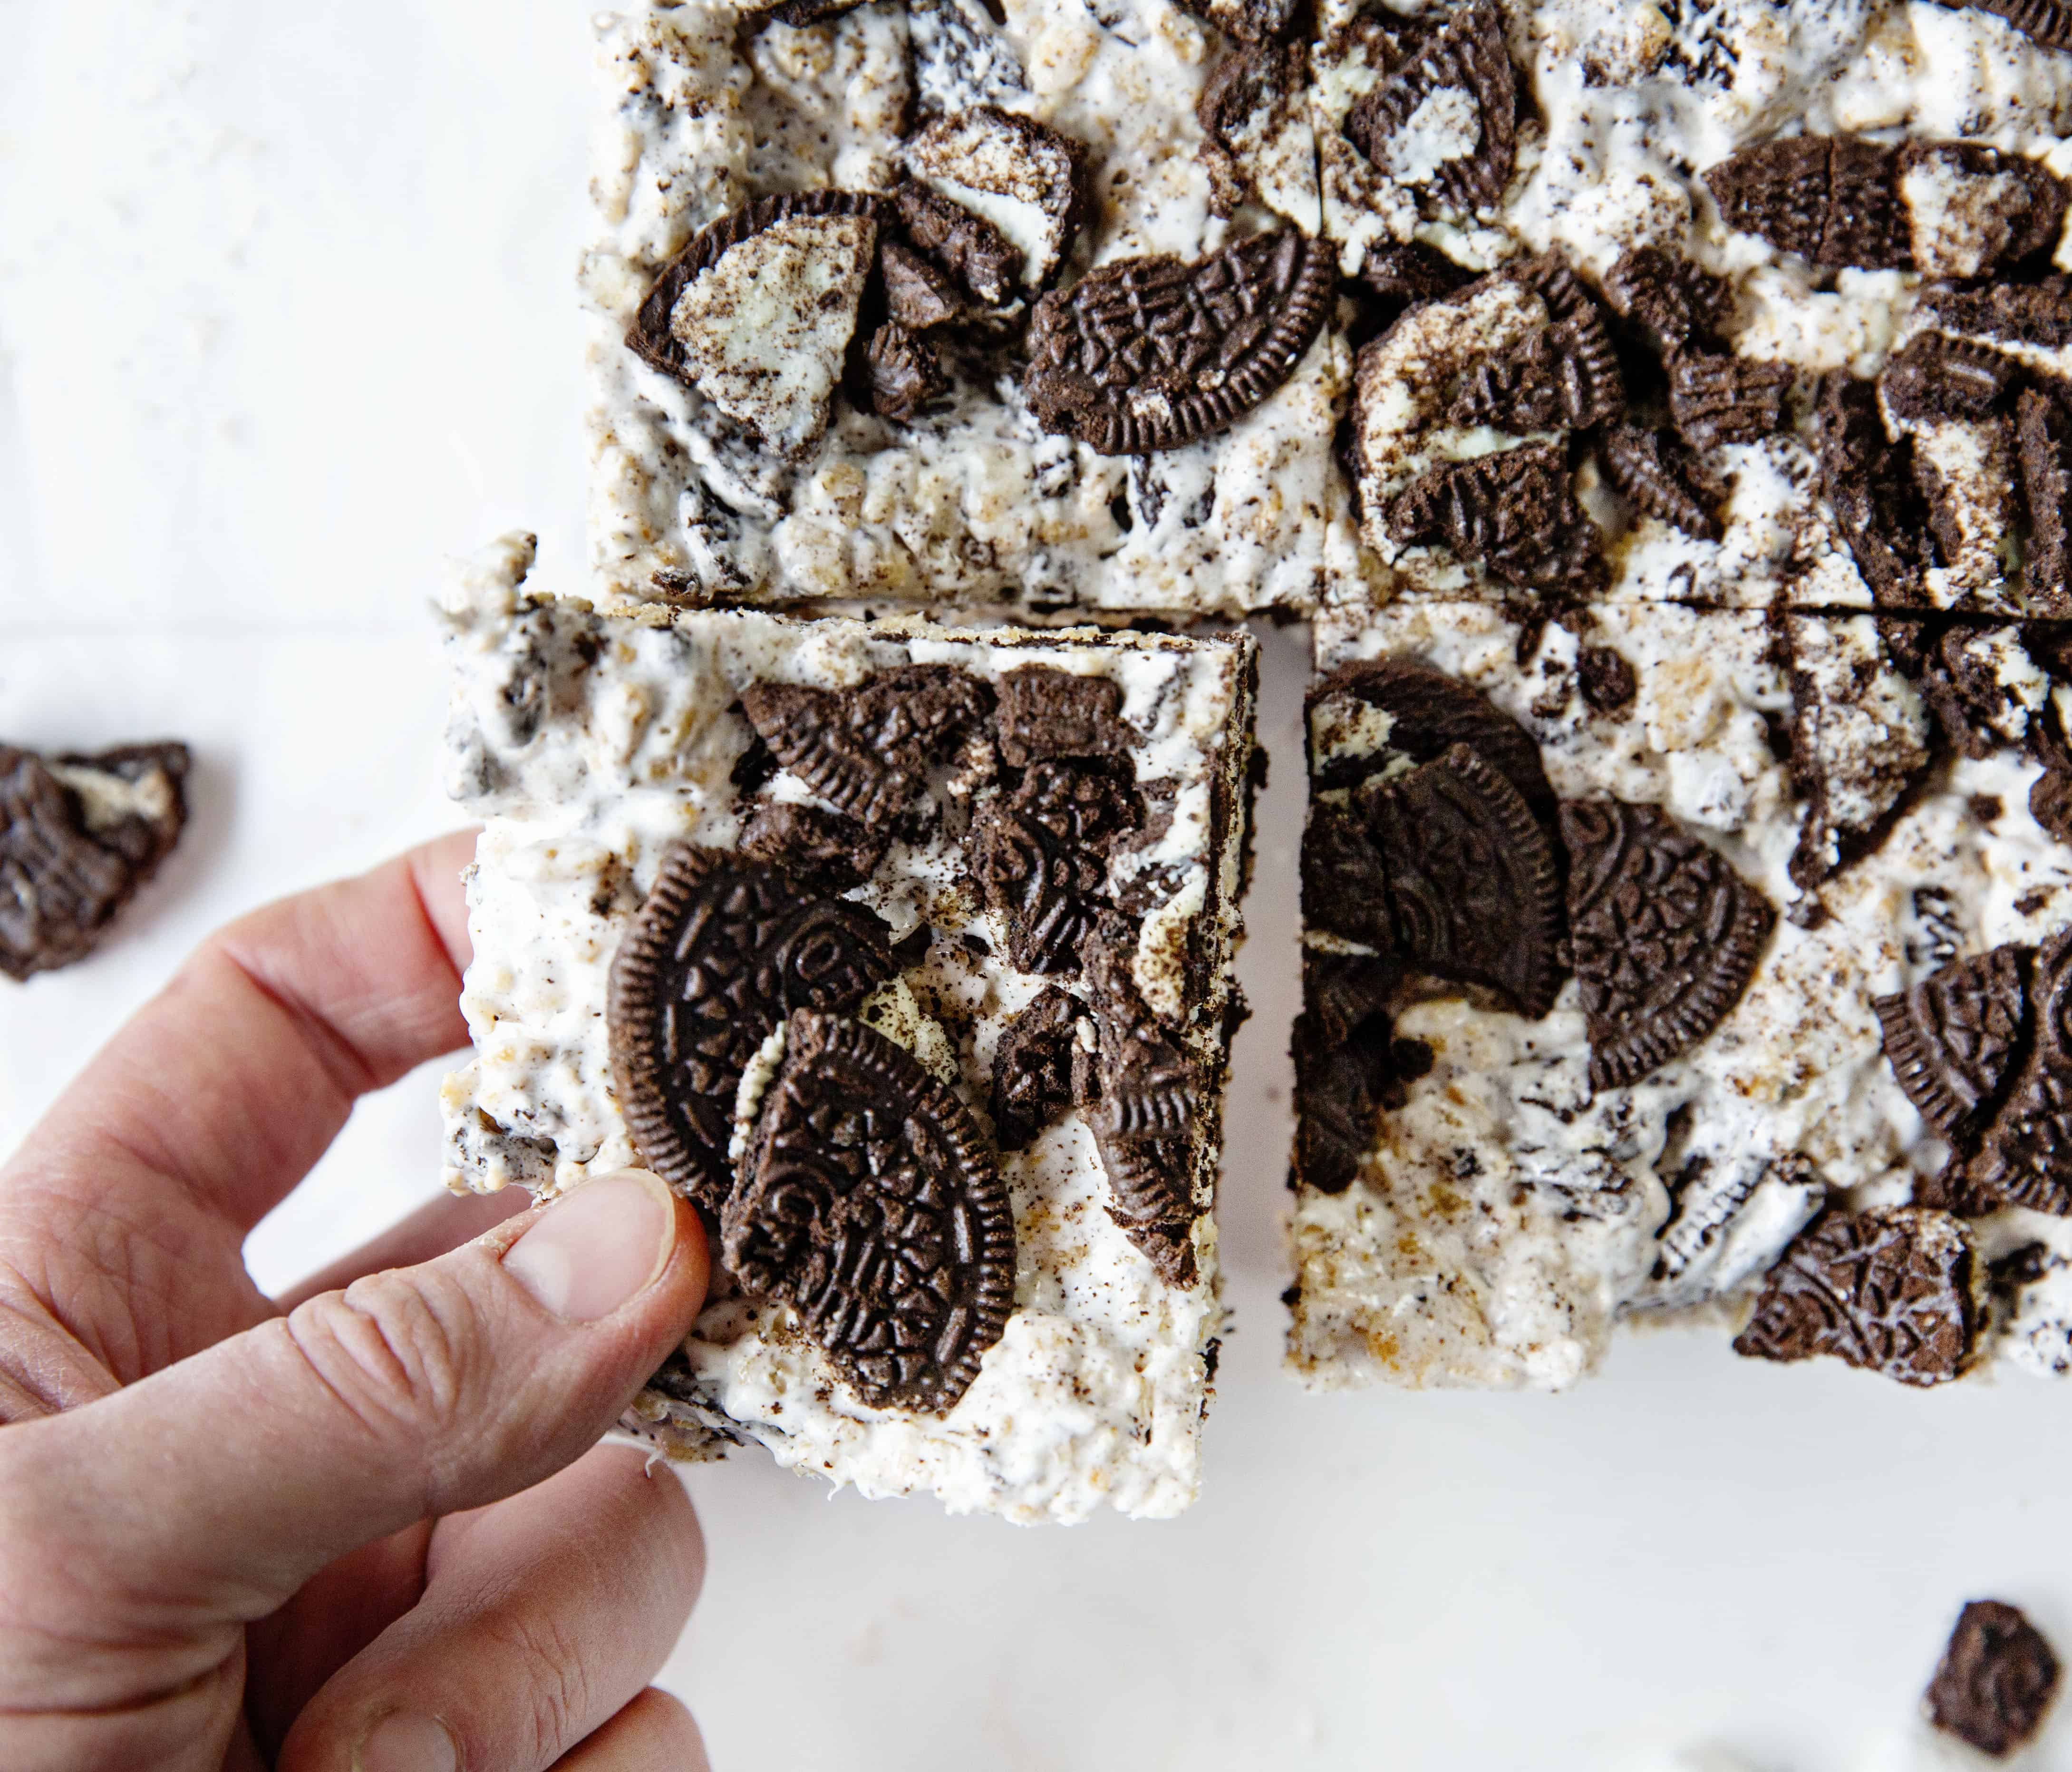
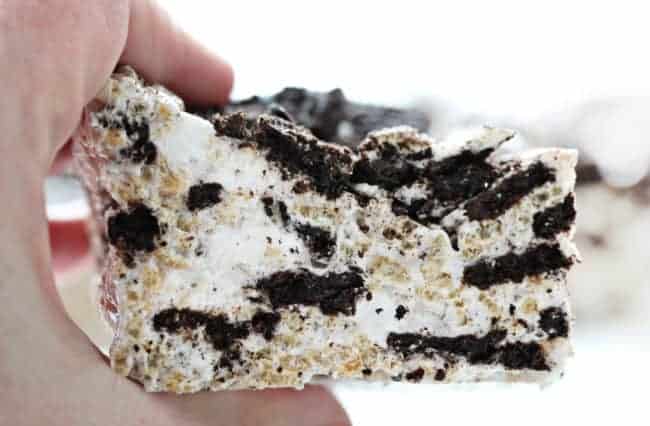
These Oreo Rice Krispy Bars are next-level amazing. Everything you love about a classic Rice Krispy bar but loaded with Oreo cookies! And what makes these even better is homemade marshmallows! It just takes a few minutes to whip up the homemade marshmallow and it guarantees soft, gooey bars! These bars will not disappoint!
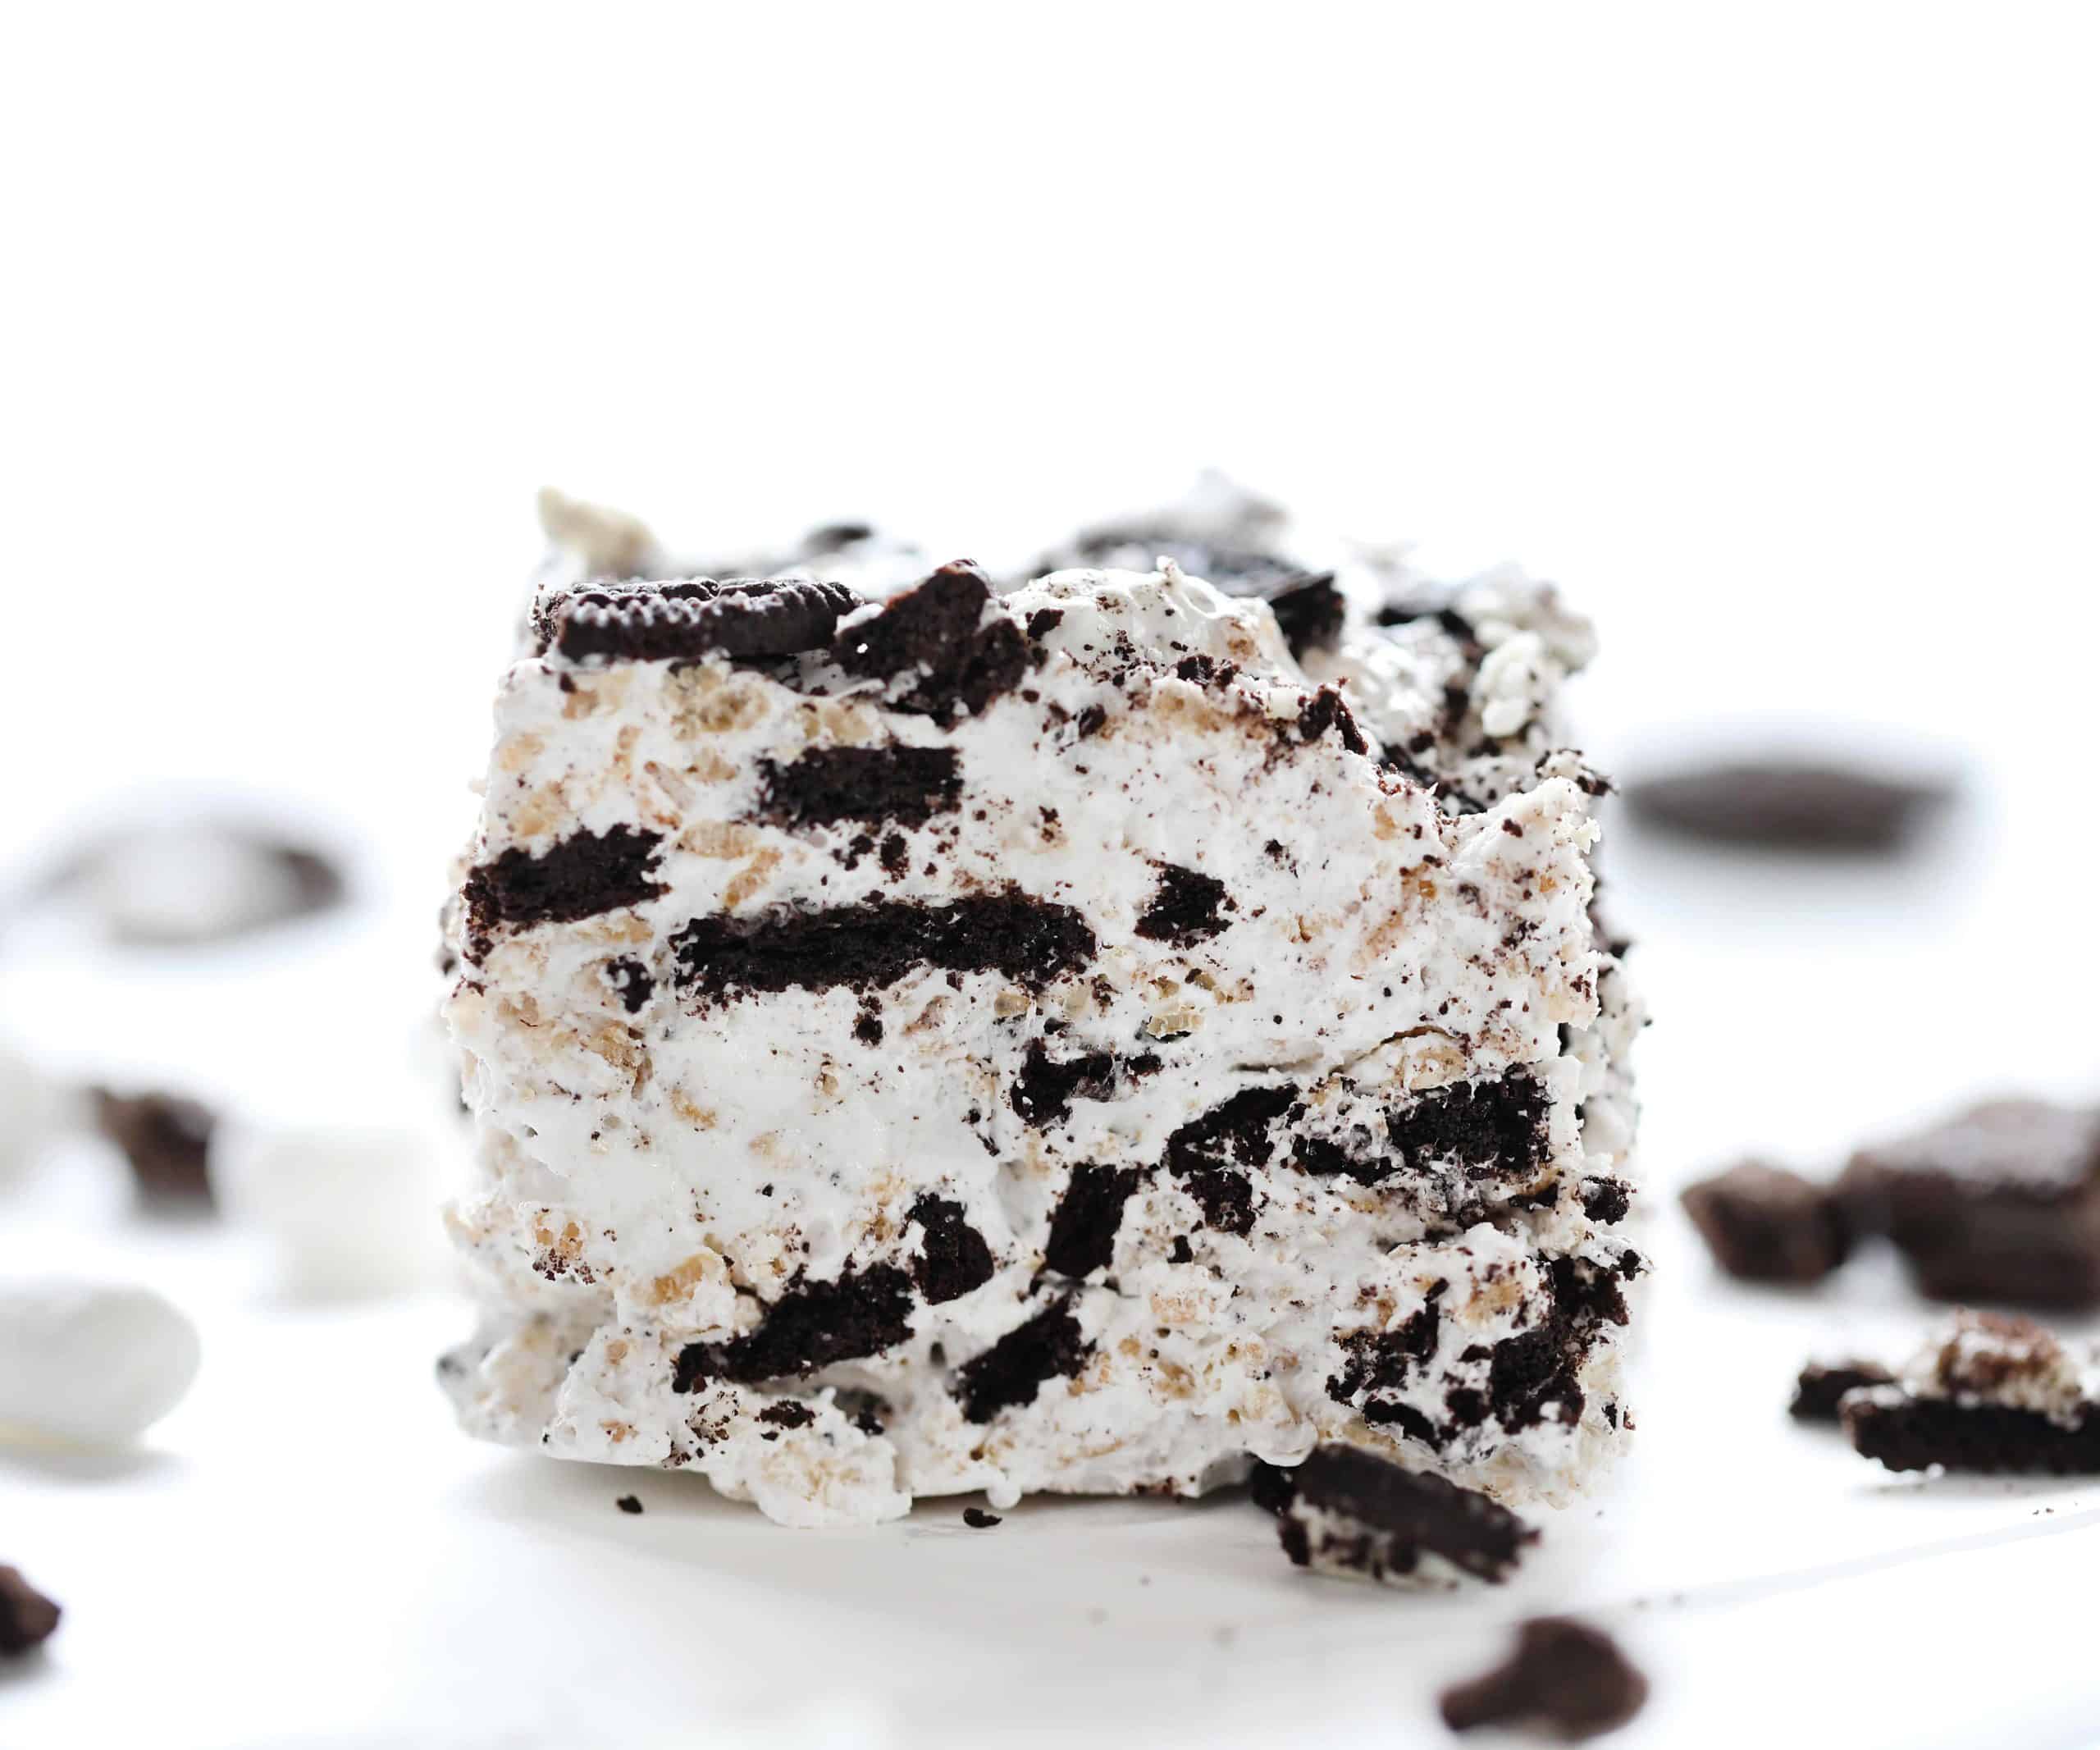
Homemade Marshmallows
If you read through this I promise you I will give you every single tip and trick to make your own marshmallow for these bars. It doesn’t have to be intimidating and once you have done it, it’s actually quite easy!
Can I Make Marshmallows Without a Candy Thermometer?
If you do not have a candy thermometer you will want to cook the sugar to the softball stage:
- Soft-Ball Stage 235˚-240˚ – Dropping the sugar mixture into cold water, it will have the consistency of a soft flexible ball. This stage is perfect for caramels or fudge, or in this case marshmallows. Be very careful as the sugar mixture is hot and you do not want to burn yourself.
Variations for Oreo Rice Krispy Bars
•Use a different flavor of Oreo to make it completely different! Try Mint Oreos with some peppermint extract or Birthday Cake Oreos with rainbow sprinkles on top!
•Use a 9×9-inch dish for a flatter bar. These bars are tall and might be hard for little hands to hold. (Although I never heard any complaints from my crew!)
•Use Cocoa Krispies for an extra chocolate flavor.
•Don’t want to make homemade marshmallows? You can add Oreos to your favorite Rice Krispy Bar recipe.
How to Store Oreo Rice Krispy Bars
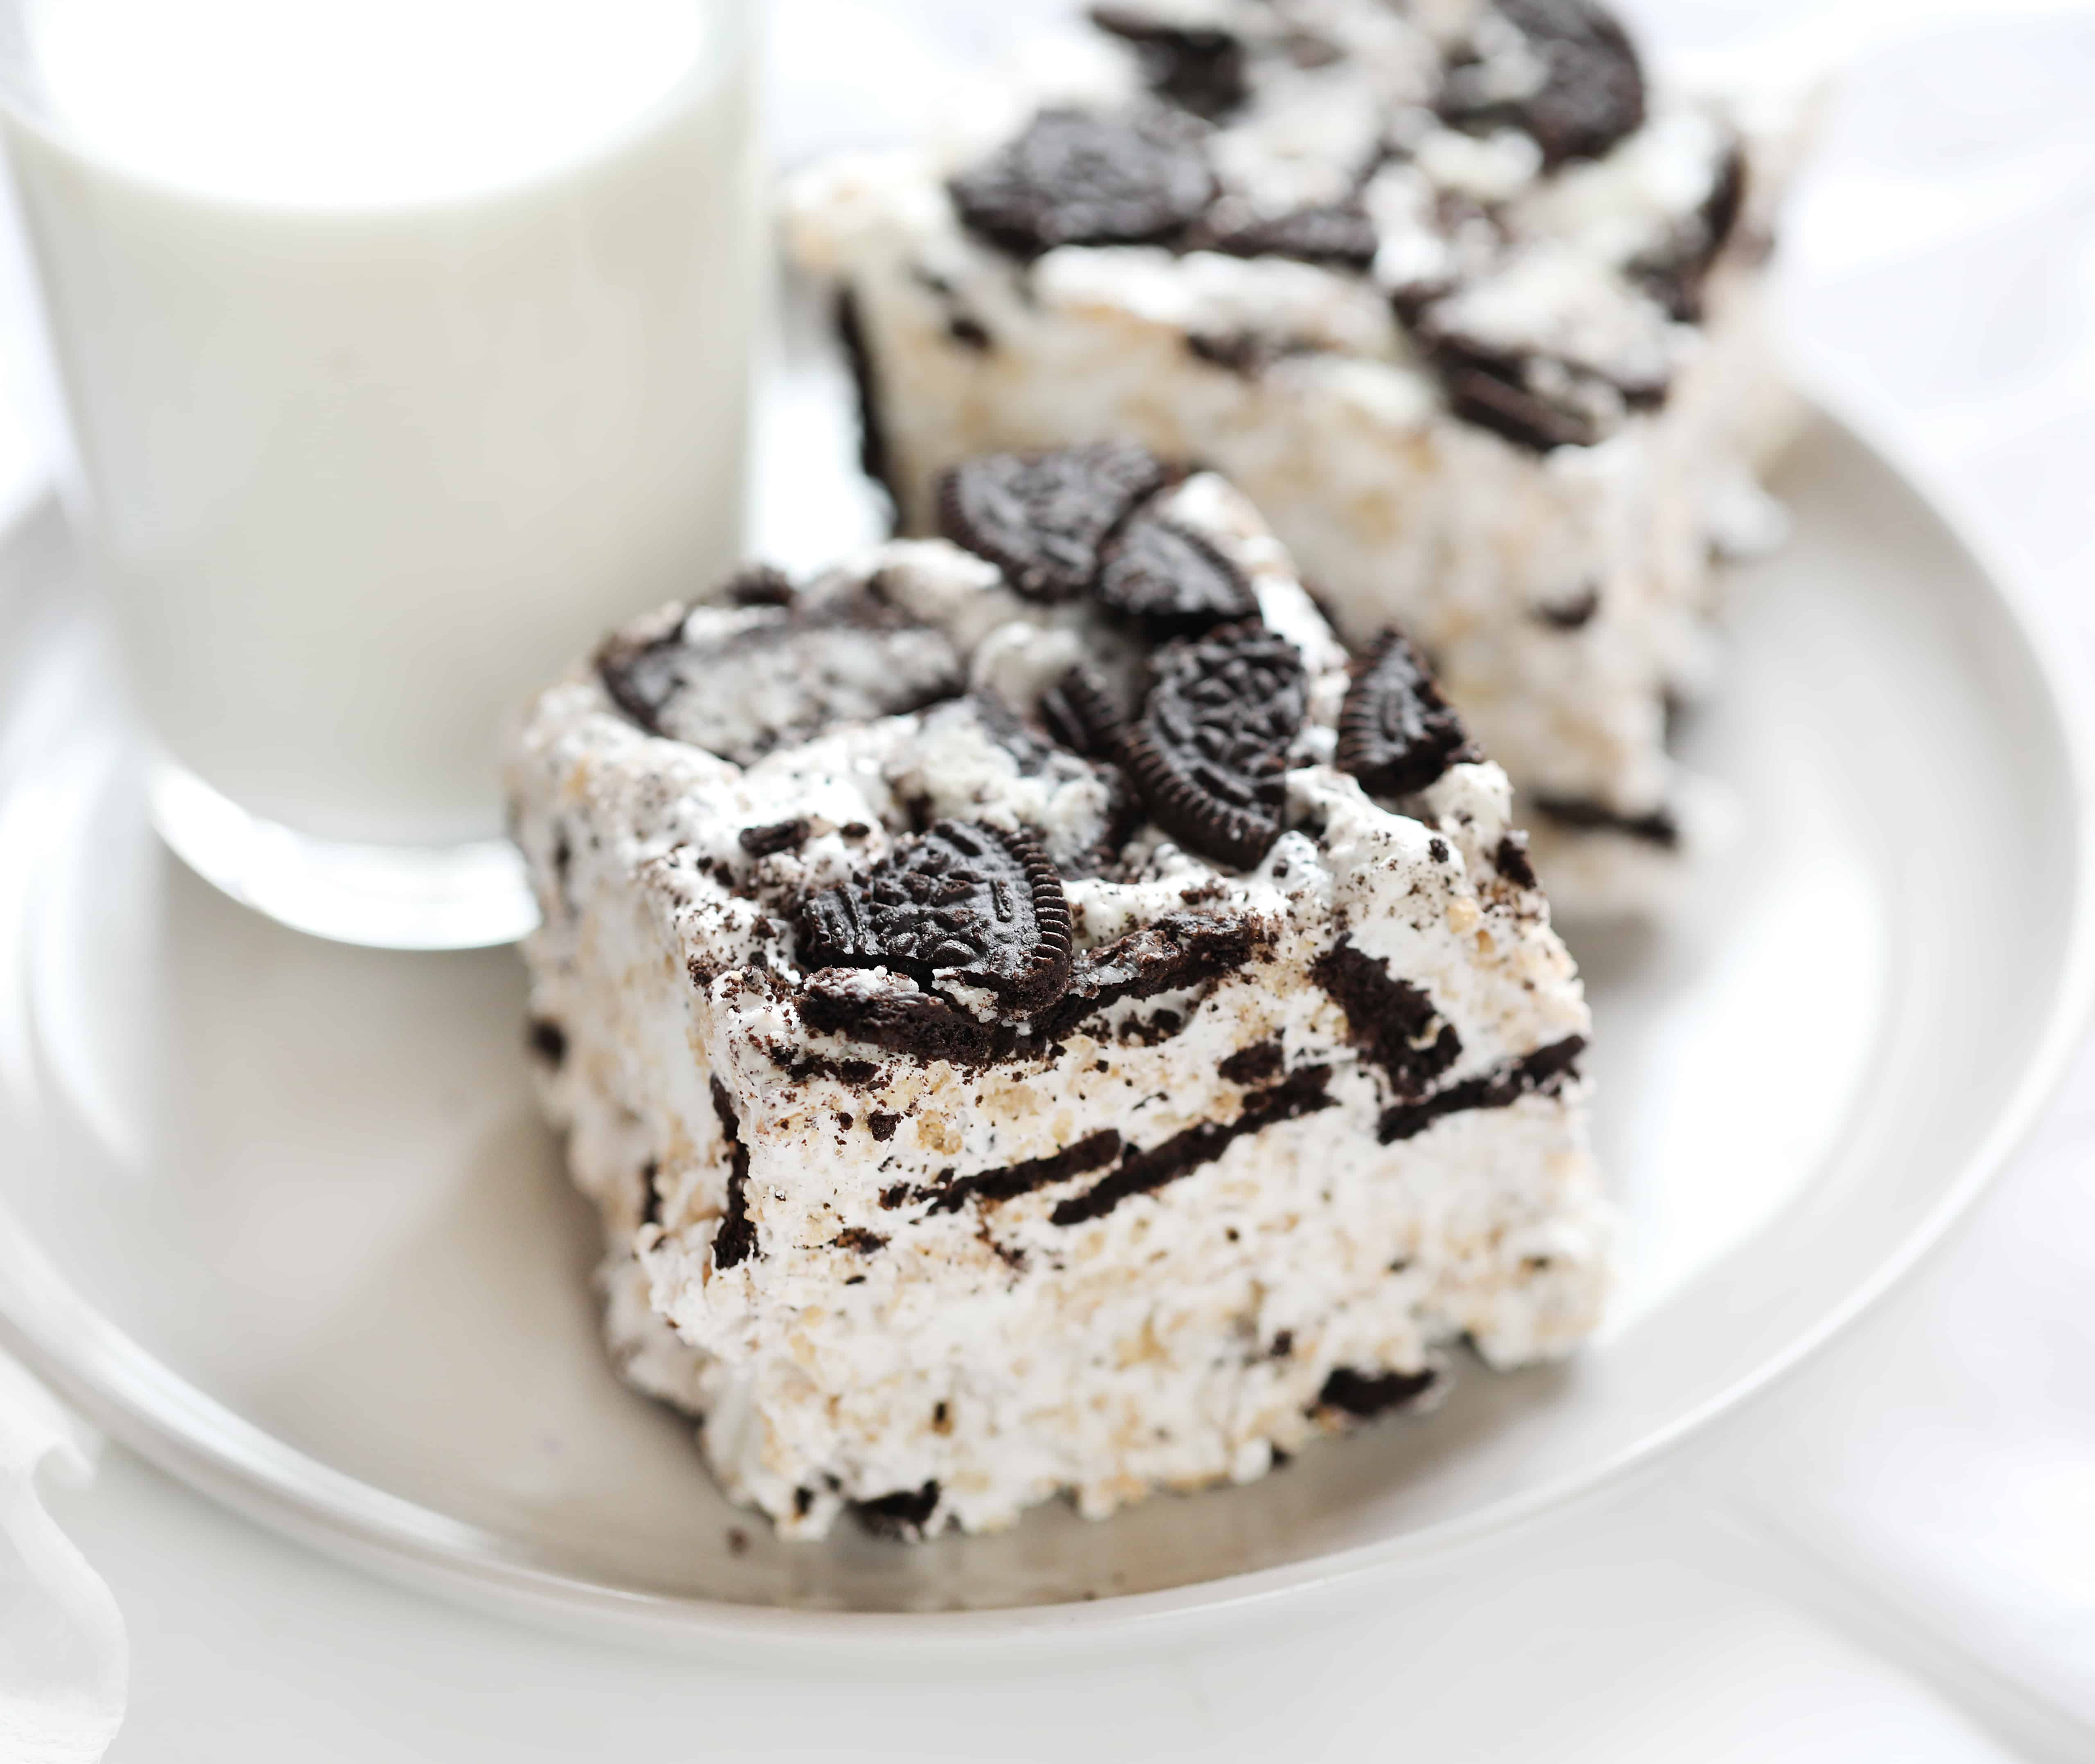
Store Oreo Rice Krispy Bars in an airtight container at room temperature. They will last up to a week.
More Rice Krispy Treats
Oreo Rice Krispy Bars
Ingredients
Homemade Marshmallow
- ½ ounce unflavored gelatin powder
- 1 cup (237 g) water, divided
- 1 cup (200 g) granulated sugar
- 1 cup (336 g) light corn syrup
- 1 teaspoon vanilla
- ⅙ teaspoon kosher salt
- 4 tablespoons unsalted butter, melted and cooled
Rice Krispy Bar
- 4 cups Rice Krispy cereal
- 1 package (standard size) Oreo Cookies, crumbled (save about a cup for topping)
- 2 cups mini marshmallows
Instructions
- Line an 8-inch square baking dish with parchment.
Homemade Marshmallow
- Mix gelatin and ½ cup of the water in the bowl of an electric mixer. Prepare the sugar mixture and while you are doing this the gelatin will bloom.
- In a small saucepan, bring ½ cup of water, sugar, and light corn syrup to a boil.
- Boil until it reaches 240°F and then remove the pan from heat (about 6 minutes).
- With the mixer on medium speed and using the whisk attachment, slowly pour the hot liquid into the gelatin.
- Increase the speed to high and beat mixture until it becomes white and fluffy (about 5 minutes)
- Turn the mixer to low and add in salt, vanilla, and melted butter. Allow to mix on high for another minute or so and then remove the bowl from the stand mixer.
- Add in Rice Krispies, crumbled Oreo Cookies (reserve about 1 cup for topping), and mini marshmallows and stir by hand.
- Stir until everything is well-coated, this should take about a minute and a little elbow grease.
- Transfer the mixture to the prepared baking dish. Press mixture down a little; then, sprinkle remaining Oreos on top. Use your hand to press the bars down so that they are all the same height.
- Refrigerate for 10-15 minutes (or up to overnight) to make sure the marshmallows set.
- Serve and enjoy!
Video
Did you make this recipe?
Thank you for making my recipe! You took pictures, right? Well go ahead and post them on Instagram! Be sure to mention me @iambaker and use the hashtag #YouAreBaker.





Emphasis on SLOWLY pouring in the soft ball stage sugar mixture. I used a too heavy pot and it sorta all dumped into the mixer at once. I now have pre-marshmallow goo on the ceiling, walls, floor and a whisk attachment that is encased in a jolly rancher type shell. LOL but even my hot mess tasted great!
Oh my word!!! I do not envy that mess! Yikes, I get anxious just thinking about it!
I’d like to know if we lazy people could use marshmallow cream instead of homemade. If so, how much?
LOVED this recipe! I have never made marshmallow before and your step-by-step directions made it easy for me to follow. I need your advice please. The treats were great the first day, however on day to the cookies and cereal went soggy. How can I keep the cookies and cereal crispy?
THe ratio of marshmallow means it will not stay “krispy” like a traditional rice krispy bar. If you love the flavor but want the bars to be crispier, you can always increase the number of rice Krispies by 2 cups.
Thank you so much! Everyone went crazy over the recipe. I will try increasing the ration of Rice Krispies to marshmallow. Yum!
If I don’t want to add the mini marshmallows, do I just up the rice cereal to make the volume up?
Amazing recipe! Flopped my first attempt because I didn’t have a whisk attachment for my stand mixer and didn’t mix long enough with the hand beater whisk. But tried again once I got the attachment and it worked beautifully! What is the best way to store them for longest freshness???
If you’re making your own marshmallow, why do you have to add mini-marshmallows too?
A slight variation…use mini oreos insread of full sized. Then you can leave them whole.