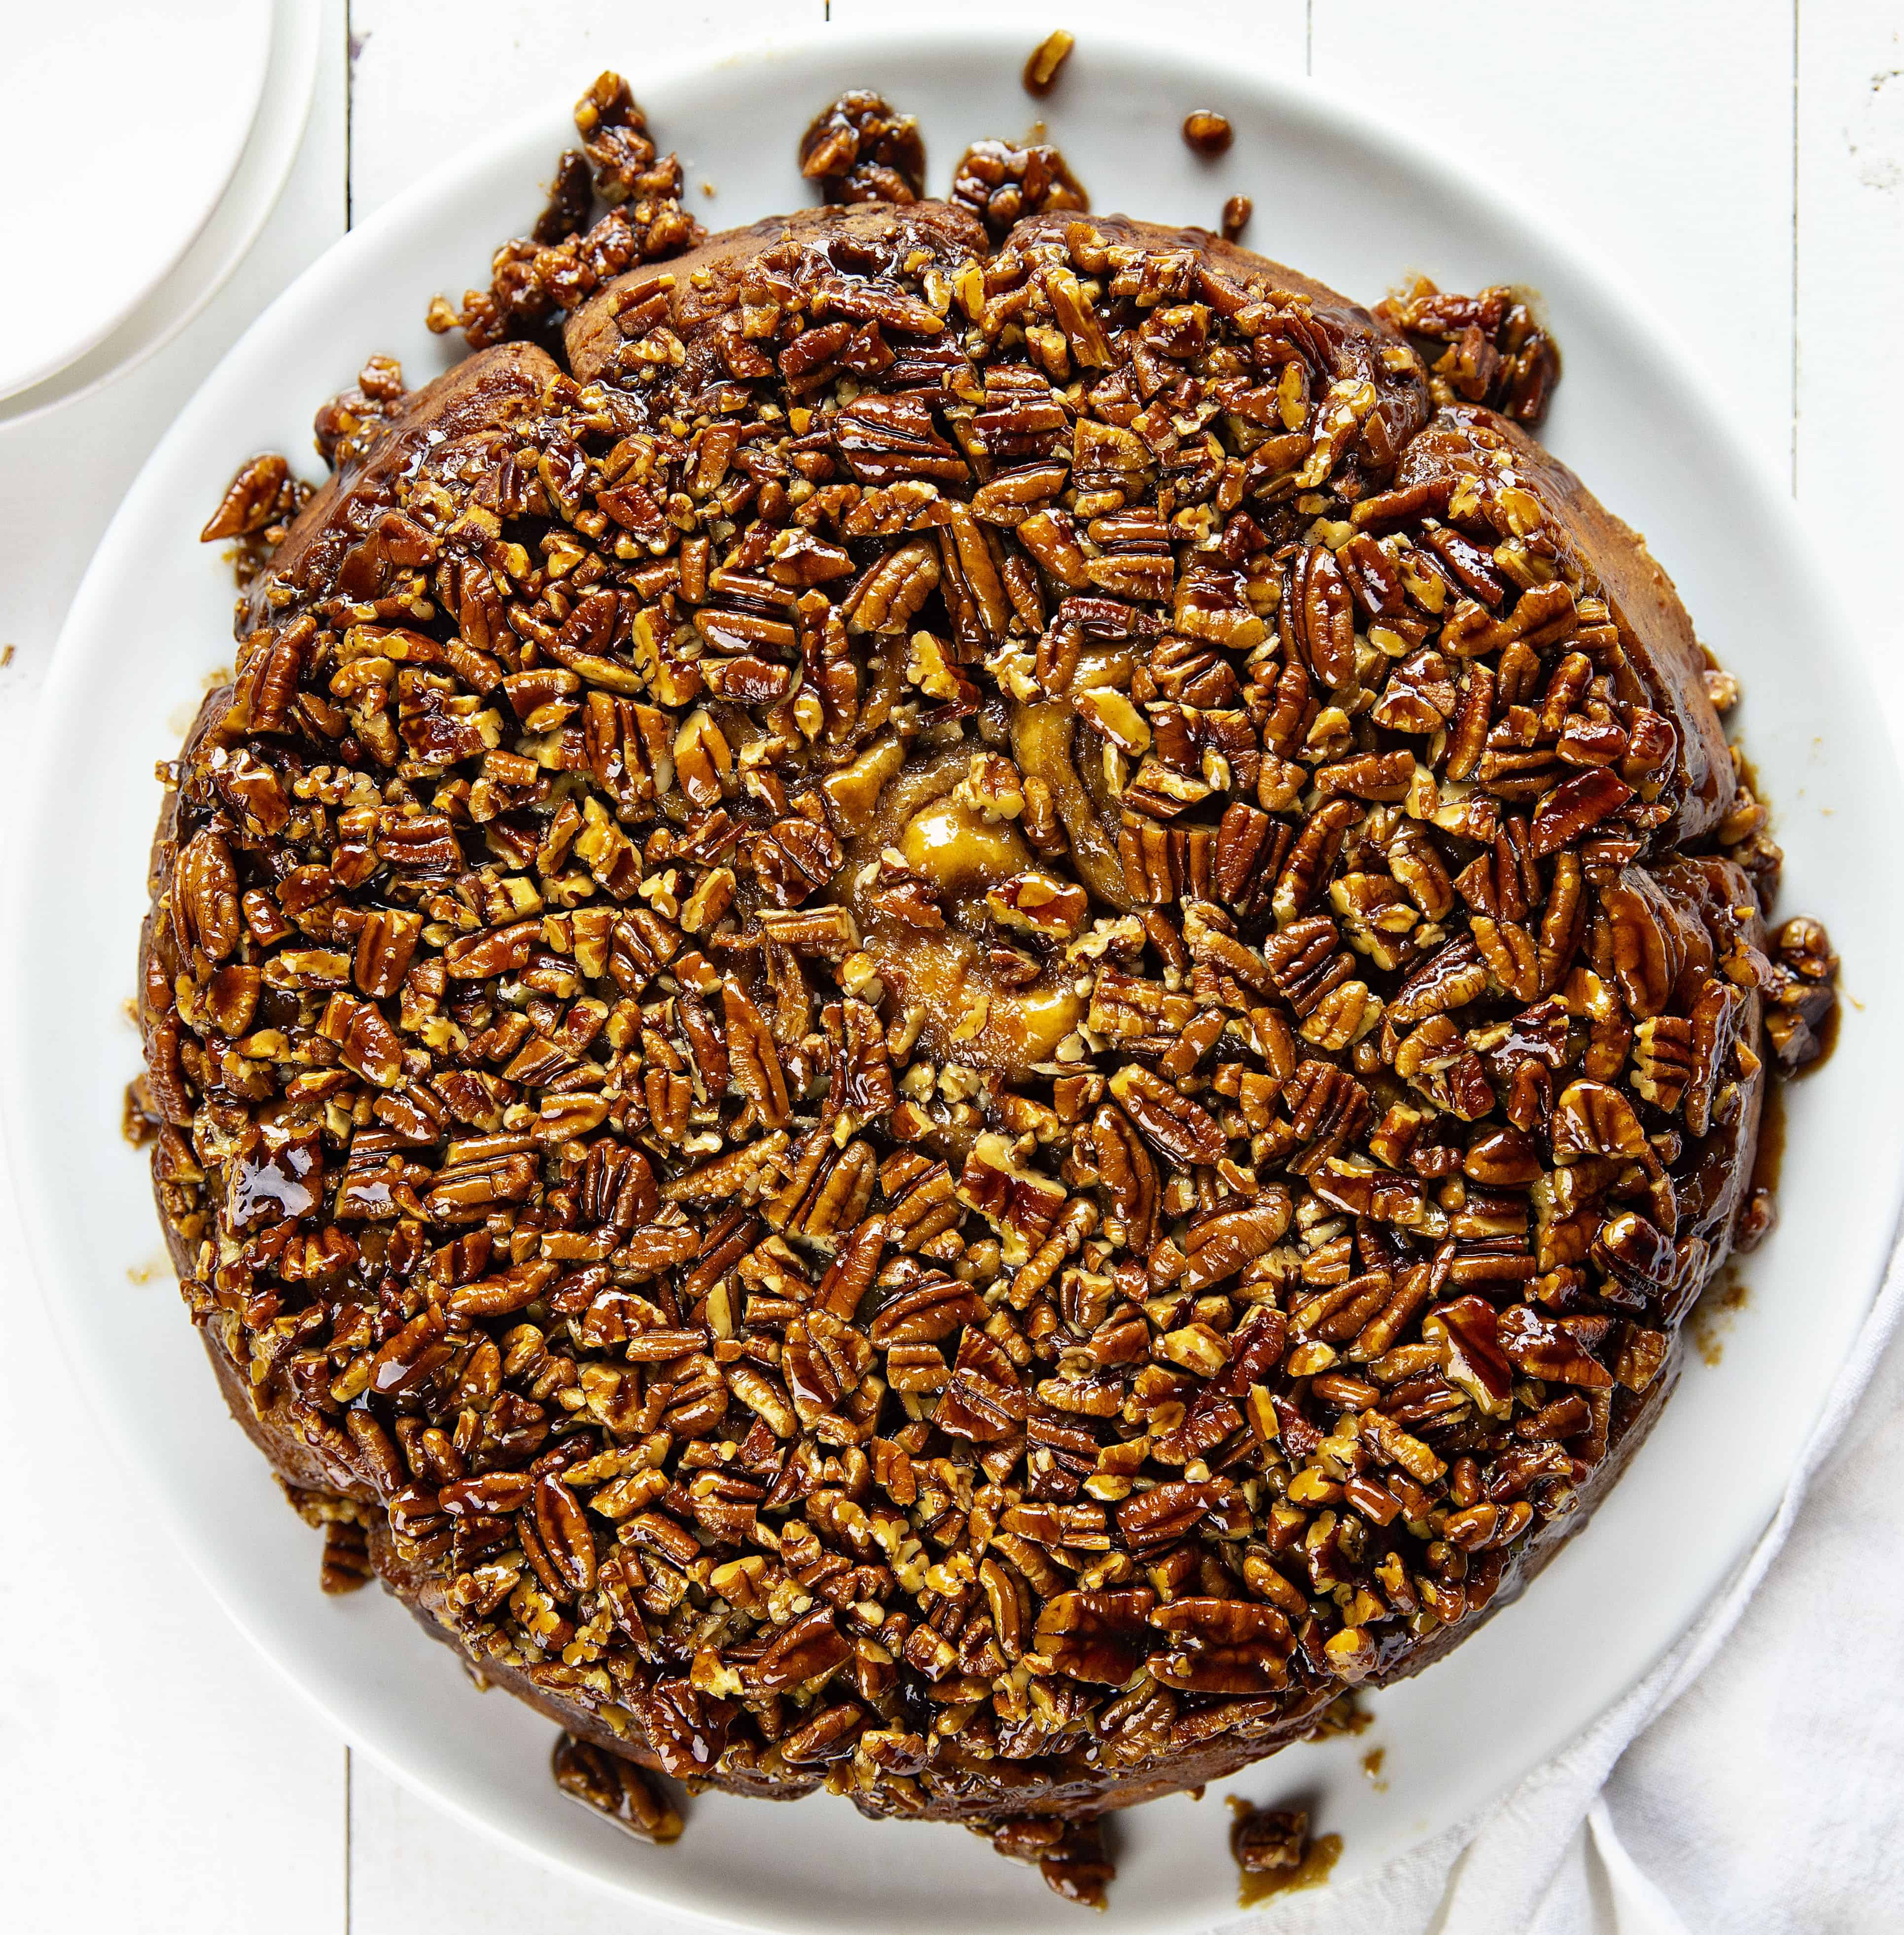
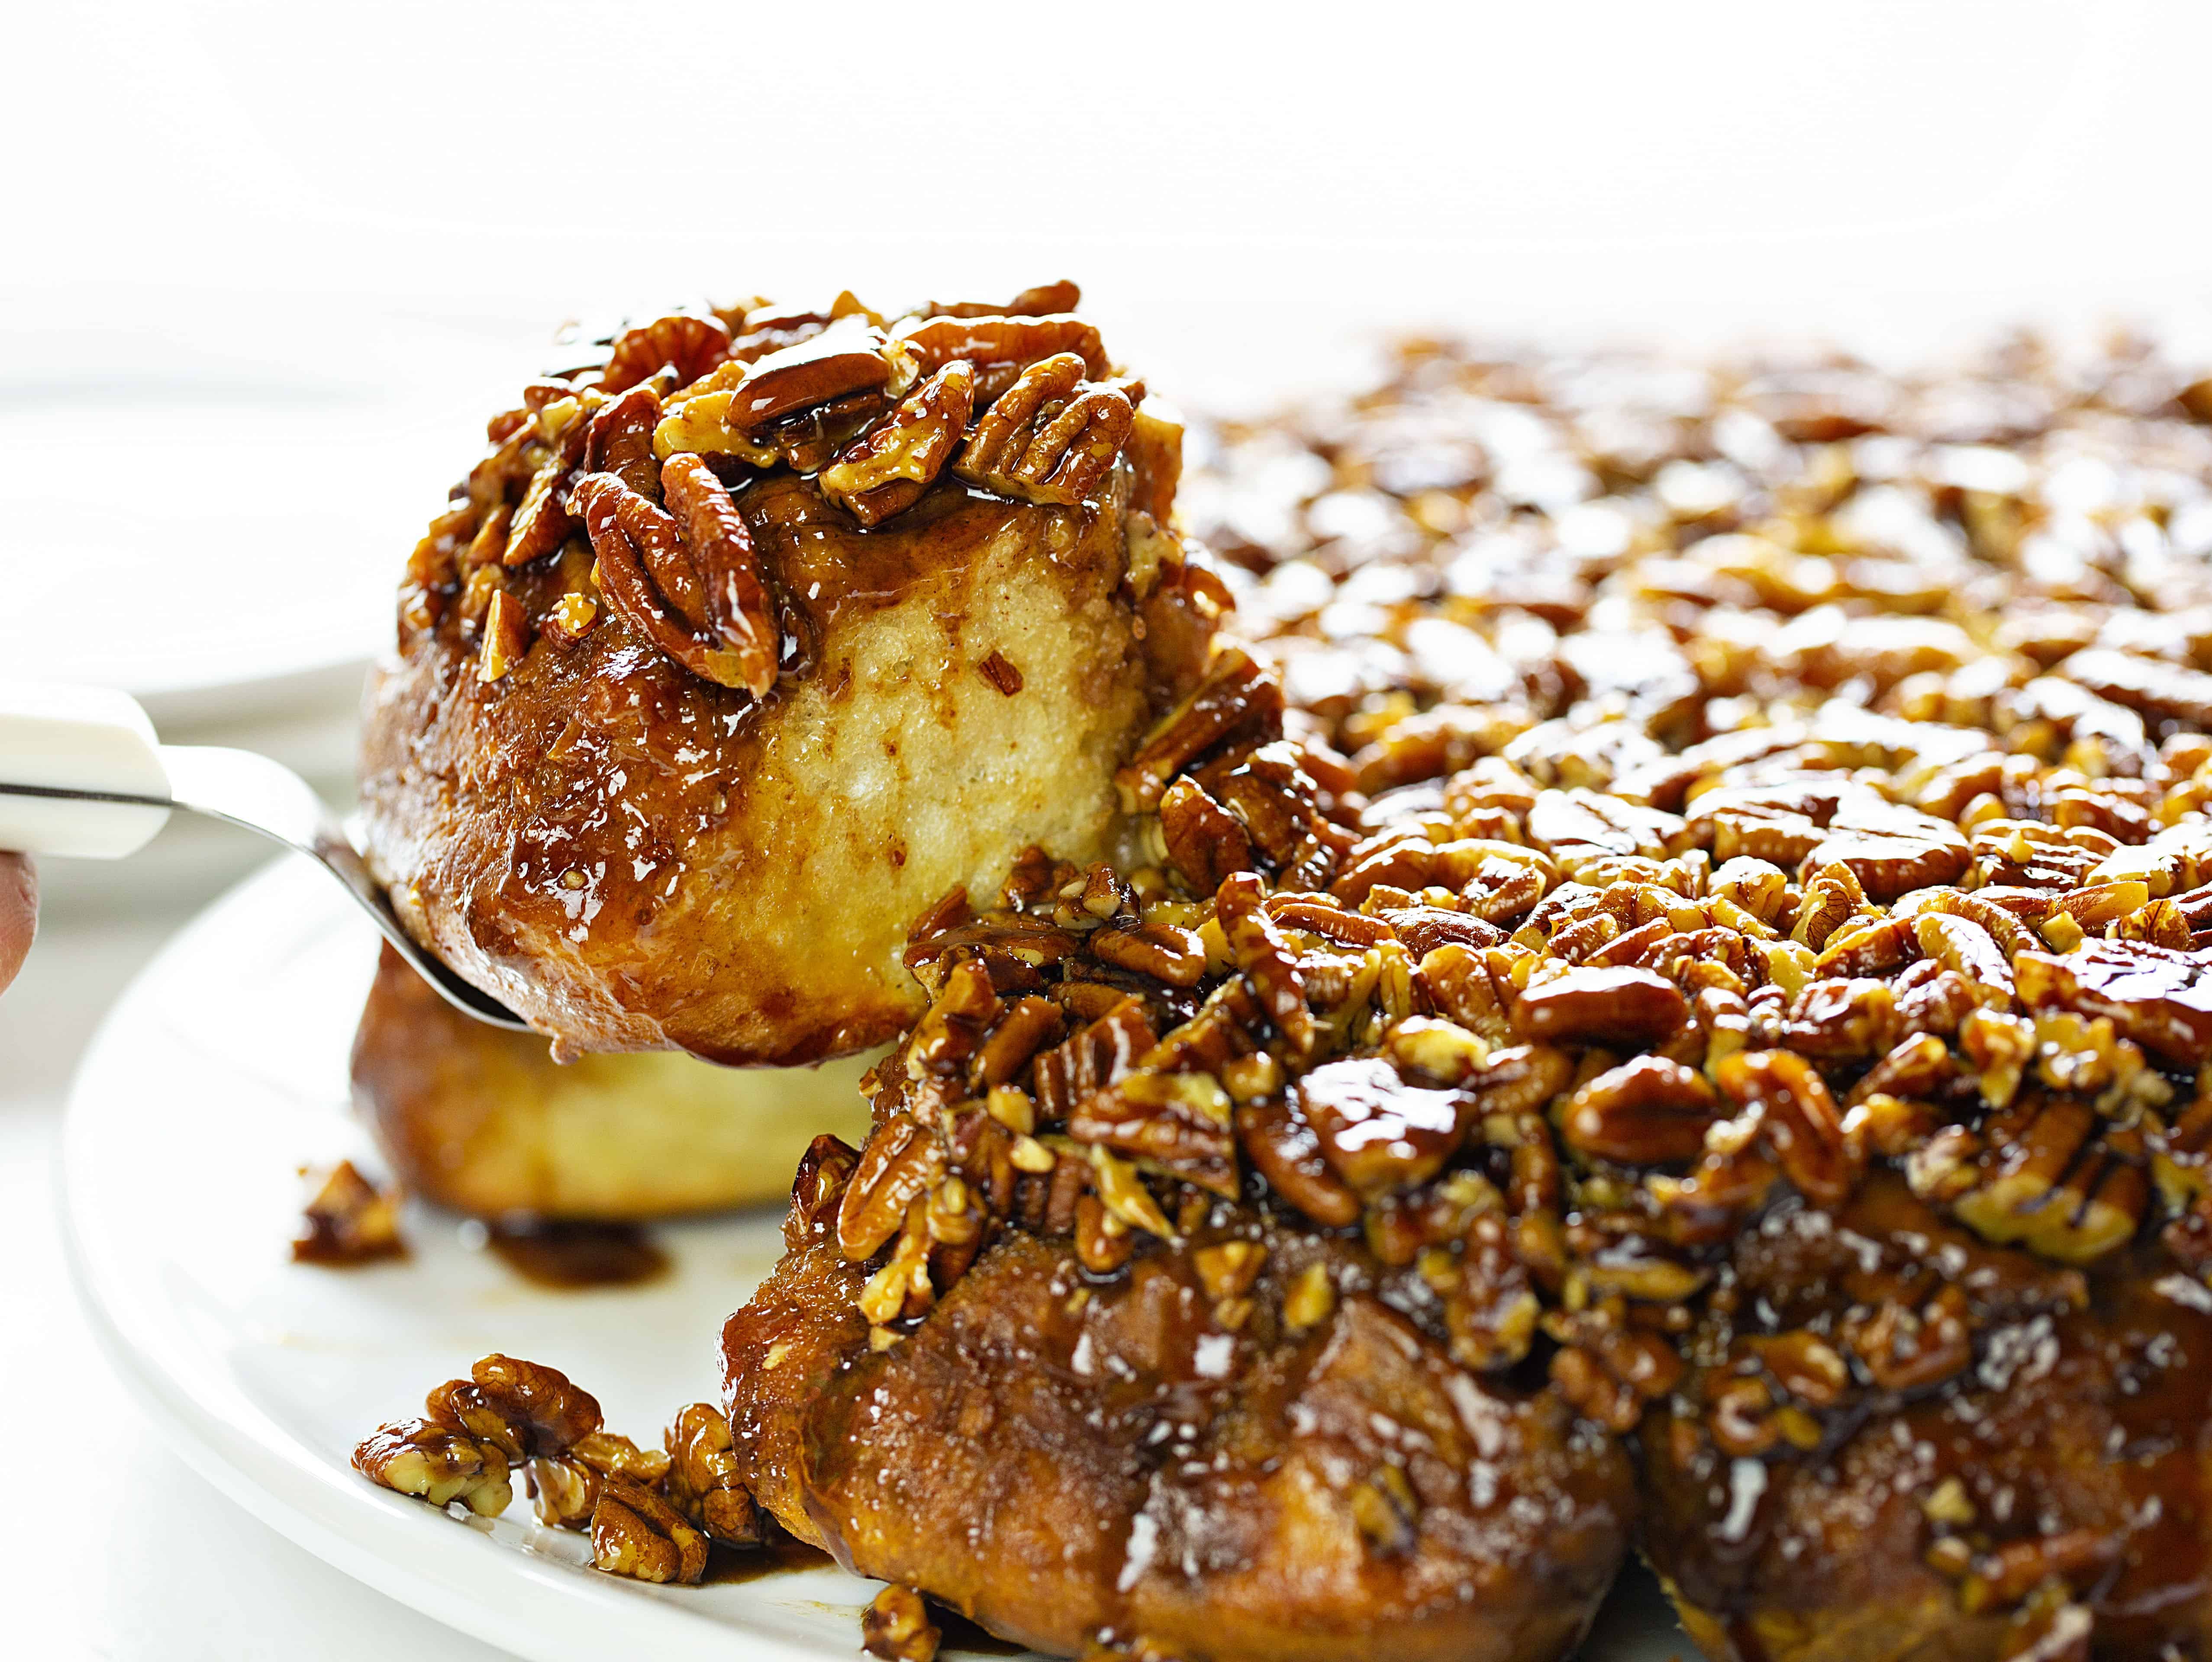
These heavenly Pecan Sticky Buns are going to be your new favorite recipe! We loved the caramelized pecan topping and perfectly cooked rolls. If you love sticky buns but are short on time, try my Easy Sticky Buns version!
Pecan Sticky Buns
This recipe just happens to be based on The Pioneer Woman’s Sticky Buns recipe currently being served at her Mercantile! (I made some changes to the topping and method) But let me tell you, these sticky buns are BEYOND delicious and loaded with texture and sweetness. It seemed a bit intensive at first, but it is really just a few easy steps divided over a few hours. Make sure you knew when you want your sticky buns to be served so that you can plan accordingly.
Should you want to break up the steps a bit, you can chill the dough overnight. In #8 of the instructions, it says “Cover and chill for 1 hour.” Instead of chilling for 1-hour, you will chill overnight. Don’t prepare the filling or topping until the next morning.
How to Make Pecan Sticky Buns
First off I just have to apologize for how intense this blog post is! Not only were these sticky buns so fun to bake and take pictures of, but there are a lot of steps in the process so I want to make sure anyone that is wary of working with yeast feels comfortable.
There are three main components to this recipe:
- Dough
- Dough Filling
- Topping
Dough
In a medium bowl add milk and heat in the microwave for 2 to 2 1/2 minutes, or until it reaches 110°F. Add in the oil, sugar, and stir until dissolved. Sprinkle the yeast on top and let it sit for 1 minute.
In a large bowl (if you use a very large bowl you can knead the dough right in the bowl!) add 4 cups of all-purpose flour. Pour the milk mixture over the flour and stir with a spatula. It will be warm and sticky. Cover the bowl with a dishtowel (or two towels if your bowl is really big!) and let it sit for 1 hour. After the hour is up the dough will look the same, as in it should not have changed size at all.
Now add in the remaining 1/2 cup of flour, salt, baking powder, and baking soda. In the bowl (or on the counter if you don’t have a big bowl) use your hand to knead the ingredients together. (This took me about 2 minutes.) Once they are all incorporated, cover the bowl again and chill for 1 hour. Because my bowl was too big for the refrigerator, I set the covered bowl in the cool pantry (about 50°F) for the hour. The dough size should increase a bit, but it will not be doubled in size.
Making the Sticky Buns
After the hour of “chilling” place dough on a floured surface and roll a large rectangle. It should be about 30×10 inches. Try to keep it as much of a rectangle as possible. When I roll out round dough into a rectangle I start by using my rolling pin to make a plus sign in the dough. Then starting at the first corner, roll that corner out and away from the center of the dough. Move to each corner of dough and press out and away from the center of the dough. This will get you a pretty darn even square and from there you just keep rolling from the center to increase the length. You may need to stop and check to make sure the dough isn’t sticking to your counter.
Spread the Filling Ingredients
One of the most fun steps! Once your dough is rolled out into the 30×10 rectangle, spread the butter over the dough. I like the butter very soft and use a clean hand to spread it over every nook and cranny of the dough. Now sprinkle your sugar over the entire surface of the dough. Now sprinkle the cinnamon. (You can also stir the brown sugar and cinnamon together before sprinkling, but I didn’t want to dirty another bowl.)
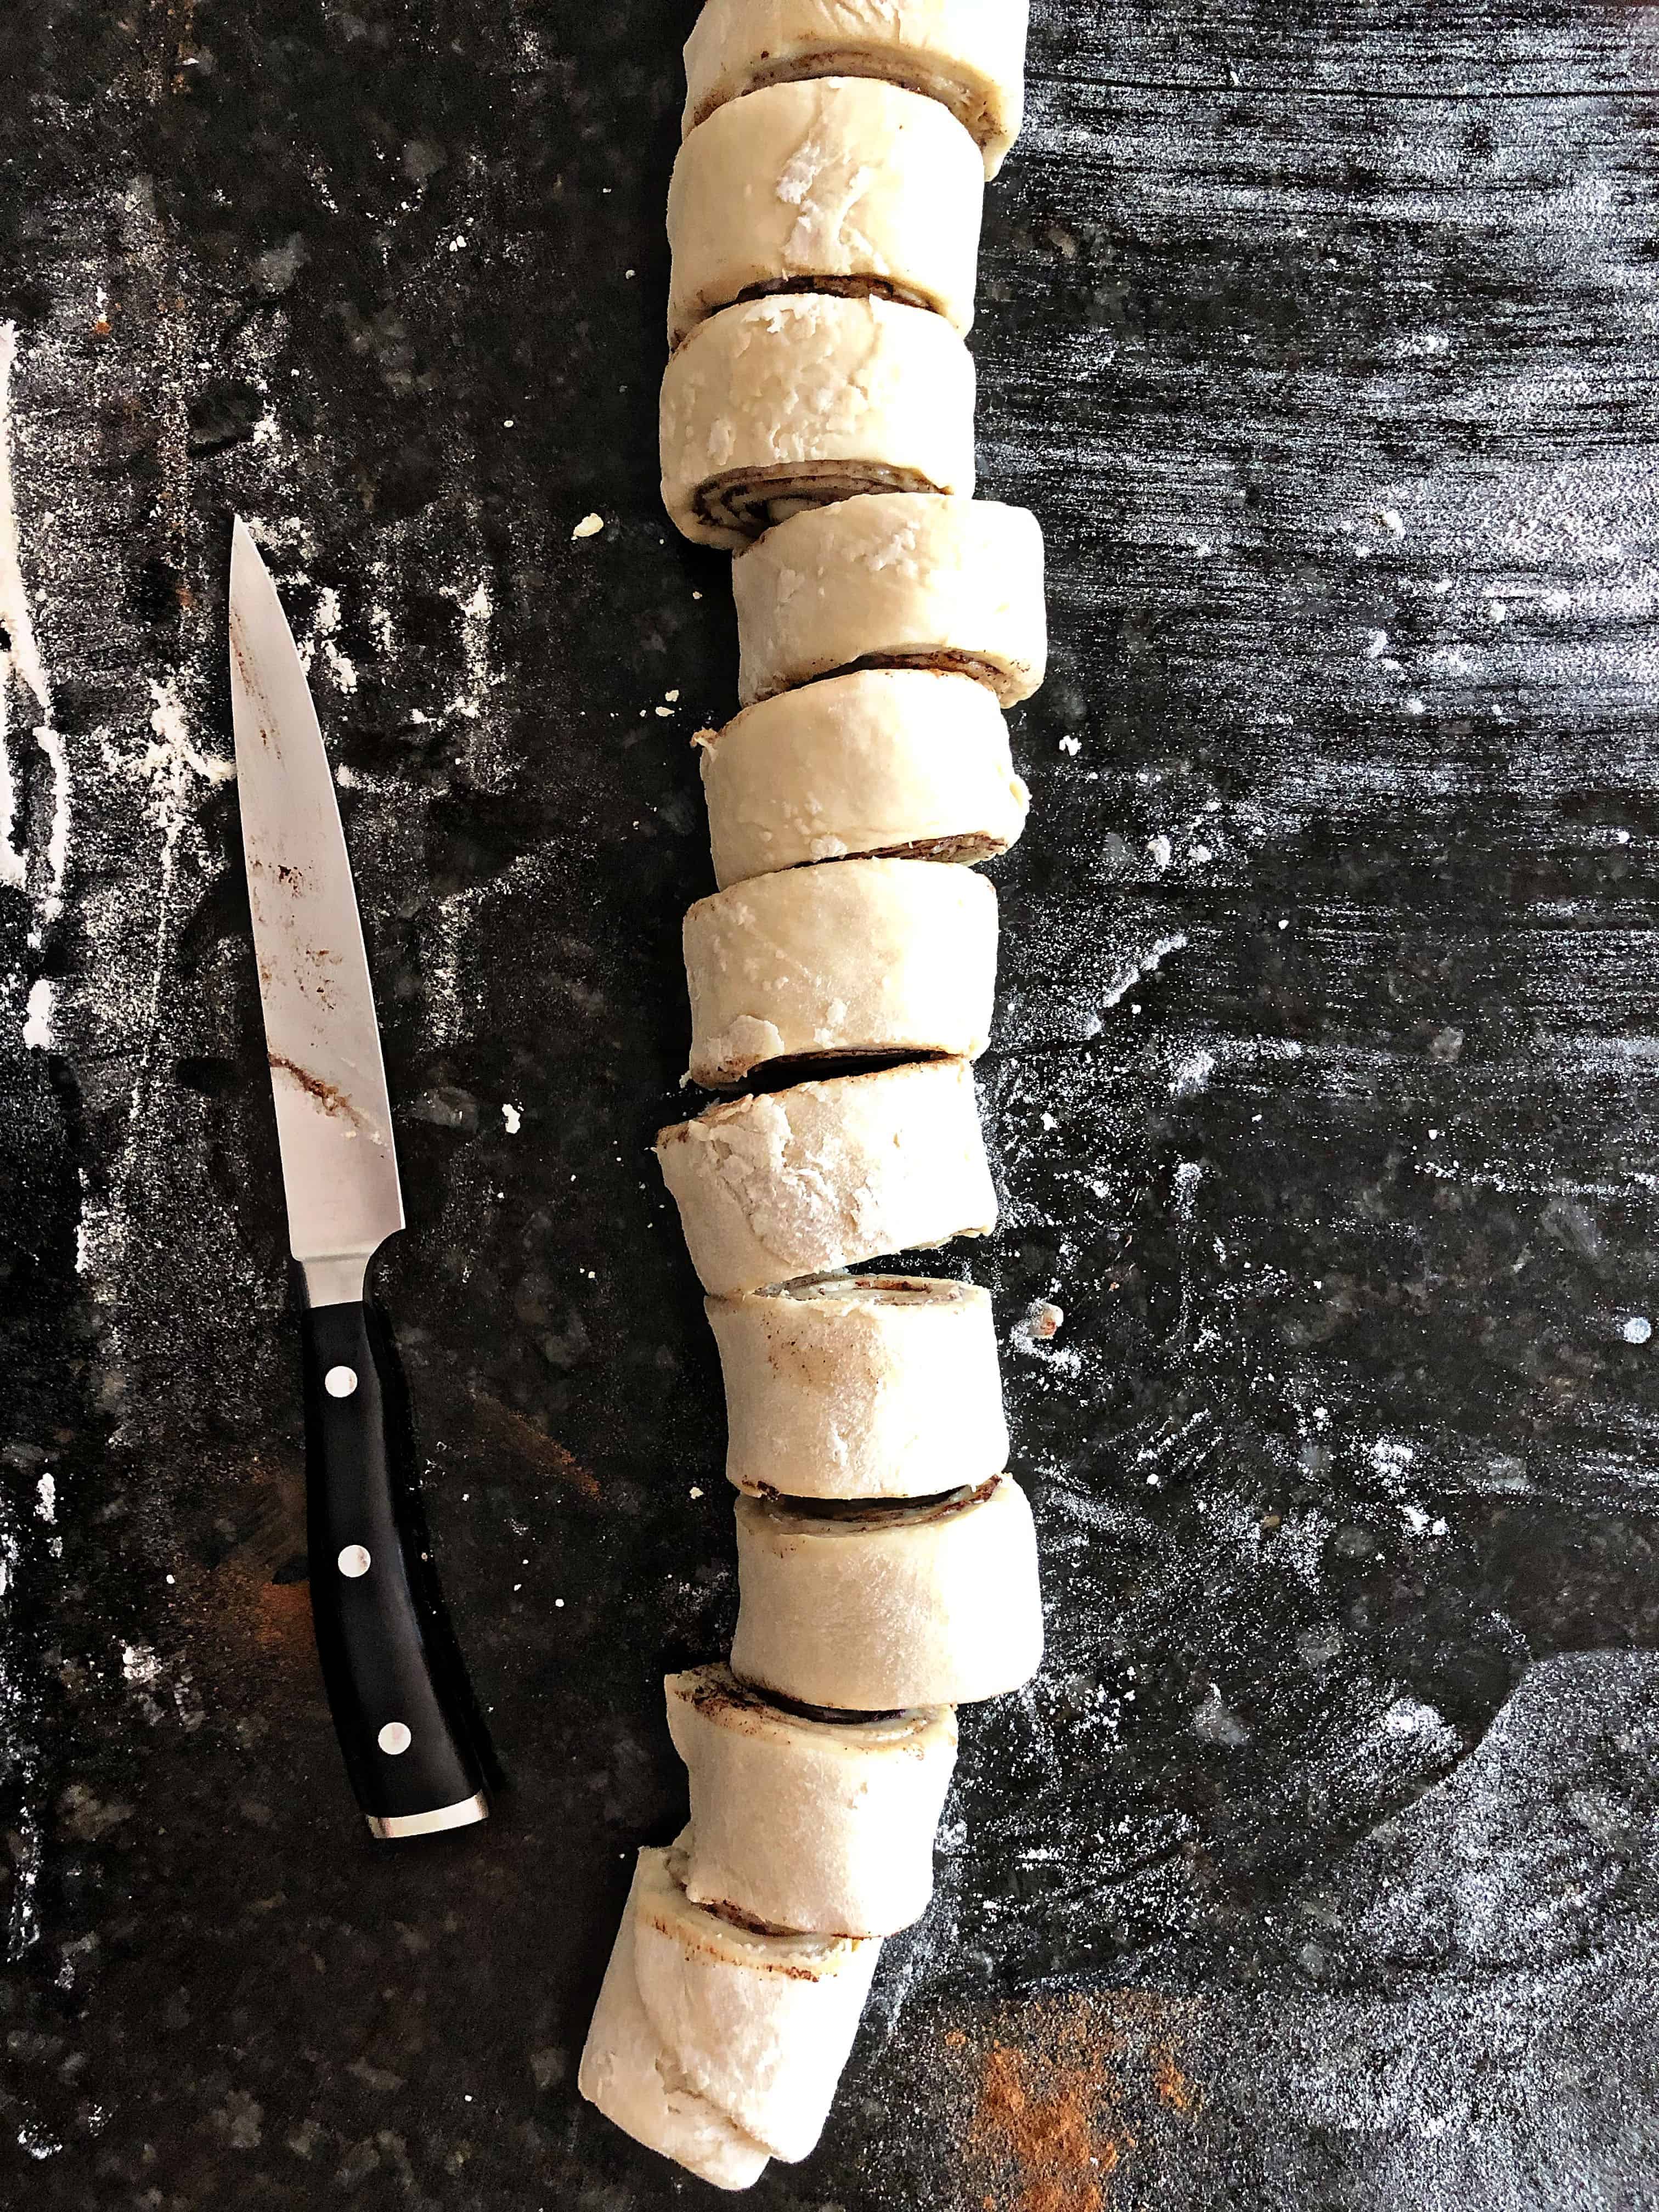
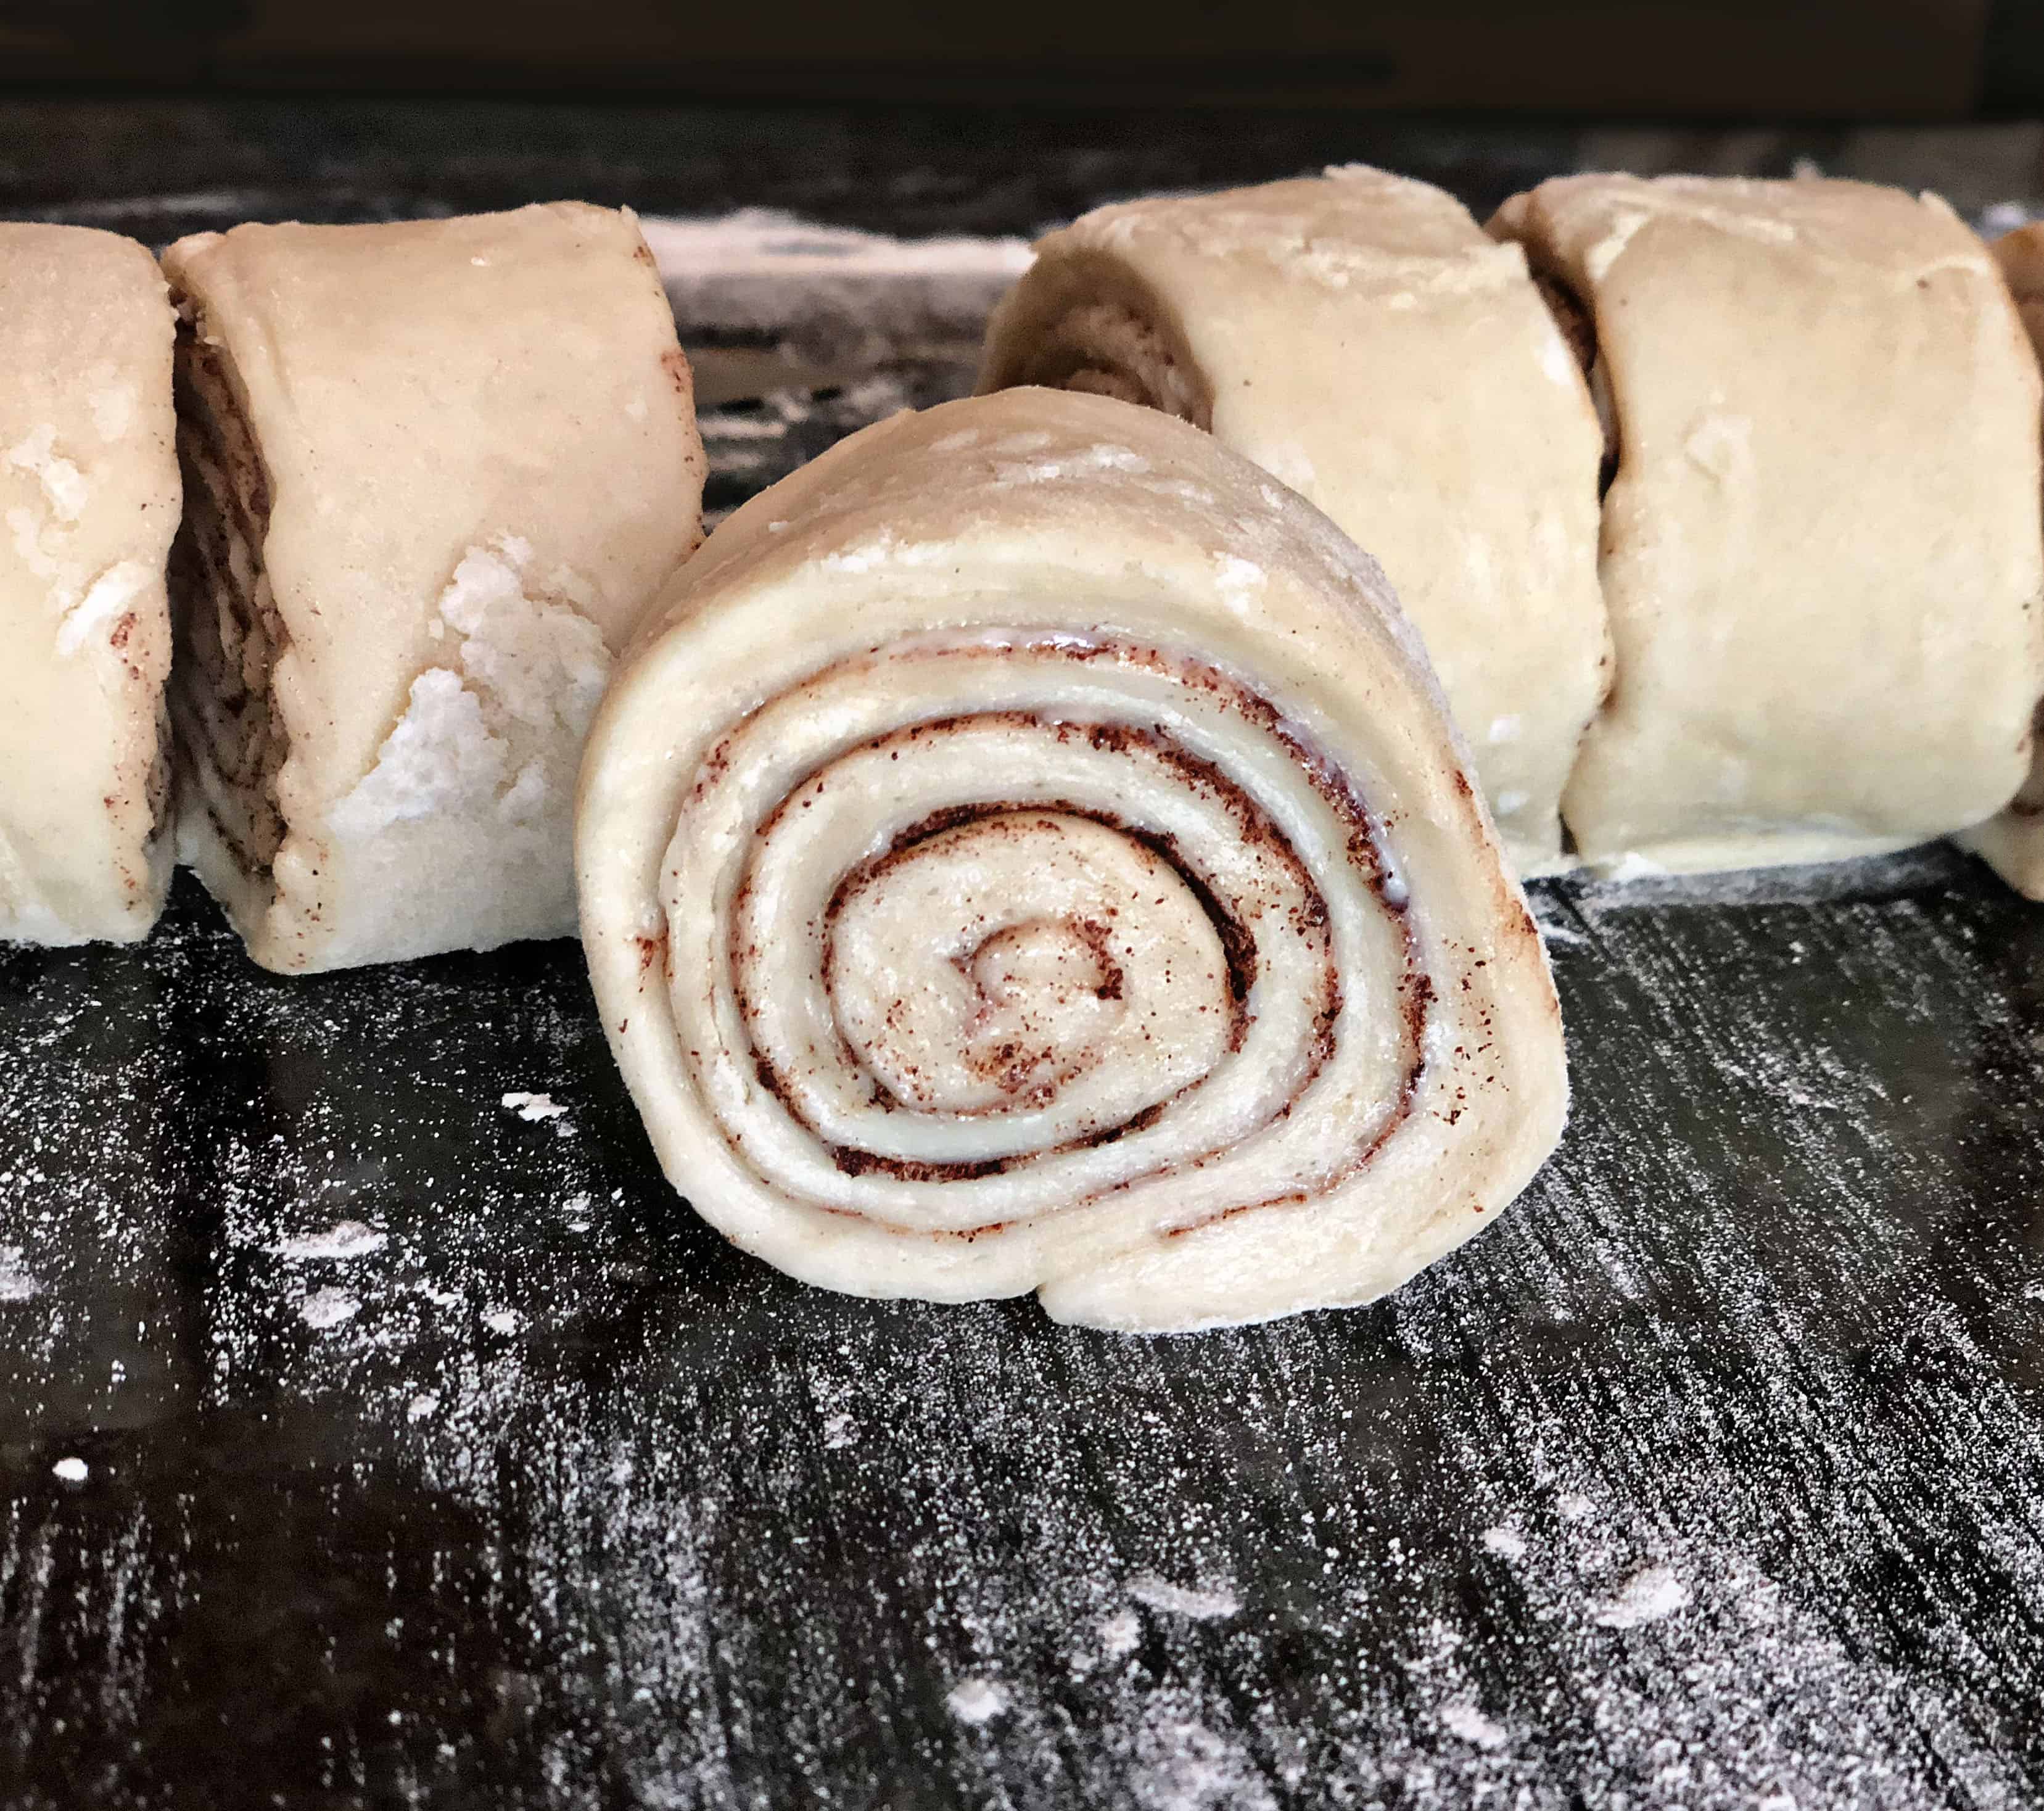
Starting with the longest side, roll up the dough in a tight log like you would a jelly roll. Once rolled, cut into 16 individual rolls. I use a very sharp knife, but you can also use the floss method, which is sliding the floss under the dough log and then crossing the floss and pulling through.
It is a fairly thin dough, so each individual roll will be tightly compact.
Now get your hot skillet out of the oven (you may have already removed it at this point) and start to carefully place the buns into the hot bubbling pecan and sugar mixture.
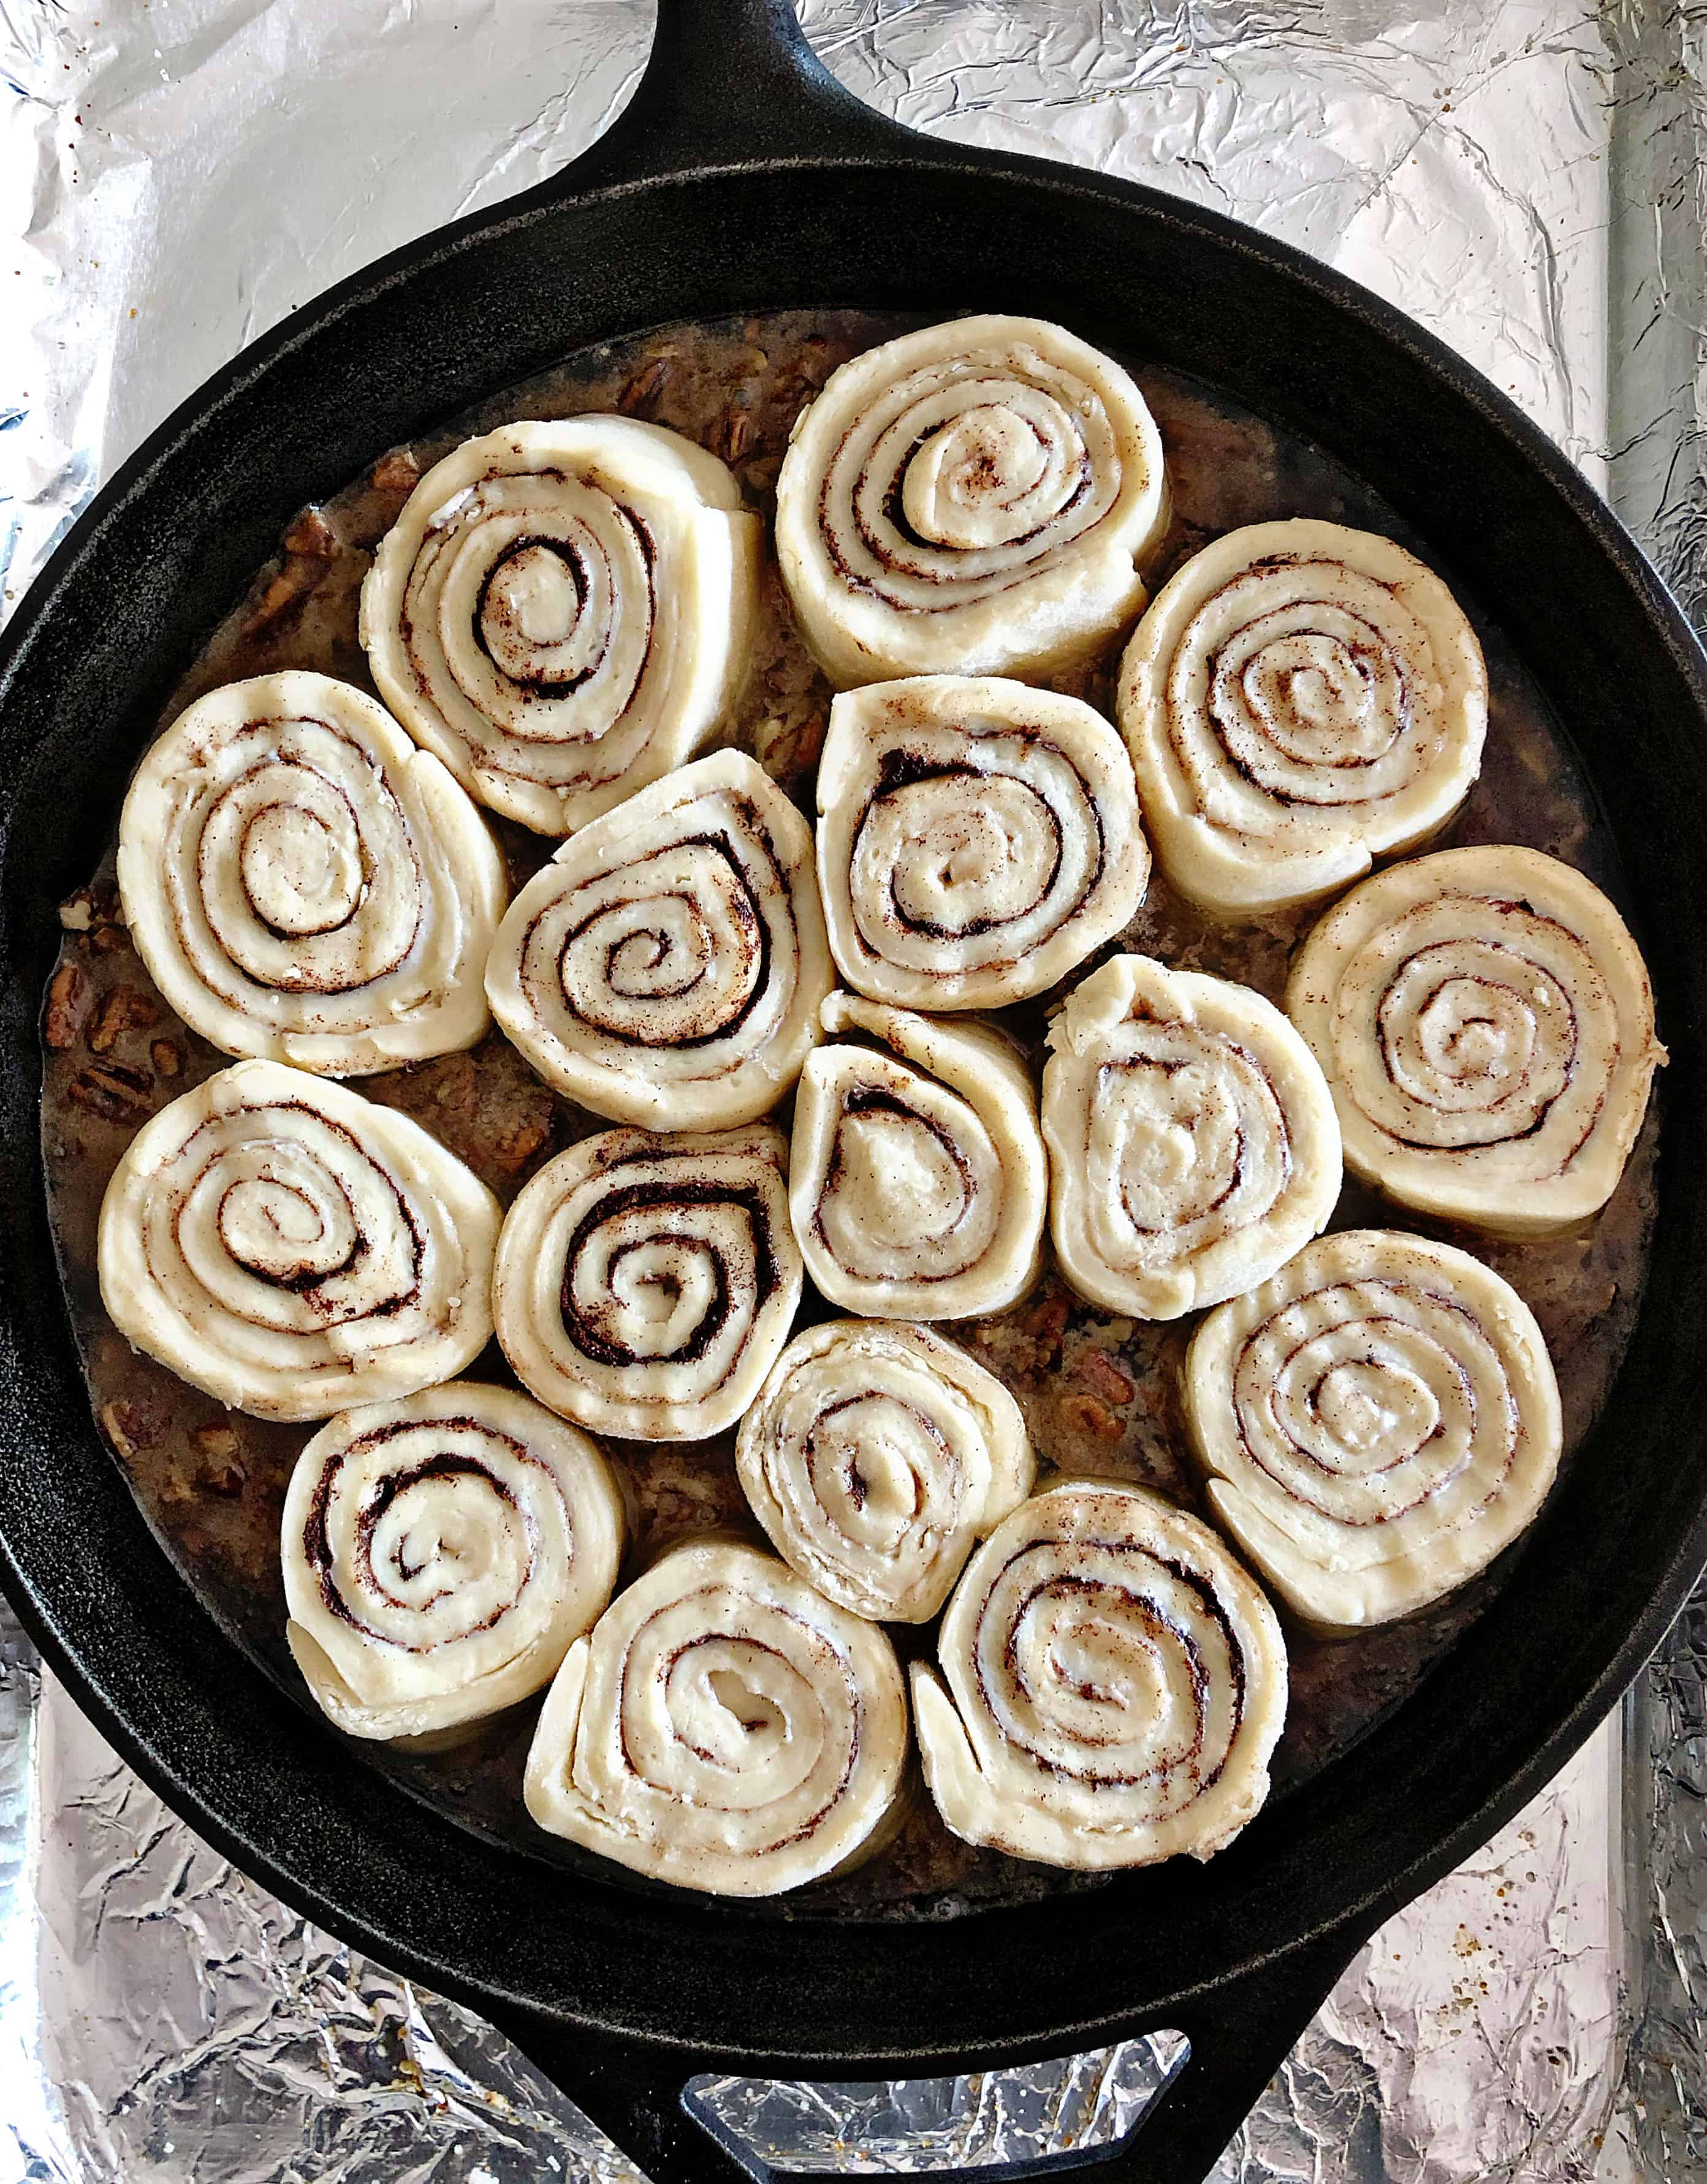
Sixteen rolls fit perfectly in the 12-inch skillet.
Cover the buns with a kitchen towel and let them sit for 20 minutes on the counter. (Not the oven!) They should rise a bit.
After 20 minutes, place the skillet back into the oven for 30-40 minutes. I placed a loose tent of foil on the buns for the first 15 minutes.
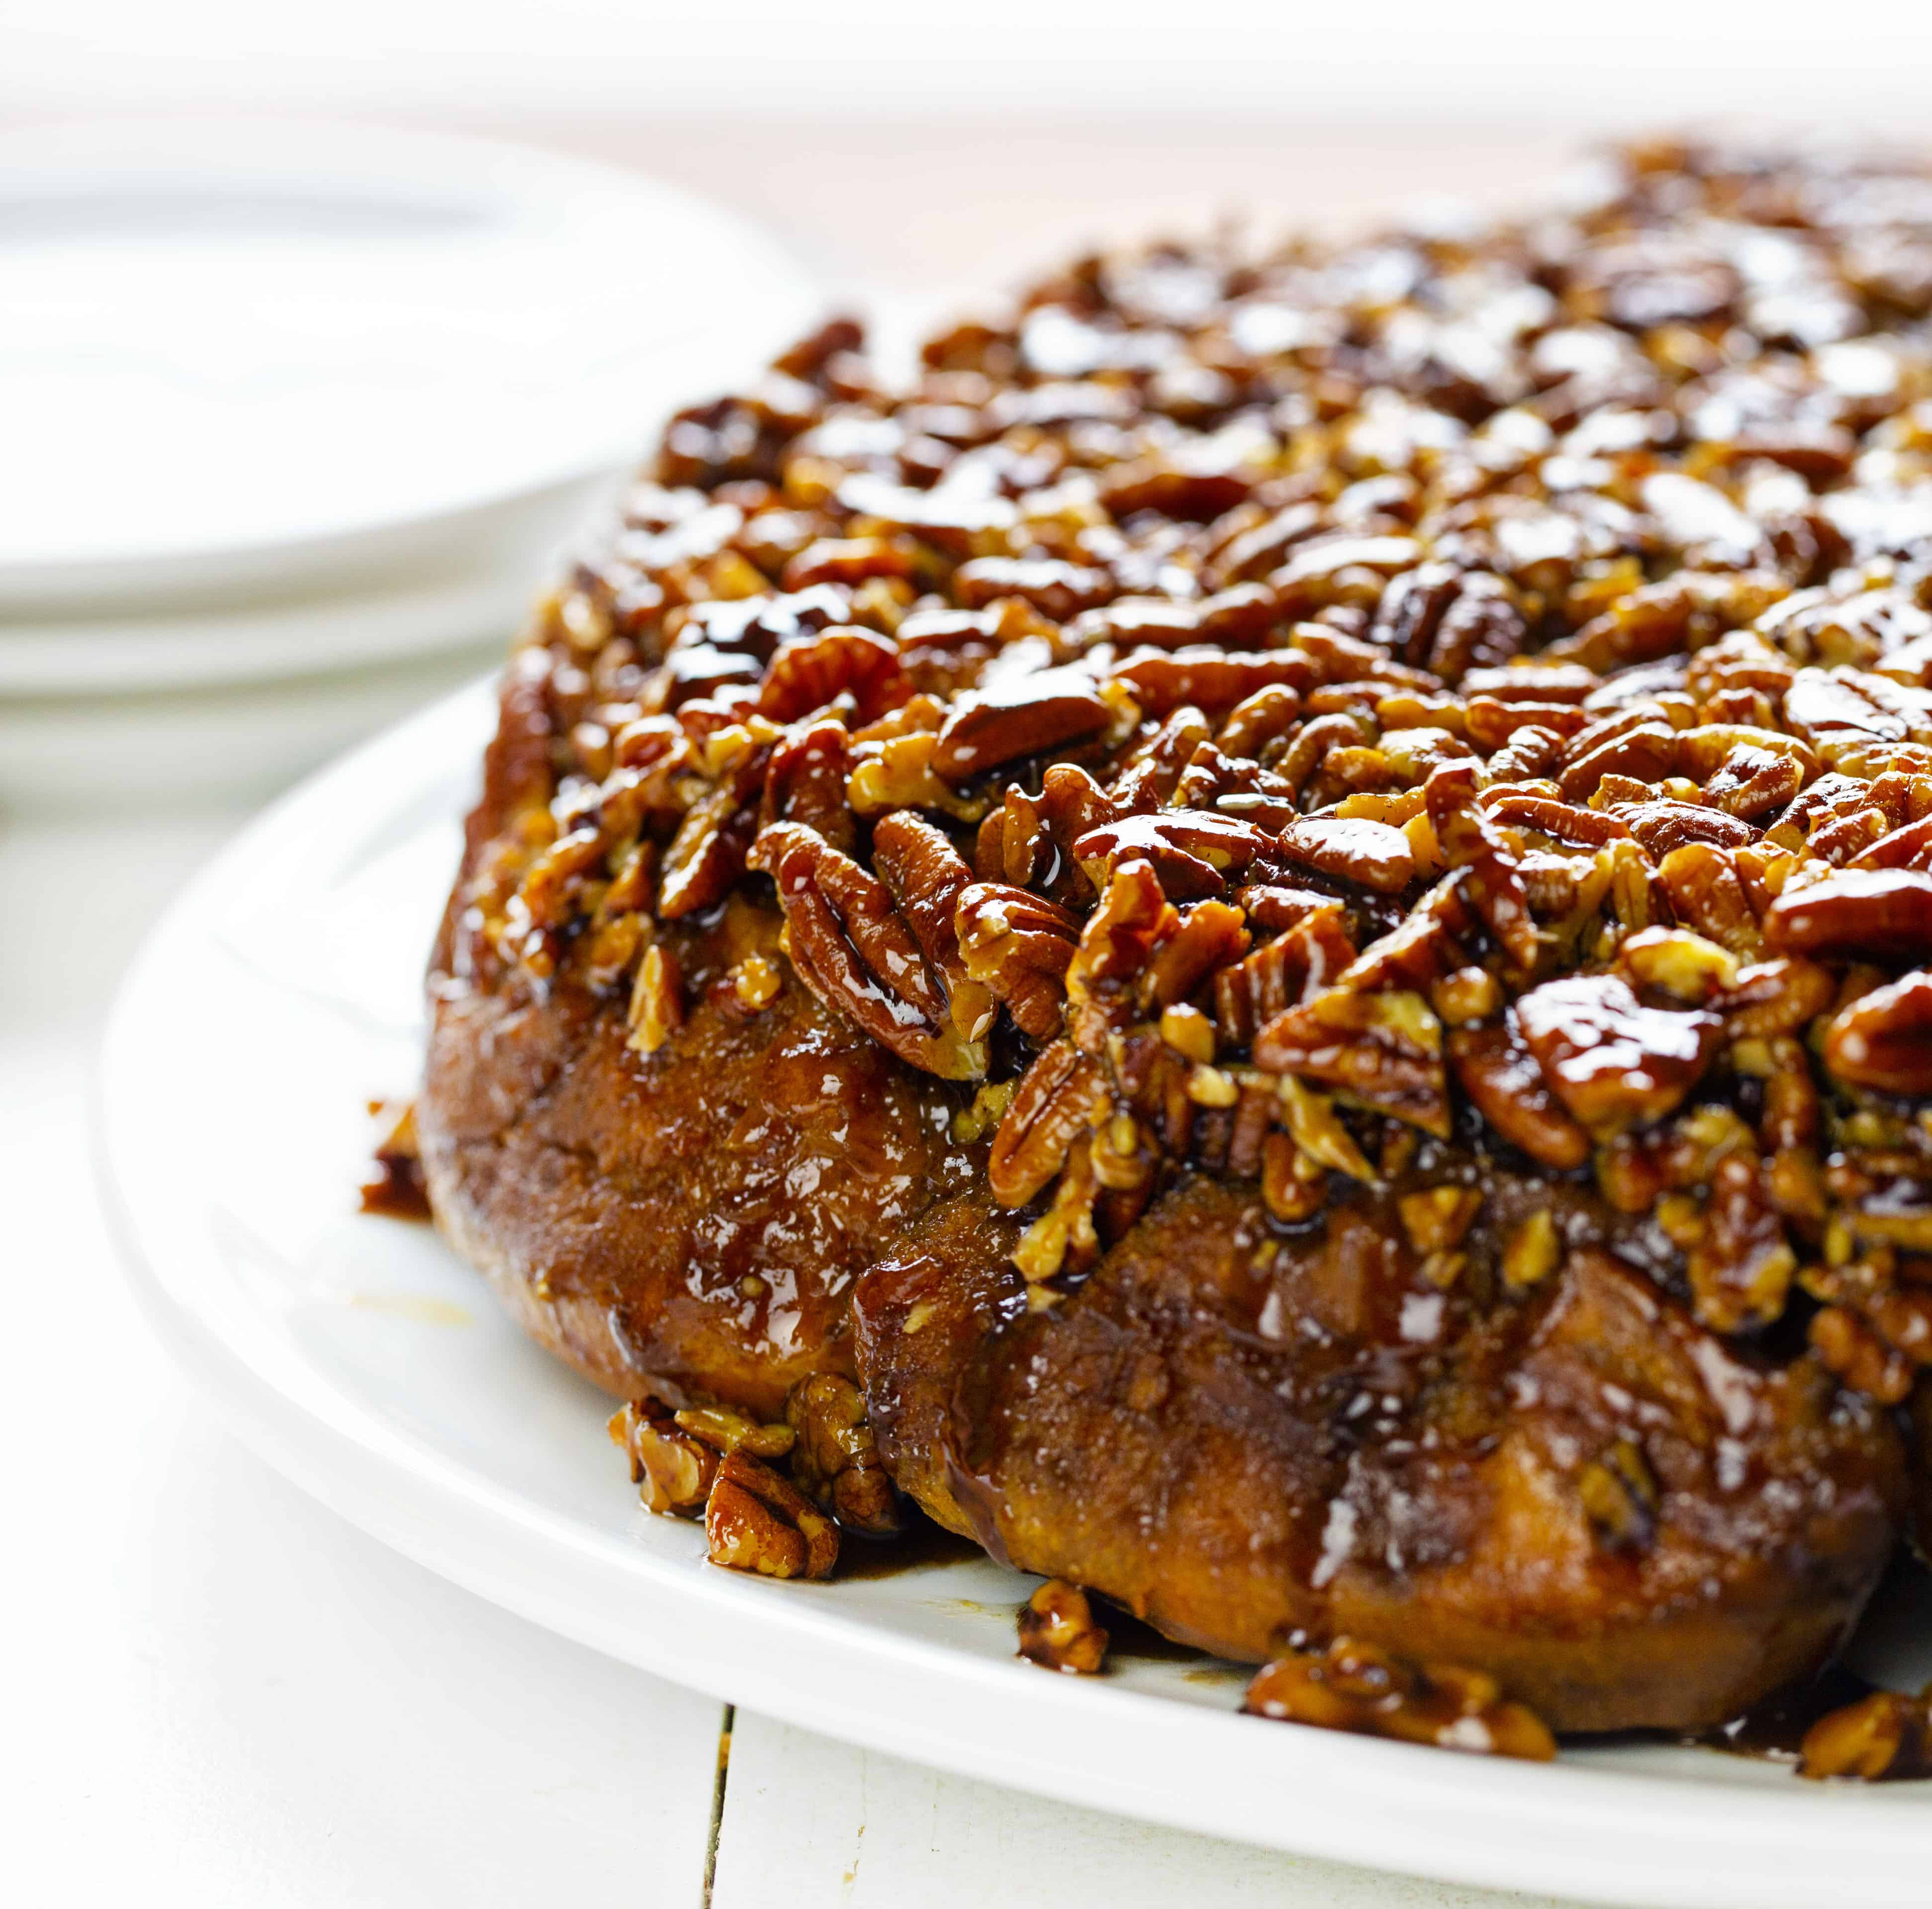
Once they are done baking, remove them from the oven and allow them to sit for 10 minutes.
Place a large serving platter on top and quickly flip the platter and skillet over so that the buns are now right-side-up on the platter. Lift up the hot skillet and be sure to let all of the sugared bits and pieces fall onto the buns!
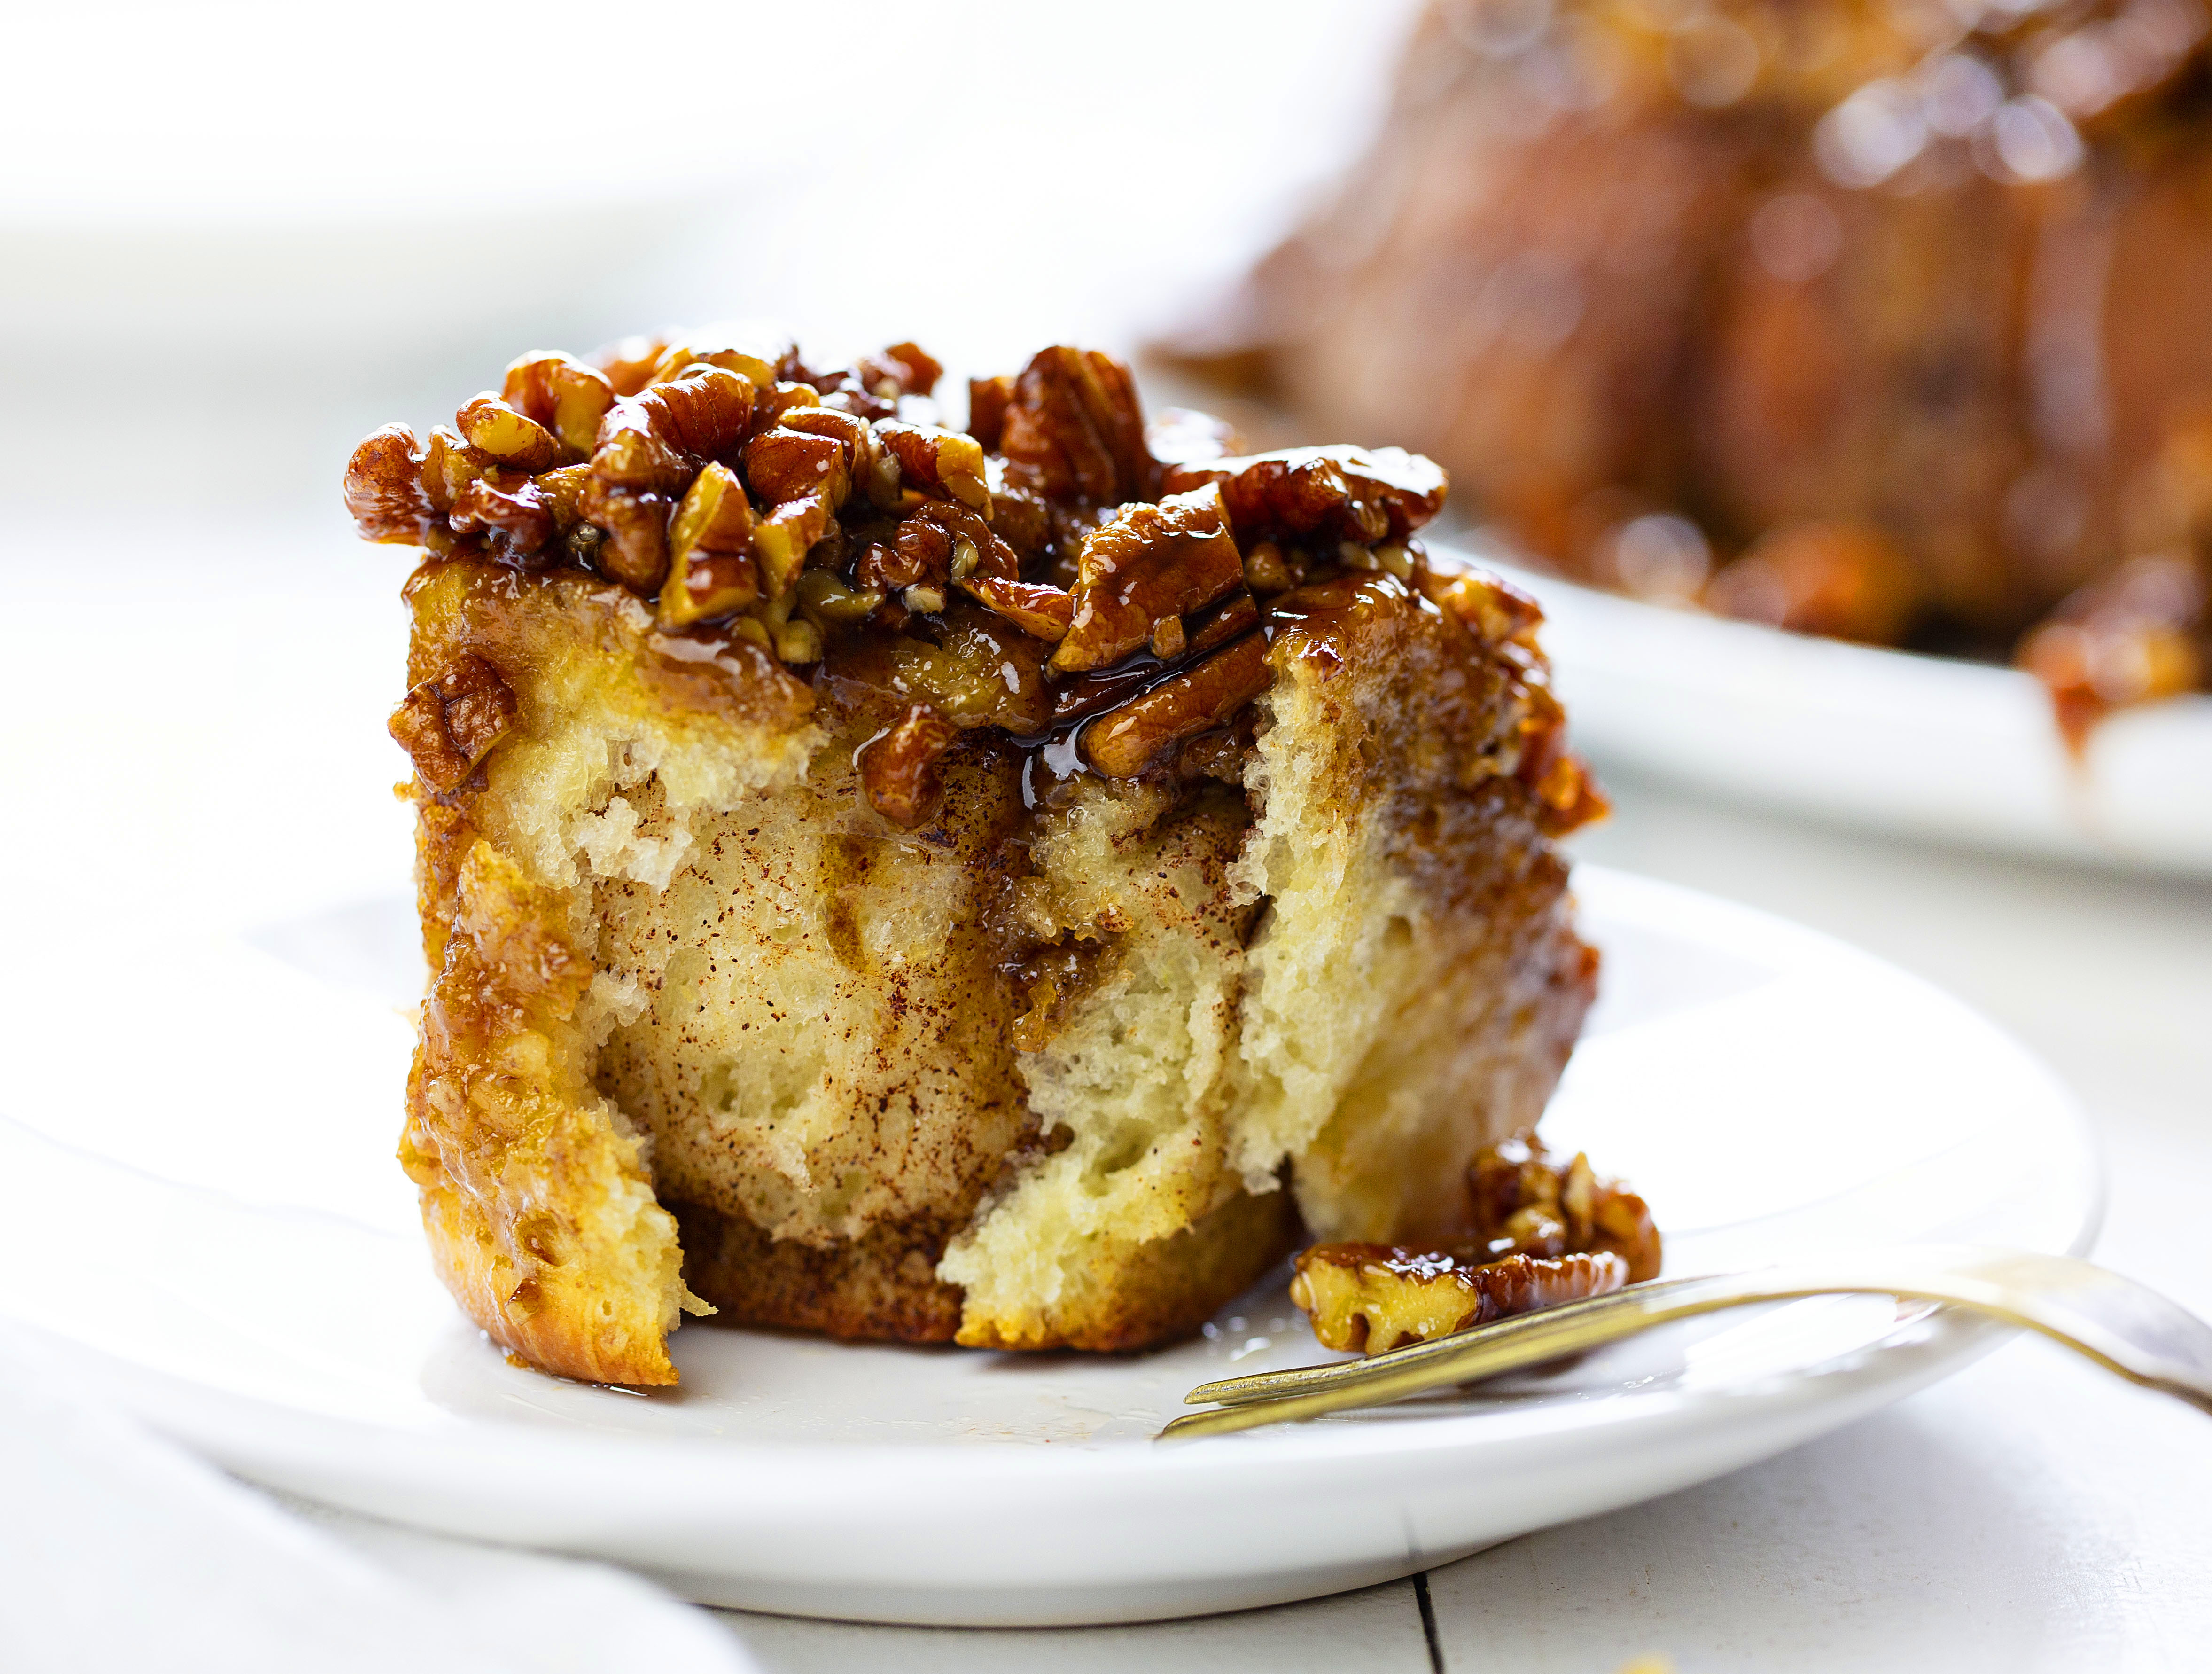
How to Serve Sticky Buns
I happen to have a large round serving platter that worked perfectly for these sticky buns. It is 16-inches in diameter which meant that glorious sweet pecan sauce could spill down over the rolls and not make a big mess!
Can you use a 9×13 dish for this recipe?
You can. Although I have not tested it (I love my skillet!) it will work. I would still use the foil-lined baking sheet underneath the 9×13 dish just in case there is spillage.
Can you Freeze Sticky Buns?
If you want to plan ahead and freeze the buns, you sure can. I prepare the rolls up to the point where they are cut into individual buns. Place them into a baking dish lined with parchment and then cover the buns with plastic wrap (pressing down gently to remove as much air as possible) and then cover the dish with foil. Place in freezer. When you are ready to use them, remove them from the freezer and allow them to warm up to room temperature, about 12 hours or overnight. Then prepare the topping and follow the rest of the instructions.
More Breakfast Recipes
Pecan Sticky Buns
Ingredients
DOUGH
- 2 cups whole milk
- ½ cup vegetable oil
- ½ cup (100g) granulated sugar
- 2¼ teaspoons (¼-ounce package) active dry yeast
- 4½ cups (562.5g) all-purpose flour, plus more for dusting
- 1½ teaspoons kosher salt
- ½ teaspoon baking powder
- ½ teaspoon baking soda
DOUGH FILLING
- ½ cup salted butter, very soft
- 2 tablespoons ground cinnamon
- 1 cup (200g) brown sugar
TOPPING
- 1 cup (226g) butter, melted
- 1½ cups (300g) firmly packed light brown sugar
- 2 tablespoons honey
- 1 teaspoon of kosher salt
- 1 teaspoon vanilla extract
- 1 tablespoon whiskey, optional (I used Wild Turkey)
- 2 cups pecan halves, roughly chopped
Instructions
DOUGH
- In a medium bowl add milk and heat in the microwave for 2 to 2 1/2 minutes, or until it reaches 110°F. Add in the oil, sugar, and stir until dissolved.
- Sprinkle yeast on top of the milk mixture, and let it sit for 1 minute.
- In a large bowl, add 4 cups of flour. Pour the milk & yeast mixture over the flour and stir until just combined. It should be wet and sticky and warm in temperature.
- Cover with a kitchen towel, and let sit in a warm place for 1 hour.
- After the dough has rested for 1 hour, remove towel. It should look the same. Add salt, baking powder, baking soda, and remaining ½ cup flour.
- Knead to combine. (If you use a large enough bowl, you can knead the ingredients together right in the bowl.)
- Cover and chill 1 hour.
MAKE THE TOPPING
- Melt butter in a medium microwave-safe bowl. Add in the brown sugar, honey, salt, vanilla, and whiskey (if adding). Stir well and make sure there are no lumps. Set aside.
PREPARE DOUGH & DOUGH FILLING
- Preheat oven to 325°F.
- Roll dough into a 30×10-inch rectangle on a floured surface. (Such as a clean countertop)
- Using a clean hand, spread the soft butter over the surface of dough, making sure spread evenly and covering all of the dough, right up to the edge. Sprinkle with 1 cup brown sugar and then sprinkle with cinnamon.
- Starting on the long side, roll up dough, jelly-roll fashion. Cut roll crosswise into 16 equal slices, and set aside. (Cut in half at the center, now cut each new section in the center, then cut each new section in half. This should be 16 pieces.)
- Set a 12-inch cast-iron skillet on top of a foil-lined and rimmed baking sheet. Place pecans in bottom of skillet, and pour the butter and brown sugar (the TOPPING) mixture on top.
- Place skillet in oven until sugar mixture is slightly foamy and bubbling, about 10-15 minutes.
- After the 10-15 minutes, remove from oven and place rolls, cut side up, on top of melted and bubbling sugar. (Place the rolls carefully around the edges making sure to not touch the hot skillet)
- Cover and let rolls rise, about 20 minutes.(This is outside the oven! Do not place rolls back into oven until they have risen for about 20 minutes!)
- Return skillet to oven, and bake at 325°F until rolls are golden brown and sugar is brown and sticky, 30 to 40 minutes. (I covered the rolls with a loose foil tent for the first 20 minutes. This is optional.)
- Remove baking sheet with skillet on it from the oven and let cool 15 minutes. Invert rolls onto a large serving platter. Best served warm!
Did you make this recipe?
Thank you for making my recipe! You took pictures, right? Well go ahead and post them on Instagram! Be sure to mention me @iambaker and use the hashtag #YouAreBaker.



These turned out OK but were way too sweet for my taste. If I make them again I will bake the buns and bake them first then cut the topping in half and after getting it bubbly I would add the buns out of the oven and let set for a bit then turn it out.
Making these this morning (made the dough last night.) I do have one comment because I didn’t see it covered. Make sure that the milk mixture is cool enough not to kill the yeast. Mine was still almost 160F after 30 min. This will kill the yeast and it will never rise. Took almost an hour to get below 110F (the max temp I work with yeast at.)
These look delicious! I do not have a cast iron pan, what other pan would you suggest?
Hi, Emily! I work with iambaker and am happy to help with questions. We have not made the sticky buns in a different pan, so I can’t speak to its effectiveness. You could try a 9×13-inch baking dish, but the baking time could be affected. I hope this helps, and have a great day!
Hi, I just have a question. I would love to make these but my husband Is allergic to nuts. Do you think it will be ok without them? Do I need to change any of the filling or topping ingredients?
Thank you, Athena
Hi Athena – I don’t recommend this recipe if there are nut allergies.
The recipe looks great! I’m just asking if the flavor is destroyed by leaving the pecans out. I understand about but allergies, the only problem with the whole recipe is the pecans. Does it ruin it to leave them out? I’m sorry to bother you, btw.
Thank you
I’d like to send a picture of these delicious sticky buns but there are none left.
Thank you for writing out all the details!! I appreciate a good “story” explanation allllmost as much as making the dish. We’re having another lowkey Easter, so these sticky buns will be a great way to make it feel extra special.
This looks amazing!! We are a non-alcoholic household. Is there a substitute for the whiskey? Thanks!
In the instructions, number 8 says to “cover and chill one hour”. Does it need to be refrigerated one hour, or just set aside on the cabinet while ingredients cool? It looks delicious! Can’t wait to make it!
Excellent recipe. Why YEAST and all BAKING POWDER???