Creating a surprise-inside cake can be an easy experience and is always a fun one. This Santa’s Belt Surprise-Inside Cake is sure to delight all who see it!
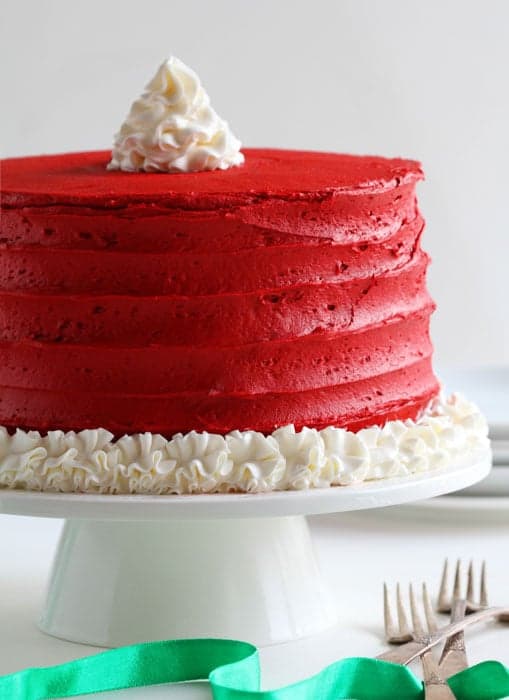
There are a lot of instructions for a surprise-inside cake so let’s jump right on. (I have also made a video below)
I used box mix to save myself some steps. Feel free to use your favorite from-scratch recipes. Here is my favorite for Red Velvet Cake as well as Chocolate Cake.
2 boxes red velvet cake mix
1 box chocolate cake
1 recipe of buttercream
1 recipe of whipped buttercream
red food coloring
3-inch round cookie cutter (can also use a kitchen cup as a guideline)
3 1/2-inch round cookie cutter (can also use a kitchen cup as a guideline)
sharp paring knife
small & large offset spatula
piping bags
large open round decorating tip (like a 2D or 1M)
open round tip, like a #10 or #12
rotating cake stand
Start by baking your cakes. I made all my cakes in 8-inch round cake pans. In total, I had 4 red velvet layers and 2 chocolate layers. For this cake, we only need THREE red velvet layers and ONE chocolate layer. (Wrap the extra layers in plastic wrap and freeze until you need them.)
Chill layers of cake until ready to begin. You will want to work with cold cake, but not totally frozen.
Prepare 1 full buttercream recipe (The first link above. This recipe makes about 5 cups of frosting and you will all of this for in between layers as well as the exterior of the cake.) and tint red. I added extra liquid to my frosting as I wanted it to be very easily spreadable. I used two 1-ounce bottles of McCormick red food coloring. (Remember that color often darkens the longer it sits out.)
Prepare the recipe of whipped buttercream. Remove 1 cup of frosting and tint grey. (I added 2 drops of McCormick black food coloring.) Remaining buttercream can stay white as this is the frosting you will use on the exterior of the cake.
When you are ready to start, place chocolate cake on a flat surface. Press the 3-in. cookie cutter into the center of the cake. (If you are using a kitchen glass as a guide; place the cup against the cake to make an indentation in the cake. Using a sharp paring knife, insert the knife at a completely vertical angle and cut around the circle. Make sure you are cutting all the way through the cake.) Press all the way through and then carefully remove the center piece. Set aside as you will be using it again. (This is best done when cake is chilled!)
Now carefully place the chocolate cake layer ON TOP OF a layer of red velvet cake. Using the 3 1/2 inch cookie cutter, press through to chocolate cake and just barely into the red velvet cake.
Discard cake “ring”.
Pick up chocolate cake and repeat on another layer of red velvet cake. The point in doing this is that you will have a guideline on the 2 layers of red velvet cake.
Now take a sharp paring knife and remove a layer of the cake from the center of the red velvet cake. Use your line made by the cookie cutter as a guide. (see video for more detail) Scrape out excess cake and discard.
Place one layer of red velvet cake on parchment paper/cardboard and then on rotating cake stand. The side with the cake removed should be facing up. Place grey frosting in pastry bag fitted with an open round tip. Fill in the cut-out section of cake with grey frosting. Carefully spread red buttercream around edges. (I did this in opposite order in the video)
Place the chocolate layer of cake direction on top of red velvet layer. Place the circle of cake you initially removed from the chocolate cake BACK into the center. There will be a gap between the center piece and the chocolate cake, and this is good. Fill in the gap between the chocolate cakes with grey frosting. Pile it a little bit higher in the center. Carefully spread red buttercream around the edges.
Now invert the other layer of red velvet cake that you have removed cake from. Cover in a thin layer of red buttercream.
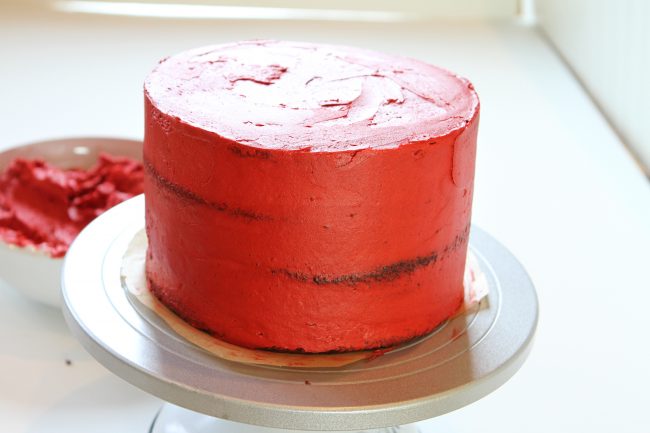
Place final layer of red velvet cake on top and cover cake in a crumb coat of red buttercream. Chill cake for at least 1 hour or up to overnight.
Place a thicker layer of red buttercream on cake. Using large offset spatula start at the bottom and move spatula around cake. This works best when you can keep the hand with the spatula still while rotating cake with your other hand. Remove excess frosting as needed. Level off top of cake.
Place white frosting in bag with an open star tip.
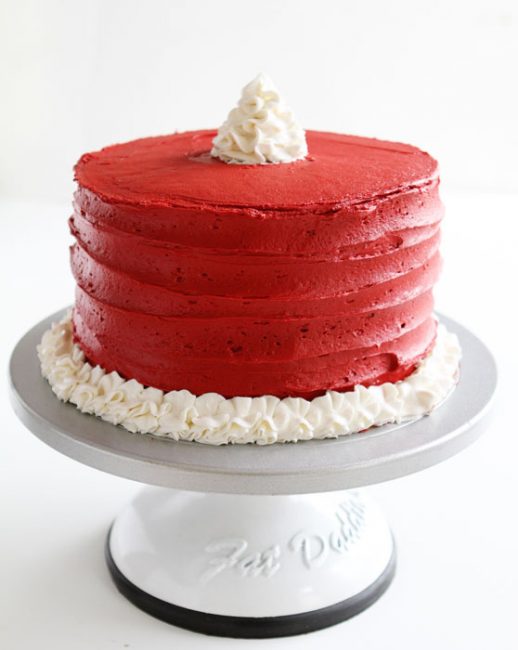
*If you are moving the cake to a cake stand, do that now. (works best if cake is chilled) I moved my cake AFTER completing the bottom row and had to re-do it. 🙂
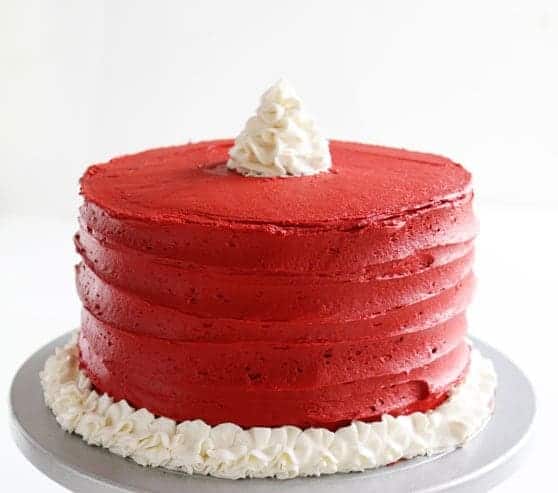
Pipe out “ruffles” at the base of the cake. Now pipe out a dollop of frosting on top of the cake in the center.
Chill until ready to serve. (because red buttercream bleeds so easy) You will want to serve this cake cold to get the best visual effects. When I removed the piece in the video my cake was room-temperature and the colors bled a little.
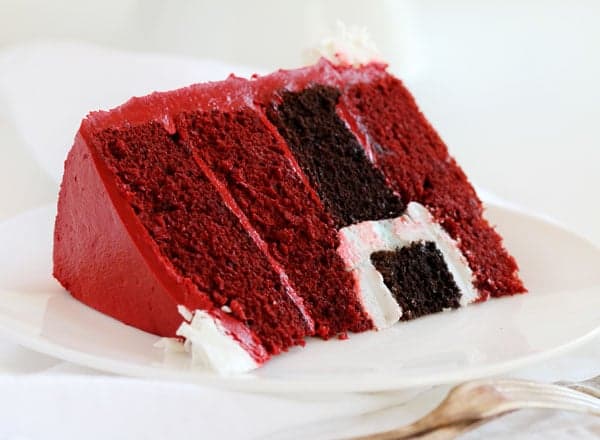
I assembled this cake in one day. It actually did not take long at all! The most time is spent chilling.
I hope all of the directions make sense once you have seen the video! If not please do let me know if you have any questions.
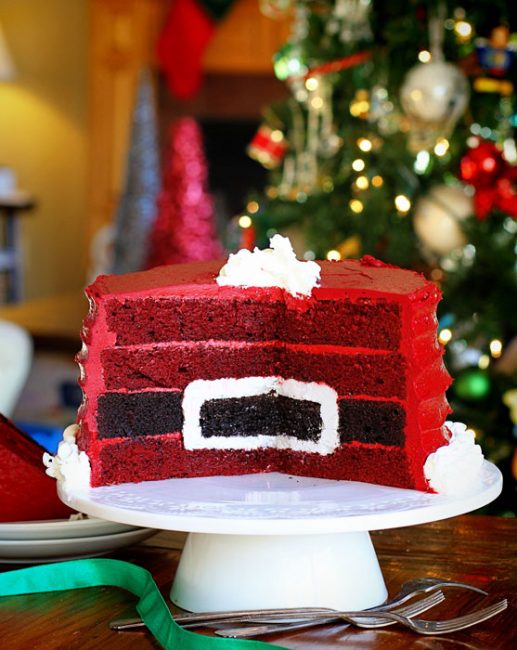
Merry Christmas and Ho, Ho, Ho, and I hope you enjoy my Santa’s Belt Surprise-Inside Cake!


Wow! So impressive!
This is so creative! I love your imagination!
You are very creative in all your cake recipes, thank you for sharing.
You, my love, NEVER cease to amaze me! This cake is divine and so jolly!
Thank you!!! I saw the same thing about you!!! 🙂
Luv this
Amanda – wonderful cake which I am going to try. I have one question: Can you use a swiss meringue buttercream instead of a regular buttercream?
i did a practice run thru of this last week since ive never done these types of cakes. i’ve also gotten your book, but this particular cake is not in there. let me ask u tho based on the picture it looks like all sides of the buckle are equal in width…and you have a 3 inch and 3.5 inch cookie cutter so should i be making the entire width about 1/2 an inch? I ask because the practice cake had kind of to much frosting taste in it and also my two sides of the buckle looked a lot fatter than the top and bottom of the buckle (i’m assuming i messed up the top and bottom measurements). If I were to make the entire buckle thinner do you think the visual impact would be lost?
Thanks. Awesome looking cake tho! If I can get it right, can’t wait to impress my family with this cake 🙂
I am trying to bake this on Christmas. Thanks for sharing recipe.
.
Thank you for this recipe. I am looking forward to make this recipe. However please can you let me know what is the cup measurement to divide the cake batters in that pans to achieve the same consistency?
i.e – the 2 boxes of the red velvet cake in the 8 inch pans how much batter should i divide it with? and the same with the chocolate cake.
Thanks
What a cute design! Love it!