This delicious Sprinkles Cake is always a crowd-pleaser. It is the perfect birthday cake or just a colorful cake for any happy occasion! If you love celebration cakes, don’t miss my Best Chocolate Cake Recipe or these Cake Decorating Ideas.
Sprinkles Cake
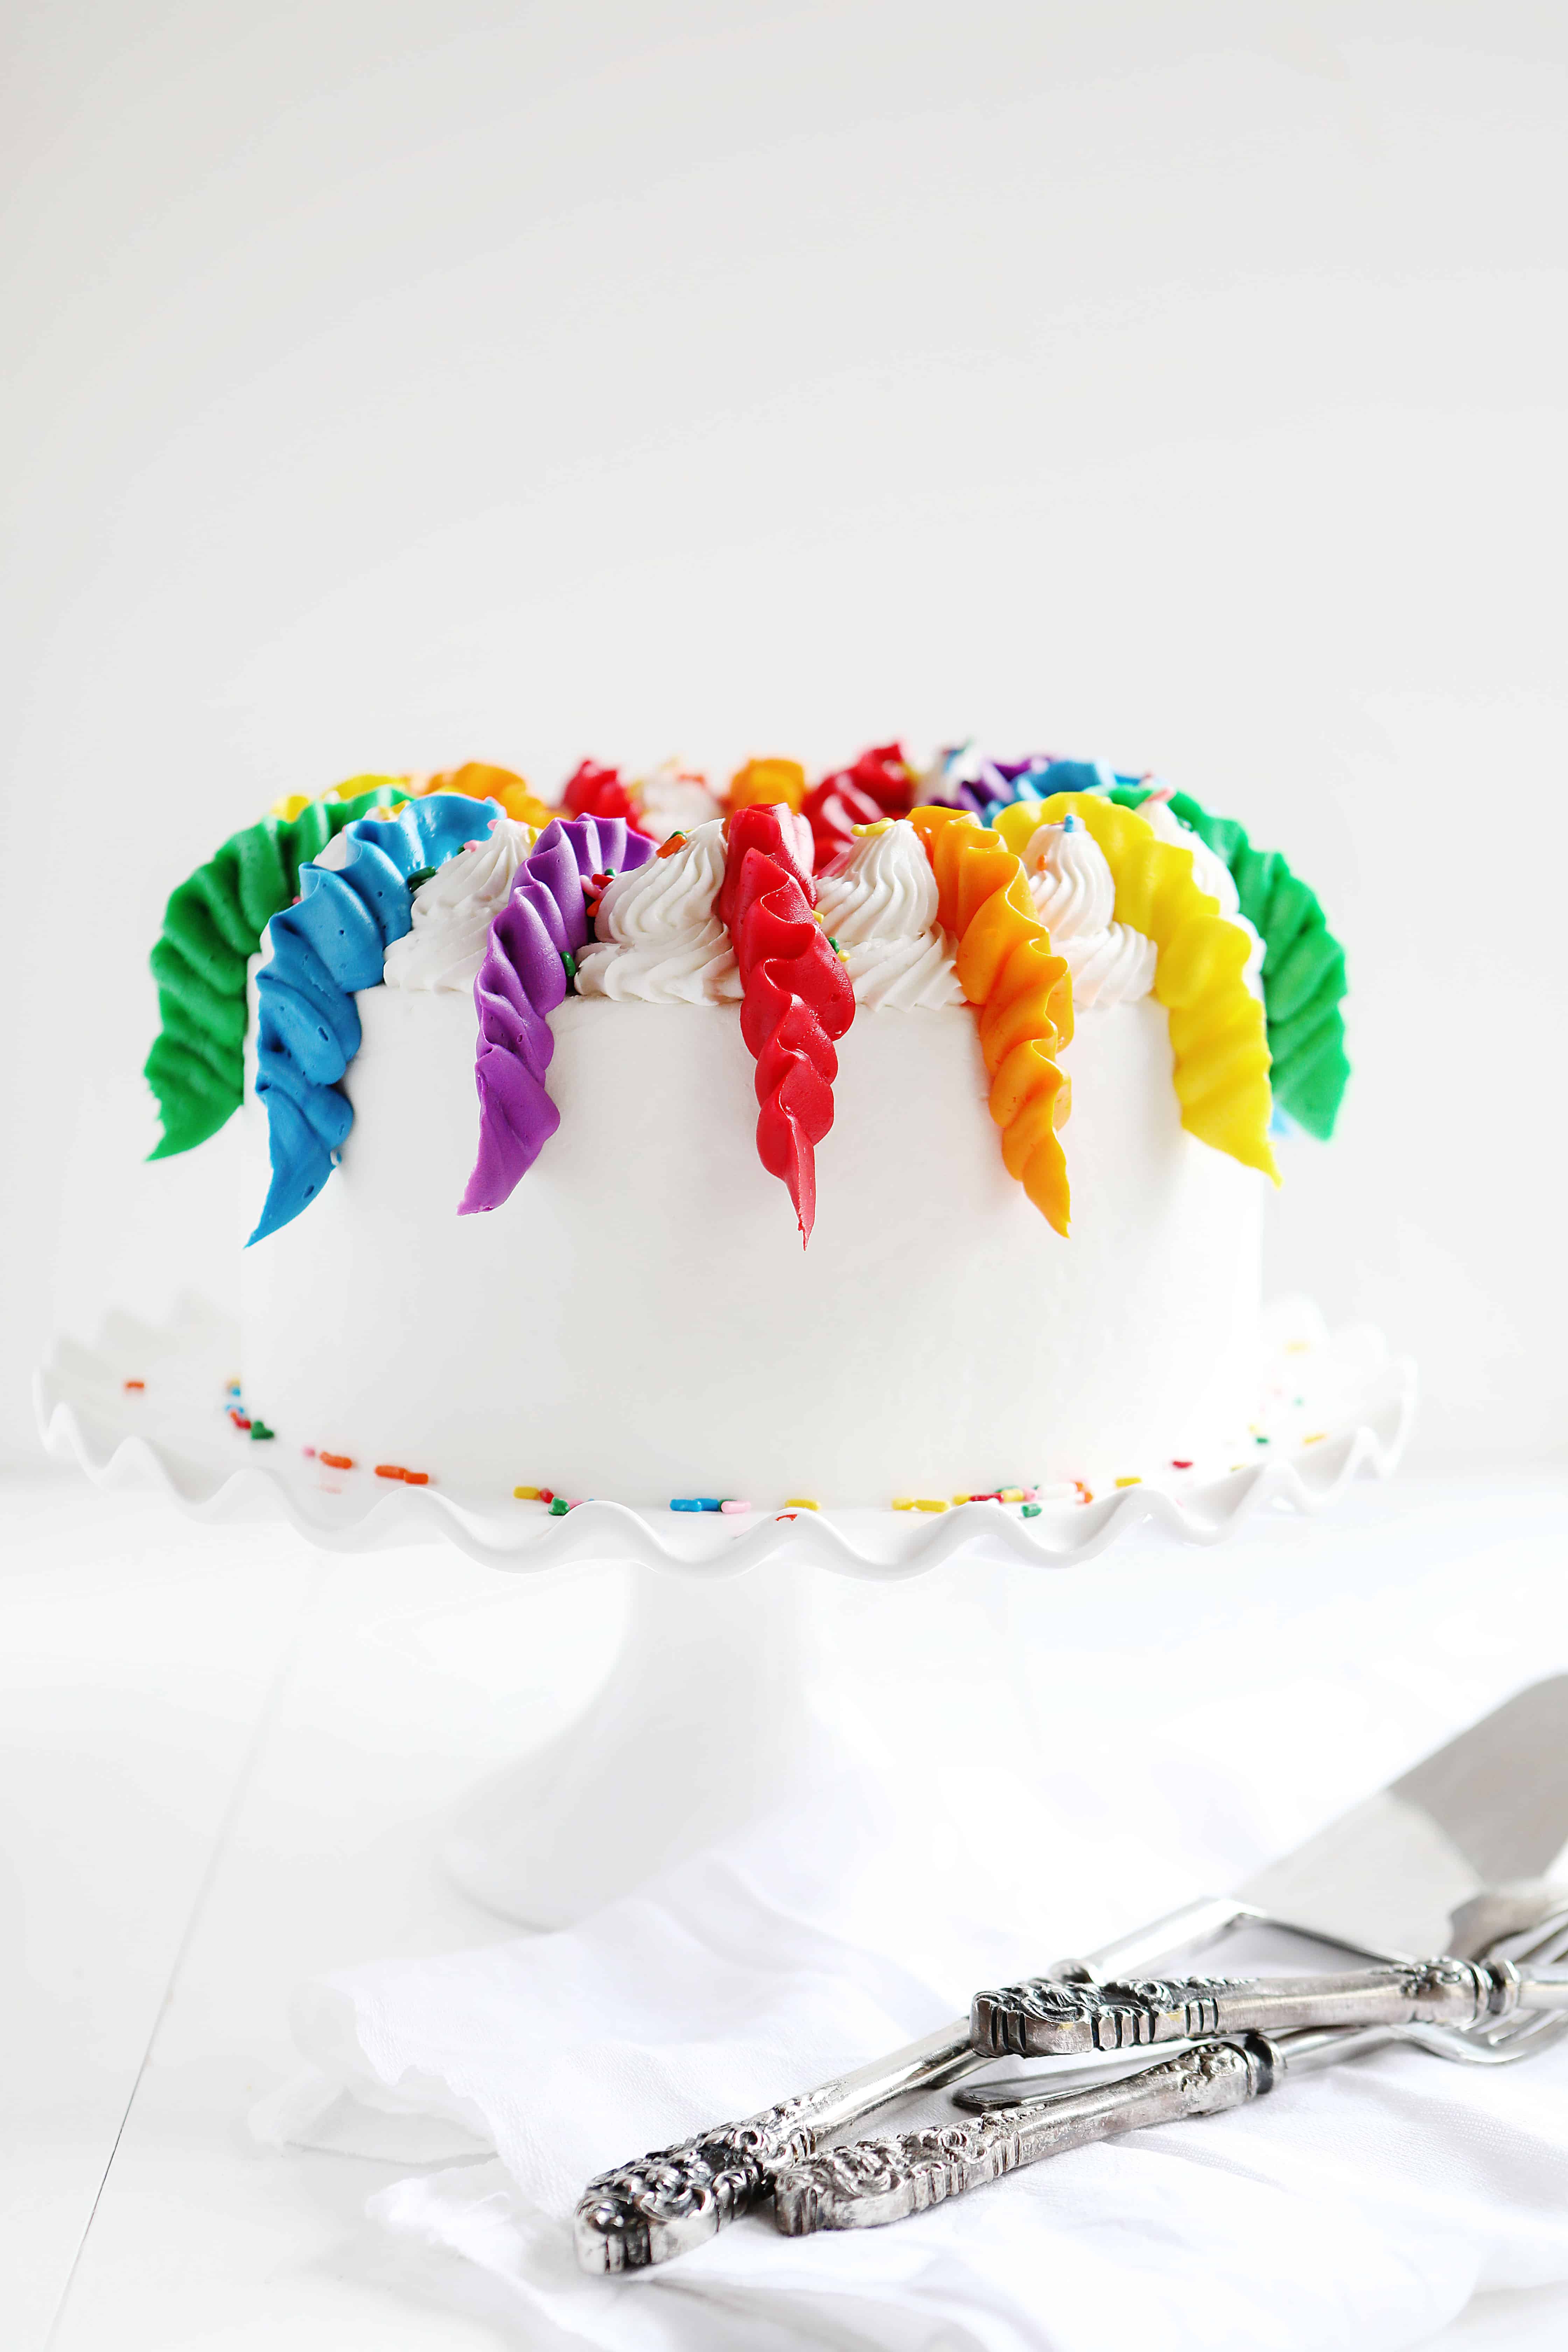
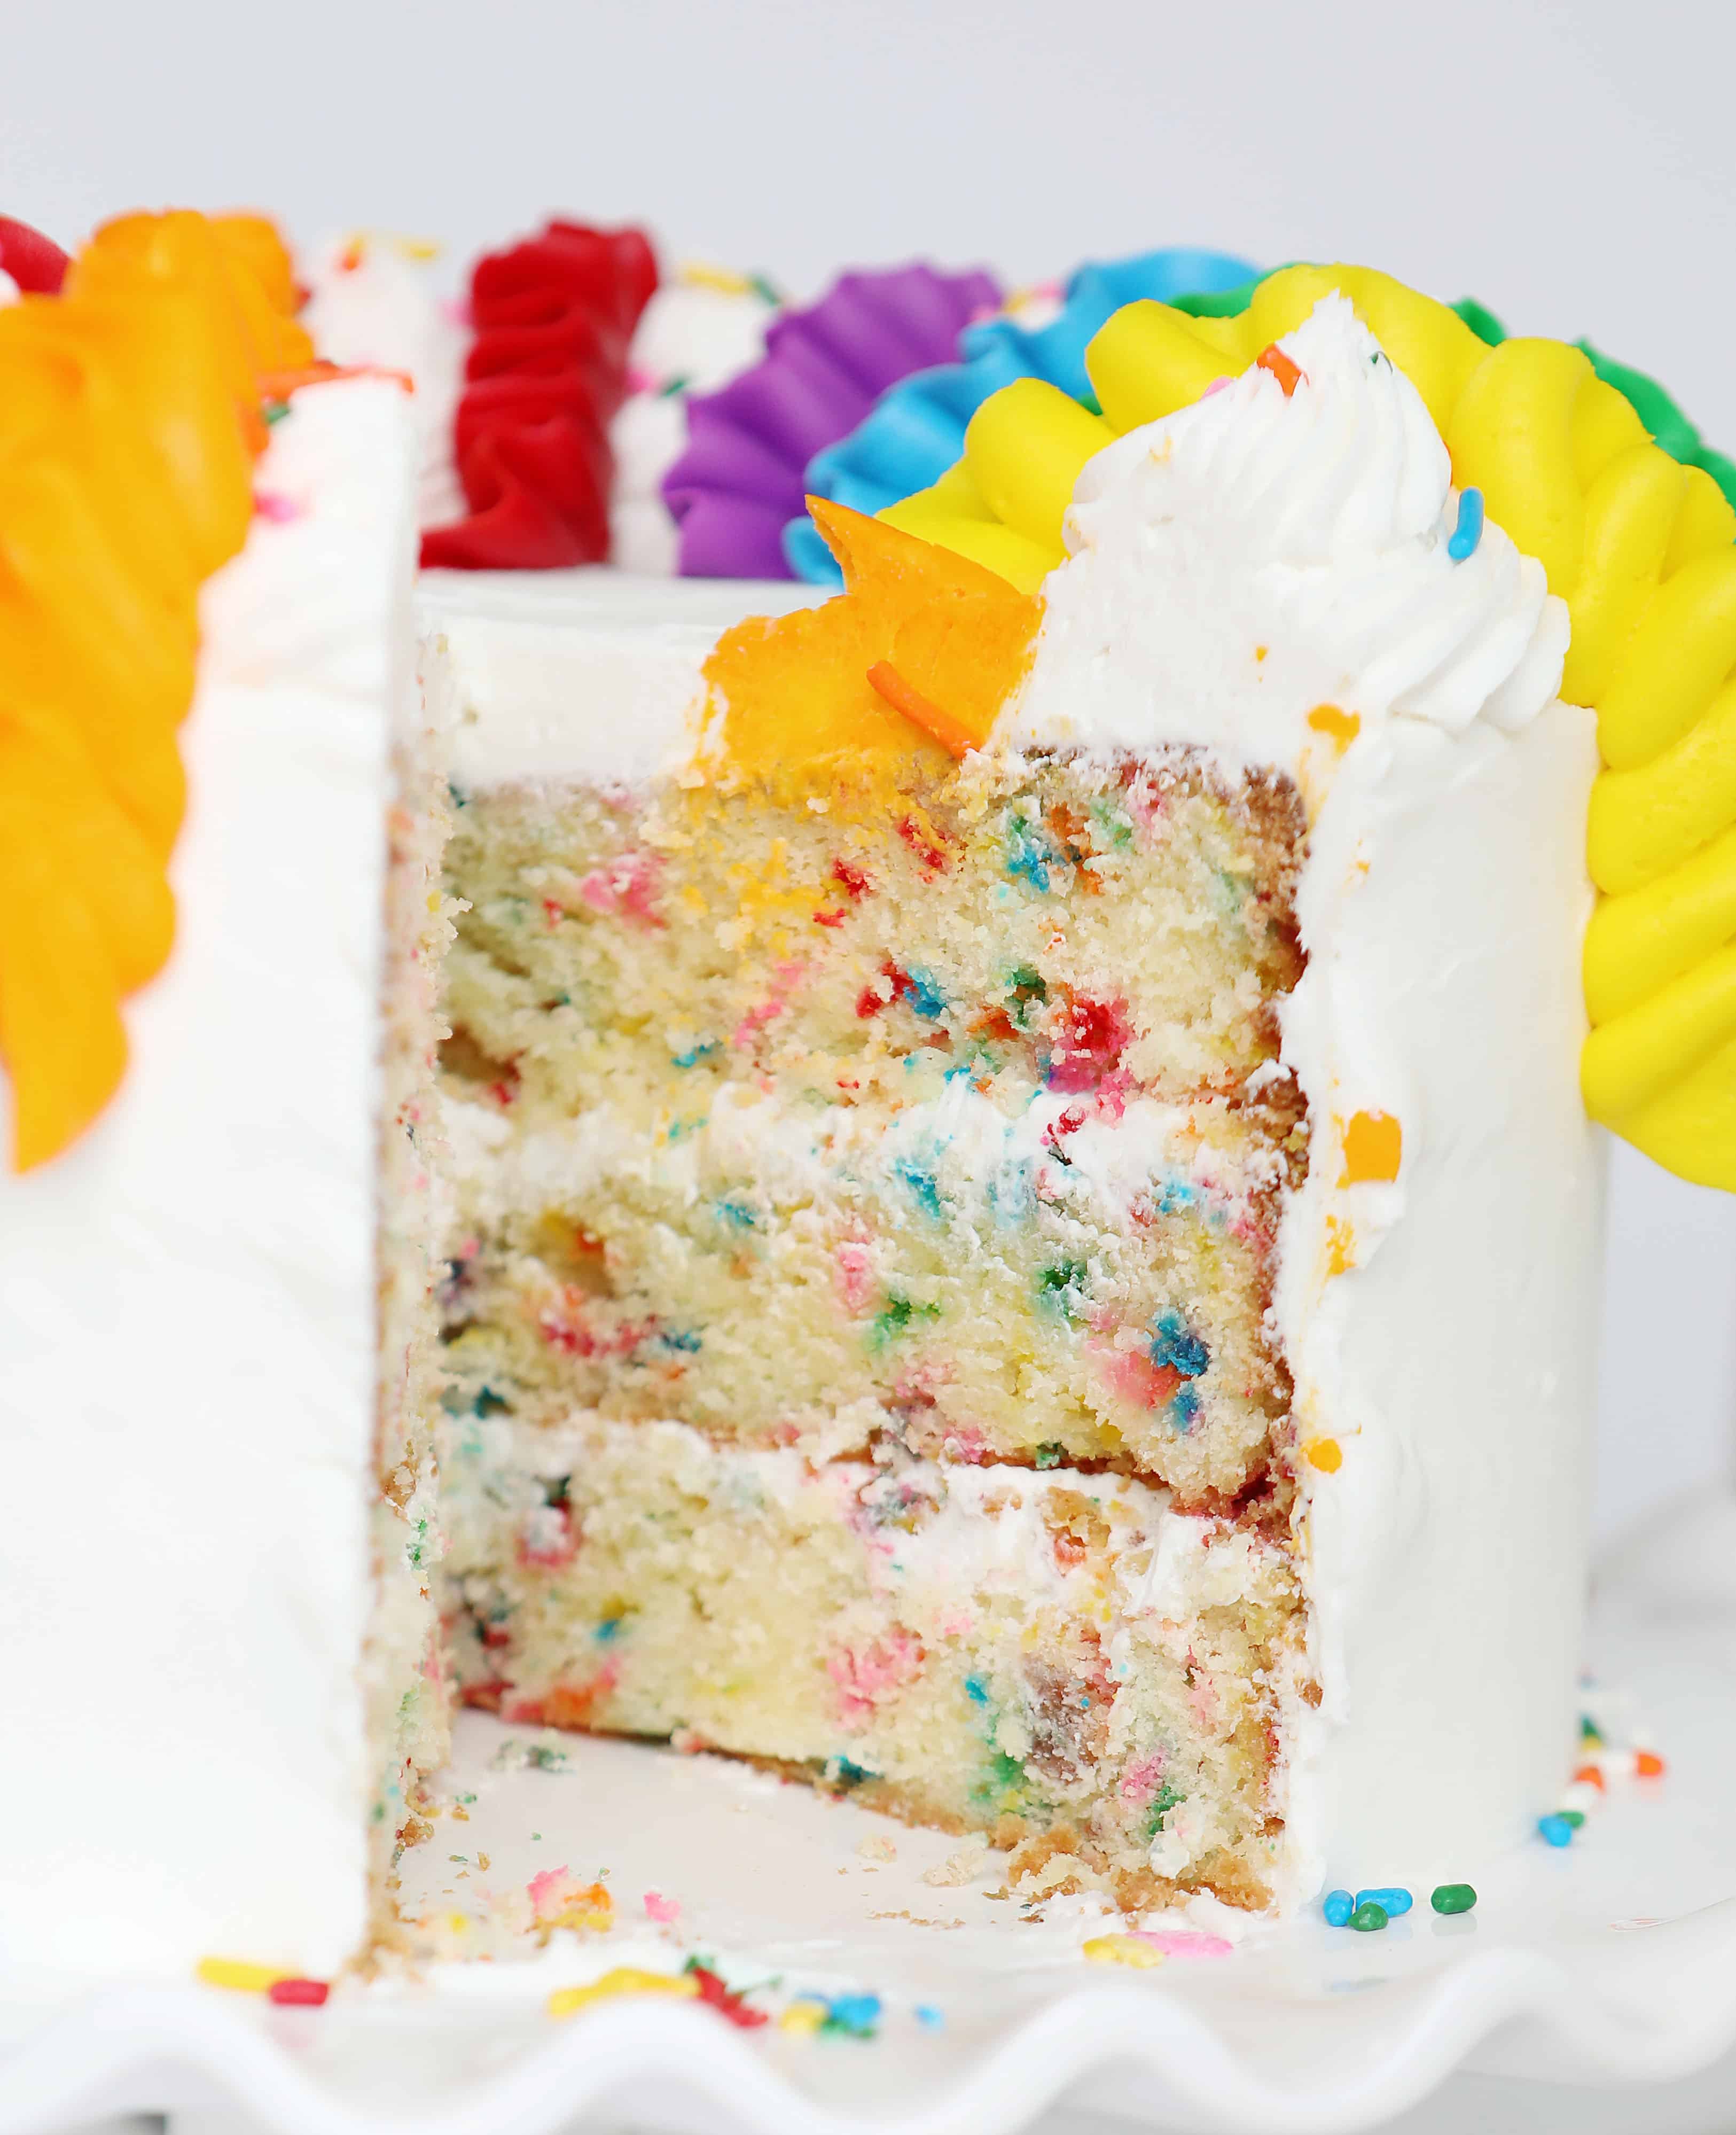
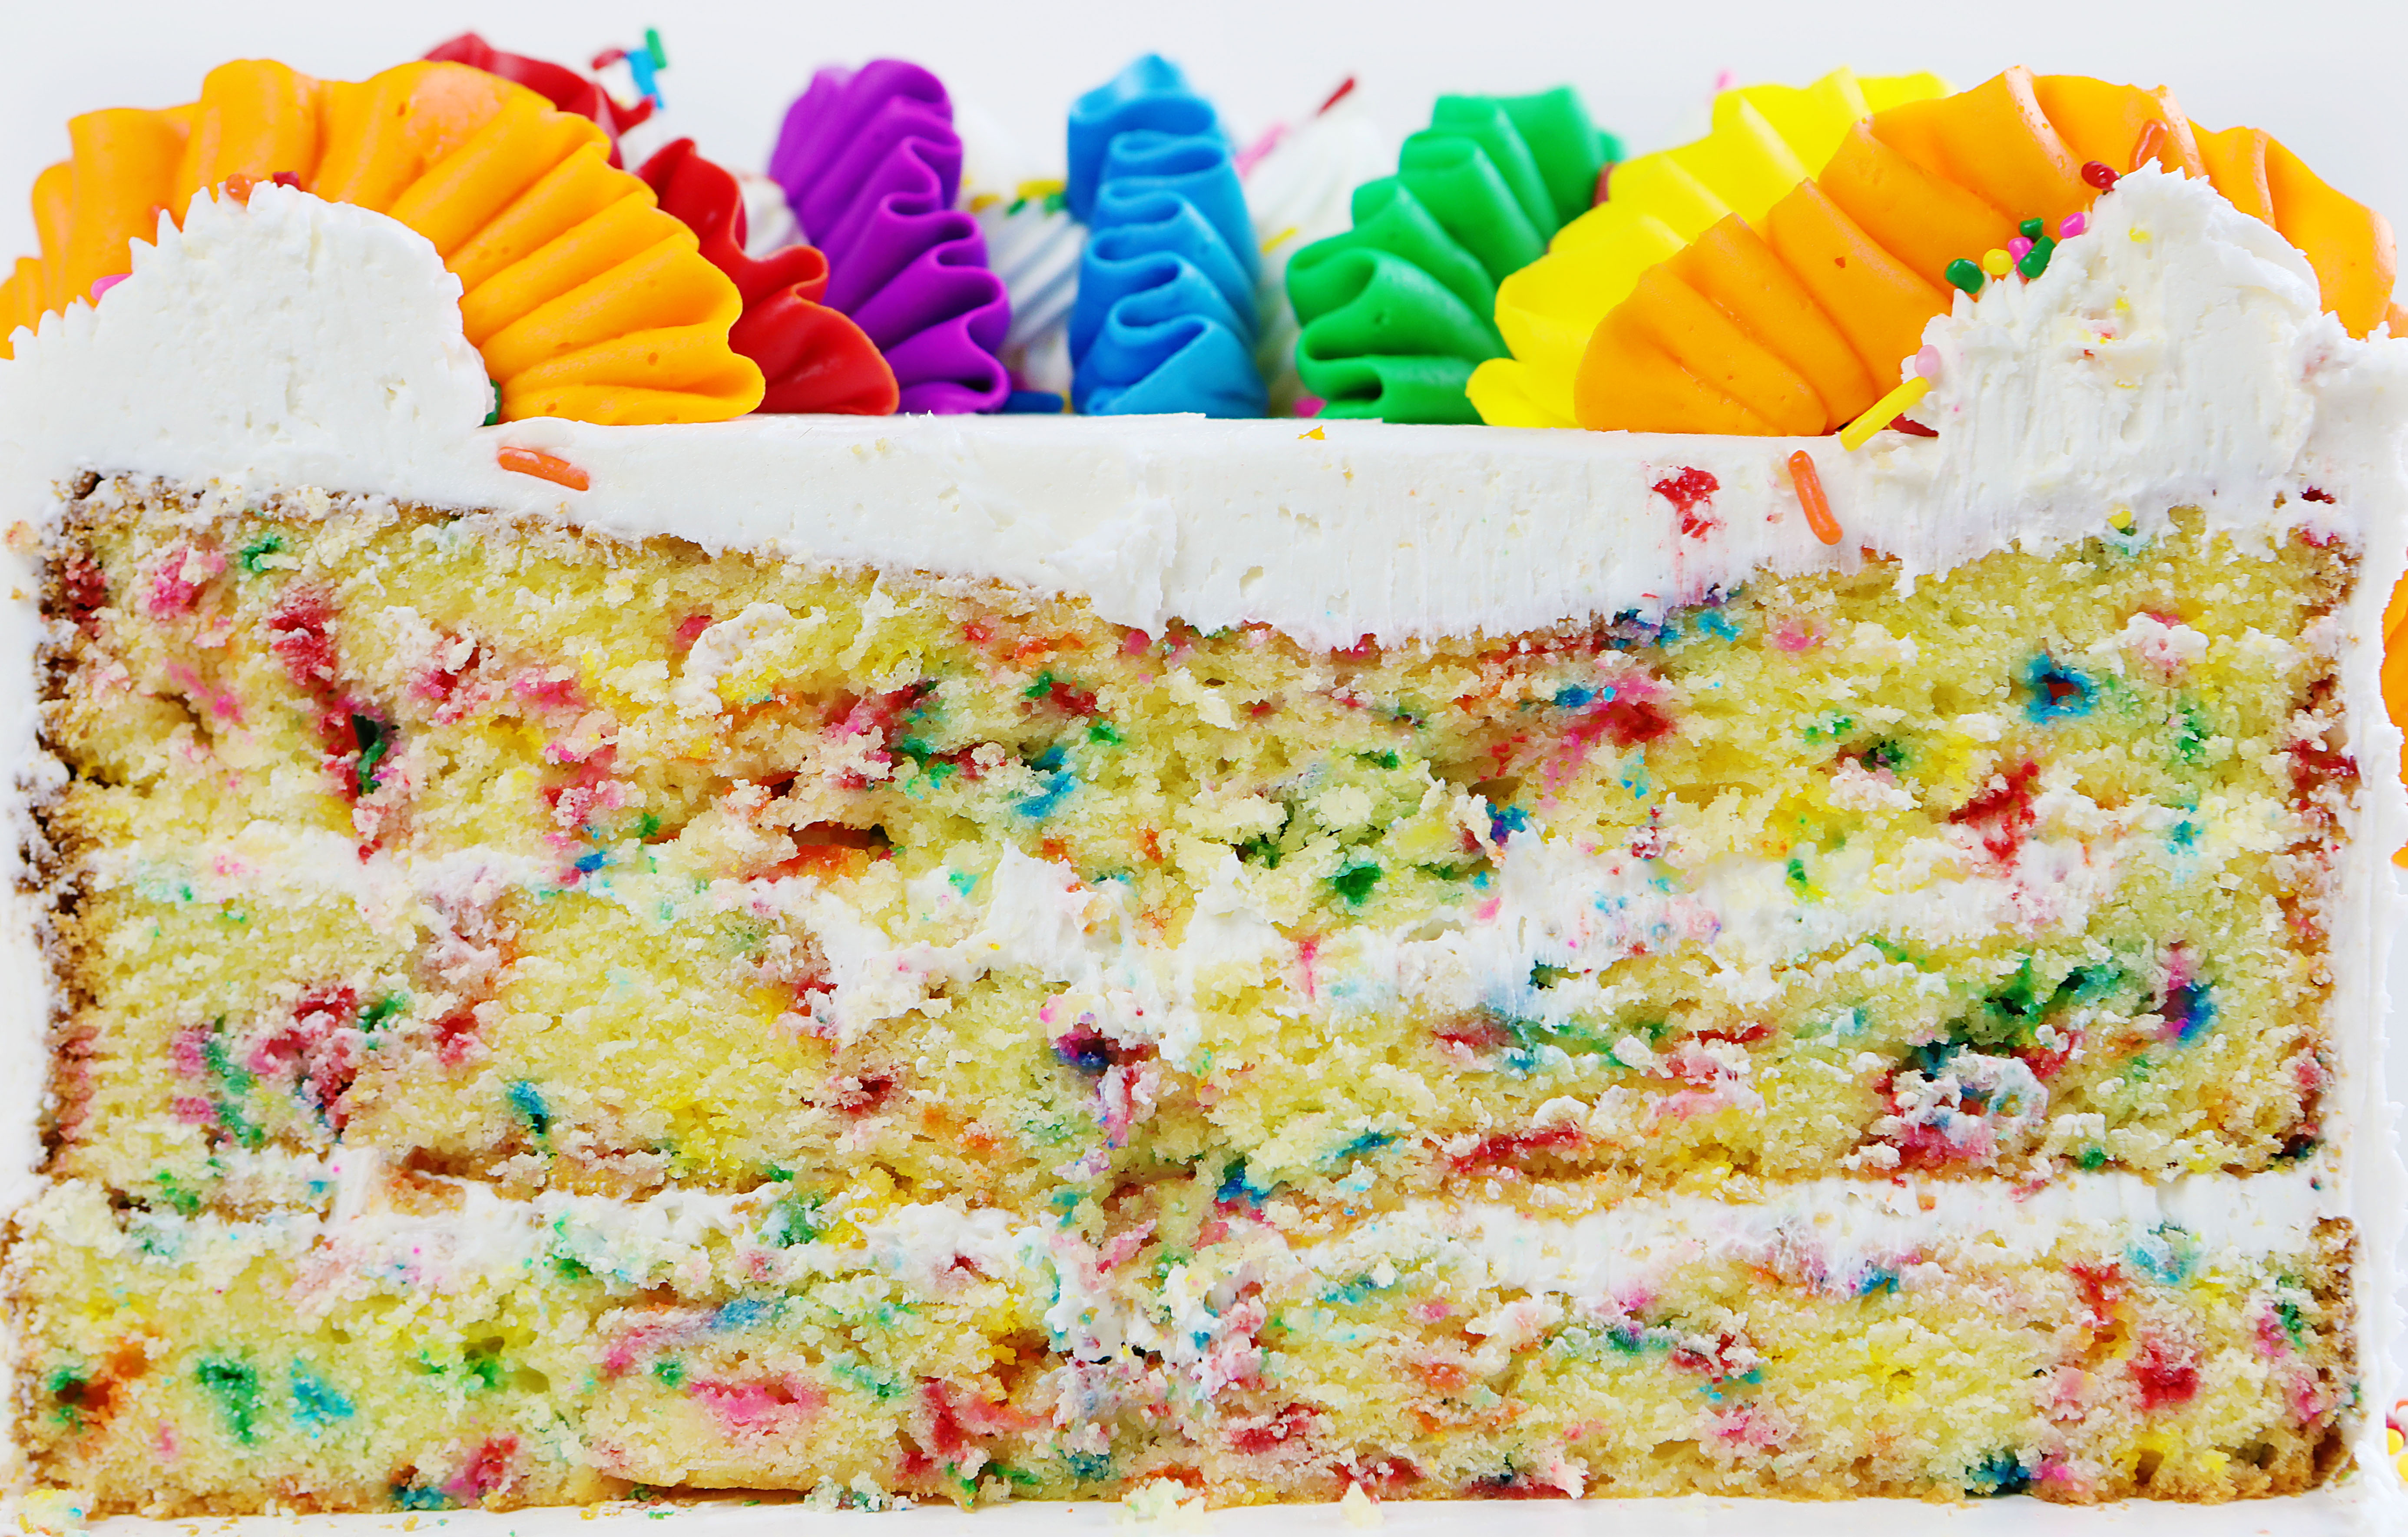
If you are looking for a delicious and FUN cake to make this is it! This sprinkles cake recipe is a big cake, 3 full layers, that packs a big flavor punch! I love to pair it with vanilla buttercream and add a few rainbow frosting ribbons. I happen to think this decorating technique is perfect for a birthday cake! Top with a few more rainbow jimmies and you have the happiest cake on earth.
Sprinkles Cake Recipe
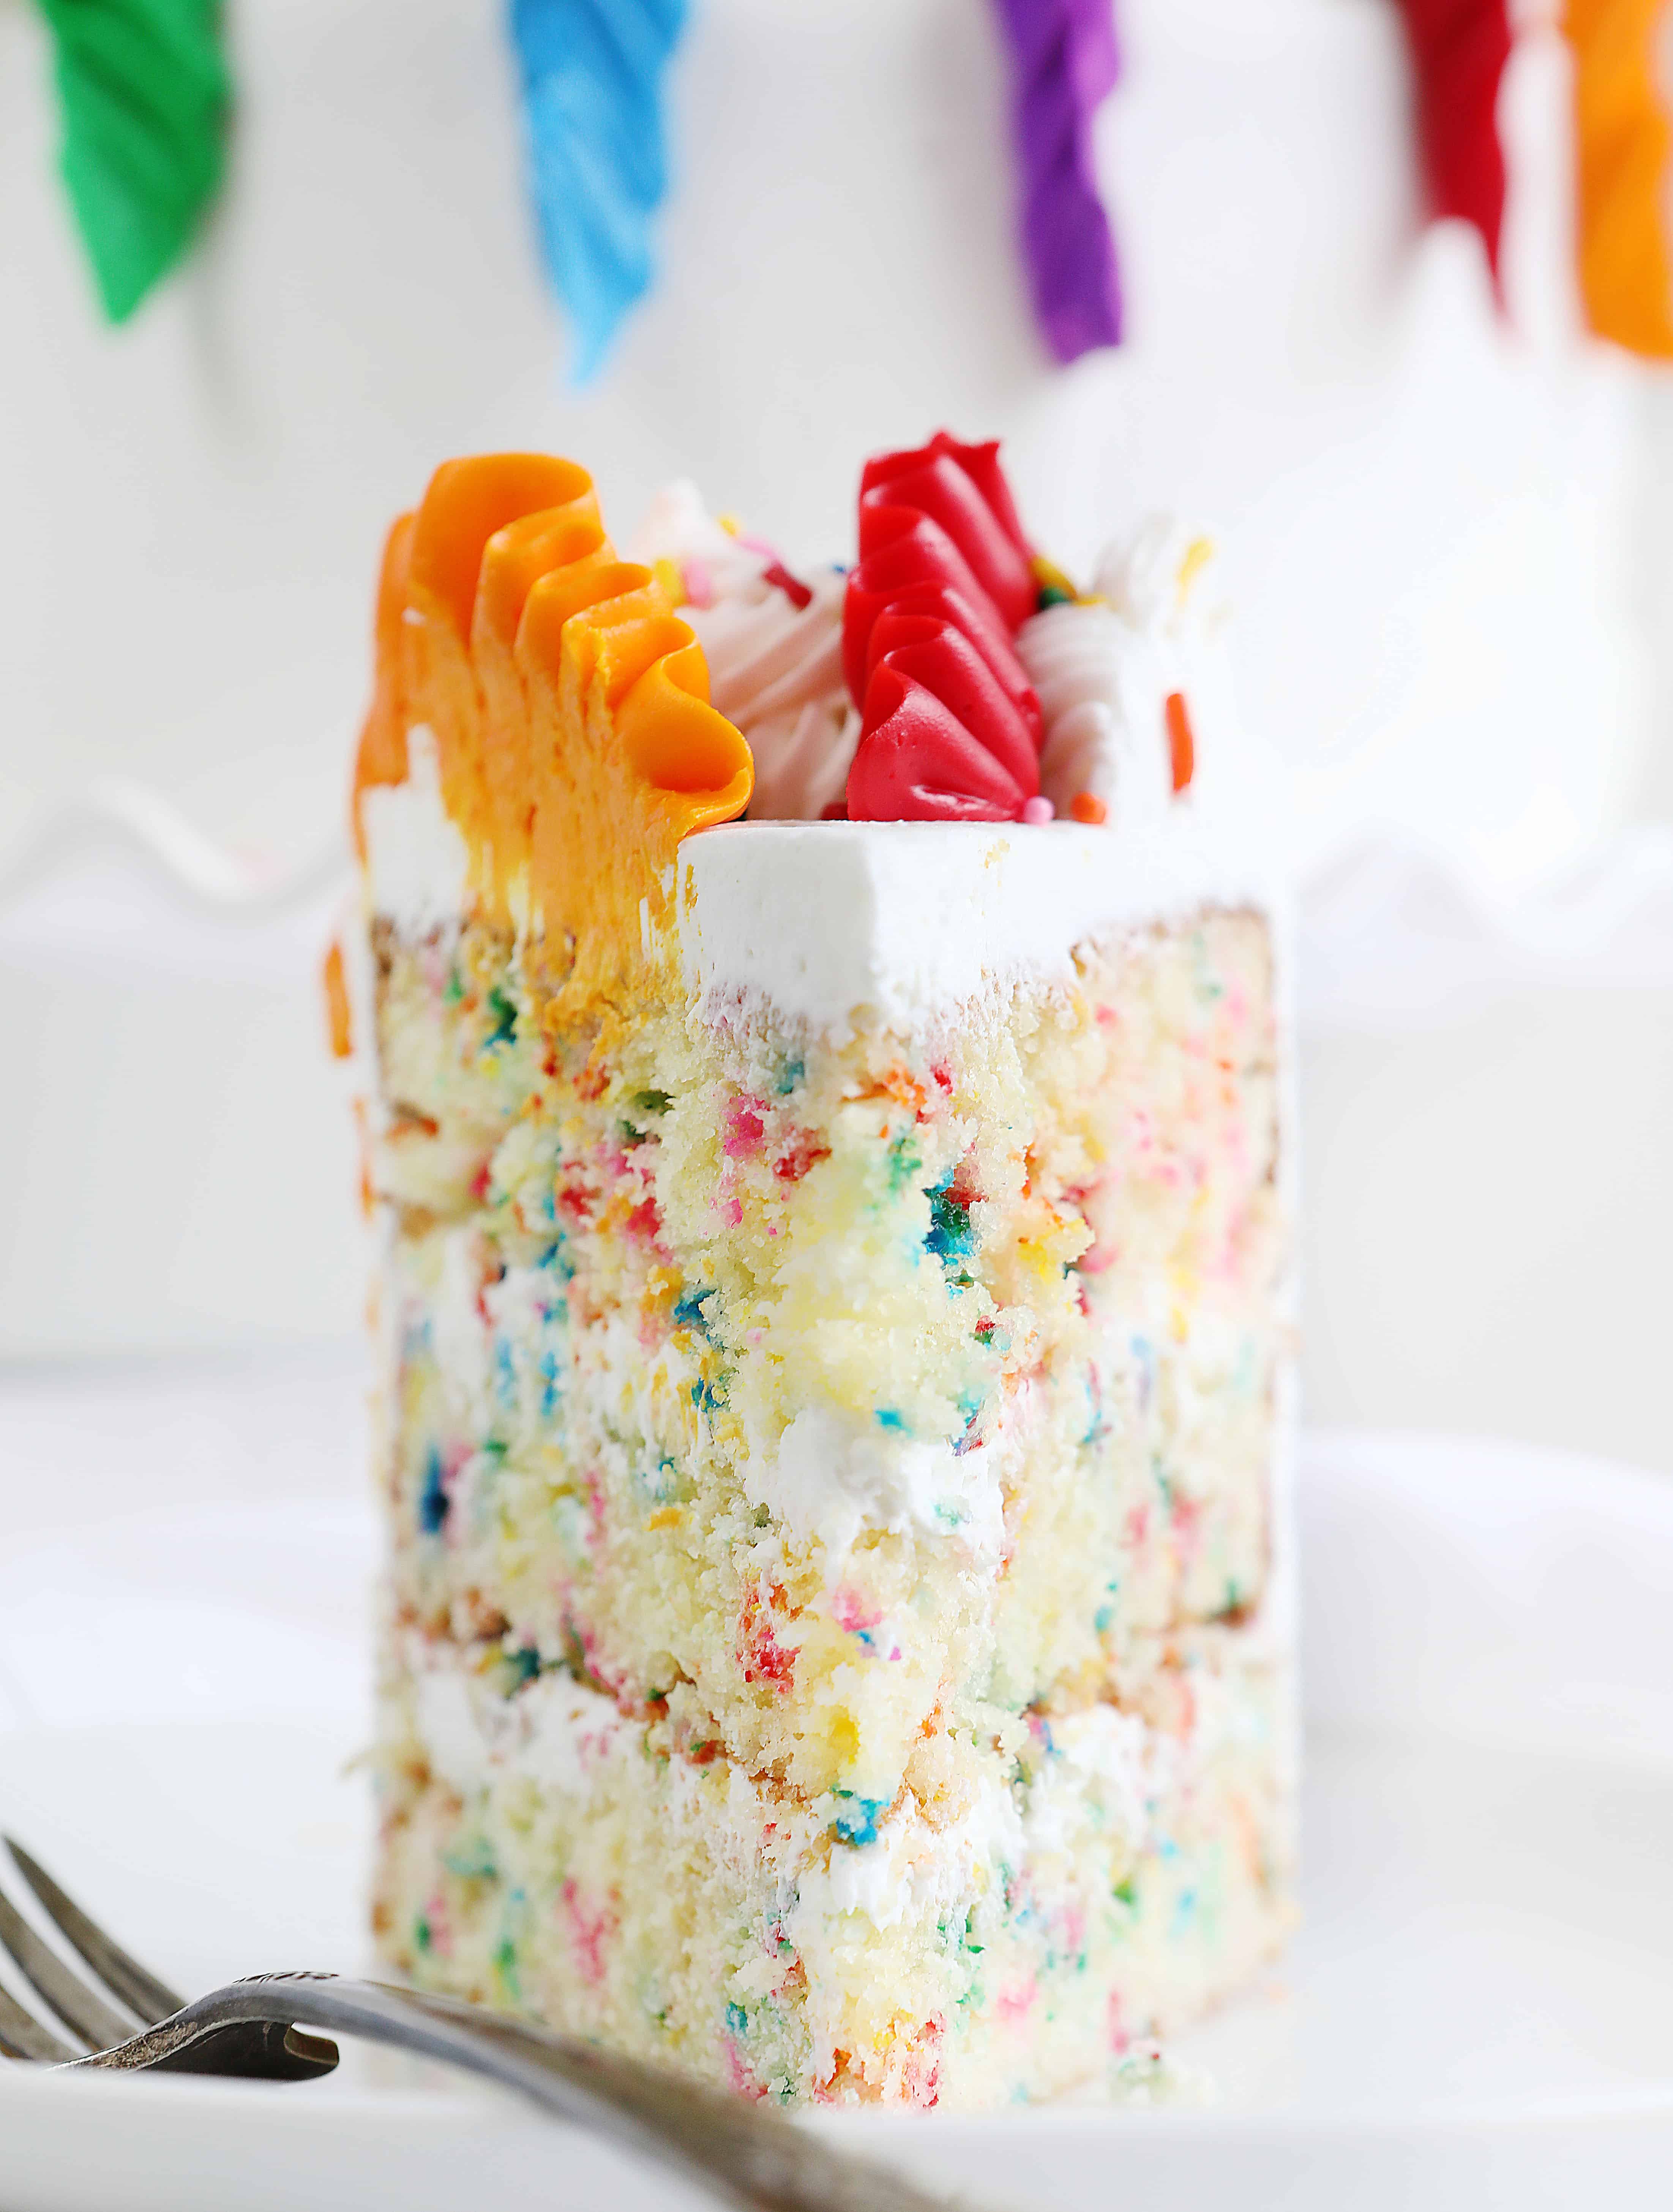
It starts with a cake full of colorful sprinkles and then is topped off with more colorful decorations for that ‘icing’ on the cake. I will explain how to get your cake frosted and decorated later.
How to Make Sprinkles Cake
With this cake all about fun, it’s perfect for any celebratory occasion! To make the cake, start by preparing two 8-inch round cake pans. Line each with parchment paper. This is important, so don’t skip this step.
- In the bowl of a stand mixer with a paddle attachment, cream together the butter and shortening until light and fluffy.
- Next, add the sugar and mix until it is fully incorporated.
- Add eggs, one at a time, followed by the vanilla.
- Meanwhile, in a separate bowl, sift together the flour, baking powder, and salt.
- Alternate adding the flour mixture and the milk, beginning and ending with the flour mixture.
- Remove from the stand mixer and stir in the rainbow jimmies (sprinkles) by hand.
- Evenly distribute cake batter between cake pans (roughly 2 1/4 cups per pan) and place pans into the oven. Bake for 25-30 minutes, or until a toothpick or cake tester inserted in the center comes out mostly clean.
- Let the cakes cool completely before decorating.
Sprinkles Cake Decorating
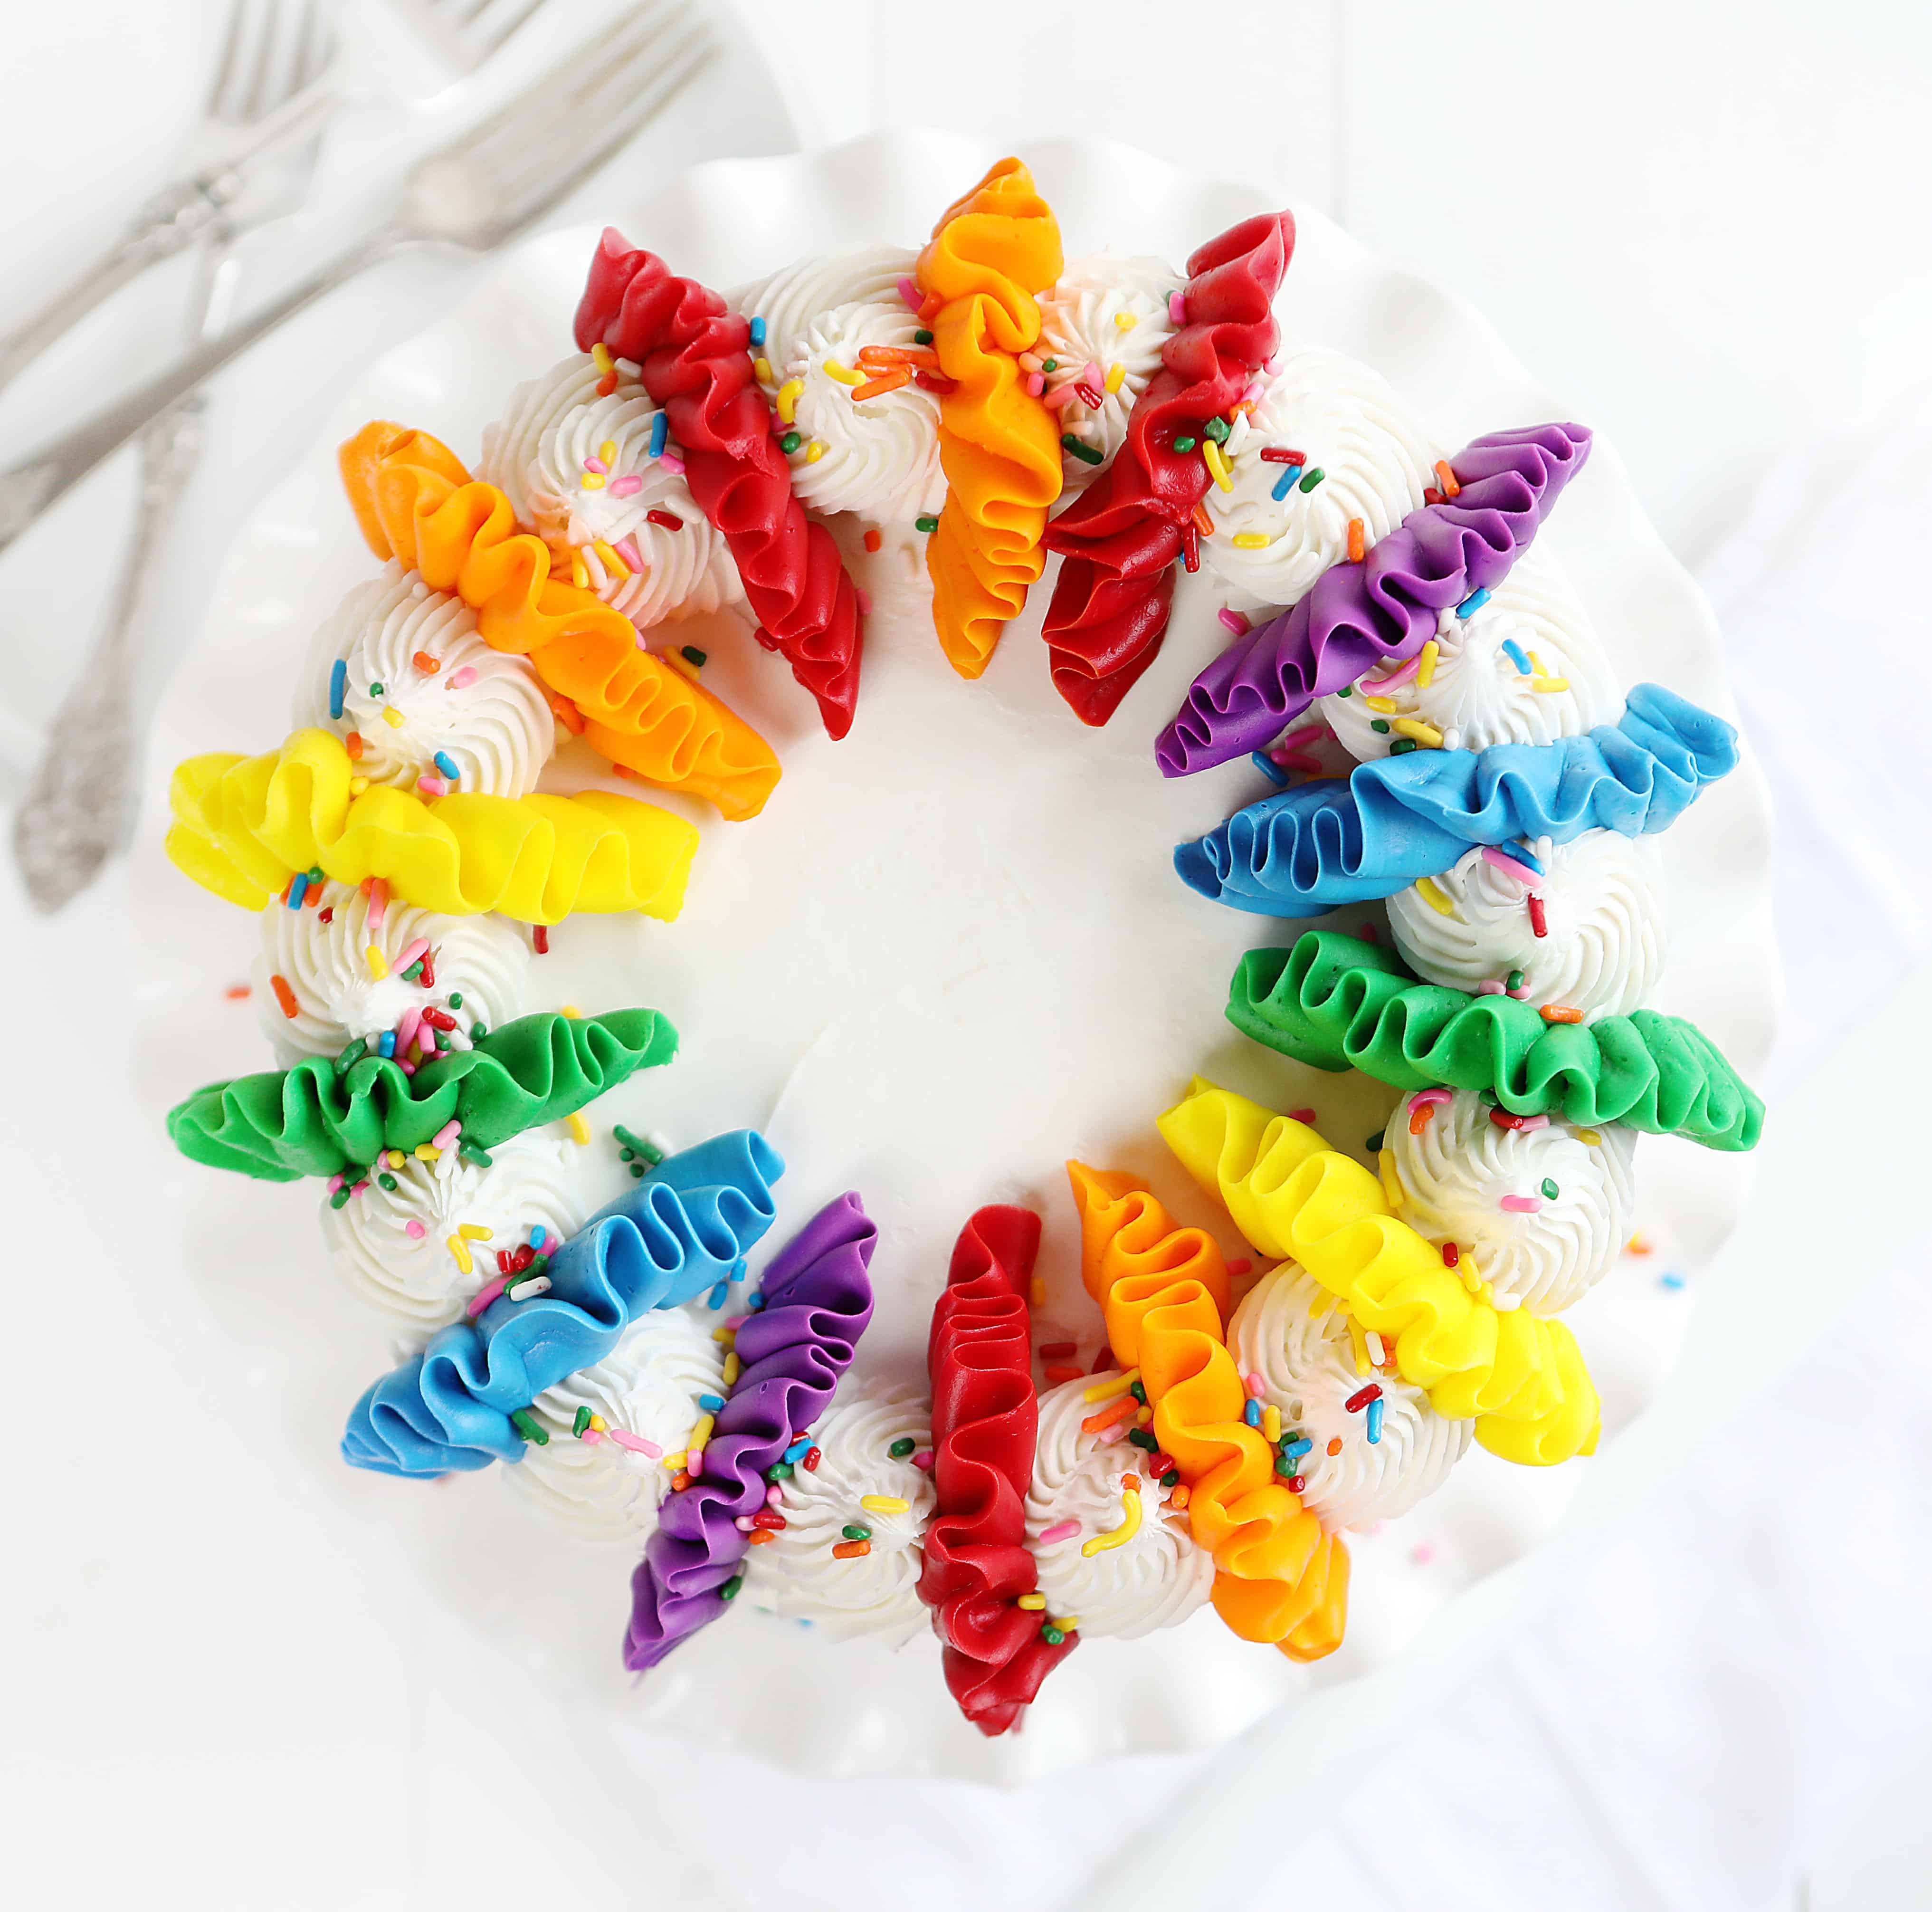
To decorate this cake I used my whipped vanilla buttercream. I tinted 1 cup of frosting red, 1 cup orange, 1/2 cup yellow, 1/2 cup green, 1/2 cup blue, and 1/2 cup purple. You will most likely have frosting remaining, and that frosting can be stored in the refrigerator for 2 weeks or freezer for 3 months. (Be sure to label and date the storage container, and bring the frosting back to room temperature before using again.)
Start by covering the cake in a crumb coat of frosting. Allow cake to set for at least 15 minutes, then apply a smooth coat of frosting over top. Smooth it out with a small offset spatula or bench scraper. Now add some frosting to a bag fitted with a 9FT tip. Make pipe swirls around the edge of the cake.
To make the “ribbons” of frosting over the sides I used a #126 tip which is a large teardrop tip. (You can also use a #104 tip, which is just a smaller version.) Starting at the top of the cake at the inside edge of the dollops, apply pressure and move up and over and in between the dollops.
Move your top over and down the top side of the cake then release pressure at about halfway down the side of the cake. If you happen to only have one #126 tip as I did, you may want to plan ahead. I piped my first ribbon in red then counted out to where the next red ribbon would be and piped another. Then I washed the tip and repeated with orange. Then washed the tip and repeated with the remaining colors.
Tips for Homemade Sprinkles Cake
Making a cake from scratch can definitely be daunting, but this is a perfect recipe to start with. A few things that can make the process easier for you are:
- Preparing the pans ahead of time. Make sure you line them with parchment paper as the sprinkles can stick to the bottom and make the cake hard to remove.
- Use room temperature ingredients. When the butter, eggs, and milk are room temperature they incorporate better into the batter and help to create the most perfect texture & crumb.
- Make sure your layers are leveled and chilled before decorating the cake. If your layers are very chilled you may even be able to skip the crumb coat! (My cake is VERY chilled in the video tutorial.)
- If you live at a higher altitude, check out my High Altitude Baking Tips.
Sprinkles Cupcakes
To make this recipe into cupcakes you will follow the recipe as written, but add the batter to a cupcake pan filled with liners. Fill each liner 3/4 full with the sprinkles cake batter and bake 16-22 minutes. You want the tops to rise and dome nicely.
To test and see if they are done, insert a toothpick into the center of the cupcake. If it is removed mostly clean, they are done. You do not want the wet batter to cling to the cupcake but a completely clean toothpick could mean the cupcakes are too done. You should have 24 cups or as many as 36 if you don’t fill them 3/4 full.
Can I Freeze the Sprinkles Cake?
You can certainly freeze the cake, but I do recommend waiting until it thaws to add the vanilla buttercream. This cake will freeze well if it placed in the freezer the same day you make it. Make sure that it is completely cool before preparing it for the freezer.
Here’s what I do:
Allow the cake to cool in the pan fully. Place a layer of plastic on top of the cake and then place a cutting board or cooling rack on top. Flip the cake over. Wrap the plastic up over the edges of the cake and then add another large piece and wrap it again as tightly as possible without crushing the cake. Make sure that none of the cake is exposed in the freezer as this can cause freezer burn. Now wrap it in a layer of foil. Label and date the cake. The cake will freeze well for 1 month and should be fine for up to 3 months.
To thaw the cake, remove from the freezer and set it on the counter. After about 30 minutes, remove the foil and remove the bottom piece of plastic wrap. Place on a serving platter and flip the cake over so that it is now right-side up. It should thaw completely after 2-3 hours at room temperature. Prepare your Vanilla Buttercream, decorate, and serve!
Looking for More Birthday Cake Ideas?
Chocolate Cake with Chocolate Frosting
White Cake (easy boxed mix version)
Easy Cake Decorating Idea (Perfect for Birthdays!)
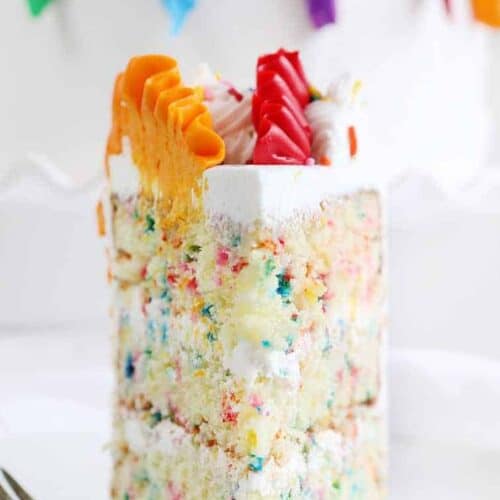
Sprinkles Cake
Ingredients
- 1 cup (2 sticks / 226 g) unsalted butter, room temperature
- ½ cup shortening
- 3 cups (600 g) granulated sugar
- 5 large eggs, room temperature
- 2 teaspoons vanilla
- 3 cups (375 g) all-purpose flour
- 2 teaspoons baking powder
- ¼ teaspoon kosher salt
- 1 cup (245 g) whole milk
- 1 ½ cups rainbow jimmies (sprinkles)
Instructions
- Preheat oven to 350º F. Prepare three 8-inch round cake pans with nonstick baking spray and line the pan with a parchment paper round. (Don’t skip this step)
- In the bowl of a stand mixer fitted with the paddle attachment, cream together butter and shortening until light and fluffy, about 2 minutes. Stop and scrape sides as needed.
- Slowly add sugar and make sure ingredients are fully incorporated.
- Add eggs one at a time, making sure to fully incorporate each egg before adding another. Add in vanilla.
- In a medium bowl, sift together flour, baking powder, and salt.
- Add flour mixture to butter and shortening mixture alternately with milk mixture, beginning and ending with dry ingredients.
- Remove bowl from stand mixer and stir in the rainbow jimmies by hand.
- Evenly distribute cake batter between cake pans (roughly 2 1/4 cups per pan) and place pans into oven. Bake for 25-30 minutes, or until a toothpick or cake tester inserted in the center comes out mostly clean.
- Cool in cake pans for about 10 minutes, then invert and cool completely on a wire rack.
Video
Notes
Did you make this recipe?
Thank you for making my recipe! You took pictures, right? Well go ahead and post them on Instagram! Be sure to mention me @iambaker and use the hashtag #YouAreBaker.
Based on Add a Pinch’s Best White Cake.


Is it free to join your blog?
I never leave comments on a recipe, but this cake is a DISASTER!! I always read comments and think that someone must have not followed a recipe, but I did. This cake sticks to the sides of the pans and will not release until it breaks apart. And once it comes out of the oven, like others have said, the middle sinks in just oozing butter.
DO NOT WASTE YOUR TIME OR MONEY. THIS IS TERRIBLE!!!!!!!!!!!!!!
I made this cake today & was surprised at how greasy and dense it was. It caved in, in the we center and smelled like burning plastic. I am NOT a novice baker & followed the directions exactly. BIG, BIG waste of time, effort and money
After reading comments, I would say that most likely the the common denominator for the epic fails is that the milk and eggs used were cold and not room temperature. But then again, your recipe doesn’t specify that the milk should be room temperature . It does for the eggs but not the milk. So you may want to edit that and “stress” that the ingredients be room temperature.
First off, shame on me for not reading reviews before I made this cake. It shouldn’t be called a cake. It’s a mistake to treat recipes on Pinterest like a recipe from a cook book. I wasted my time and a load of expensive ingredients on this disaster of a recipe. I baked this for 10-15 minutes longer than called for. I feared burning it, or drying it out so I took the three pans out of the oven. Raw in the middle. The cake fell through the cooling rack. No way is this going anywhere but the garbage. Now I have to scramble for a cake for my 7 year old granddaughter’s birthday. My fault for not reading reviews, but iambaker.net ought to be ashamed and kicked off Pinterest.
Hi Nancy! Maybe you should start a campaign to get me kicked off of Pinterest? That would be fun.
I’m not going to take credit for you not making this cake correctly. As you can see, I credited the recipe to Add a Pinch at the end of the post and her cake (a very similar recipe) has over 710 ratings and 3,200 comments. Almost 5 stars! If thousands of folks can make it successfully, I don’t think your “REMOVE IAMBAKER FROM PINTEREST” campaign will be successful. I am quite tired of taking the blame for user errors. There is simply no way that you could have baked the cake for 45 mintues and it still be raw. That is an oven issue, not my issue.
I was really excited to make this for my daughter’s birthday, but it was a disaster. The cakes were very greasy and sunk in the middle as soon as I pulled them out of the oven. I am an experienced baker – save your time and find another recipe!
I’ve never left a comment before but I too feel like I should add my voice in the hopes that no one tries this recipe like I did, the night before the event. 🤦 Anyhow, I’m not a professional, but I bake at least 3 cakes a year for my kids birthday’s. Figured I would try a new recipe and linked over from a different recipe with lots of good reviews. I followed this recipe to a T, even letting all ingredients come to room temp, and even sifting the dry ingredients. (I know you’re supposed to, but I almost never do). I cooked them about 35 minutes, and it did stiffen up, but they had sunk terribly in the middle. One taste and you can tell that this recipe (while actually fairly delicious) is just to dense and greasy. Here I am at midnight with a party tomorrow. I don’t have motivation or time for a new recipe, so to the store I go tomorrow to buy a last minute cake. Maybe I’ll make cake balls with these sad cake rounds. Either way, I’m super disappointed with this recipe. Save yourself the trouble and skip this one.
I found this recipe on The Pancake Princess website, it was included in her Best Sprinkle Cake Bake Off! I was hesitant because of the reviews, but surprised because the cake had scored so high in the bake off. This cake is very good, my cake did not sink in the middle. It was moist, light and very tasty. I’m not sure what happened with the others but this is a great funfetti type cake recipe! I followed the instructions exactly.
Not sure what happened with all those other people’s cakes but this cake turned out perfectly for me. The shortening made the crust so delicious and crunchy. The cake was moist. My only complaint is that it is soooo sweet. But I should have thought about adding all those sprinkles is just extra sugar. And that is just a personal preference for sweetness.LOL at y’all getting so angry at someone who gave you a recipe and trying to get them kicked off of Pinterest. Get a grip.
Tastes so nostalgic but a bit sweet. 4/5 stars based on two small alterations: I cut the sprinkles to 1c) and added 1/8t almond extract. No mixer or sifter, just beaters and a whisk. Dense but springy, tender tight crumb, a thin crispy crust perfect for frosting. Can’t imagine how this sank, was raw, or stuck to pan (with parchment as indicated??) for others. Cooked 40-45 mins at 350 in two novelty shape pans for an event. Yummy!!
I have read through this recipe a dozen times since turning the cakes out this afternoon and am still not sure where I went wrong. Very experienced baker and was excited to try this one after finding it on Pancake Pricess’s blog where I haven’t been let down yet! (Barring today’s debacle) This ended up with an almost cookie-like texture and it is VERY sweet. Oh well, the cake pop freezer stash gained another sacrifice today. Just wish I could figure out what happened!
Hi! I’m so sorry your cake turned out with a cookie-like texture and felt overly sweet… that’s definitely not what we want. Here are a few possibilities that might help next time:
-Too much sugar. Sugar does more than sweeten, it helps with browning, tenderness, and moisture. Cutting it back just a touch can tone down the sweetness while helping the texture stay softer.
-Overmixing. Mixing the batter too much (especially after the flour goes in) can develop gluten, which can make the cake feel dense and cookie-like. Gentle mixing until ingredients are just combined is key.
-Not enough leavening or uneven oven temperature. If there’s not enough rise or the oven runs hot or cold, the center might sink or solidify while the edges bake through, leaving a firm, dense patch.
Without more detail, it’s hard to nail down exactly what happened, but these are the most common culprits. If you’d like me to help troubleshoot your specific bake, feel free to share more – like whether the cake sank, if the texture was gummy or just too firm, or anything about the oven you used. I’m here to help turn that “debacle” into a delicious success next time!