Home ▸ Tips and Tricks
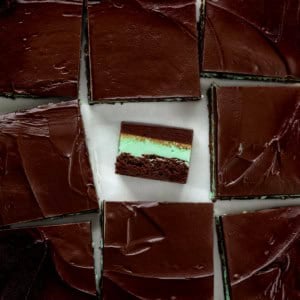
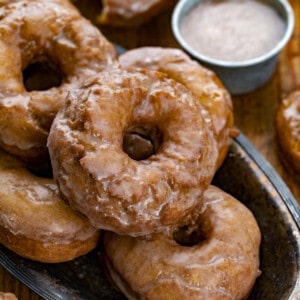
Brownies
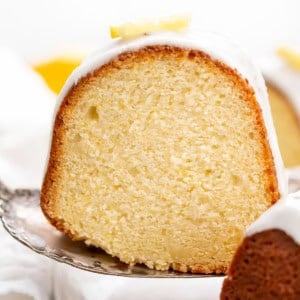
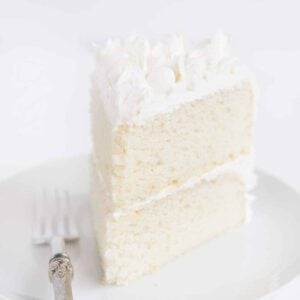
Cakes
Kitchen Tips
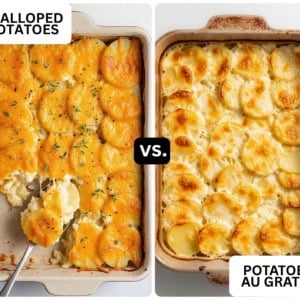
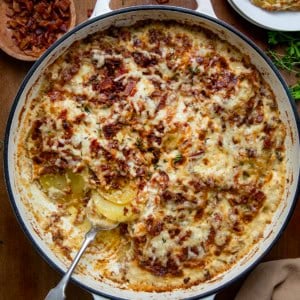
Casseroles
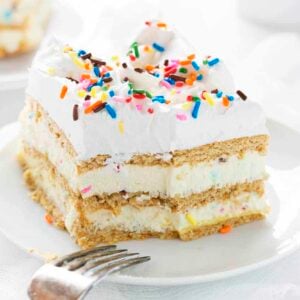
Dessert
Breakfast
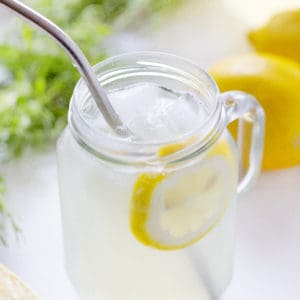
Drinks
Cheesecakes
Cookies
Bread