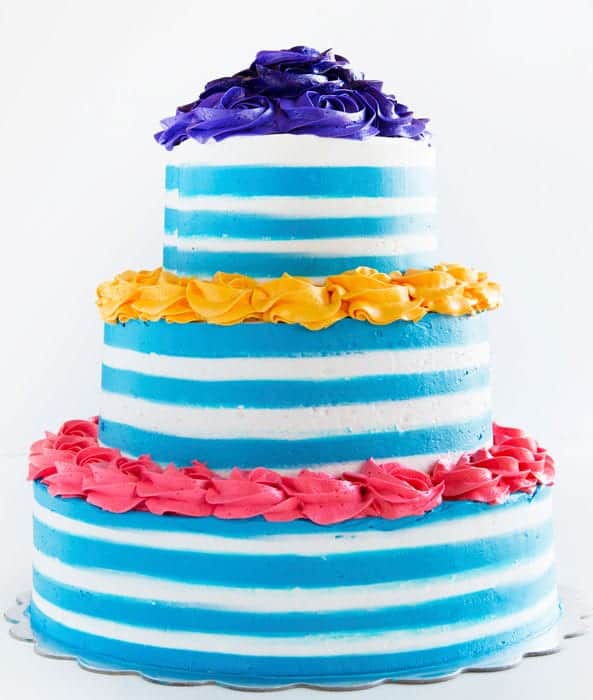
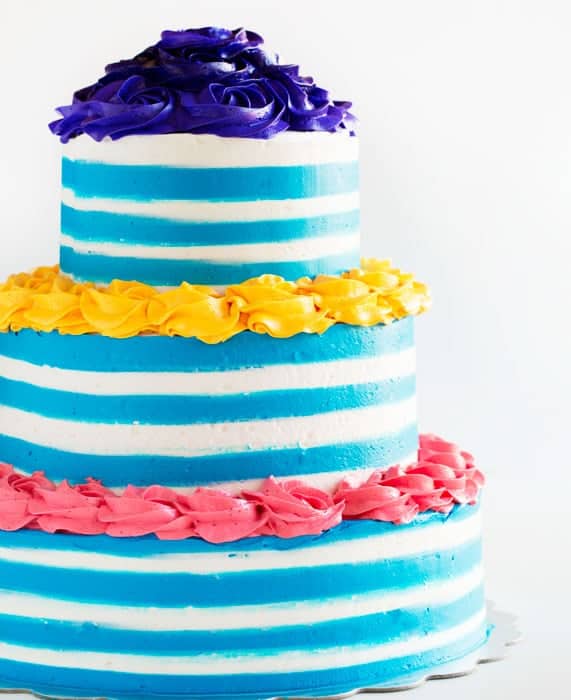
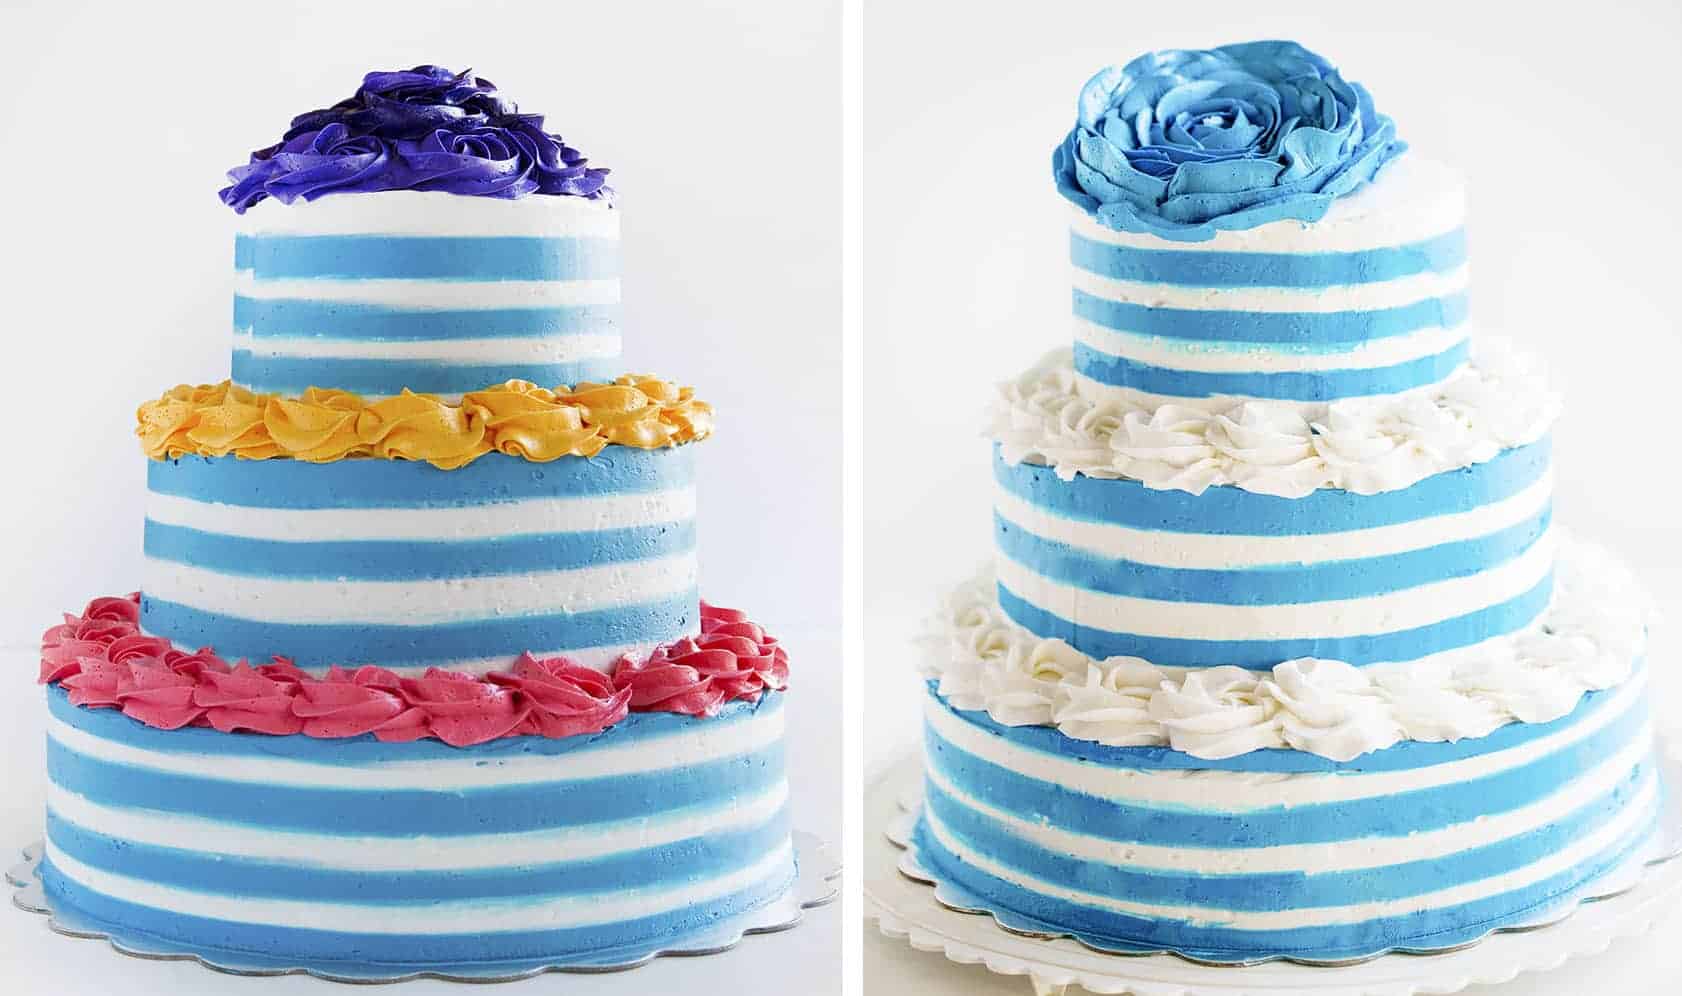
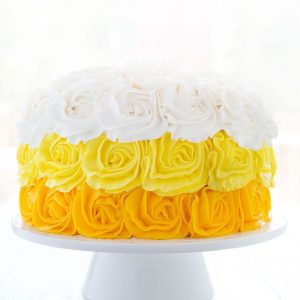
This blue and white stripe cake with rosettes was not what I expected it to be… especially when you see why at the end of this post!
To make this cake you will need:
Chocolate Cake (I used box mixes for convenience)
- three 12-inch round layers for the bottom (1 box mix equals one layer for the 12-in cake pan)
- three 8-inch round layers for the middle section
- two 6-inch round layers for the top
Buttercream recipe (I made five batches this recipe (about 10 pounds) and used clear vanilla extract and pale butter)
Food color (I used McCormick’s neon blue, neon pink, yellow, and blue + red for the purple. You can use this guide)
straws or wooden dowels
small offset spatula
bench scraper
1M tip (or any large star tip) and (two) 2A tips
Because of the size of this cake I had to bake the layers on one day then assemble the next day.
I used simple syrup to ensure my cake layers stayed moist and fresh.
When you are ready to assemble the cake, place one 12-inch layer on board or cake stand. Cover with about 1 cup of buttercream and smooth out. Repeat 2 more times so that you have a 3-layer cake.
(See: How to Build a Layer Cake)
Cover in a crumb coat and chill until ready to assemble the entire cake. (Place in freezer for 1 hour or in the fridge for up to 3 days.)
Now move to your three layers of 8-inch cake. Stack them into a 3-layer cake and cover in crumb coat. Chill in refrigerator until ready to assemble the cake.
Stack the last two 6-inch layers and cover in crumb coat. (Place in freezer for 1 hour or in the fridge for up to 3 days.)
Prepare buttercream: I made five batches of my buttercream recipe above which ended up being about 20 cups. I made one entire batch of it blue (4 cups), left two batches white (8 cups), one batch pink (4 cups), then split the remaining frosting between yellow (2 cups) and purple (2 cups).
Place all colored buttercream into pastry bags.
White frosting will be used for layers and crumb coats. Any remaining will be used on exterior of cake.
Take 12-inch cake out of the fridge and insert wooden dowels or straws. I often use straws and find they work ok for lighter cakes. Wooden dowels are recommend for most tiered cakes.
Place cake on a rotating cake stand.
Drop 2A tip into an empty pastry bag. Grab your blue frosting (that is already in a pastry bag) and cut off the tip. Drop the bag of buttercream directly into the bag with the 2A tip. (You can see exactly how and I why I double bag here)
Repeat with white frosting.
Starting at the bottom of the cake apply pressure to bag and pipe out a line of blue frosting. Go slow and steady until you get comfortable with this movement! Piping with one hand and slowly turning with the other hand is the best way to do this. Go around the entire cake.
Repeat this with white. Then blue.Then white. Keep adding a new stripe around the cake until you reach the top of the cake.
Now take your bench scraper in one hand and the farthest edge of the rotating cake stand in the other. Press the scraper into the frosting and slowly start to turn the rotating cake stand while holding the bench scraper steady. Make sure you go around the entire cake at least once.
Take the very chilled 8-inch layer cake and gently set on top of 12-cake on rotating cake stand.
Repeat stripe process.
Finally, place the 6-inch cake on top of the 8-inch cake and repeat the strip process.
Here is a video on how to put this cake together:
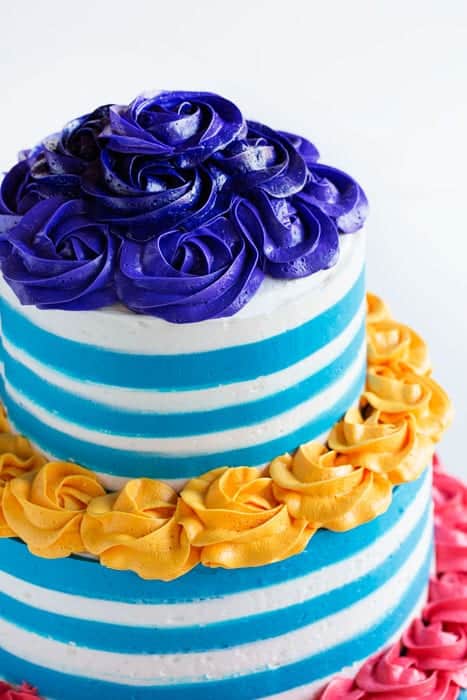
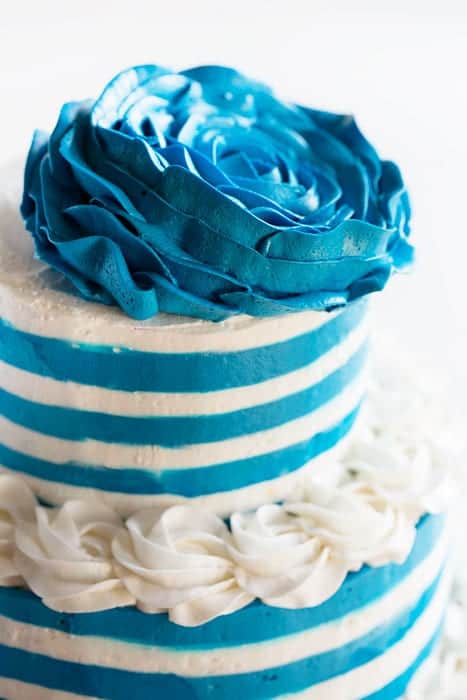
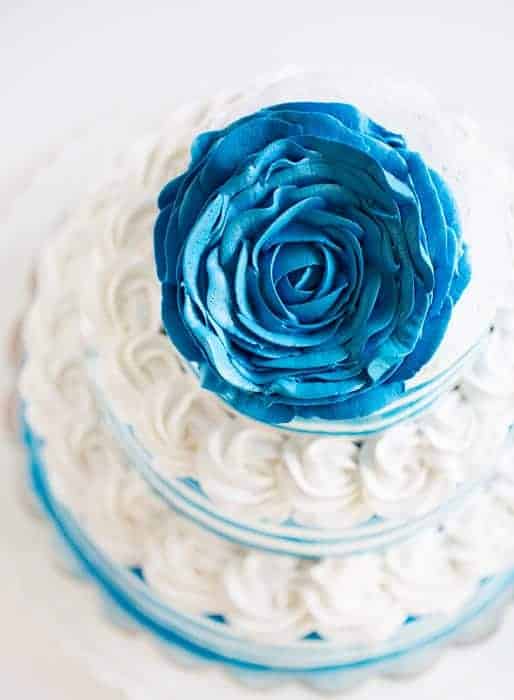
Once your cake is assembled and the stripes are in place you can go back in and add the rosettes.
I wanted the top layer of rosettes to curve so I added a mound of buttercream underneath.
Now. Are you ready to see what the cake looked like when I delivered it?
COMPLETELY DIFFERENT.
Why oh why? I made this cake for a high-schoolers production of Eliza (My Fair Lady) and based it off of the play flyer.
Turns out I got the colors wrong. *bangsheadrepeatedly*
So! I scraped all the rosettes off the cake and re-scraped the sides and started over. Re-scraping meant that the lines were less straight and just look messier overall, so I was bummed about that.
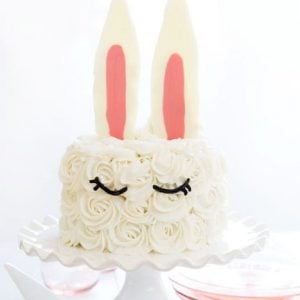
Then I decided to go an entirely different route with the top… I wanted to make it a bit more like the big hats that Eliza would wear. But then I went to add it to the cake and it was wonky and so I had to fill in with some “petals” and my proportions got really skewed and it all just a BIG MESS.
OH MY WORD I am so embarrassed. Thank goodness that it was charity and therefore FREE and no money was exchanged.
But! It still tasted good (I think) and hopefully people will understand that bakers make mistakes and forgive me as they are enjoying a nice big piece with loads of buttercream. 🙂
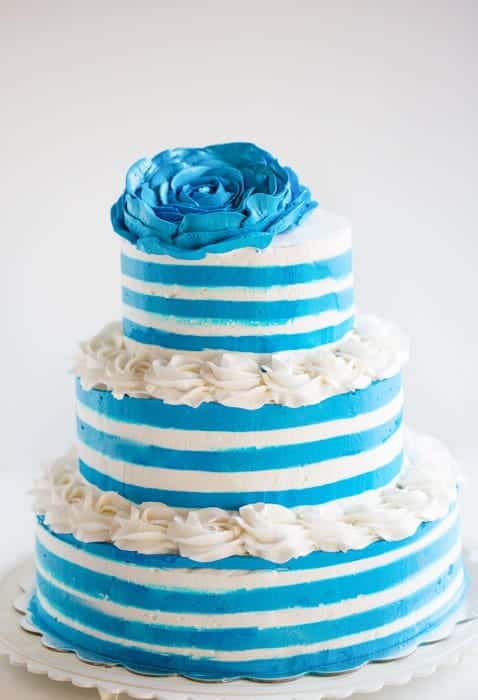
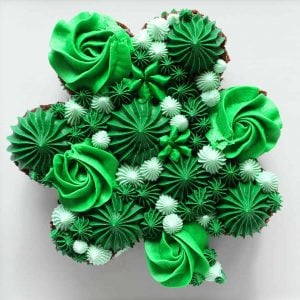
Here is a video of this cake in NEAPOLITAN colors!


Is there a board at the bottom of each cake layer?
You are an excellent baker… and the cake looks absolutely wonderful….
The cake looks yummy.
Can i have the recipe for butter cream please?
Till now i found so many but there is a secret that no one wants to share,and my butter cream wasn’t good .
Thank you!
I would love to take a cake decorating course! Know of any?
I like both cake’s, but I think the blue and white is prettier.
I just dropped a loaf of banana bread trying to test dinner this a.m. Boyfrnd is try in to make me feel better about it and I know it is still delicious just messy with the broken top. Can you somehow reuse the colo buttercream you scraped off? Seems like a lot of waste if not.
Very cute. 🙂
How much frosting (with all the colors) did you end up making/needing for the 3-tier cake?
Both of these cakes are beautiful! I’ve been decorating for 15 years now, and if there’s one thing I’ve learned it’s that someone is always going to have something negative to say. Just because one person doesn’t like the color combo doesn’t mean the next person wont. All of your cakes a GREAT and I love watching your videos! Just keep doing you!
I need to know the tip size you used in piping frosting stripes onto cake…. looked like the large hole tip… sorry don’t know numbers for size..
awesome cakes