Creating a beautiful Bunny Ear cake is a lot easier than you would think! I used candy melts and whipped buttercream to create a fun and simple design that anyone can do! If you happen to want 50 of the BEST Cake Recipes in the world, check these out!
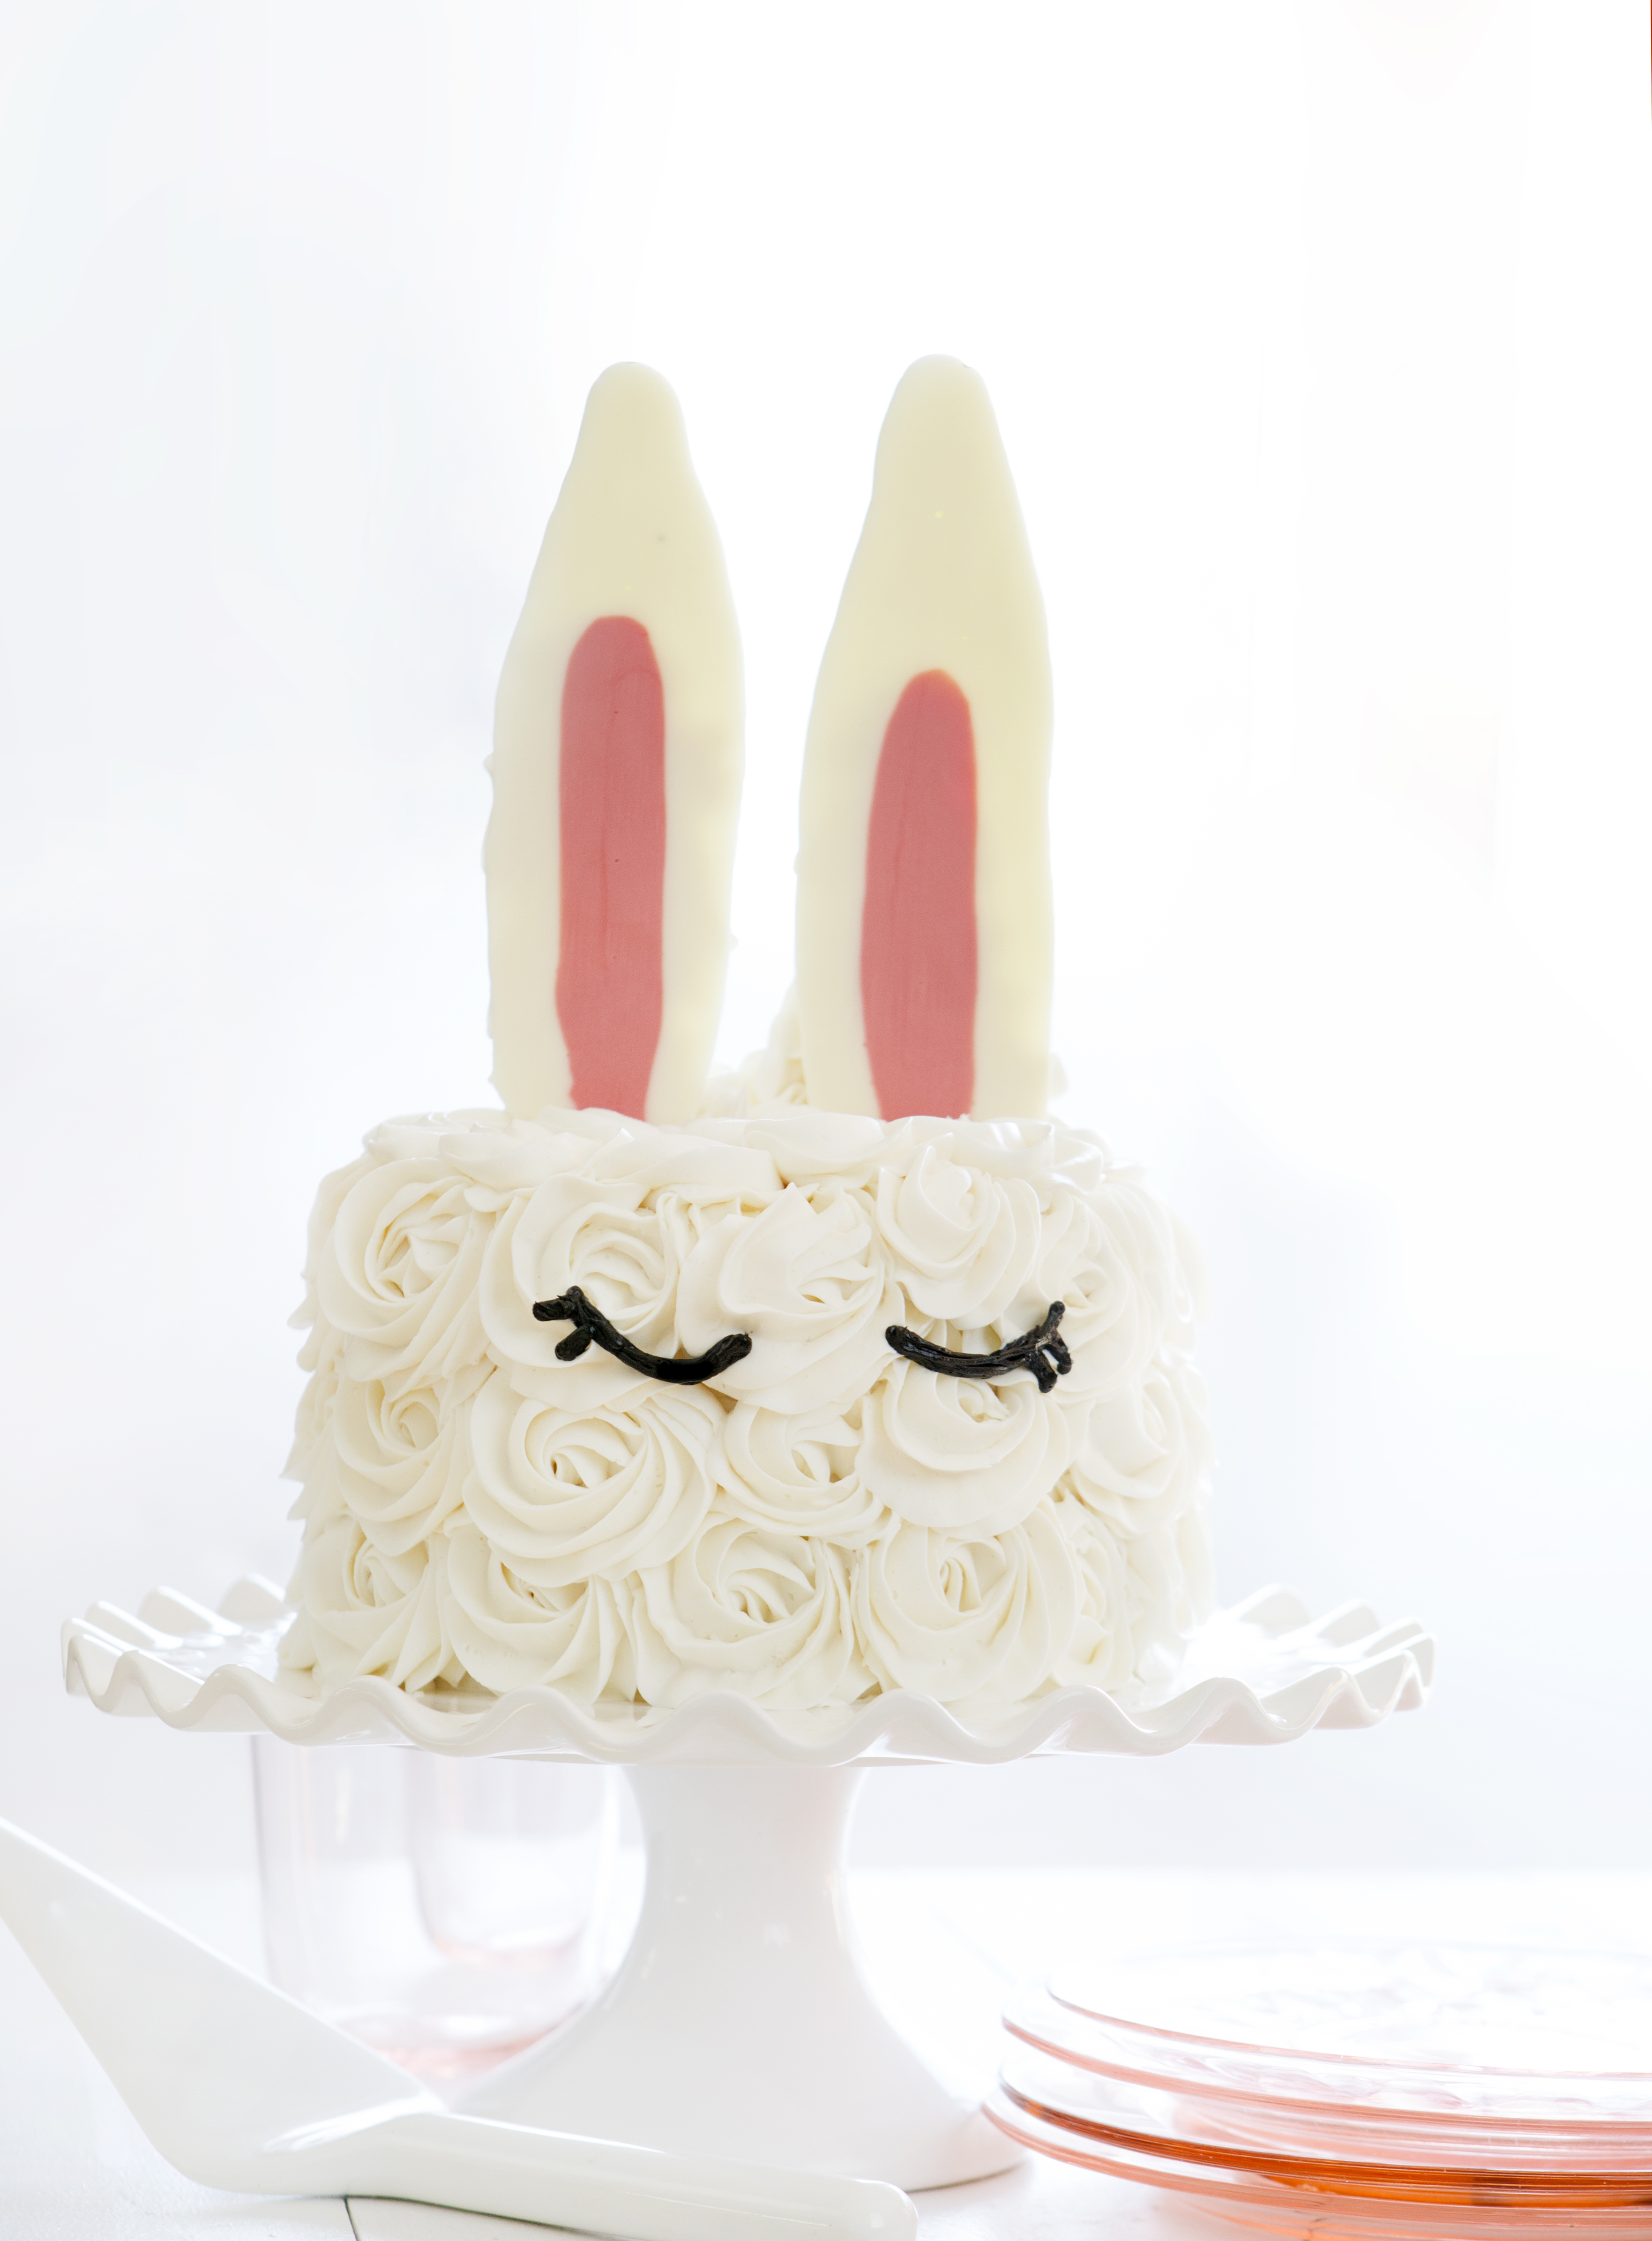
Bunny Ear Cake
Does this cake look familiar? It is an updated version of a Bunny Ear Cake from my book, Surprise-Inside Cakes, originally published in 2012. If you happen to see other bunny ear designs in the world, they are based on this! <3
This is the “non” surprise-inside version and I have to admit I love it just as much.
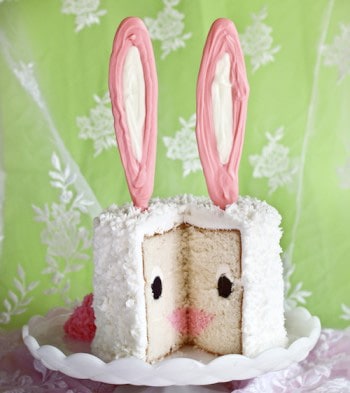
To make this cake you will need:
1 cake recipe (I used white cake) baked in two 6-inch round cake pans
1 batch buttercream
1/4 cup black buttercream (or a small tube easily found at a grocery store)
1/4 cup pink buttercream (optional)
white and pink candy melts
small offset spatula
1M tip (or open star)
plastic disposable pastry bags (I used 7)
cookie sheet
parchment paper
marker
cake stand rotating cake stand
(In the video black fondant was used for the eyes)
How to Make Bunny Ear Cake
Bake cake in two 6-inch round cake pans. Cool and level.
Prepare buttercream. When ready place buttercream in plastic disposable pastry bags until ready to assemble cake.
Melt about 1/4 to 1/2 cup of candy melts directly in a plastic pastry bag. Seal bag with rubber band. (not a twist tie, this will burn in the microwave!) Melt in microwave for 30 seconds. Remove bag and massage chocolates to move around and incorporate. Heat in 15-second increments until candy melts are completely melted. Repeat with pink.
Place a piece of parchment paper on a cookie sheet. Draw out the shape of the ear with a marker. Flip over the parchment so the marker is face down. Cut a small tip off of the pink candy melts. Pipe out the small inside portion of the bunny ear. Remember to extend the ear down a bit, this portion will be what you stick into the cake. Do this to both ears. Now grab the white and fill up and around the pink portion, following your marker outline. Place chocolate ears in refrigerator or freezer until ready to assemble the cake.
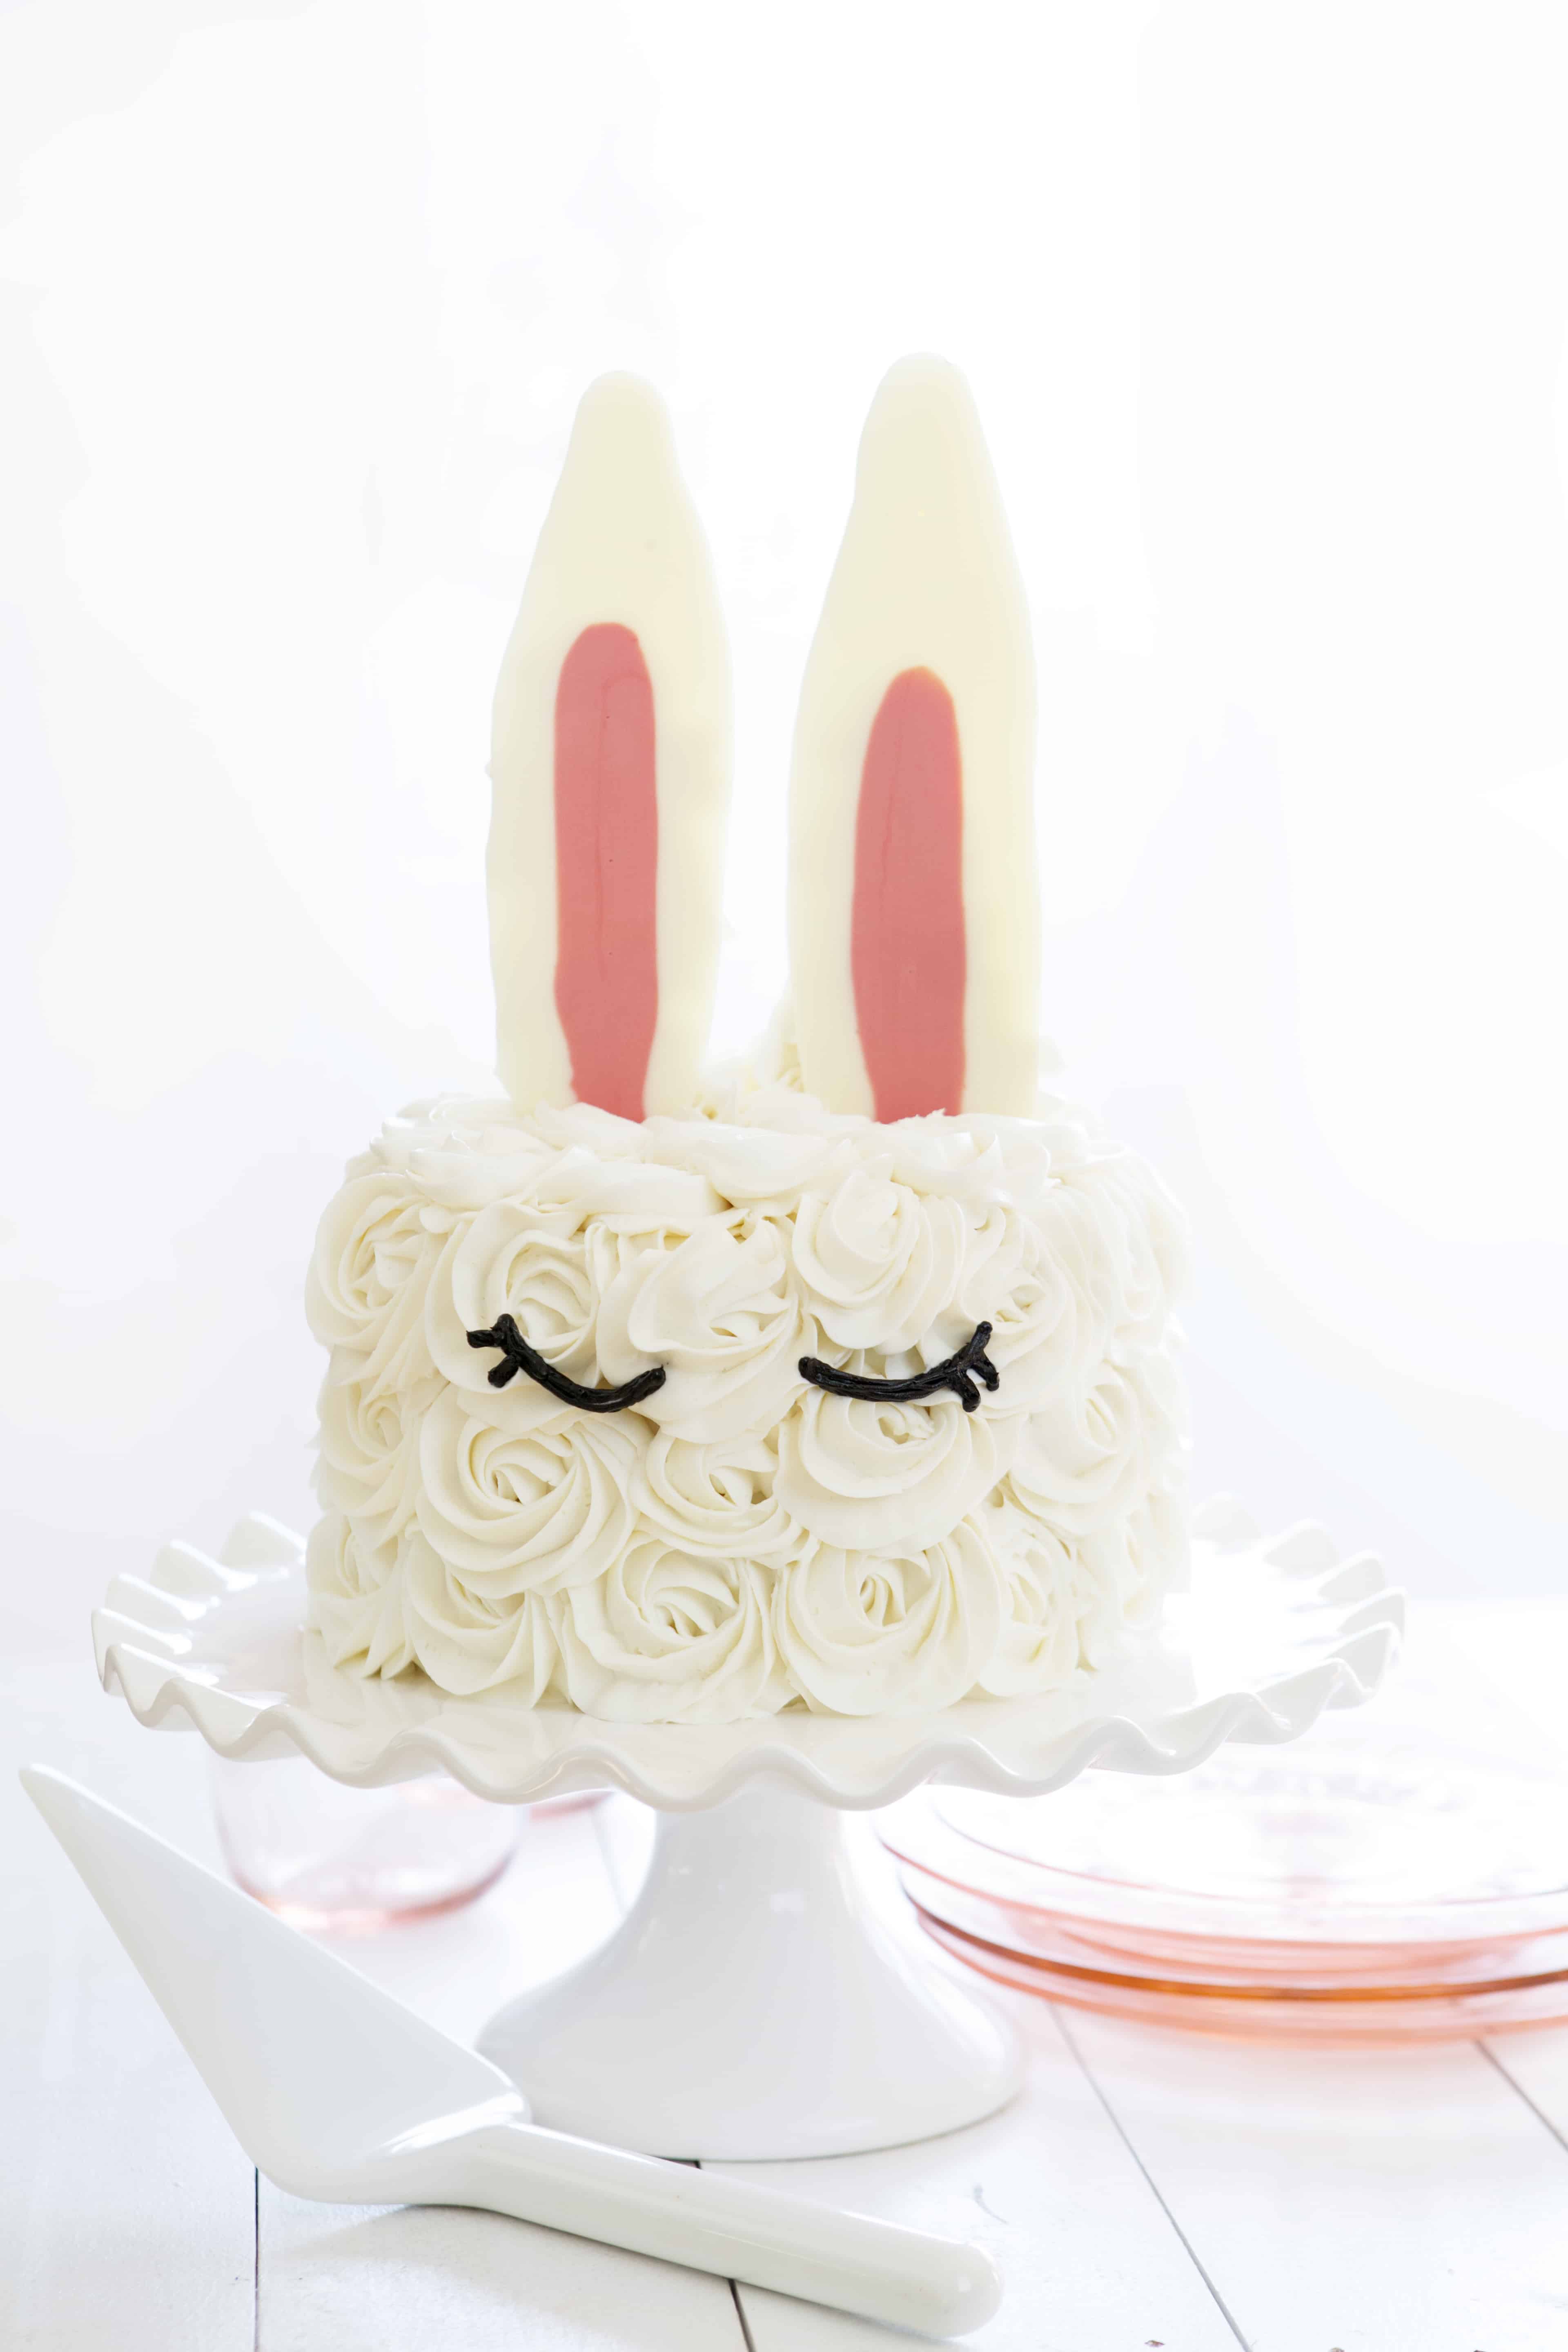
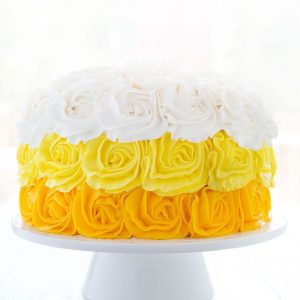
Place one layer of cake on a cake stand. Pipe a bit of the buttercream on the cake and smooth out with a small offset spatula. Place next layer on top. Cover with a thin crumb coat of buttercream. Now place your 1M tip into a pastry bag. Cut off the tip of one of your bags of buttercream and drop it into the bag with the 1M tip. I call this “double bagging” and you can read more about it here. Pipe rosettes around the entire cake covering the sides and top. You can see how I pipe a rosette cake here.
Once your cake is covered in rosettes, you can insert the ears. Remove them from the refrigerator (or freezer) and carefully insert into the top of the cake. Do both ears.
Next, take your black frosting and pipe out a curved line for the “eye”. You can add a few little eyelashes if you want.
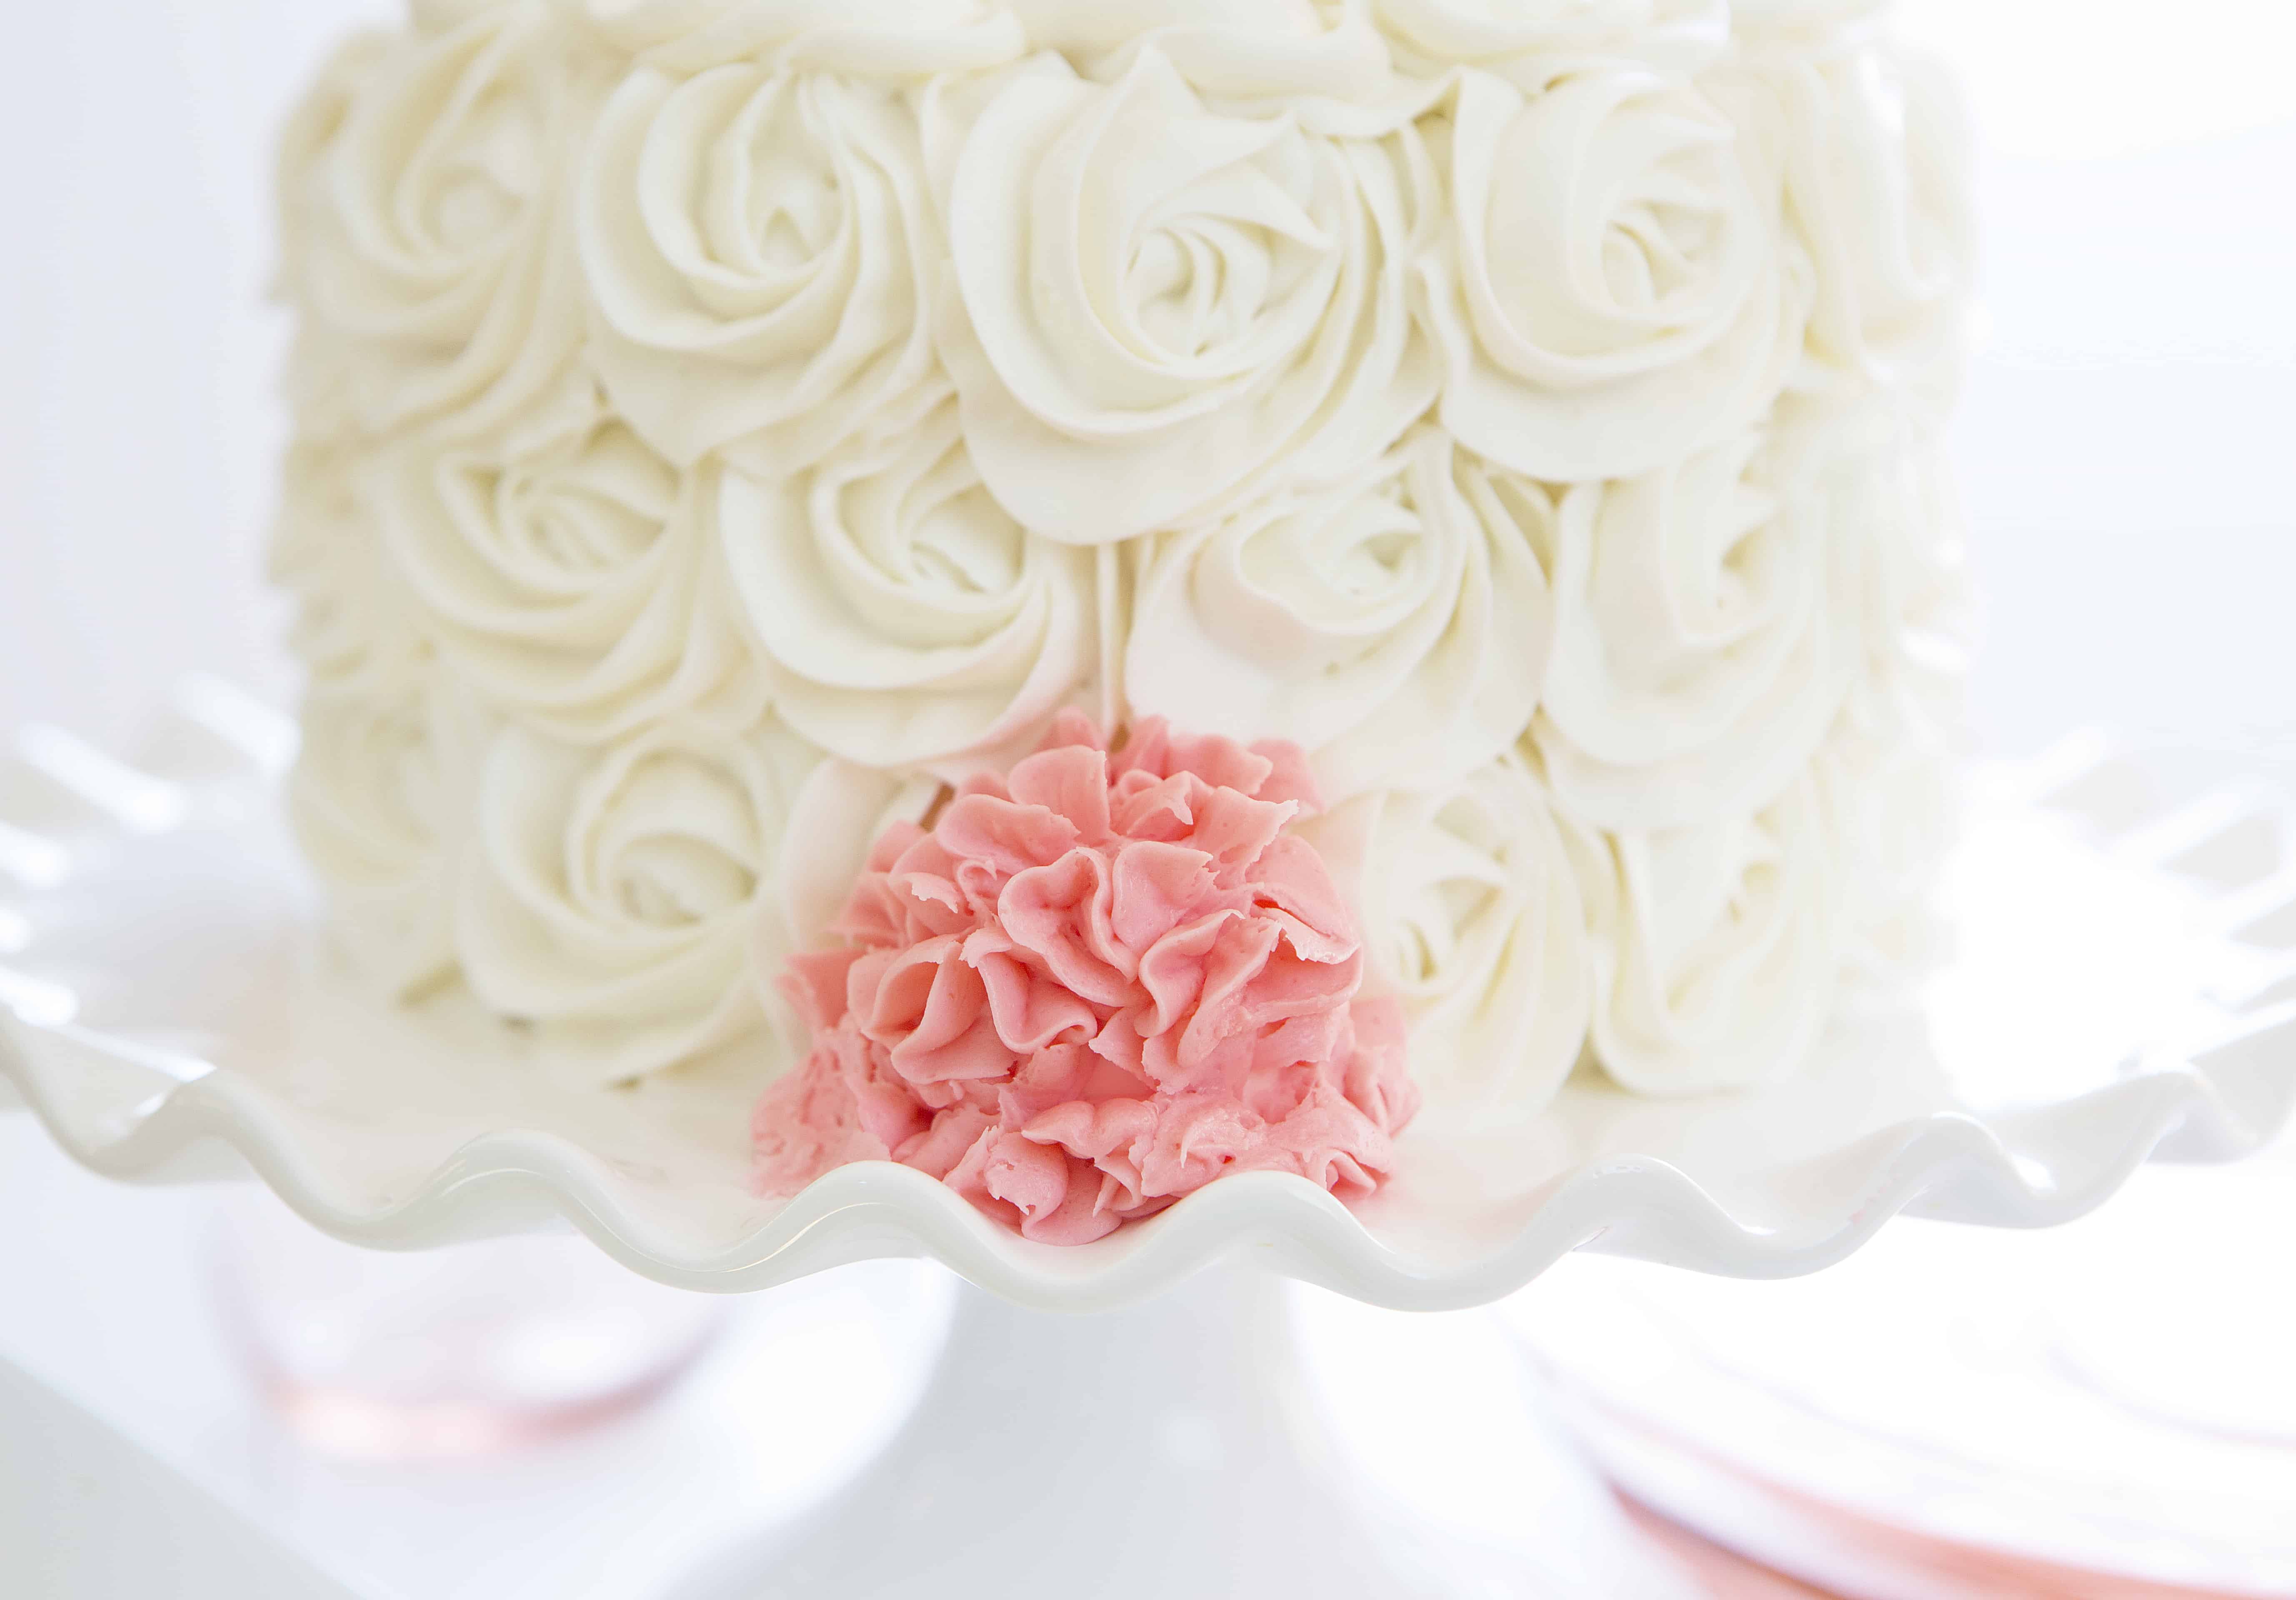
Finally, and this is totally optional, pipe out some frosting for a “tail”. I have used a large marshmallow and pipe directly on top of it or just piped a mini-mound of frosting for the tail. Both work great!
As you can see on the video, this Bunny Ear cake is EASY and fun to do. Feel free to let the kids help!



Thank you for being so kind to share all your ideas and tutorials with the world.
This Bunny Rabbit Cake is so clever. So fun.